In the first of a brand new series Amateur Photographer, in association with London Camera Exchange, brings you an in-depth guide to shooting video. In the series we will arm you with all the information and knowledge needed to become a confident and competent video shooter. Along with explaining camera settings, we’ll demystify all the videography jargon, plus walk you through all the steps to get you recording your first movie…
How to set up your camera to shoot a movie
So, you’re ready to test the waters and try shooting some movies using your camera… and why not?
Capturing footage can be great fun, enabling you to unleash your creative talents to capture precious family moments, enhance your commercial offerings or simply have some fun.
These days photographers are spoilt for choice when it comes to video-enabled cameras.
This is because most of them offer impressive movie-related specifications, whether that be the ability to shoot high-quality 4K footage, or they offer ports for audio accessories so you that can capture decent sound.
In fact, you’ll struggle to buy a camera today that doesn’t serve up some tasty video features.
However, a camera having the ability to shoot great video is only the start of the journey as you, the aspiring videographer, need to get to grips with how to set up your camera to shoot movies.
While this thought may be initially daunting, the good news is that it’s actually pretty simple to ready your camera and, even better, this series of features will arm you with all the information and knowledge you’ll need to become a confident and competent video shooter.
The truth is there’s never been a better time to broaden your skills and get into shooting video.
Quality gear is more affordable, cameras are easier to set up and even editing your footage in post-production is now a lot easier than it used to be, thanks to huge advancements in software.
So, what are you waiting for?
Let’s get started on module one and learn how to set up your camera to shoot video…
Step 1 – Lock off the camera on a tripod
First of all, lock off your camera on a tripod to keep it steady
Handholding a camera when shooting video will lead to shaky footage.
If you’re new to videography you’re unlikely to have access to a gimbal, but simply having the camera on a tripod will keep footage steady.
If your lens has IS, turn it off when the camera is on a tripod as this can actually introduce blur.
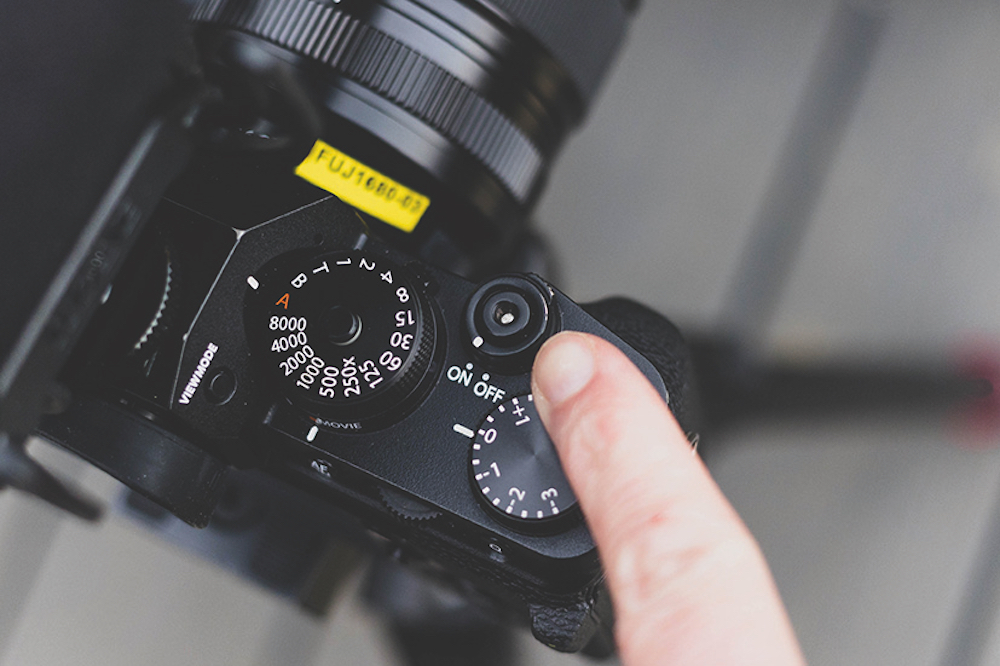
Step 2 – Switch to Manual mode

Switch to manual mode to keep control over your video settings
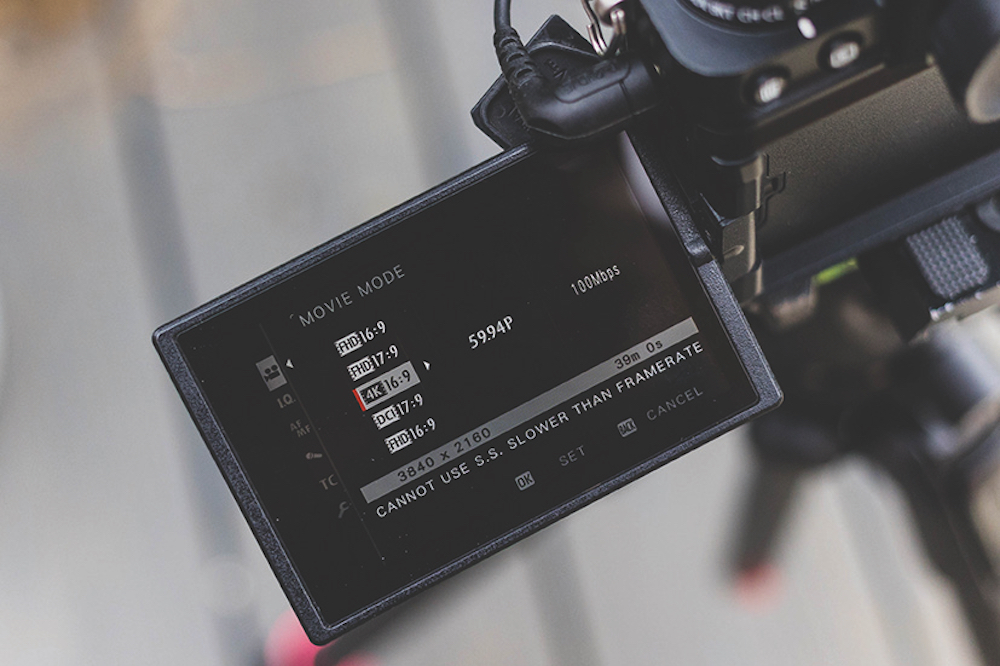
Some cameras have dedicated Movie modes, but if your camera doesn’t, then don’t worry – simply turn the mode dial to select Manual (M).
The full Manual mode will allow you to take control of major shooting settings such as shutter speed, aperture and ISO to balance the exposure.
Step 3 – Select your frame rate and shutter speed
Set your frame rates and shutter speeds. As a rule of thumb the fractional shutter speed should be ‘double’ the frame rate
Go to your camera’s video menu and choose your frame rate – for example 50 frames per second (fps).
Next, set a shutter speed that’s double your frame rate. For example, if you’re using 50fps, select 1/100sec as this will give a smoother look to the footage.
Step 4 – Balance the exposure
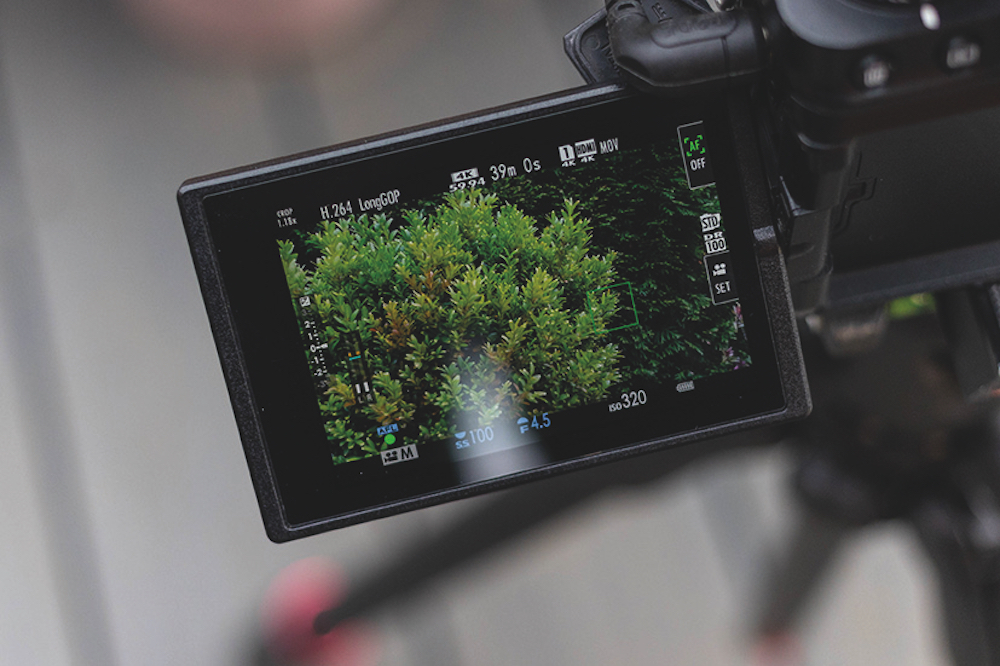
You’ll need to balance the exposure via ISO and aperture settings
Next, balance the exposure using the aperture and ISO.
Use the Exposure Level Indicator bar to do this (the bar will sit in the middle of the scale when correctly exposed).
If you wish to set a certain aperture, you’ll have to adjust the ISO and if this overexposes the frame, you may need to reduce the amount of light passing through the lens with a ND filter.
Step 5 – Compose and record
When you’re happy with your settings compose the scene and record
Use the camera’s LCD screen to compose your scene and then you can press the record button to start and stop recording your footage.
Remember, if your camera has dual card slots, some cameras will allow you to record the video to both cards at once, which will make an instant backup.
Step 6 – Review your footage
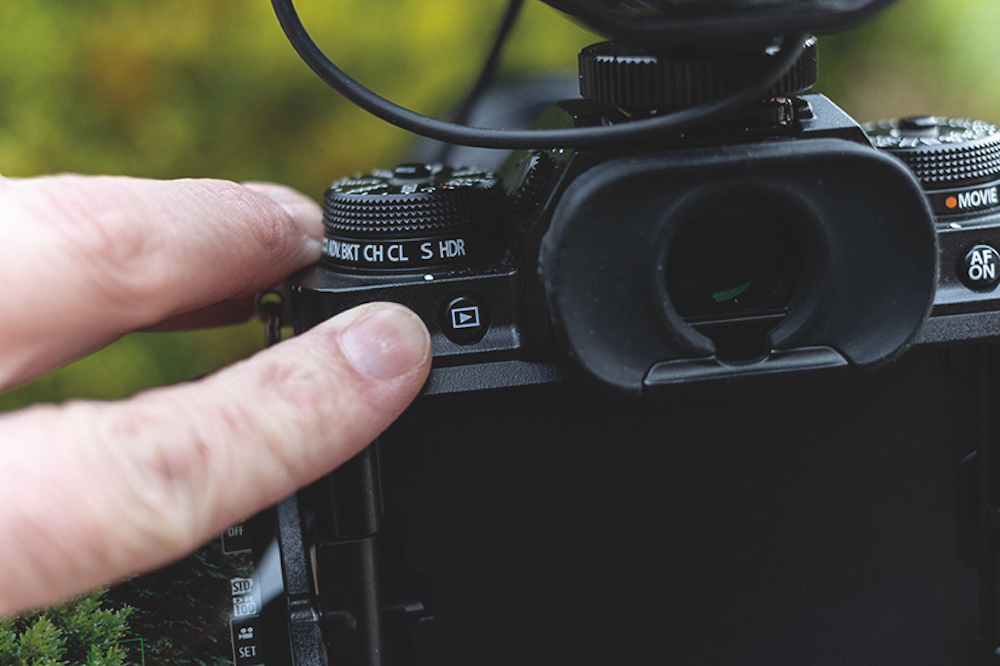
Always remember to review your footage in case you need to reshoot a scene
Always remember at the end of every take to hit the Playback button and watch your footage through to make sure it’s okay.
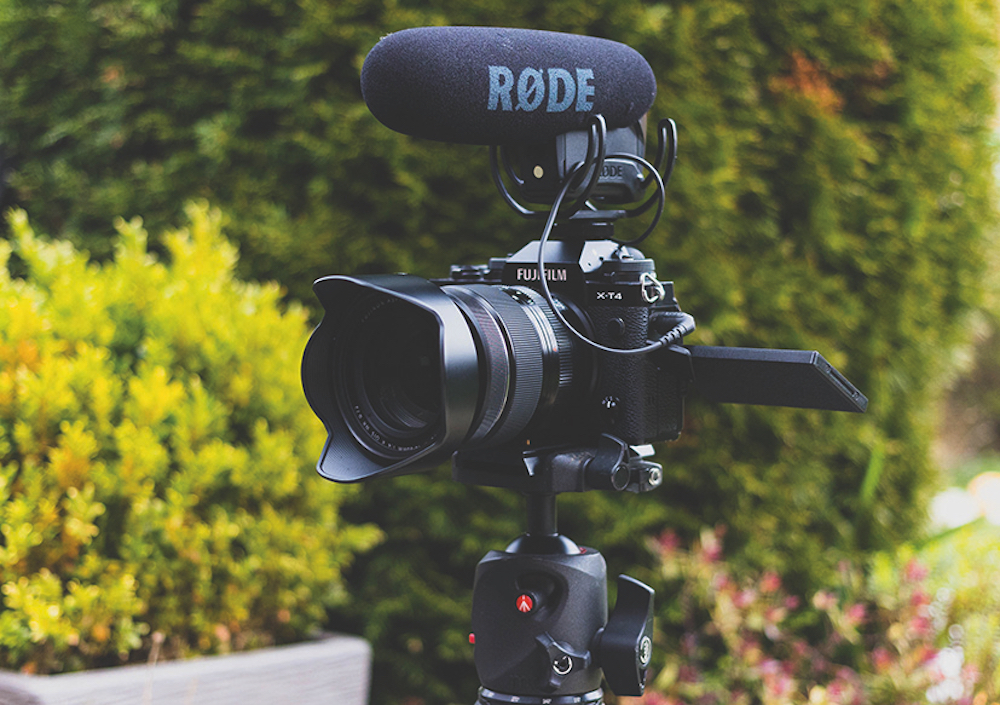
This is especially important if you are capturing audio with your video too, because you’ll need to make sure it’s at the right volumes and that there’s no ruffles on mics from the wind or clothing.
Related articles:
Top 17 Essential accessories for video
How to use lens aperture when shooting video