The classic photographs of Hollywood’s golden age conjure up visions of fantasy, romance and perfection – and these evocative images are still in great demand today. Establishments like Studio Harcourt in Paris, France, which was set up in the 1930s, have met this demand and continue to do so.
In this feature I’ll share the skills, formulas and style traits you need to light the Hollywood way. I learnt these from a retired lighting director when I was undergoing my lighting training at the BBC in the early 1990s.
I’m often asked what makes a portrait ‘Hollywood’ in style. The answer is the finely controlled use of hard light from Fresnel spotlights, a narrow depth of field and a high-quality monochrome print. Vintage Hollywood also needs the right hair, make-up and styling to complete the look.
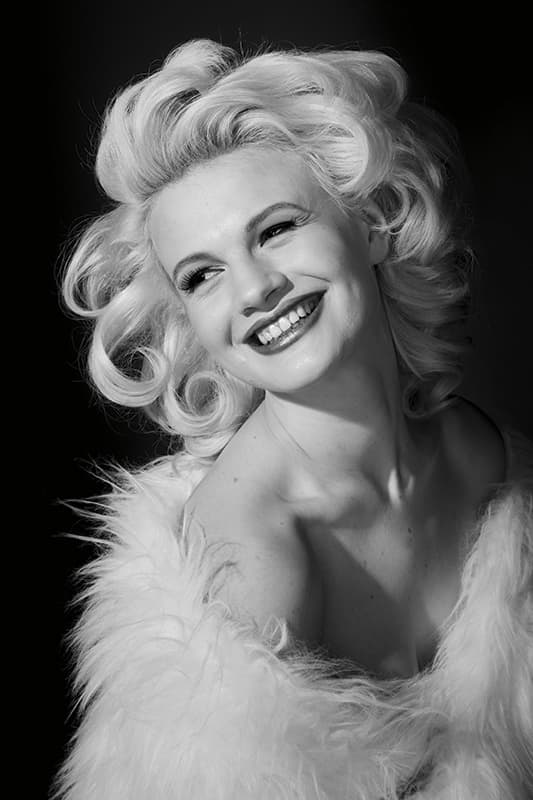
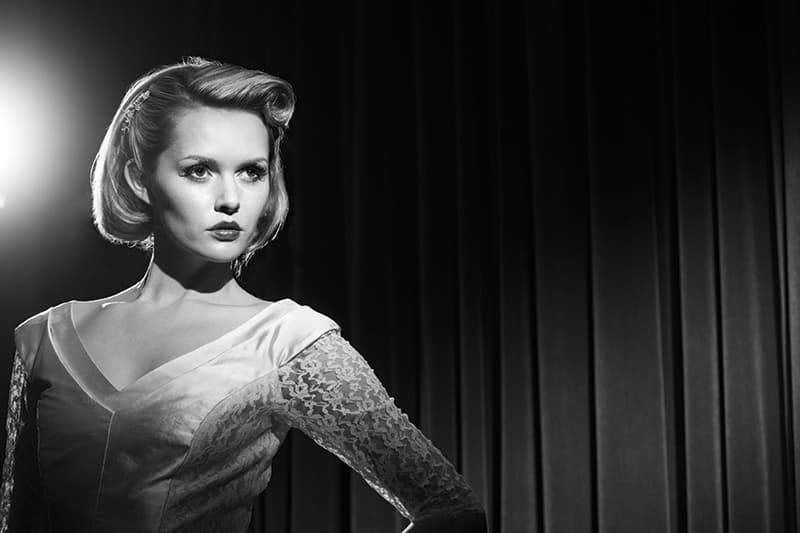
Just one Lupolux LED 650 spotlight was used to create this Marilyn-style image. I used a piece of light frost gel attached to the barn doors of the lamp to subtly diffuse the light
The perfect lighting
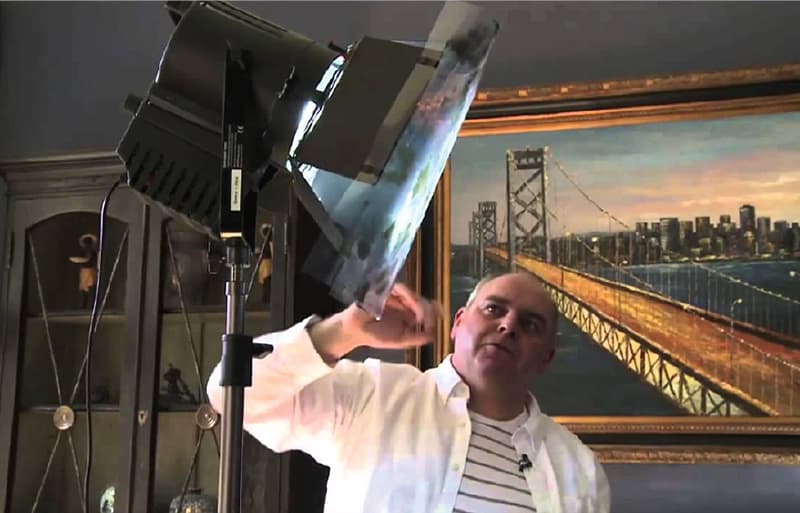
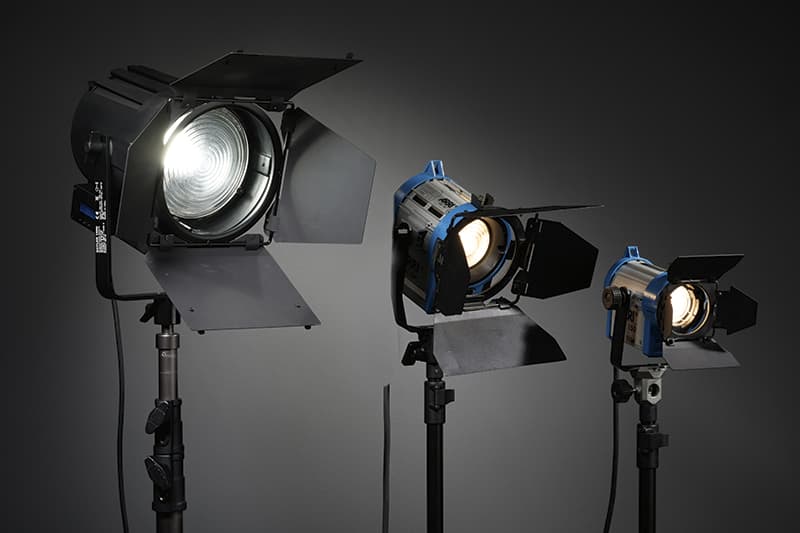
This Hollywood system works well on location too, and with the right lighting any location can look like a film set. A unique characteristic that makes Hollywood lighting so special is the use of traditional spotlights with Fresnel lenses and barn doors.
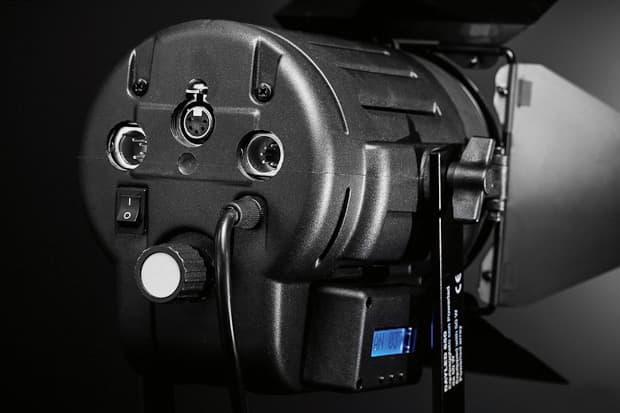
These luminaires produce a crisp, hard light that is controllable using a flood/spot system and by the shaping of the barn doors. The look needs Fresnel lens lights for authenticity and it’s easy to spot the classic lighting style of the past masters when lit with these luminaires. Five years ago LED Fresnel spotlights weren’t even dreamed of. Now they have largely replaced HMI and the hot tungsten lights of old. Lupolux LED spotlights are now available with bi-coloured LEDs so they have an adjustable colour temperature from 3,200K to 5,600K.
The LED revolution is exciting for stills photographers because we can tap into the kind of lighting that was once the reserve of film crews with mega budgets.
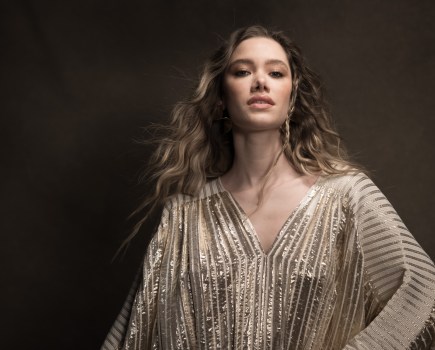
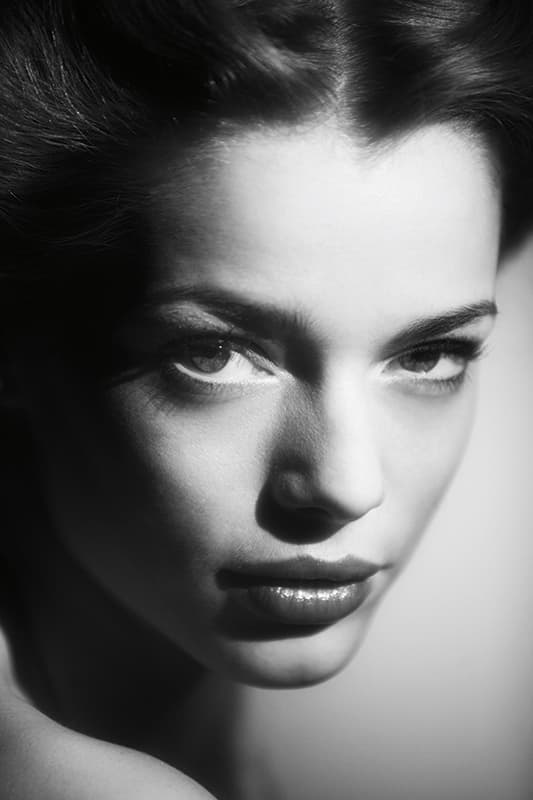
Notice how hard light narrows the model’s face. It falls away around the sides, giving a more slender look. Soft light by comparison widens faces and flattens texture. The rim lighting for this shot comes from an Arri 150 light on a boom arm. The boom arm allows me to place the stand out of the shot to the right of frame. Claudia, my make-up and hair artist, created the look with classic hair curls and well-defined eyes
Three into two
Old Hollywood faced the problem of making the three dimensions of real life look good in two dimensions. This was achieved by separating the foreground and background using tones. Subjects closer to the camera were, and still are, lit to a higher contrast than the environment they are in. Pretty much every shot of an actor in a high-budget film or TV drama has a back, rim or kick light. These all give the artist a presence in the scene and separate them from the background. Landscape and portrait painters use the same trick. The most distant parts of the scene have the lowest contrast and black is shown as grey.
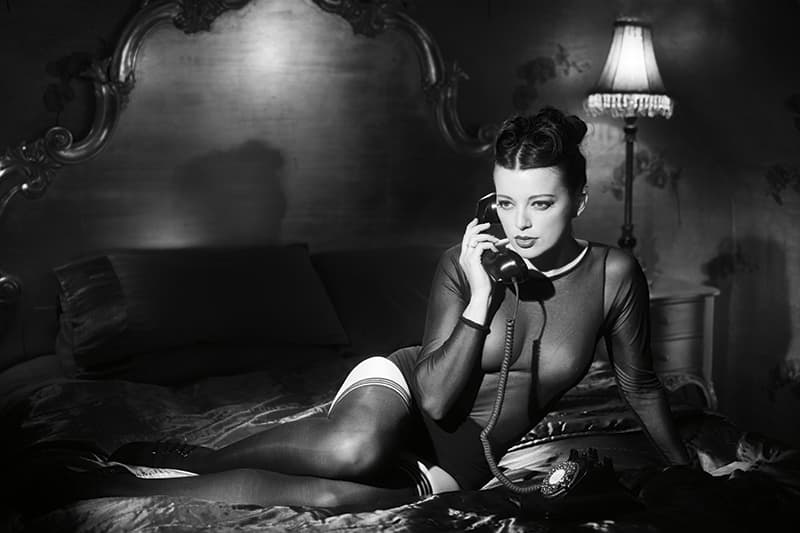
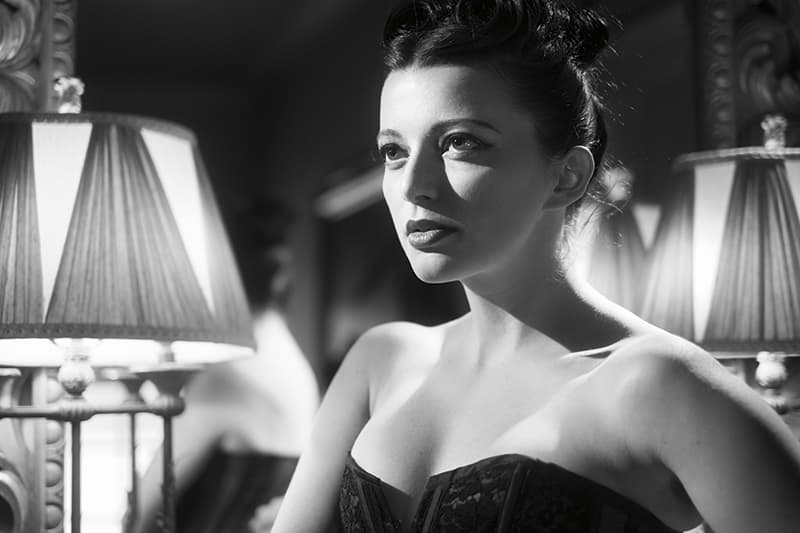
This model is lit with a classic two-light tungsten set-up, with the Arri 300 as a key light to the left of the camera and the Arri 150 as a back light on a boom arm. The bedside light gives the motivation for the back light and sets the base exposure
The steepness of a key light is determined by the subject’s eyes. Deep-set eyes or ones with false eyelashes need a shallower key light. This ensures a lovely highlight. Shallow-set eyes can get away with high, steep key lights. The steeper the light, the more chiselled the face becomes with clearly defined cheekbones and jaw lines. So rig your key light as high as you can while retaining a highlight in each eye.
Shadows are your friend. Shadows reveal shape, and the crispness of a shadow edge is determined by the relative size of the light source. I like to create dark shadows that still have significant detail. The quality of the final print will be governed by the control of the deep shadow detail. Never let it become a black hole.
Lens choice
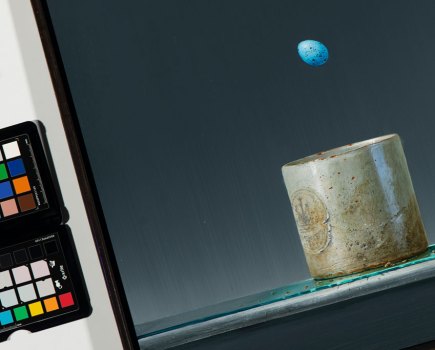
Shot in Bristol Museum at night.
A medium telephoto or a standard lens is best for these kinds of shots. For the big wide scene that I shot in Bristol Museum at night. I used the moderately wide 23mm lens on my Fujifilm X-T1 set to f/1.4, which equates to a 35mm lens on a full-frame DSLR. The trick is not to get too close. If you’re more than touching distance from your subject, you’ll be fine.
If I’m shooting a vintage look, I pop some Ella Fitzgerald or Etta James on the hi-fi in the studio. This helps to set the mood and for that energy to come through in the photograph.
Hollywood is not all about the past, though, as there is a new genre taking hold among social photographers that fuses classic Hollywood lighting with modern fashion styles. The crisp light from these spotlights closely resembles natural sunlight and makes skin come alive. Hard light has been rediscovered by advertisers. On the down side, hard light can emphasise skin surface blemishes, but that’s what Photoshop’s for, isn’t it? Crisp, beautiful, hard light energises photos and takes them to a level of fantasy.
Behind the scenes
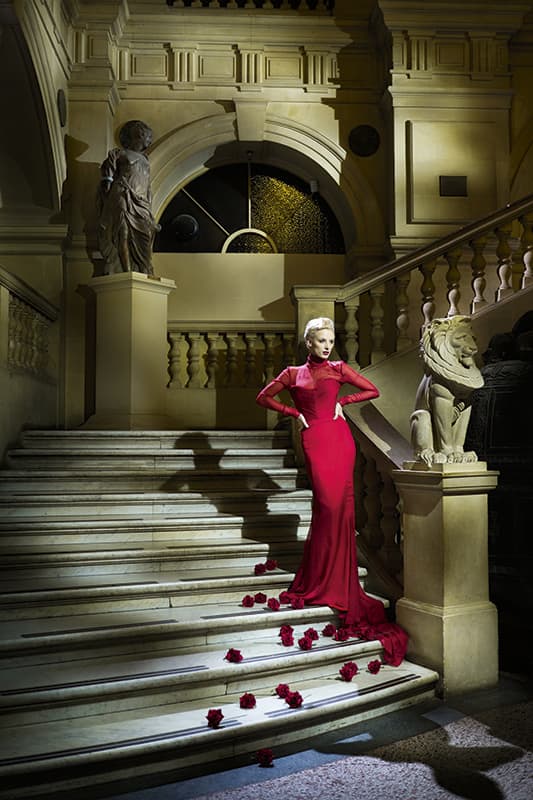
Take the Hollywood look on location to bring a space to life. As Fresnel spotlights have a long throw, they can be used to light large areas from a distance.
The previous shot was a commission for the Bristol Museum events department, and I used just three lights. I started by rigging the model’s key light, a Lupolux LED 650 with a ScatterGel, and made sure it picked up on the lion and stairs too. The light at the top of the sketch plan shows the back light. This is a Lupolux LED 1000 in full-spot mode rigged two floors up and pointing down over the balustrade. The third light in the set is lighting the back wall. I used another Lupolux 1000 LED and a ScatterGel on the right at the top of the stairs. I lit the statue on the half-landing with this light too.
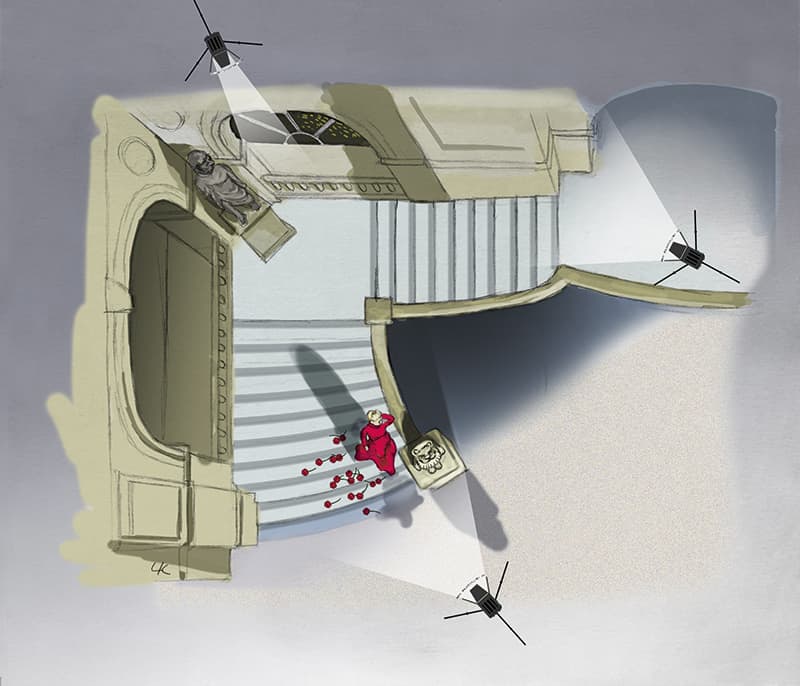
The long throw of Fresnel spotlights mean they can light areas from a distance and transform a location.
On a budget
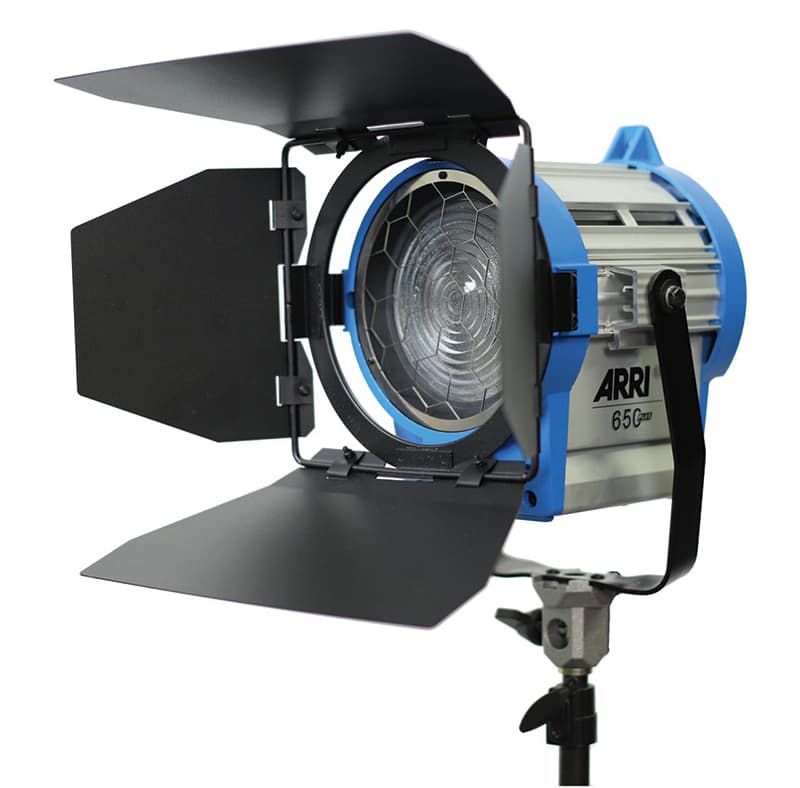
Arri tungsten spotlights are a good alternative to HMI or LEDs
If you can’t afford the HMI or LED Fresnel spotlights from Lupolux, tungsten Fresnel spotlights are still available from Arri and cost less than a Canon Speedlite or Nikon Speedlight. I recommend the 650, 300 and 150 in the junior series. Flashlights with grids can get you 90% of the look, but without modelling lights they can be hard to set up and rely on test and measure to achieve a good power balance. Studio lights are a better option if you want to try to achieve this look with flash because they have modelling lights – but you might not be able to achieve f/1.4 even with the flash set to minimum power.
There are expensive Fresnel adapters available for studio flash systems, but they don’t have the control and versatility of a dedicated light. I’d say use the cheaper 18cm reflectors instead fitted with 20° honeycomb grids to get near the look you want. Set the flash power to minimum on your most powerful unit and balance the power of the other units to taste. Using flash will create a darker shooting environment because the modelling lights are a fraction of the power of continuous lights, so take care when focusing.
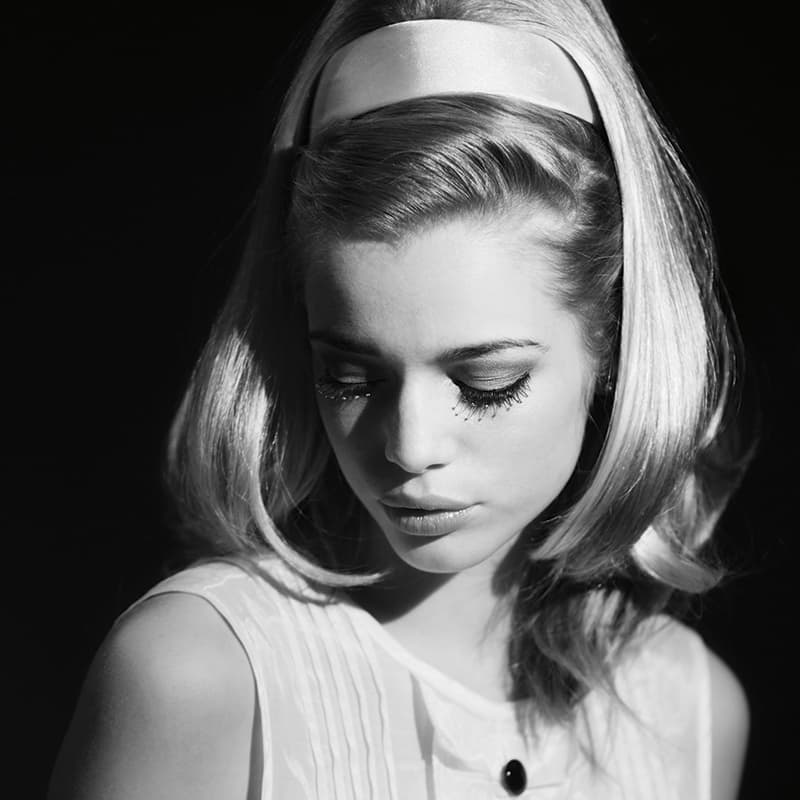
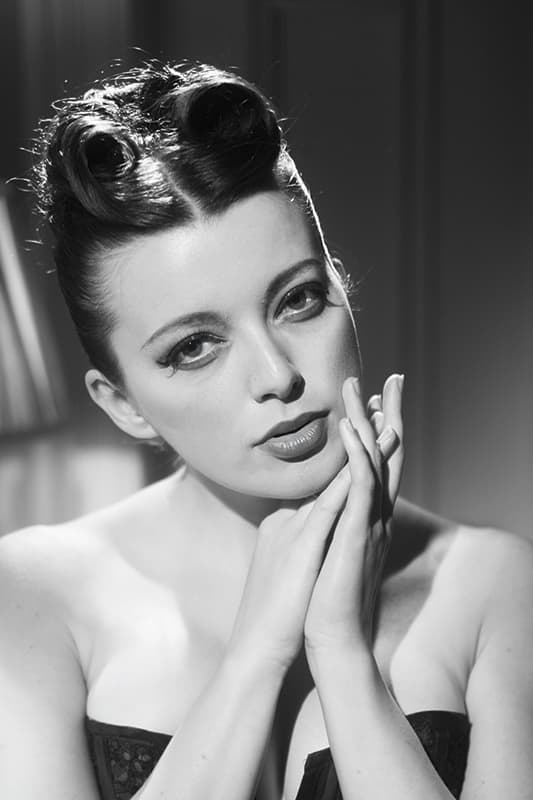
I used a single Arri 300 junior for this shot of Lora. A silk tie was fashioned into a hair band and vintage false eyelashes complete the look
Glossary
Barn doors
The metal flaps on a light fixture that are used to control spill or to create a rectangular-shaped light pattern.
ScatterGels
A screen-printed acrylic sheet with regular or irregular patterns used to break up the light and create a dappled effect.
Fresnel
The name of the man who a compact lens made up of concentric rings is named after. These lenses are often found in lighthouses, on the front of flashlights, and in film and TV luminaires.
Luminaire
The posh term for a continuous lighting fixture.
Kick light
A kick light glances the cheek of the subject from behind and to the side. It creates a light band, often blown out to white from the specular reflections off the skin.
Back light
A back light is rigged on the opposite side of the subject to the camera, irrespective of the which direction the subject is facing.
Key light
The key light is the principal light and it doesn’t necessarily have to come from the front – it can land on the subject from any angle.
Down the nose
This refers to the direction of a light. If the subject’s nose was very long it’d touch the lighting stand if a ‘down-the-nose’ lighting direction was used.
Step-by-step guide
Here’s how you get the look – by getting it right in-camera. Don’t rely on post-production to achieve magic. Lighting control is the key, so set your camera up first to show exactly what you need to see. Switch the LCD or EVF to black & white and the screen brightness to manual in the middle position. This will give you a preview of what lighting changes you’re making. You can use a tripod too, and I find it helps my fine-tuning of the shot. It also helps as I go back and forth, contrasting and comparing the subtle lighting changes made between shots. I share the images on the back of the camera with my sitter no matter if they are a client, a model or a celebrity. This kind of shoot is a joint venture and often the sitter suggests changes to the styling or expression that ultimately make the shot a success.
1. Frame your shot
Set the mood with the camera position. Shoot from below the eyeline to make someone seem powerful, statuesque, strong and confident. If you want a softer, more vulnerable look, choose a high viewpoint and photograph them from above.
2. Set lighting
Carefully set your key light. Always light from above and aim the key light either ‘straight down the nose’ or just off to one side so that the nose shadow touches the cheek shadow to create a ‘Hollywood triangle’. Use the barn doors to control any spill.
3. Add back light
Add a back light or kicker to make the image three dimensional and to help separate the foreground from the background. Use a reflector in the spill from the key light to control the contrast in the scene, then light
the background as required.
4. Make-up
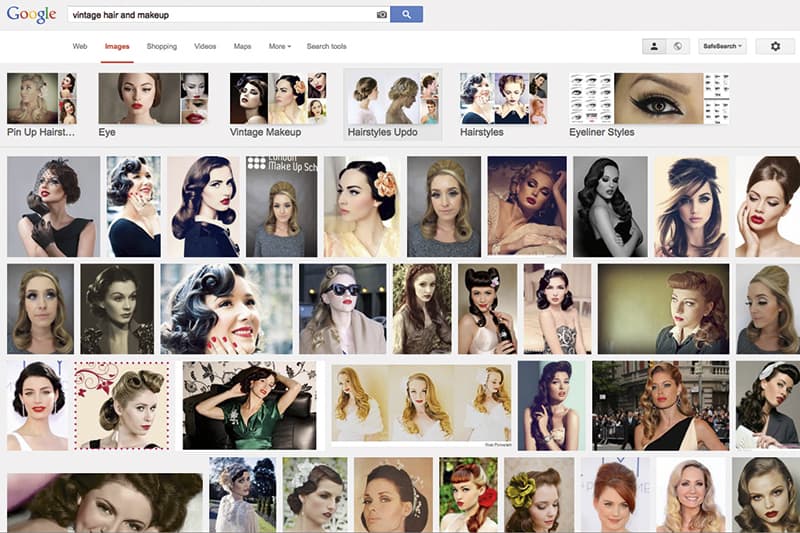
If you’re going for an authentic vintage look, make-up and hairstyles are really important. Curls and lashes can take ages to get right, so allow plenty of prep time for your shoot. I research vintage hair and make-up styles using Google images.
5. Styling
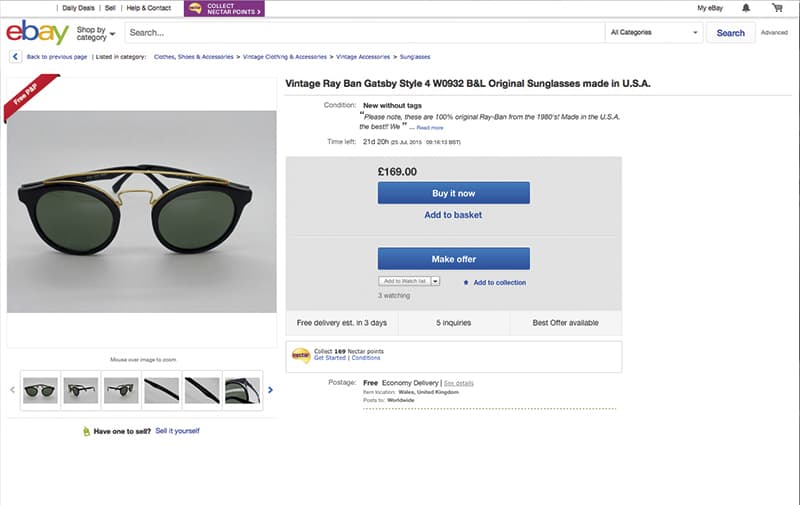
Get the styling right, as this is a huge part of the look too. An evening dress makes a good base. I often add a white shrug that I bought in Top Shop, some pearls I bought in Primark and vintage-style sunglasses purchased on eBay – all cheap finds that work really well.
Kit list
Lighting
Spotlights with Fresnel lenses are best. Fresnel lenses achieve the magnification of a much thicker lens without the weight. The lens rear is stippled to give the light a super-smooth, soft-edged fall-off.
Filters
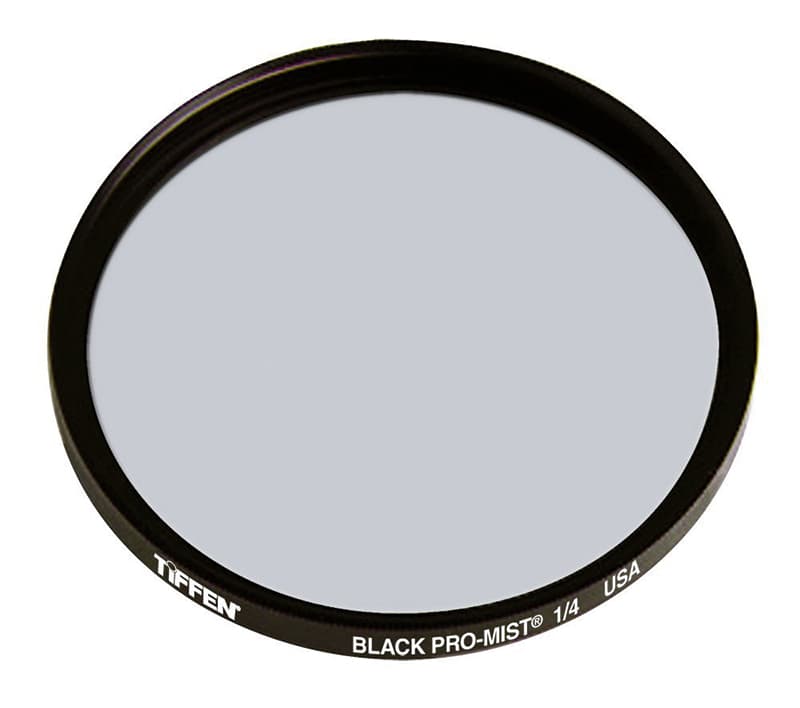
I use a Tiffen Black Pro-Mist filter with quarter strength to give a subtle diffused look to my Hollywood images. An old lens from the 1950s or ’60s used via an adapter can also work well.
ScatterGel
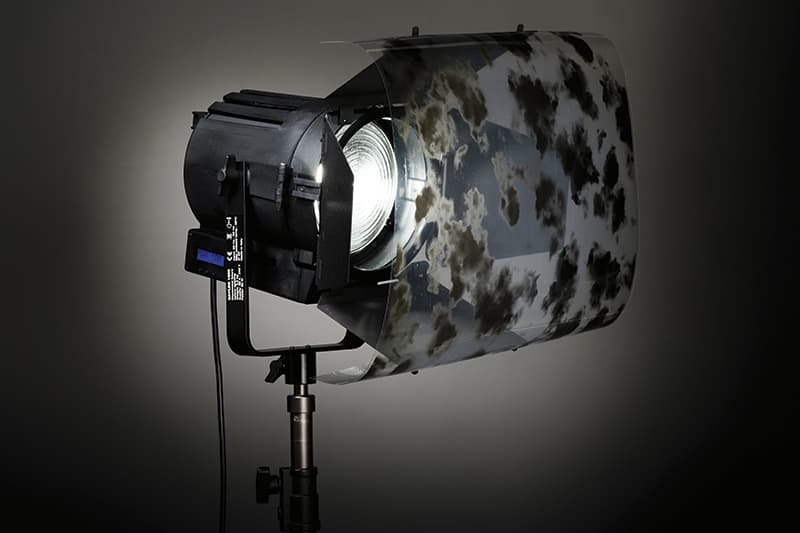
A ScatterGel or other gobo (go between) is used to break up the light to create mood and ambience. This simple piece of kit can really deliver the icing on the cake in terms of lighting.
Barn doors
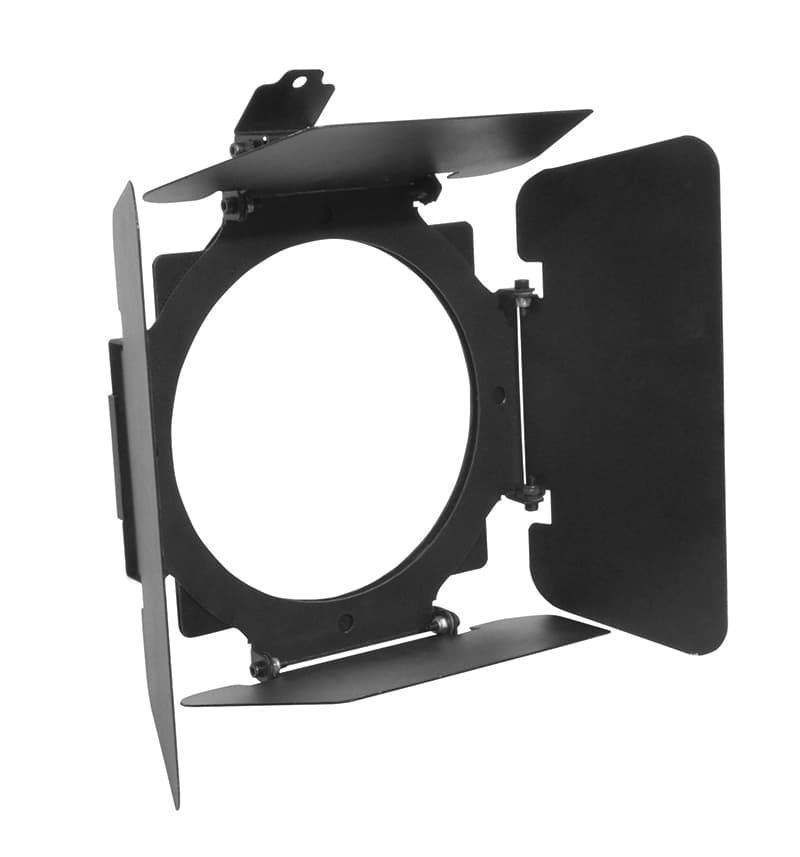
Barn doors on back lights stop the chance of flare and help keep the image shadows under control. Barn doors on the key light keep the spill light off the background.
Reflector
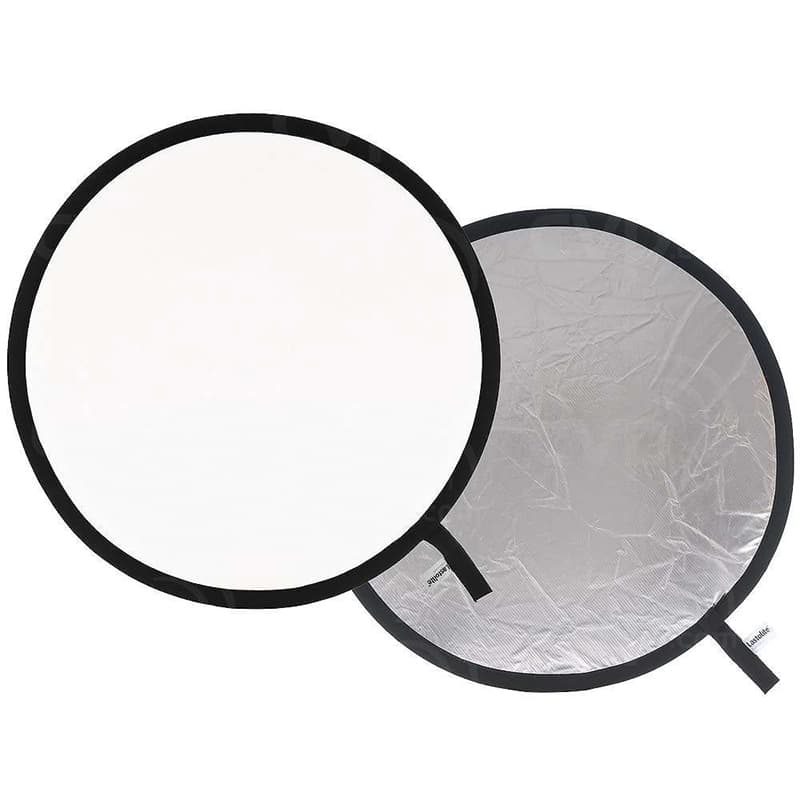
A reflector just out of shot from the side is great for controlling contrast. I use an original Triflector I bought way back in the ’90s. It works well from the sides and underneath.
This picture of model Lora Brisland exhibits the dreamy qualities of using a Tiffen Black Pro-Mist filter and shallow depth of field. The key to this shot’s success is the intensity of our interaction
About Damien Lovegrove
You can view more of Damien’s portrait and beauty photography at www.lovegrovephotography.com, where there are more than 2,000 images arranged in 23 galleries, or visit www.passionphotographyexperience.com for more information on how you can join him on a photographic adventure.