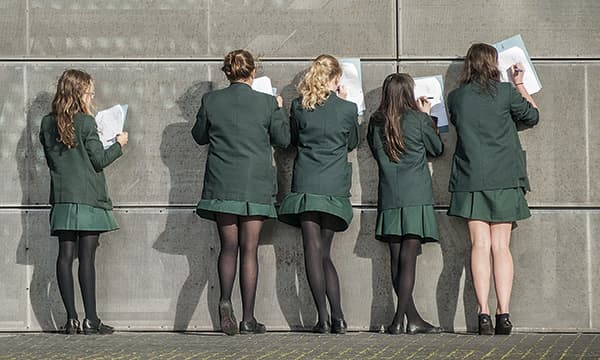
While working on Geoff France’s photograph, I used an edited version he had supplied as guidance, in which he chose to closely crop this photograph and isolate the five girls in this scene from their surroundings. The final tight crop image tells a clearer story in which it appears that the girl on the left is looking over to her four friends for inspiration as they are scribbling away.
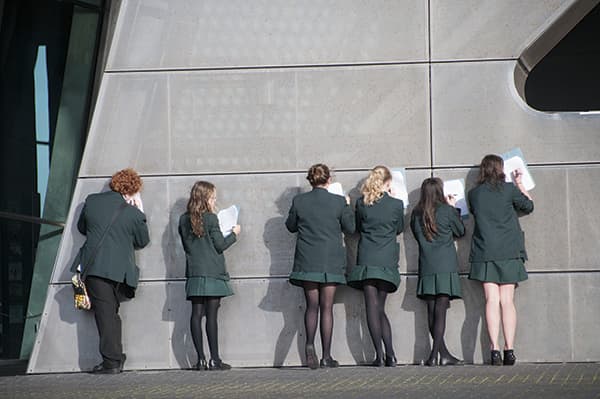
Before.
One little trick I used here was to apply a localised Clarity adjustment to the shadows. I did this in order to make the edges appear sharper and more clearly defined. This was also a good photographic example with which to demonstrate again the power of Upright adjustments in Camera Raw, and how this can be used to straighten converging vertical and horizontal lines.

After.
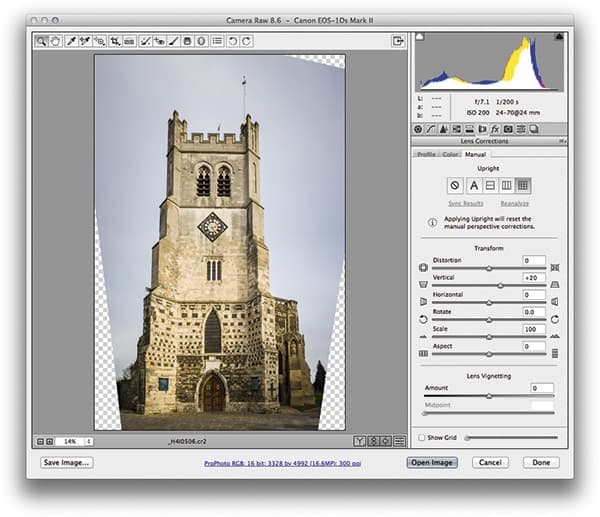
1. Apply an Upright correction
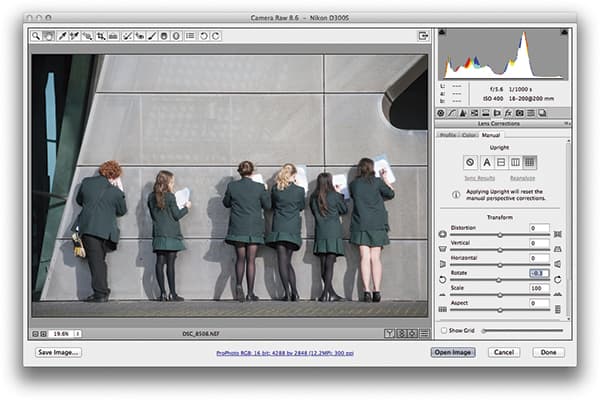 The new Upright adjustment in Camera Raw can often work wonders at automatically straightening horizontal and vertical lines. With this photograph I clicked on the Full Upright button to apply the fullest type of Upright adjustment. However, I still had to apply a slight anti-clockwise rotation in the Manual section.
2. Crop the image
 It was important to crop this photograph quite tightly in order to focus attention on the five girls and remove all the other distracting elements, such as the person who is standing on the left. I therefore selected the Crop tool in Camera Raw and dragged to define the area shown here and applied this to the photograph.
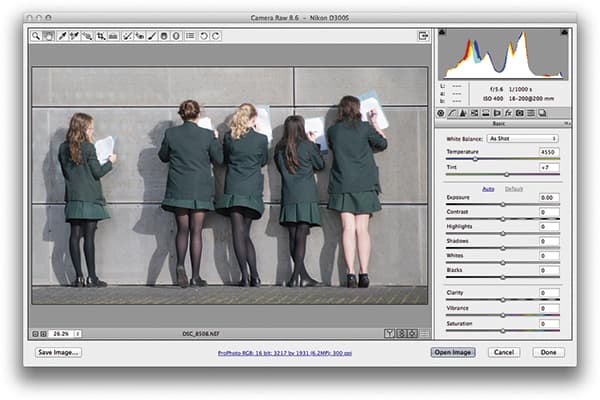
3. Adjust tone and white balance
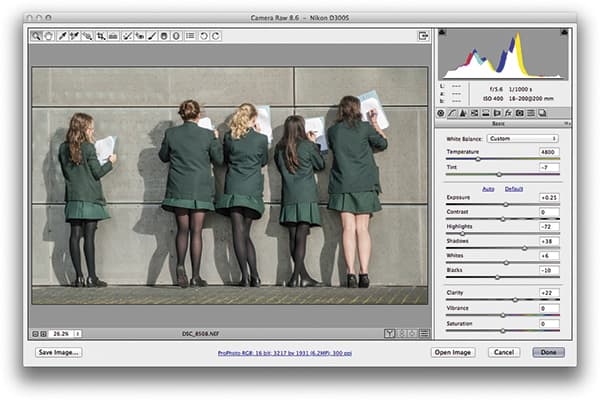 I selected the White Balance tool and clicked on a white sheet of paper to set a measured white balance. I also applied the other Basic panel tone adjustments shown here to optimise the image and add more contrast. I then selected the Adjustment Brush and applied a +100 Clarity adjustment to the shadows to make these stand out more.
Upright lens corrections
 The upright lens corrections in the latest versions of Camera Raw and Lightroom can be used to correct perspective. The vertical and horizontal adjustments in the Upright process are actually quite sophisticated. Behind the scenes there are angle of view and centre of projection adjustments taking place. It’s all to do with the fact that the interaction of one rotation movement can have an impact on another, and such interactions can be complex. For example, think about what happens when you adjust the tilt and yaw on a camera tripod head, and you get an idea of the problem. With Upright adjustments, the aim is to correct the perspective in such a way that having the choice of four different methods should mean that at least one of these will work.


