
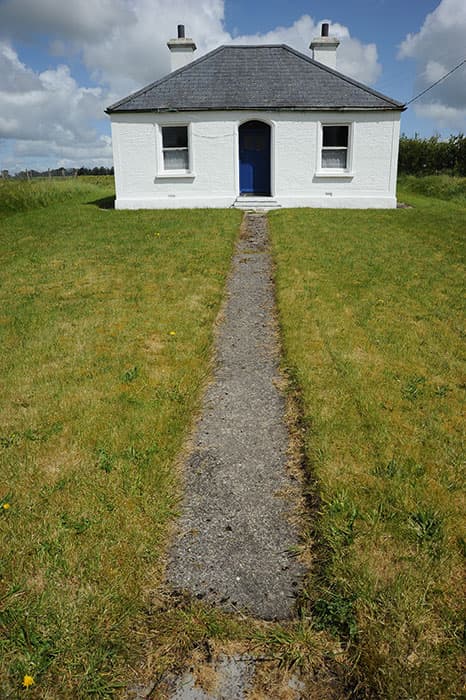
Before
It seems Des Gardner’s intention here was to create a symmetrical composition. The image was shot with a 24-85mm zoom lens at 24mm, which allowed him to capture the widest angle of view. This also helped to add more depth.
However, I reckon the photo should have been shot from further back to include more of the surroundings. It could also have been composed better so the house appeared more central in the frame. The following steps show how I extended the canvas area to the right of the building and corrected the perspective.
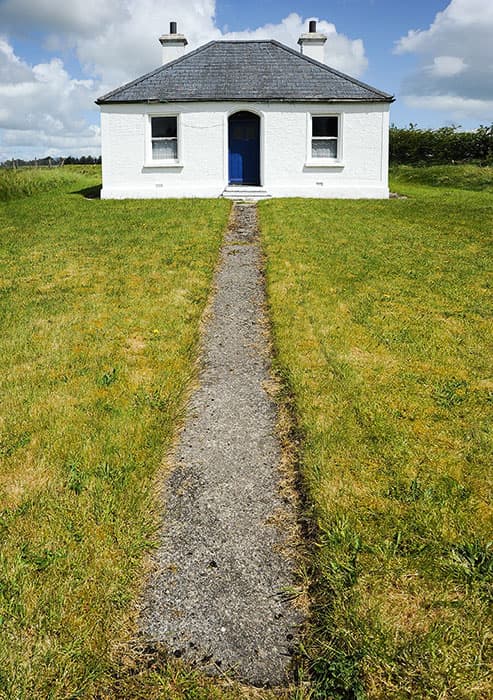
After
1. Prepare the image
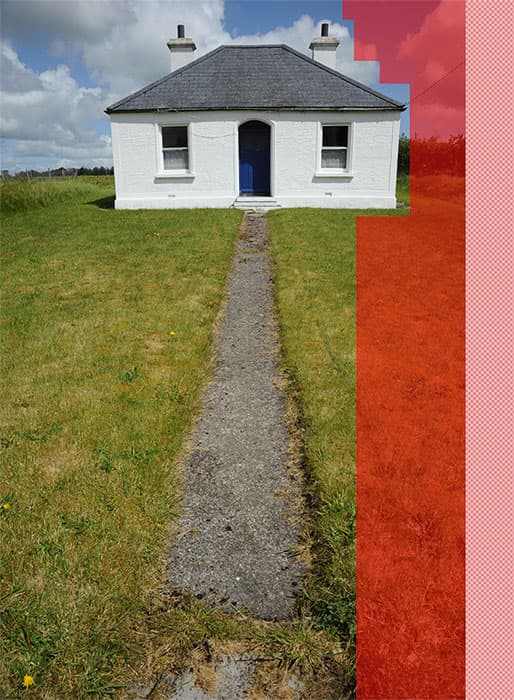
The first step was to prepare the photograph for Content-Aware Scaling. I double-clicked the Background layer to convert this to a regular layer. I then selected the Crop tool and dragged outwards to add more canvas to the right of the picture. Lastly, I added an Alpha 1 channel mask to define the areas to be stretched (the Alpha 1 channel is shown in red).
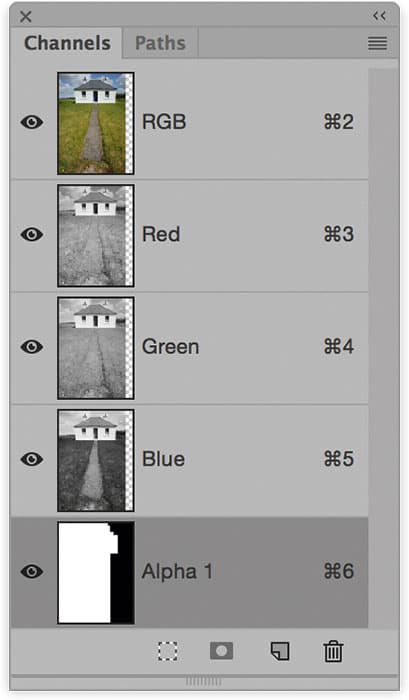
2. Content-Aware Scale
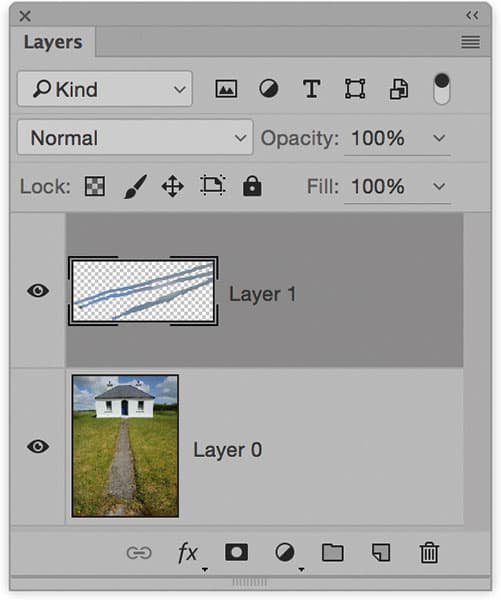
Next, I made sure the composite RGB channel was selected. I then went to the Edit menu and chose Content-Aware Scale. This added a bounding box to the layer contents. I selected the pre-created Alpha 1 channel from the Protect menu in the Toolbar and dragged the right-side handle outwards. I then added a new layer and retouched out the cables using the Spot Healing brush.
3. Adjust the tone settings
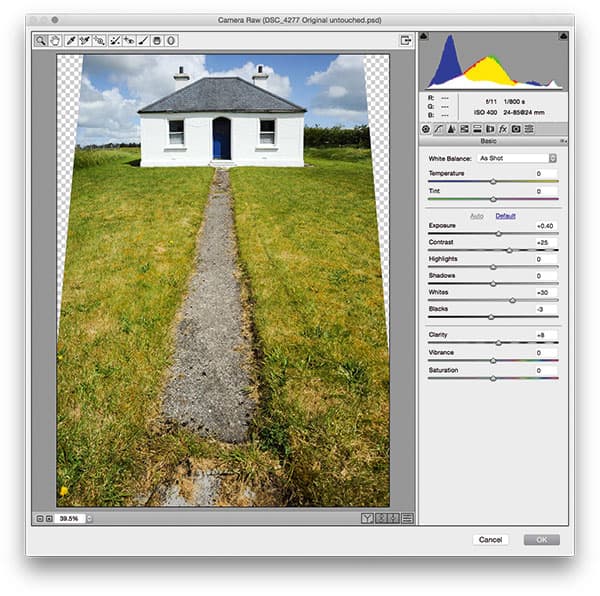
I selected both layers, went to the Filter menu and chose ‘Convert for Smart Filters’. This then allowed me to apply the Camera Raw filter as a Smart Object. Here, I added a Vertical Upright Lens Corrections adjustment to straighten the verticals and followed this by applying a Basic panel Auto Tone correction. I clicked OK to apply these adjustments and finally cropped the image in Photoshop.


