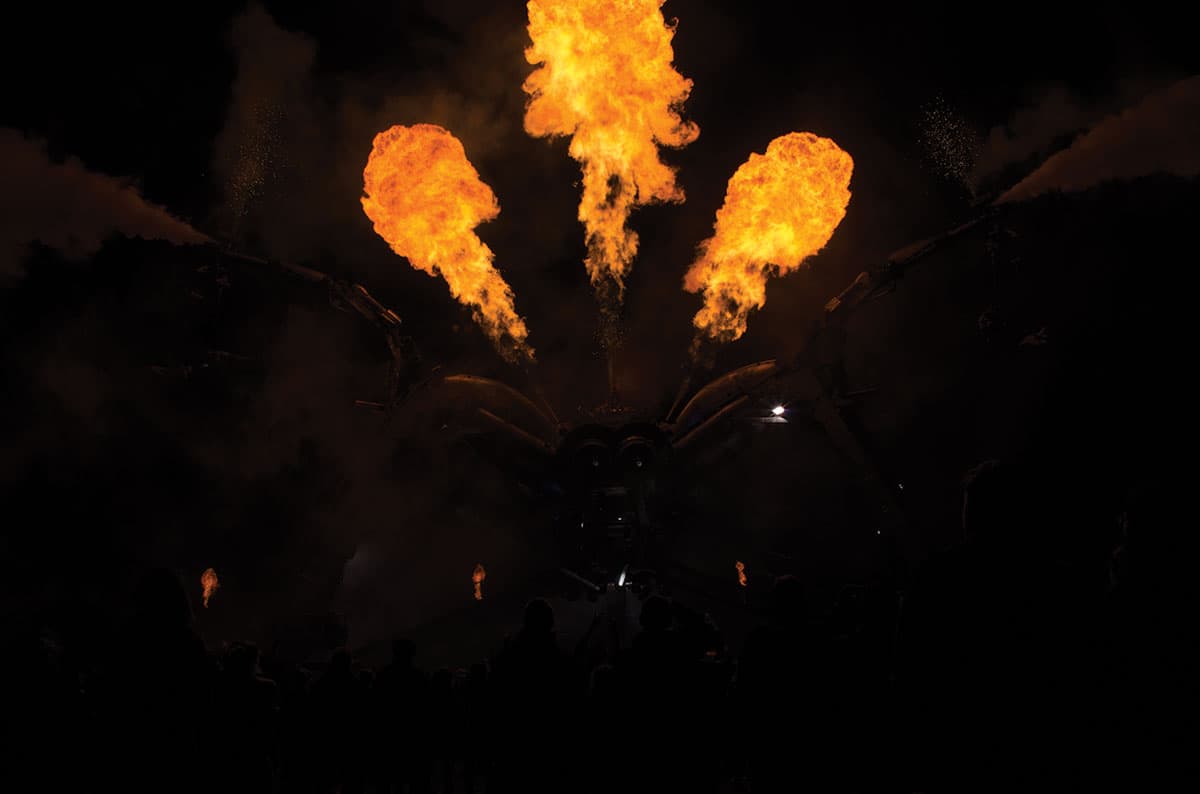
Before
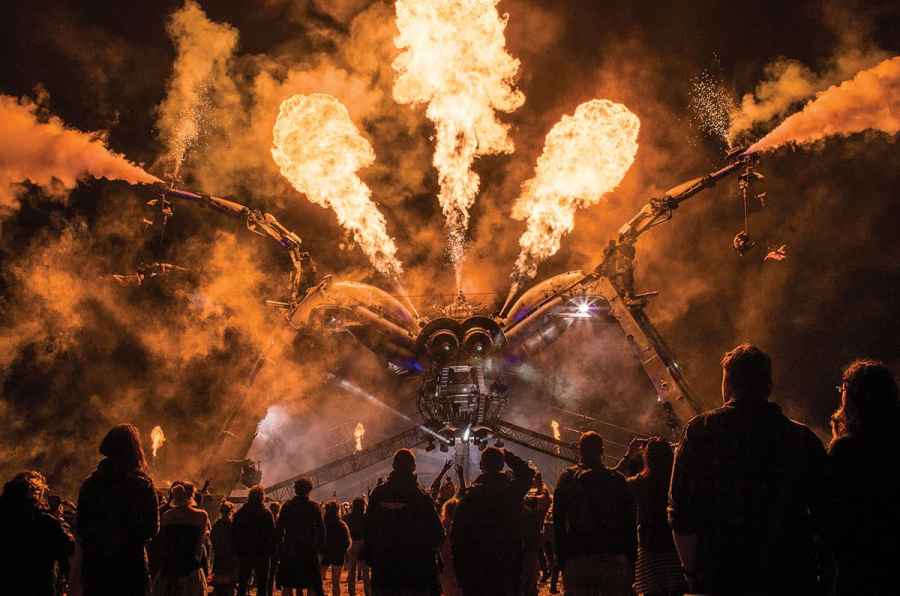
The Arcadia show was one of the highlights of last summer’s Glastonbury Festival in Somerset. Adrian Mills has captured a great view of the giant mechanical spider spewing fire, deliberately choosing to underexpose for the flames, which varied in intensity throughout the show. I can appreciate his reasoning, although this does perhaps underestimate the ability of the sensor to hold highlight detail. Even so, it’s possible by lightening a dark image at the raw-processing stage to reveal the detail and drama in a captured scene. In the following steps, I show how increasing the Clarity slider setting helped emphasise the smoke and flames.
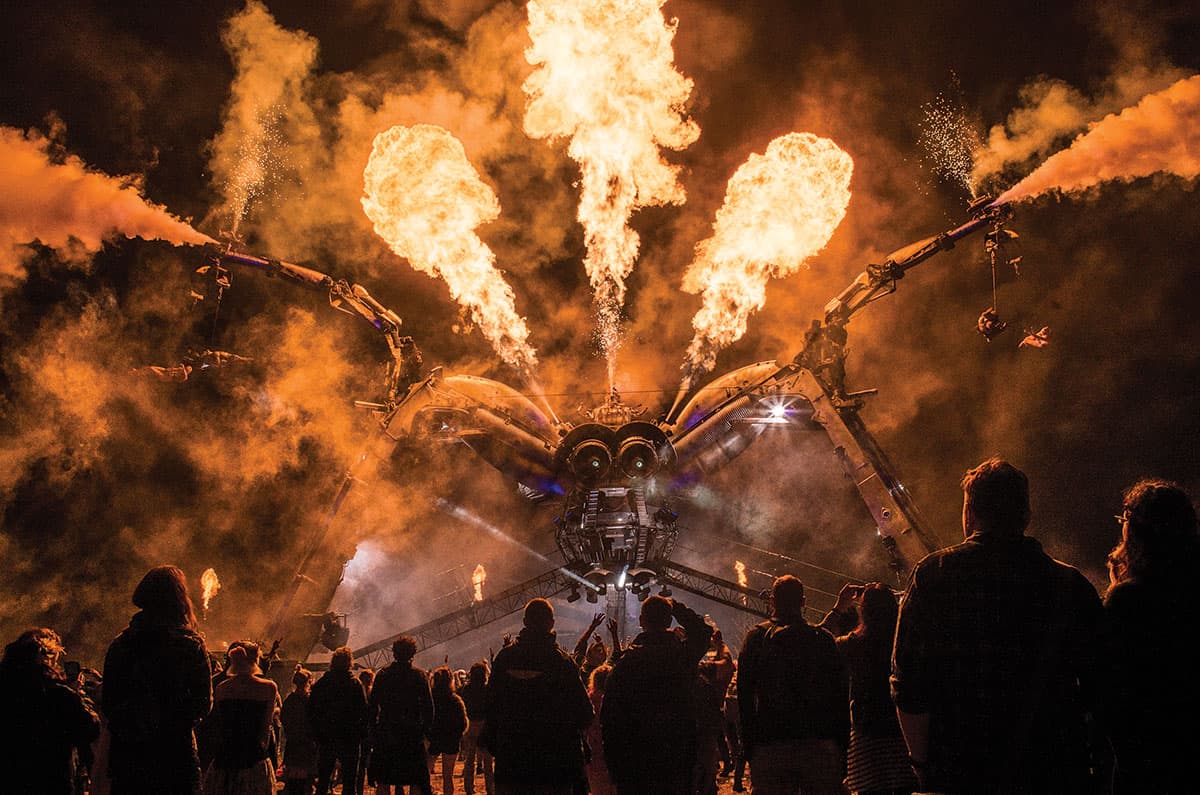
After
1. Lighten the exposure
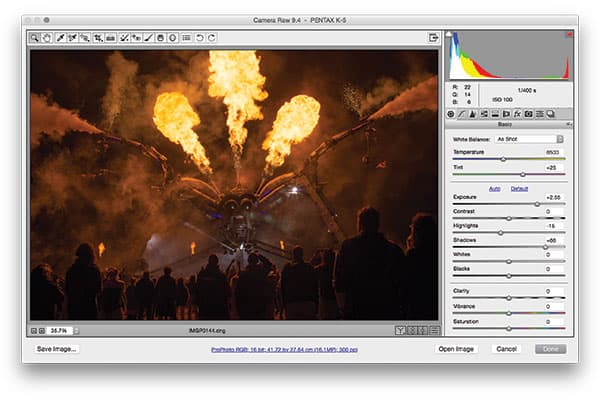
I opened the raw image in Camera Raw, and applied a +2.55 Exposure adjustment to lighten the image. As you can see, the histogram shows an expanded range of tones where the highlight detail in the flames is only just beginning to clip. I also increased the Shadows setting to lighten the shadow areas.
2. Add Clarity
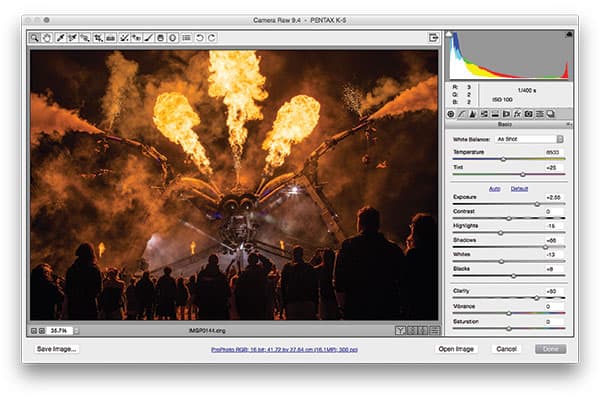
The next step was to fine-tune the Whites and Blacks sliders to boost the tone contrast. After that, I went to the Presence section and set the Clarity slider to +50. This setting added localised contrast to the texture of the smoke and flames. It also made the backlit members of the audience stand out more.
3. Darken the highlights further
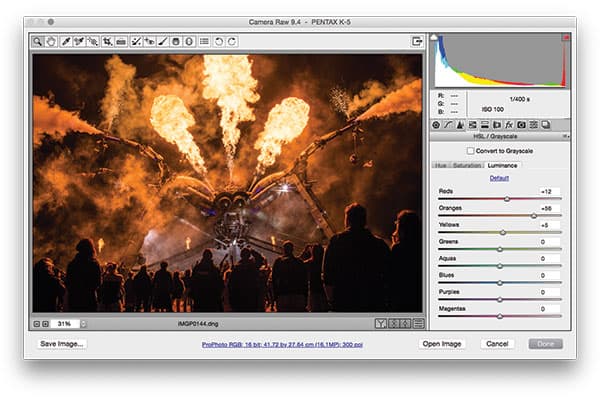
For the final step, I went to the HSL/Grayscale panel, where I clicked to activate the Luminance tab. Next, I selected the Target Adjustment Tool and, by clicking and dragging on the image, was able to lighten the Reds and Oranges colours, thereby adding more brightness and contrast to the scene.


