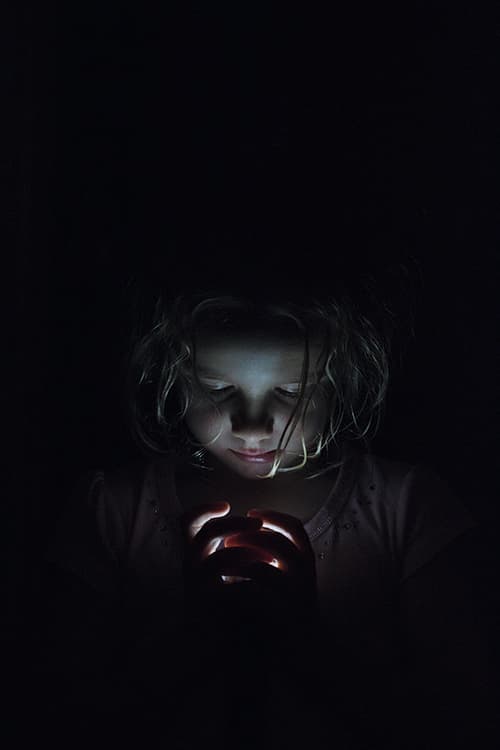
Before
Andrew Williams’ photograph was shot in very low light using a Canon EOS 500D. With a maximum ISO of 3,200, the sensor on this camera is less capable of capturing low-light scenes than those in more recent digital cameras. Therefore, the decision to use ISO 1,600 and shoot at maximum aperture was probably the best option (even though the result is underexposed). These steps show how I was able to lighten the image using the Camera Raw Exposure slider, as well as adjust the tone settings to achieve a soft contrast on the skin tones.

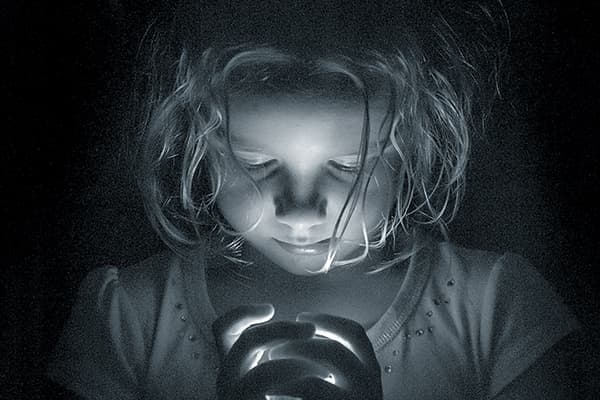
After
1. Basic panel adjustments
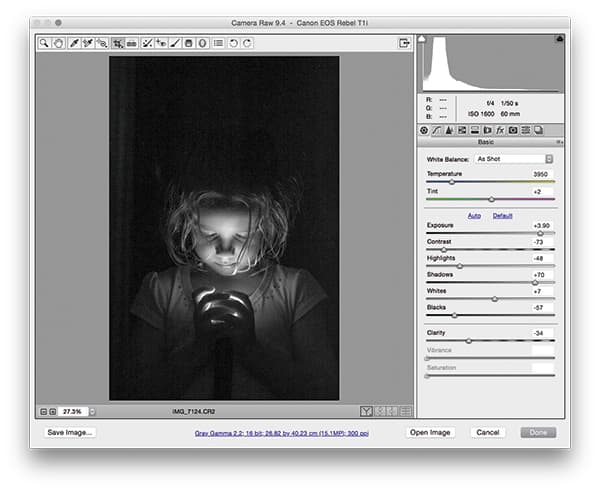
The first step was to lighten the image. I did this by going to the Basic panel and applying a +3.90 Exposure adjustment. I combined this with a -73 Contrast adjustment, a negative Highlights, positive Shadows adjustment and negative Clarity adjustment to soften the skin tones and add a subtle glow. I also converted the image to black & white.
2. Crop and sharpen
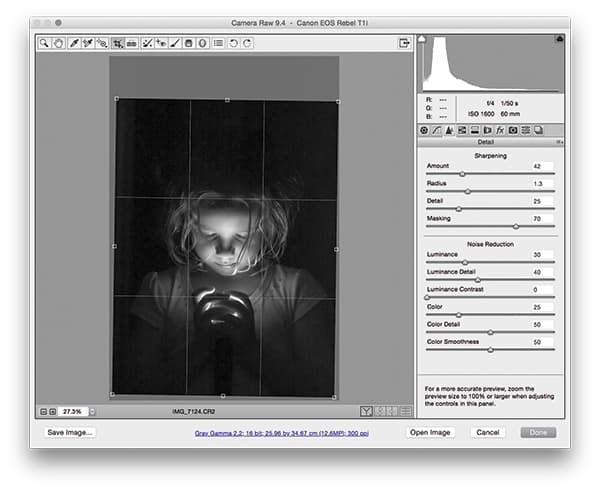
I then selected the Crop tool and applied a rotated crop that centred the child’s face and cropped the top more tightly. In the Detail panel, I set the Luminance slider to 30 to reduce the luminance noise. Having done that, I adjusted the Sharpening sliders, adding more Sharpening, setting the Radius to 1.3 and the Masking slider to 70.
3. Add Graduated Filter

I selected the Graduated Filter tool and added a number of filter adjustments in which the Exposure slider was set to -0.65. The idea here was to apply a controlled vignette that darkened the outer areas to black, while preserving the subtle light and shade on the main subject. Finally, I added a cool split-tone colouring effect.


