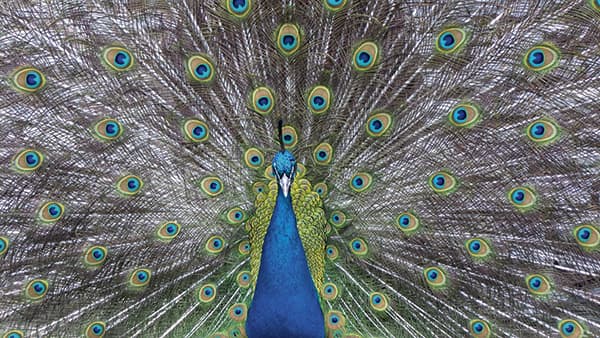
The most striking thing about this image from Adam Crudge is the symmetrical composition and the way the angle of the feathers leads the eye into the centre of the image. This is therefore a perfect illustration of how a peacock’s plumage is designed to attract a mate.
Before.
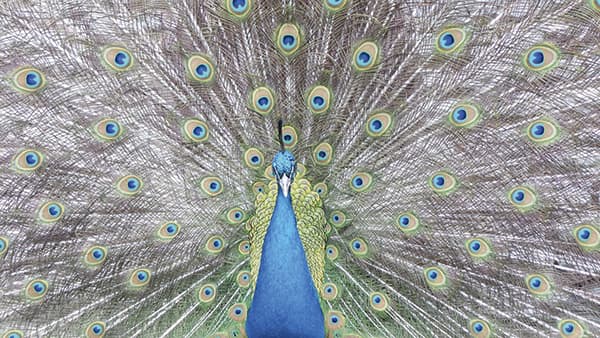
This is therefore a perfect illustration of how a peacock’s plumage is designed to attract a mate. I suspect the JPEG original image I was given to work with had already been pre-processed. I say this because the peacock’s body appears to be much lighter than the rest of its feathers. In any case, the overall image could do with being made a bit darker, intensifying tone and colour. I used the Basic panel and Tone Curve adjustments in Camera Raw to do this and an HSL adjustment to selectively darken the blues more. I like the original, but this treated version has more intense colours.

After.
1. Basic panel adjustments
 I began by opening the image in Camera Raw, where I went to the Basic panel and adjusted the Exposure to darken the photograph slightly. I followed this by applying a negative Highlights adjustment to darken the highlight tones. Finally, I boosted the Vibrance a little.
2. Tone Curve to add contrast
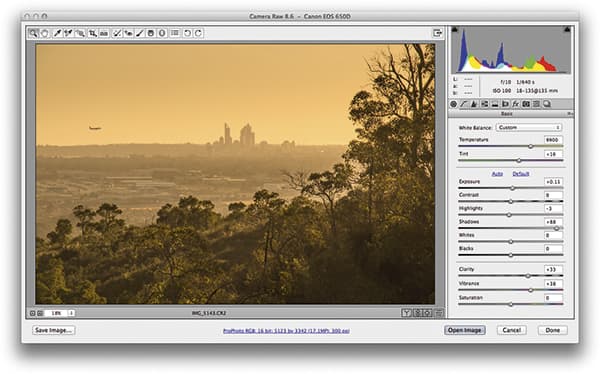 Having established the Basic panel settings, I went to the Tone Curve panel where I adjusted the parametric sliders to create the ‘S’-shape curve you can see here. This allowed me to add more contrast and darken the mid-to-dark tones more.
3. Add a Radial Filter adjustment
 The peacock’s body was still too light, so I selectively darkened the luminance (via the HSL panel) for the blues. Then I selected the Radial Filter and added the adjustment shown here, which darkened the outer areas to help saturate the feathers and draw the eye to the centre.


