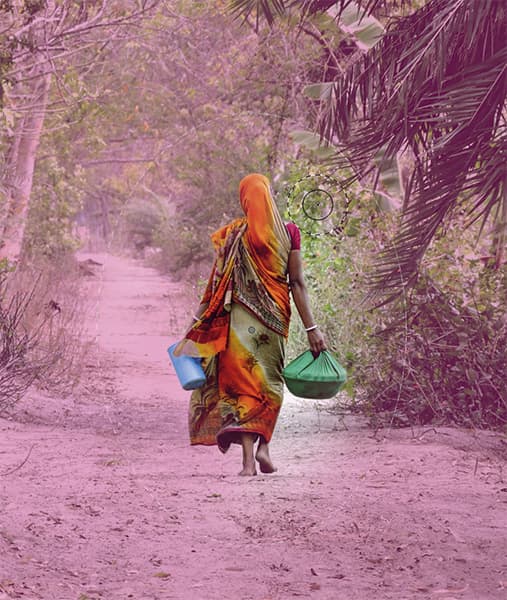
Shymal Basu’s interesting photograph was also shot as a JPEG, and here I was able to use the Photoshop CC Camera Raw filter to apply a selective darkening adjustment.
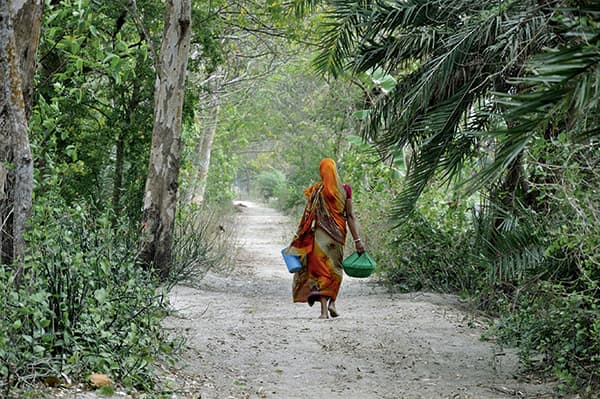
Before.
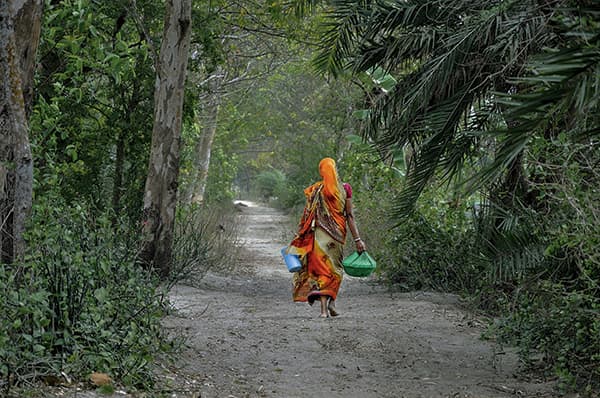
You’ll see I only darkened the surrounding forest while the exposure on the woman is more or less the same. By making the forest appear darker, I was able to add more richness to the colours in the foliage, increasing colour contrast between the woman and her surroundings.
The settings shown in Step 2 reveal that I also applied a negative Contrast adjustment in order to selectively soften the contrast in the outer areas, as well as darken the tones.

After.
1. Radial Filter adjustment
 I began by going to the Filter menu and choosing the Camera Raw filter. Having done that, I selected the Radial Filter tool and added a Radial Filter adjustment that darkened the outer area. With the Mask option ticked, I switched to the Brush edit mode, then with ‘Auto Mask’ ticked, I selectively edited the mask to mask everything but the woman in this scene.
2. Fine-tuning
 Having established a satisfactory mask for the woman, I then set about fine-tuning the Radial Filter adjustment settings. I applied -61 Contrast in order to soften the tones in the surrounding forest. I also applied a -32 Highlights setting to dull the highlights and I added a +19 Saturation boost to make the colours appear more vibrant.
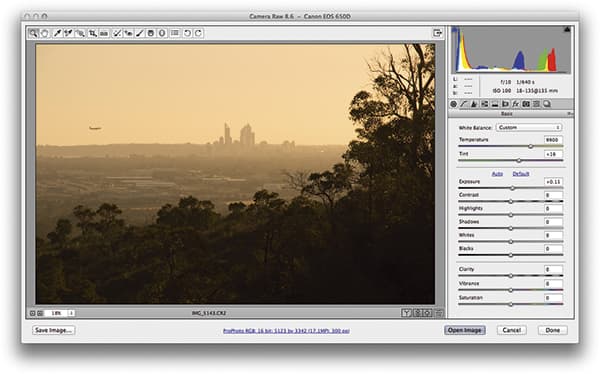
3. Improving tonal contrast
 In this final step I switched to the Basic panel, where I applied the settings shown here to improve the overall global tonal contrast and expand the tonal range. You will notice that I also desaturated the overall Vibrance – since there was now a nice colour contrast between the woman and the forest, the saturation could do with being tamed slightly.
Camera Raw filter adjustment masking
 When working with Camera Raw in Photoshop CC, you have the ability to Brush edit the mask used for filtered adjustments,
such as when working with the Graduated or Radial Filter adjustments. This gives you dual control over the adjustment masking, resulting in a precise, manually edited mask, as well as a dynamic, soft-edge-adjustable mask that can be controlled separately using the regular filter adjustment edit controls. It usually helps if you tick the Mask option when working in Brush edit mode so you can clearly see the effect your brushwork is having on the mask. Sometimes it can be useful to check the Auto Mask option, which will help the Brush tools auto select areas based on tone and colour.
When working with Camera Raw in Photoshop CC, you have the ability to Brush edit the mask used for filtered adjustments,
such as when working with the Graduated or Radial Filter adjustments. This gives you dual control over the adjustment masking, resulting in a precise, manually edited mask, as well as a dynamic, soft-edge-adjustable mask that can be controlled separately using the regular filter adjustment edit controls. It usually helps if you tick the Mask option when working in Brush edit mode so you can clearly see the effect your brushwork is having on the mask. Sometimes it can be useful to check the Auto Mask option, which will help the Brush tools auto select areas based on tone and colour.


