By working during the golden hour, Alf Bailey has managed to capture the lovely light hitting the concrete groynes. The original photograph is a little dark and the exposure could have been increased, enhancing the sunset colours.
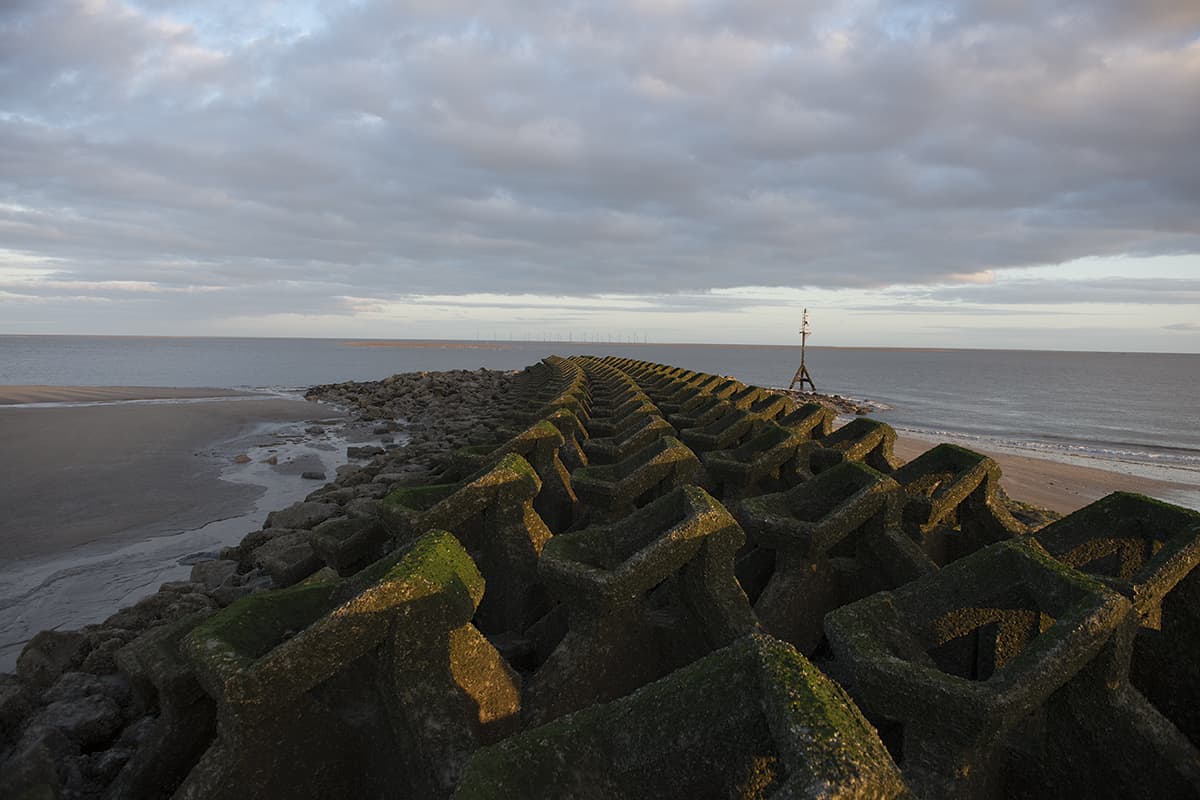
Before
However, I expect Alf was trying not to lose any cloud detail, so exposed more for the sky. There was a lot of intricate texture and soft detail that needed to be emphasised here. I was able to do this by adding lots of Clarity. At the same time, increasing the Tone contrast and adding Vibrance helped boost the colour contrast.
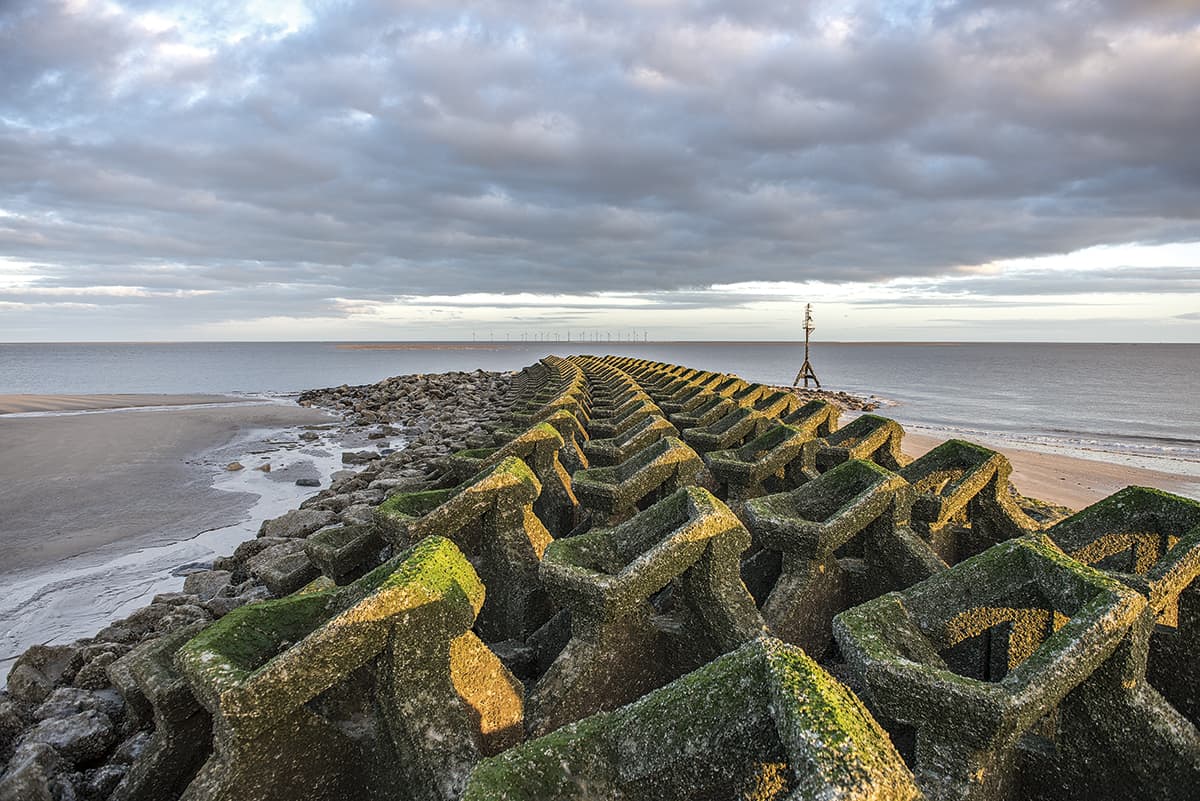
After
1. Basic panel adjustments
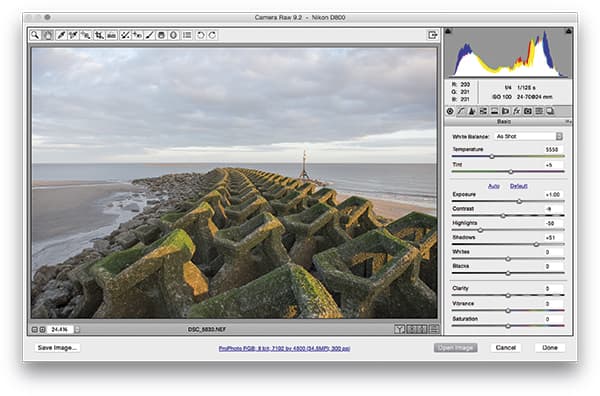 First, I opened the raw file and adjusted the Exposure slider, increasing the brightness by 1 stop. Using the Highlights slider, I darkened the light tones to preserve the detail in the sky and lightened the groynes using a positive Shadows slider adjustment.
2. Boost the saturation
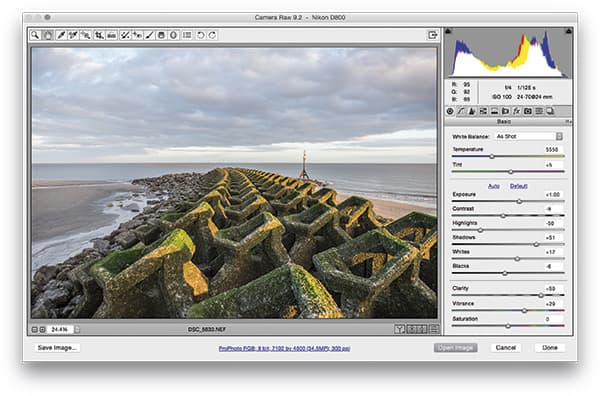
Having done that, I fine-tuned the Whites and Blacks sliders to improve the global contrast. In the Presence section, I set the Clarity slider to +59 to bring out more texture in the groynes and also added more Vibrance, enhancing the sunset colours.
3. Darkening the sky
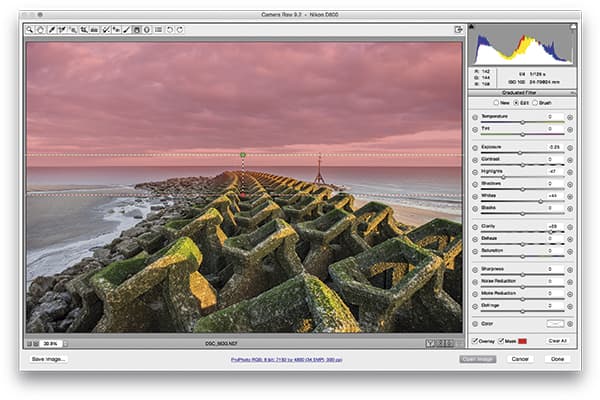 Lastly, I selected the Graduated Filter tool and clicked and dragged down from just above the horizon line. I darkened the Exposure slightly and set the Highlights to -47. I also increased the Whites to add more highlight contrast and applied a Clarity boost to add definition.