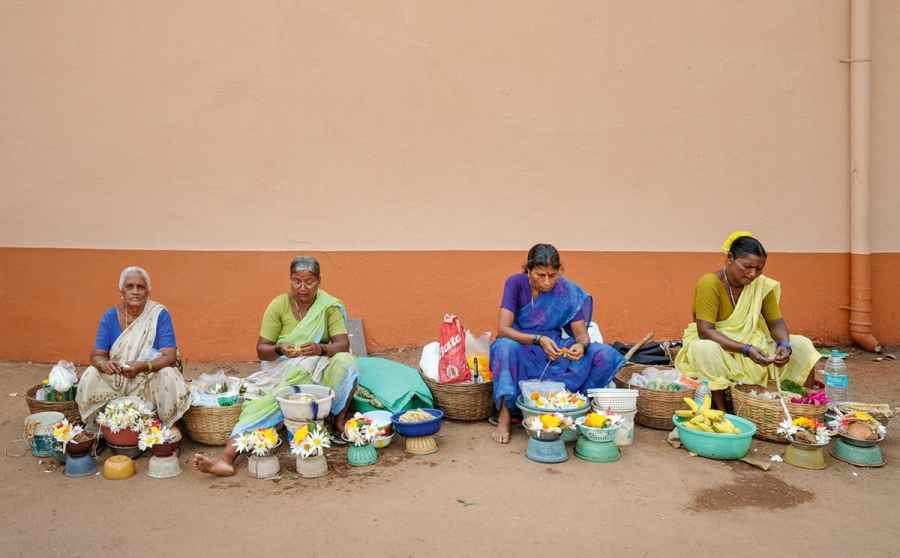
Before
The subject matter in Des Gardner’s photograph is very appealing and contains a lot of interesting detail. However, the original image was shot from an angle. In this situation, l feel the most interesting viewpoint would have been from straight on to produce a symmetrical composition. Thanks to the tools now available in Camera Raw, it is possible to alter the apparent perspective. In the following steps, I used the new Guided Upright adjustments in Camera Raw to manually adjust the shape of the photograph. This creates the impression that this was how the original photo had been captured.

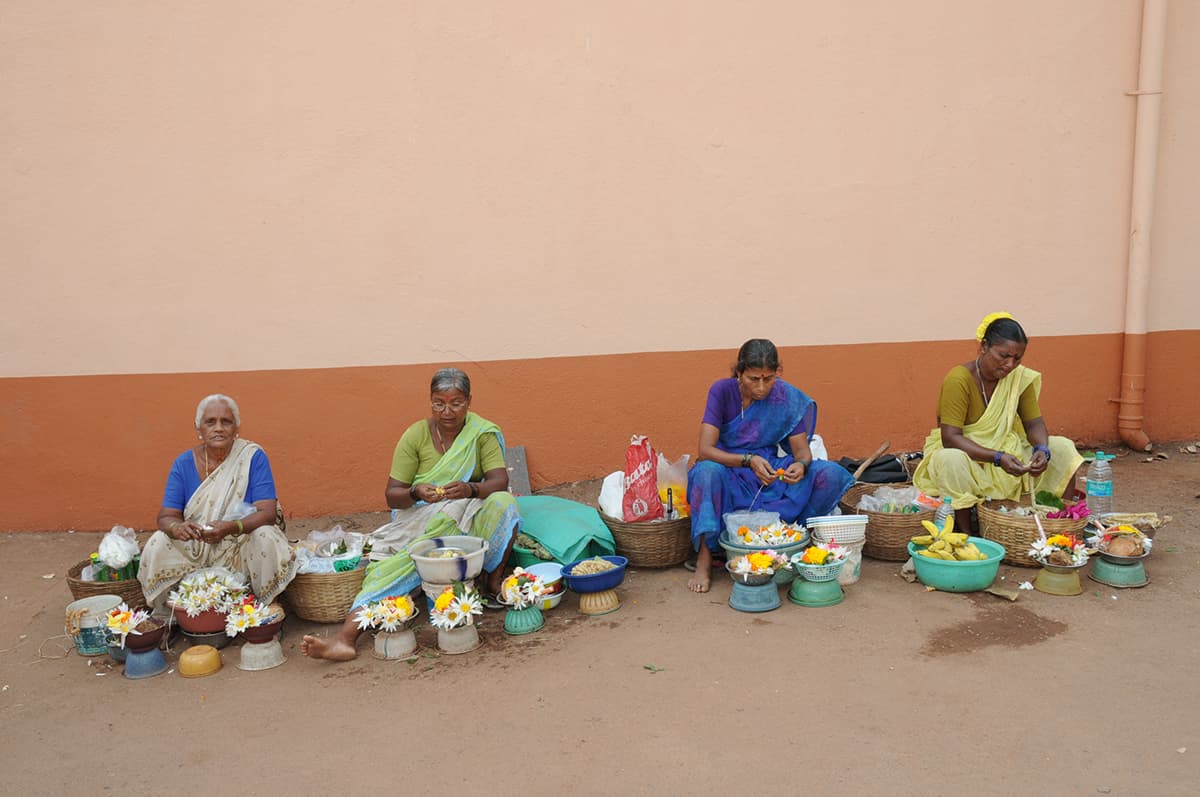
After
1. Apply a Guided Upright adjustment
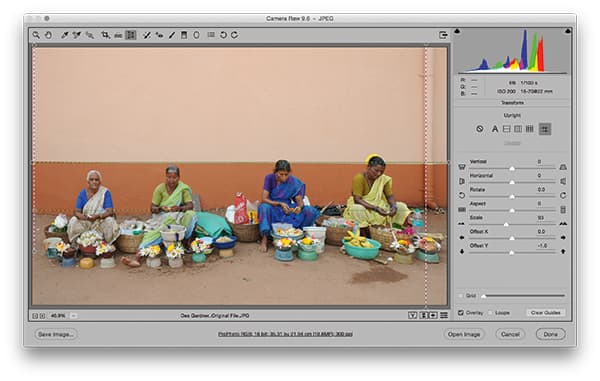
To achieve a more ‘front-on’ view, I selected the Transform tool in Camera Raw to reveal the Transform panel. Here, I selected the Guided Upright mode and added guides to define the horizontals and verticals in this photograph. I was able to click on the handles and tweak the guide angles to have full manual control.
2. Basic panel tone adjustments
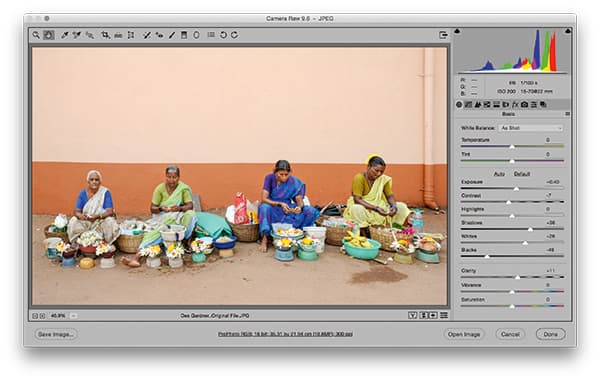
In the Basic panel, I lightened the Exposure slider, lightened the Shadows slider and fine-tuned the Whites and Blacks sliders to achieve a brighter-looking image with a bit more punchy contrast. Adding Clarity added more midtone contrast and texture to the flower sellers.
3. Add a Radial Filter adjustment
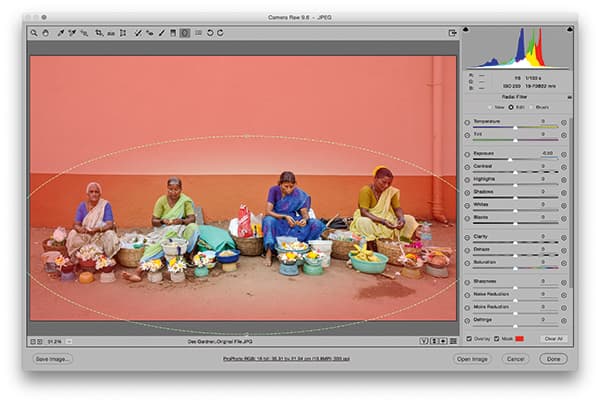
In this step, I added a Radial Filter adjustment that was centred on the row of flower sellers. I applied a negative exposure adjustment that was inverted to affect the outer areas and therefore added a darkening vignette to the scene.


