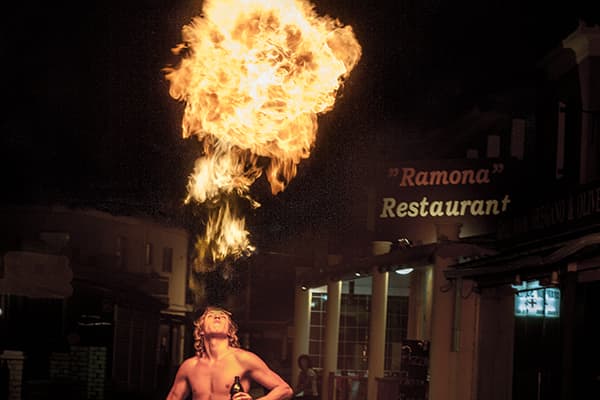
Before 1
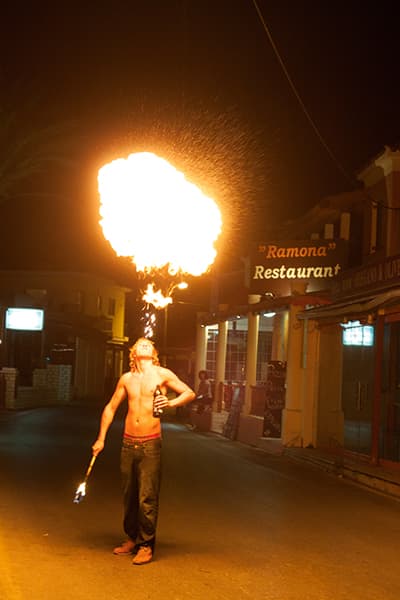
Before 2
Alan Warriner has produced an accomplished blend of the two ‘before’ images. I chose to take a different approach by processing each image separately in Camera Raw and saving these as Smart Objects, which could then be placed in a layer stack in Photoshop. The objective was to optimise the tones and colours in each so the final blend could look realistic. The final composite captures the action of the original scene and preserves the highlight detail that would otherwise have been missing, although merging the two photographs proved rather tricky.
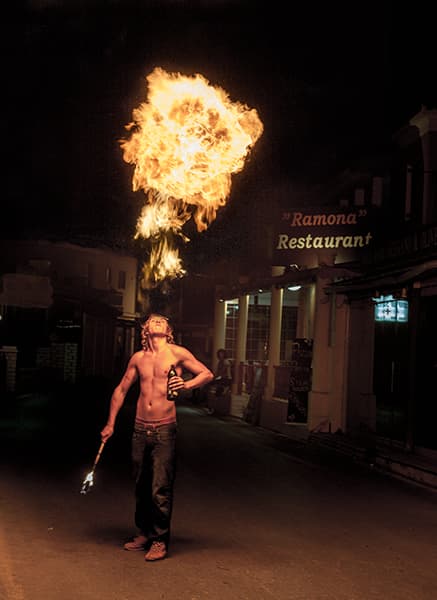
After
1. Processing the main exposure
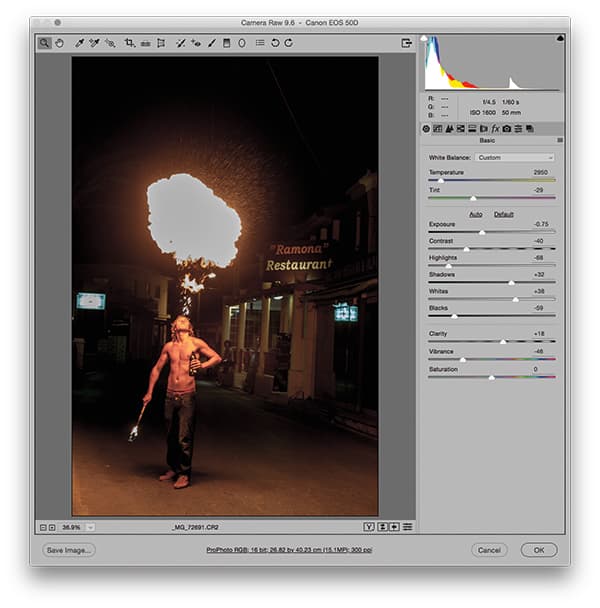
I opened the main-exposure raw image and adjusted the tone sliders to achieve the best tone balance for the fire breather and the street scene behind. I also adjusted the Temperature and Tint sliders to apply a cooler white balance to the image.
2. Processing the fireball exposure
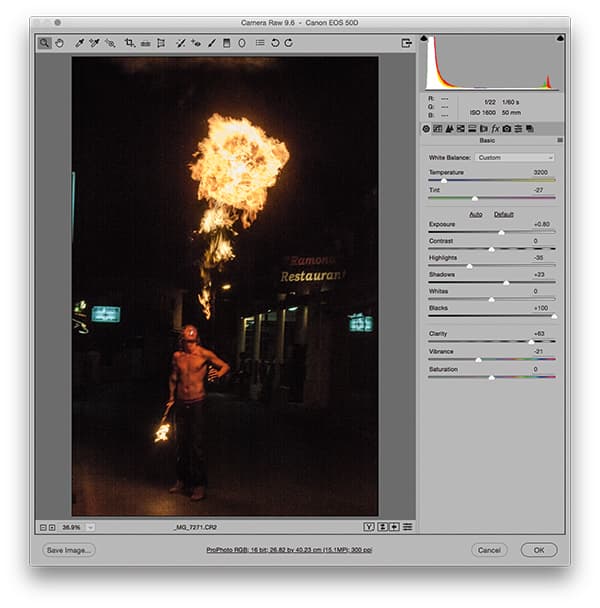
Next, I opened the fireball exposure, where I also applied a cooler white balance setting, and adjusted the tone sliders to achieve an optimum tone balance for the flames. I then added +63 Clarity to bring out more detail in the fireball.
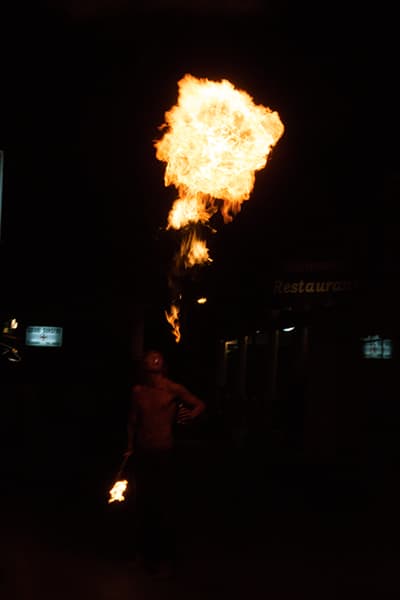
3. Combining the two exposures
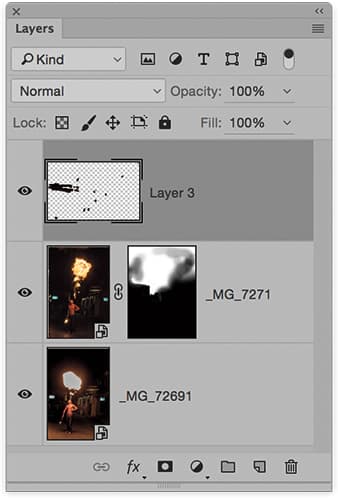
I opened both images as Smart Objects in Photoshop and placed the fireball image as a layer above the normal exposure layer. I then added a layer mask to the fireball layer so I could selectively paint on the mask to blend the two. I then added a retouching layer to the top of the layer stack.


