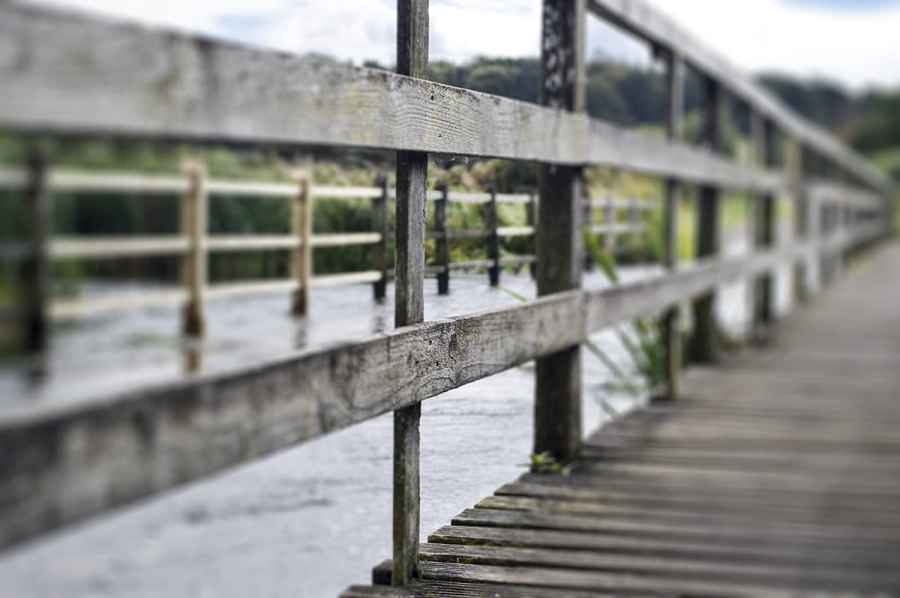
The standout feature in Georgina Larham’s image is the accentuated perspective – the rails converge to a vanishing point – although I feel that it has been cropped too tightly. An 18-55mm zoom lens was used, but the photograph was shot at the 50mm setting. A shorter focal length would have emphasised the perspective and allowed for more on the right of the image.
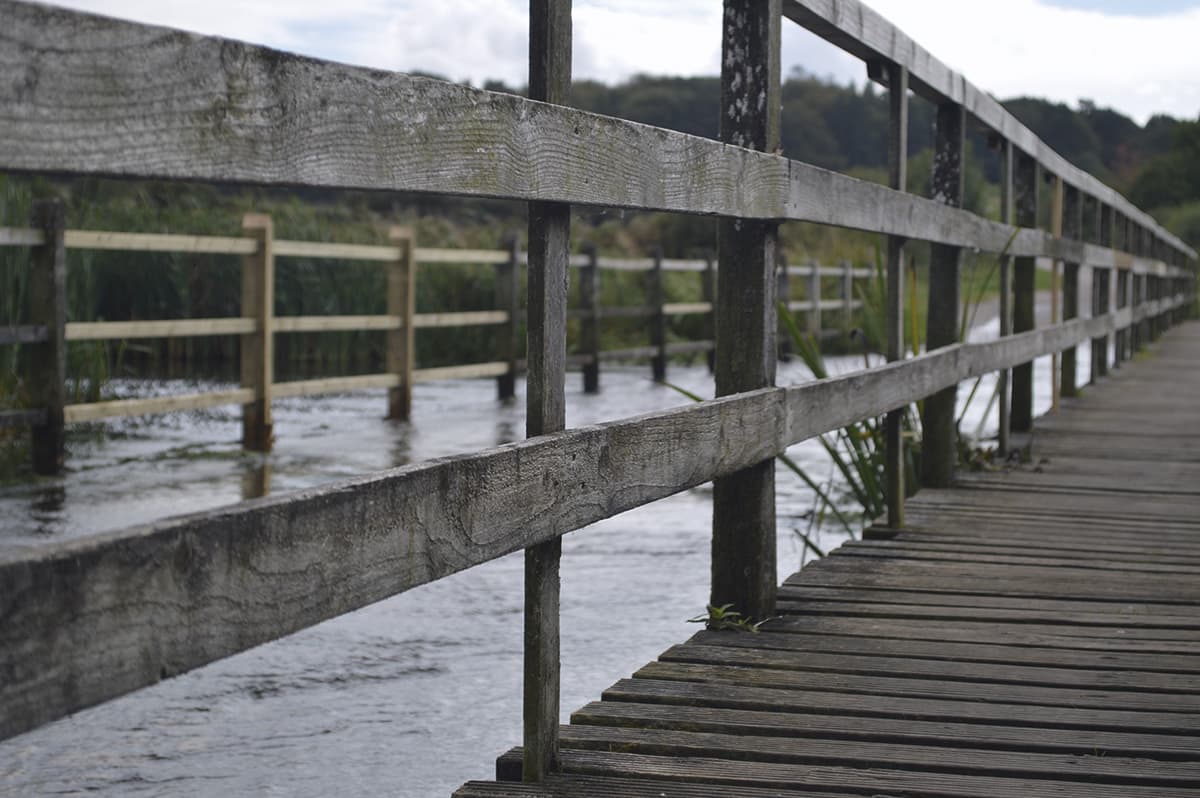
Before
In the following steps, I show how Photoshop’s Lens Blur filter can be used to apply selective focus. In this example, I created an alpha channel depth map, used to simulate the effect of a shallow depth of focus, to make it appear it had been shot using a prime lens at a wide aperture.
After
1. Basic panel adjustments
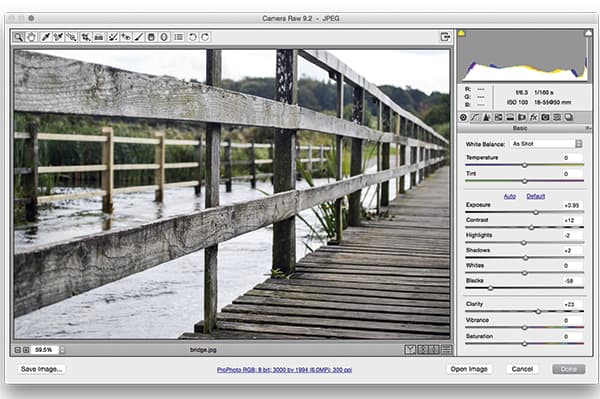
I began by opening the JPEG original from Bridge via Camera Raw. In the Basic panel I lightened the Exposure by +0.95 and added a little more contrast. In the Presence section I boosted the Clarity, setting it to +23 to add more texture to the wood grain.
2. Apply HSL adjustments
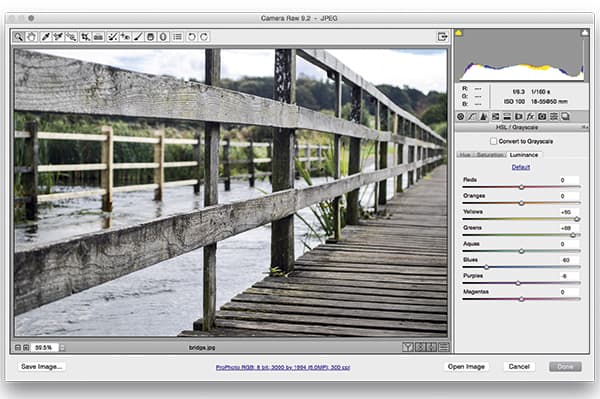
In this step I switched to the HSL/Grayscale panel and checked the Luminance tab. Next, I selected the Targeted Adjustment tool from the Tools panel in Camera Raw and used this to hover the cursor over areas of the image, dragging up to lighten and dragging down to darken.
3. Add Lens Blur filler
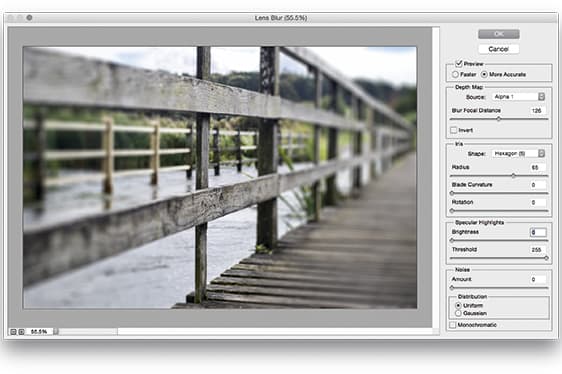
In Photoshop, I added an alpha channel with a black to white linear gradient. Using Filter>Blur>Lens Blur I added lens blur and used the Blur Focal Distance slider to find the sharpest focus point using the alpha channel as the Depth Map source.


