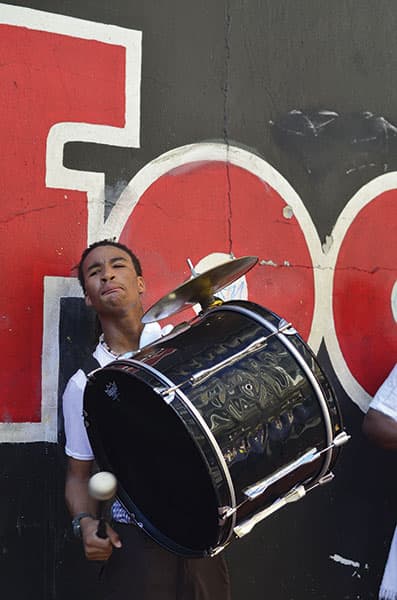
Before
Here, Stacey Martin has shown both an eye for a good composition and great timing, capturing the concentrated expression on the young drummer’s face. In the following steps, I demonstrate converting an image to black and white, apply a localised adjustment to lighten the drum, and use a Radial Filter to balance the ones. I darkened the reds when making the black & white conversion so the red lettering ended up roughly the same tone as the surrounding wall. In addition, the +100 Clarity adjustment I applied at the end made the final black & white photograph appear grittier. This helped bring out more detail in the drum.
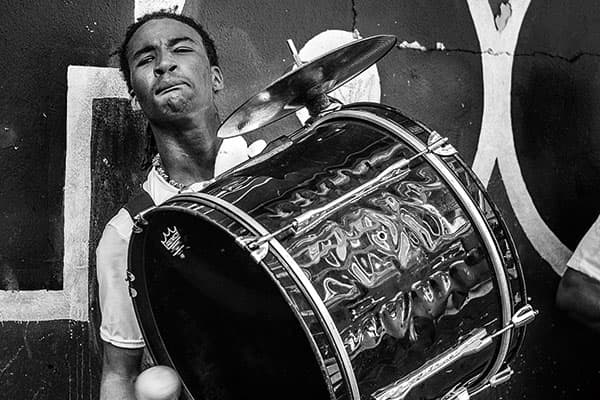
After
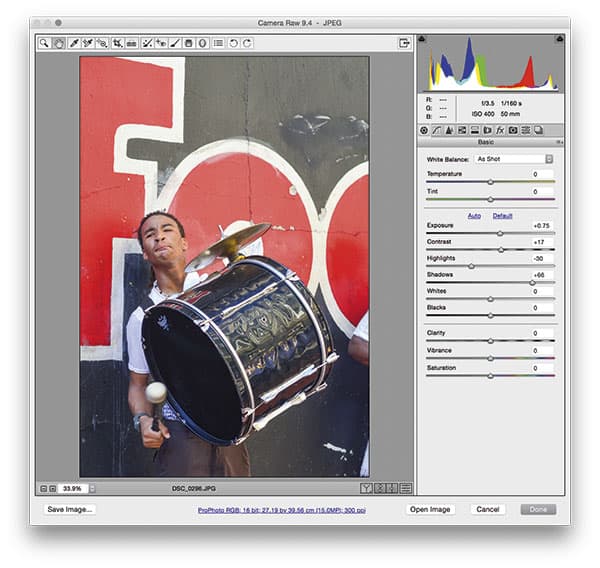
1. Apply Basic panel adjustments
To begin with, I opened the image in Camera Raw, and in the Basic panel clicked on the Auto button to apply an auto tone adjustment. Having done that, I fine-tuned some of the settings, adding a more positive Shadows adjustment value.
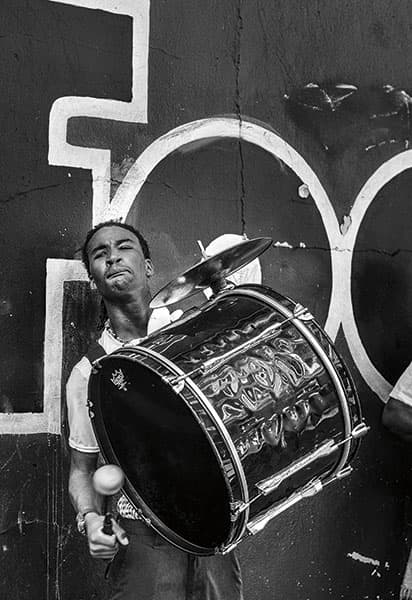
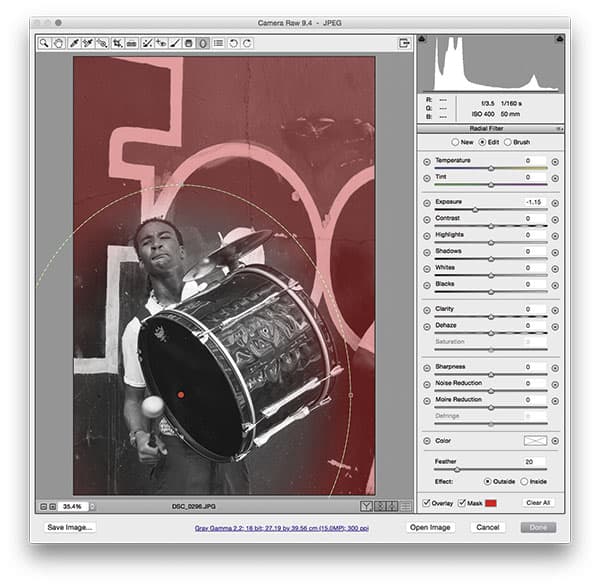
2. Add a Radial Filter adjustment
Next, I went to the HSL/Grayscale panel and checked the Convert to Grayscale box. I adjusted the colour sliders to apply an optimum monochrome conversion, darkening the reds. I then selected the Radial Filter and added the adjustment shown here to darken the area outside the selection.
3. Boost the contrast
Returning again to the Camera Raw Basic panel, I fine-tuned the Whites and Blacks sliders to expand the global tone contrast. Having done that, I adjusted the Clarity.


