While the night sky can play havoc with your camera settings, it also provides a real opportunity to produce some great shots. As the misty autumn season sets in it provides a great opportunity for some spooky shots. As with all paths of photography, half the battle of getting things right is good forward planning. Here’s a guide with things to consider for great landscapes in your night photography:
Night landscape photography: Moon cycle and weather
The moon will have a dramatic effect on our images. A full moon will cut exposure times and make the sky appear more of a blue colour, almost like it’s daytime; however, it will also reduce the number of visible stars. The moon cycle along with the moonrise and set times can easily be found for most locations on the Internet. But you can also use apps like PhotoPills or SkyView Lite to determine the phase and position of the moon in the sky in your location.
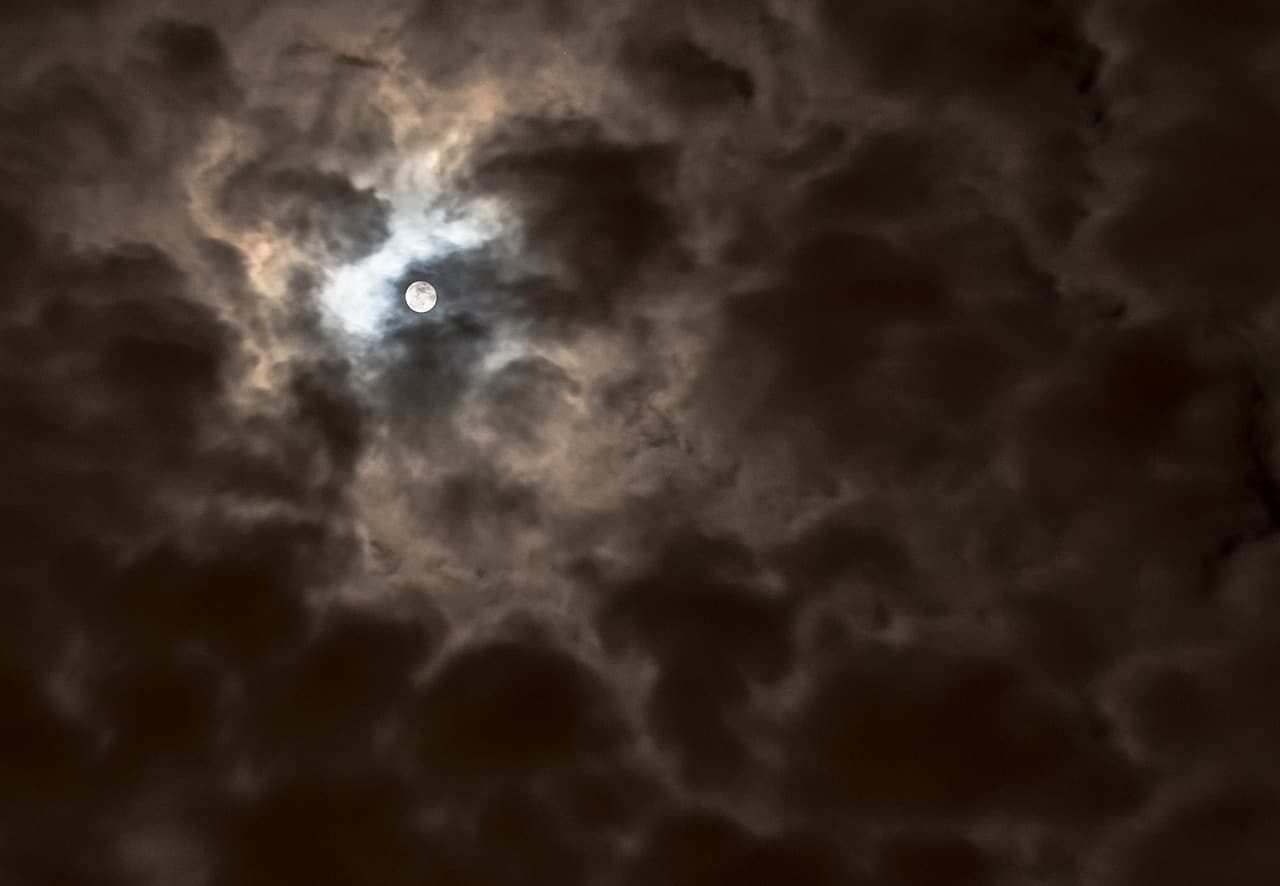
The moon peeping through clouds creates a dramatic effect.
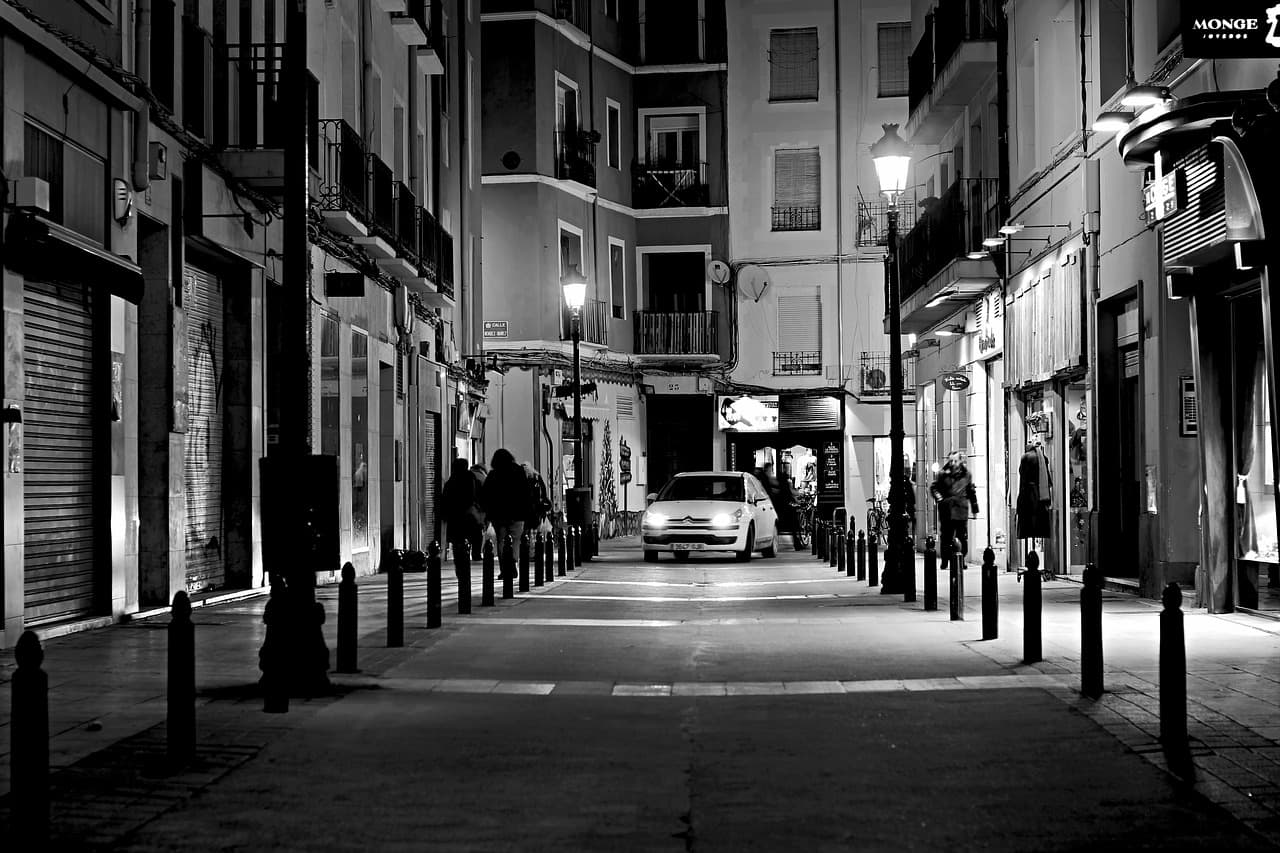
Also, keep an eye on the forecast. Clear skies work well for star trails but don’t ignore cloudy or partly cloudy nights. Add a fair amount of drama and a Halloween edge to your images by shooting when mist or fog sets in, it can transform a mundane scene in the day to a spine-chilling one at night, but be careful as water droplets can settle on the lens surface during long exposures and are very difficult to detect in the dark. A great example of night cityscape photography is Brassai’s series of Paris by Night which features a variety of scenes in thick fog and uses the streetlights to create stark contrasting black and white images.
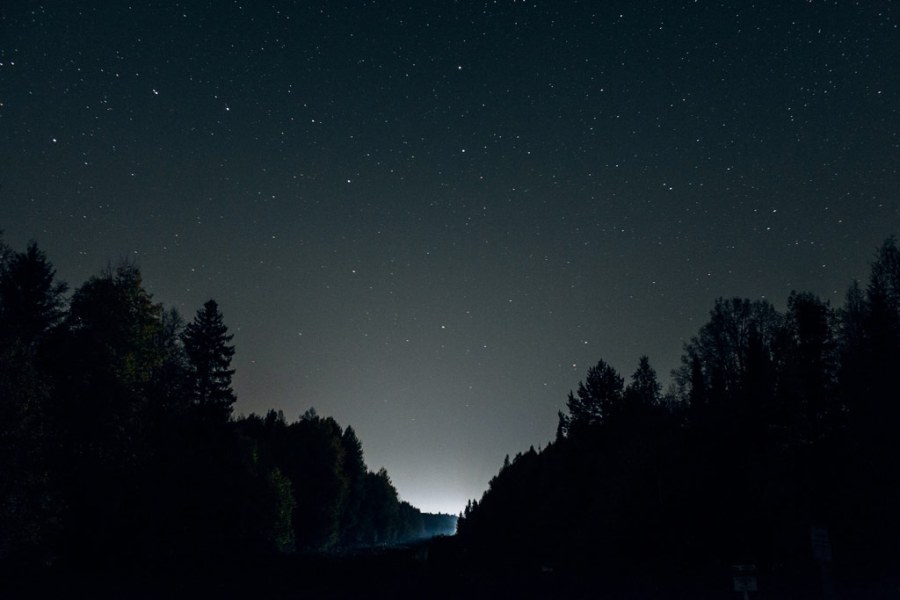
Night landscape photography: Light pollution
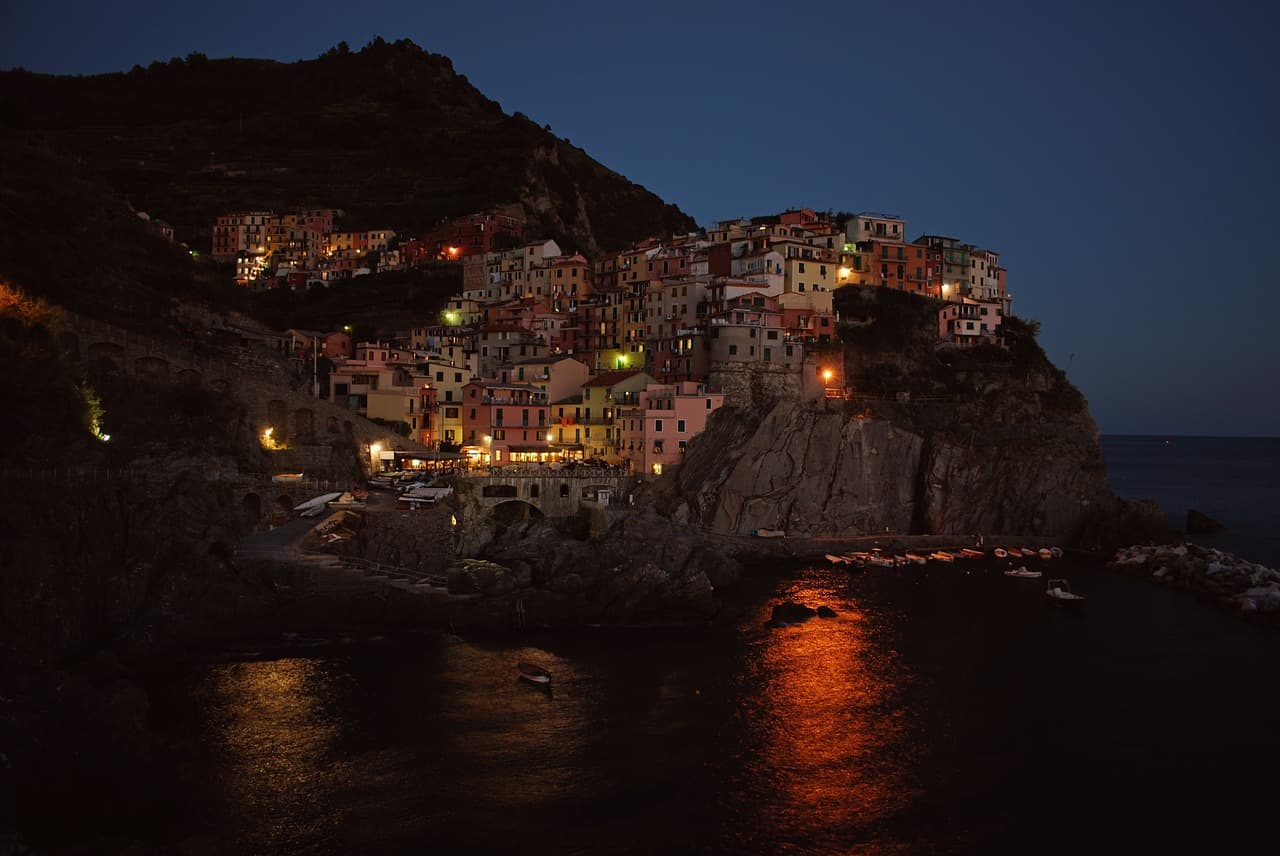
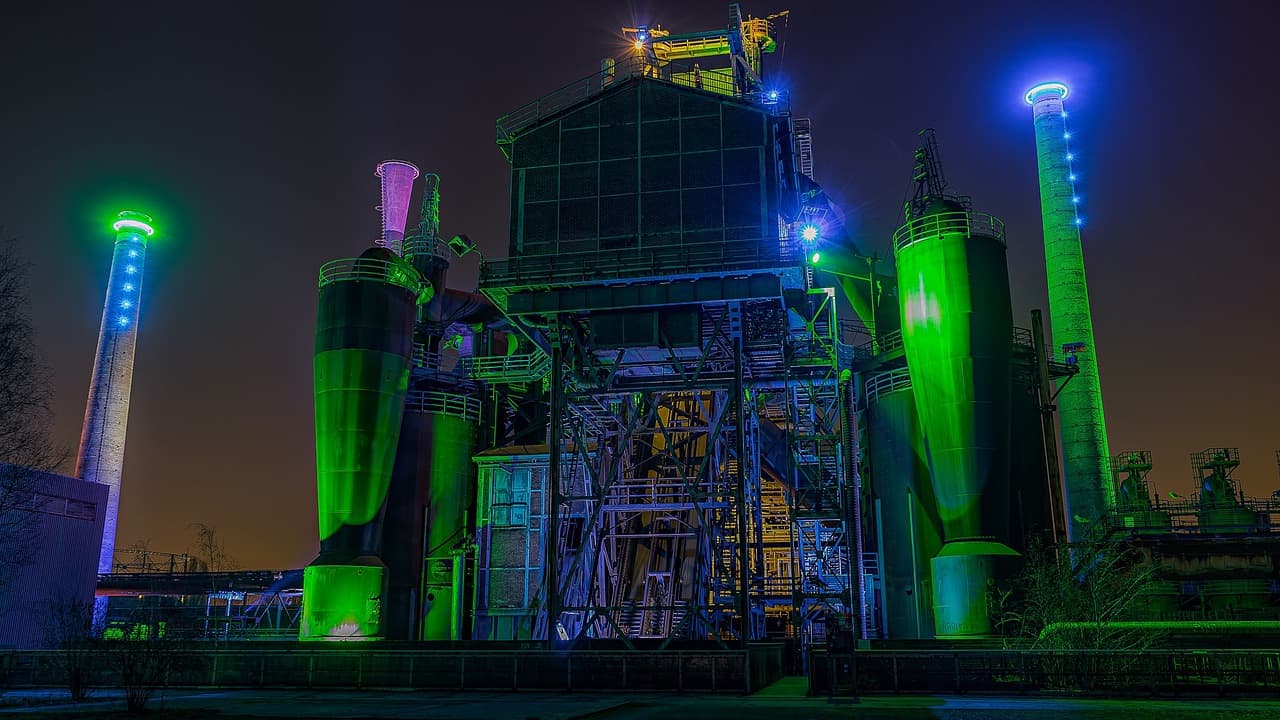
While light pollution (brightening of the night sky caused by streetlights and other man-made light sources) can mean it’s harder to see as many stars, it can also add some much-needed colour to a sky. Light pollution will have the most dramatic effect on the sky when there is a new moon or the moon is yet to rise.
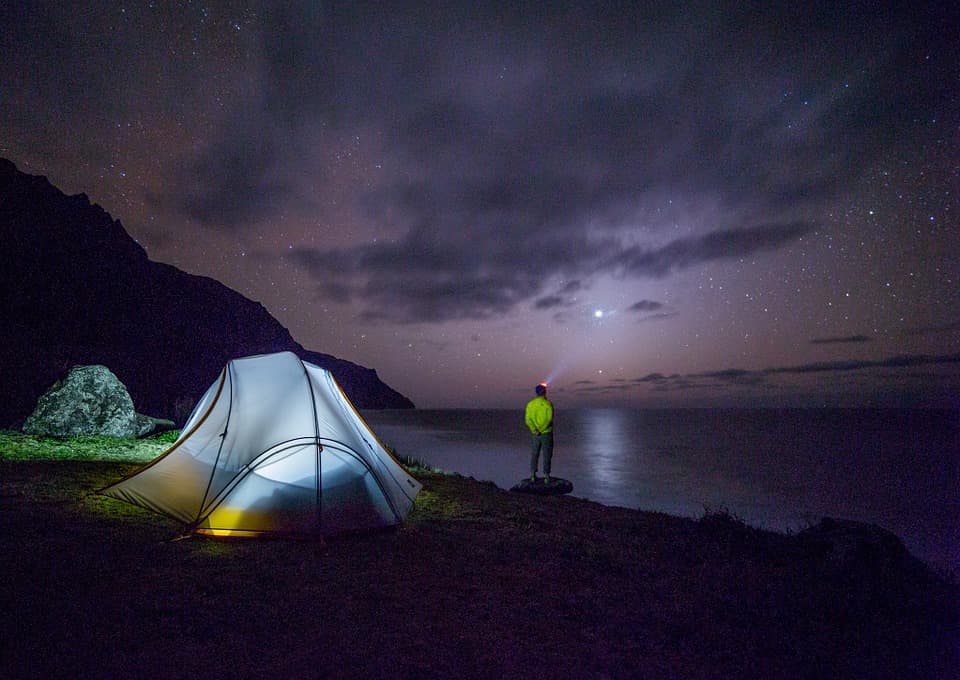
Using artificial lights can enhance an image by introducing more colours and complimenting the composition.
Take a spare torch and batteries
I often work in remote locations so I always carry a spare torch with me to find my way back to the car, particularly as my main rechargeable torch often runs out of power. I find a spare wind-up torch works well, as you are then not reliant on battery power. Long exposures can quickly drain camera batteries so make sure they are fully charged and that you have a spare. Also shooting at night means you will likely have to shoot with temperatures dipping below zero, in these conditions, it is not unusual for your batteries to last half as long as usual. To avoid the cold draining your batteries keep them close to your body, (inner pockets for example) to keep them warm, and make them last longer.
Night landscape photography: On the night
Step 1. Choose your composition
Arrive at your location while it’s still fairly light to help you easily compose your images. When setting up your camera make sure that your tripod is placed on secure ground and ensure that it is not going to move during the long exposure.
Long exposure shot of architecture.
Step 2. Shoot RAW
By shooting your images in Raw format you will have more flexibility and be able to apply a wider range of changes to your images at the post-processing stage. Small adjustments to white balance, exposure and noise can all be applied when editing the Raw files.
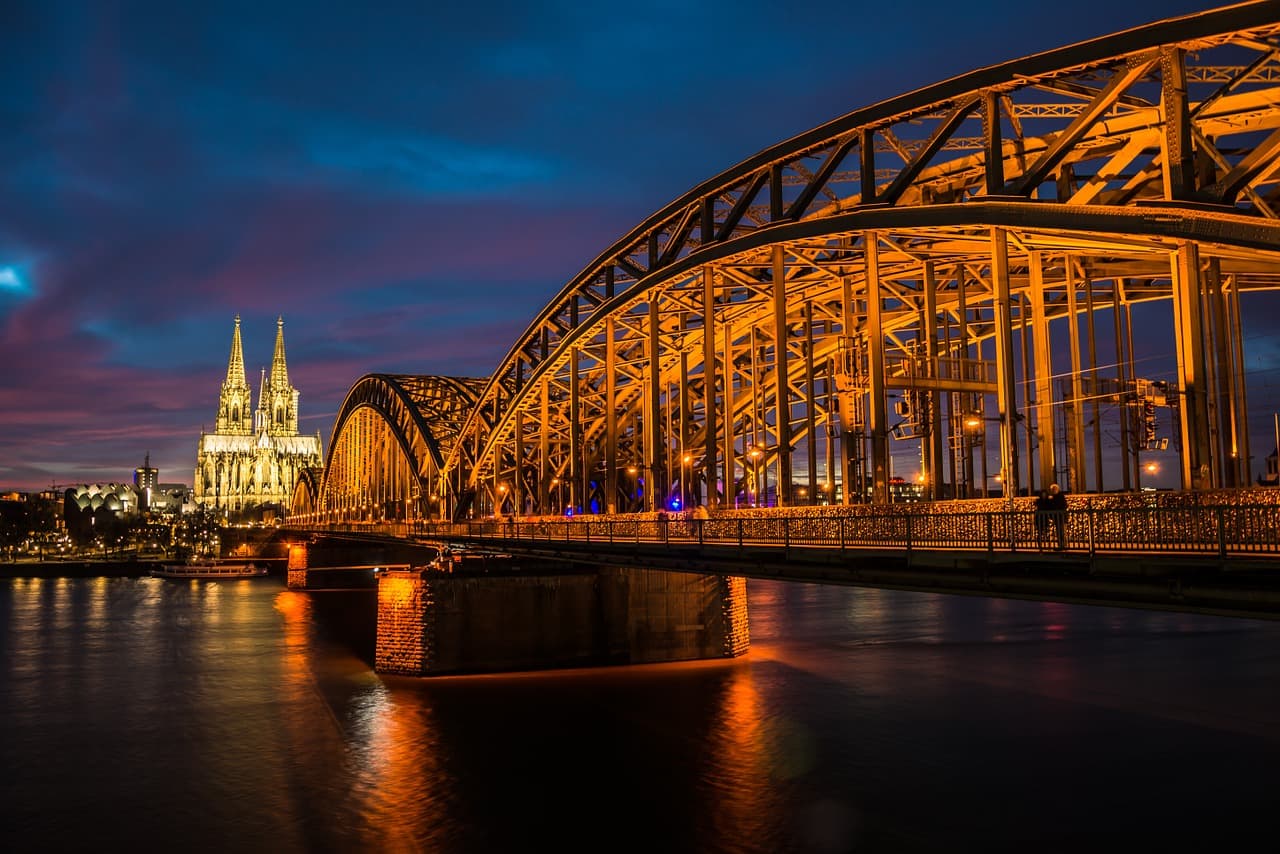
Using car lights or lights from buildings is a great way to capture city nightscapes.
Step 3. Set up your camera
Attach your cable release, set your camera to bulb mode and select your aperture. Alternatively, If you don’t have a cable release you can set your camera’s self-timer with a few seconds delay to avoid camera shake or connect your camera to your smartphone and use that as a remote release. Finally, focus the lens on your subject, and once this is completed remember to switch to manual focusing so that the lens doesn’t start to hunt once it’s dark.
Step 4. Take a test shot
Once it’s dark, lock open the camera’s shutter using your remote release. Remember to take note of the total exposure time. If you would like to focus the attention to a certain part of your scene try illuminating your subject with a flash or torch light, again keep track of your exposure time and roughly the amount of light applied to your subject.
Step 5. Review your test shot
Review your test shot and work out what areas need more or less light, as getting the correct exposure involves a little bit of trial and error. Once you have decided on what exposure changes to make, simply re-take the shot and keep reviewing the images until you get a result you are happy with.
Night landscape photography: tips to help you take better night photos
Focus using a torch
To aid with focusing in the dark, shine a powerful torch on your chosen subject. Once your camera gets a focus lock, switch your lens to manual focus so that it doesn’t hunt when you press the shutter button.
Compose using high ISO
To compose your night landscape photography shots in the dark, change the ISO setting to your most sensitive available then take a test exposure and recompose as required. Remember to lower your ISO setting back to 100-200 once you’re done.
North star
Take a compass with you and work out the position of the North Star. As the Earth rotates the North Star will appear to stay fixed and the rest of the stars will appear to rotate around it. Sky.., app
Two’s company
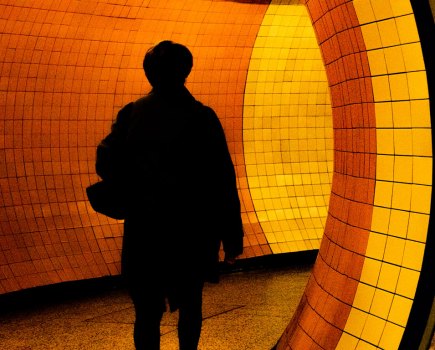
Night photography can be quite spooky so having a friend with you will keep you company and make you feel safe, they can also help you with illuminating the scene from different angles, or you can ask them to stand in your composition and use their silhouette to indicate the scale in your image.

Dress warm
It can get very cold at night, particularly when standing around waiting for long exposures, so warm clothing is essential.
Noise reduction
If your camera has a noise reduction facility, turn it on for your final shot of the evening. Once the main exposure is completed you can pack away your camera while it’s still exposing for the dark frame. When you arrive home it’s exciting to view the completed image for the first time.
Submit your night photos to APOY!
Happy with your photos? Submit your night landscapes to our Amateur Photographer of the Year competition. The Low Light round is now open and closes 11:59pm on 13th November.
Further reading:
Fright Night: ghost camera takes spooky London Photowalk
Complete guide to outdoor light in photography
Art Wolfe on his approach to night photography
How to photograph low light urban landscapes
Essential guide to Astrophotography
Follow AP on Facebook, Twitter, Instagram, YouTube and TikTok.