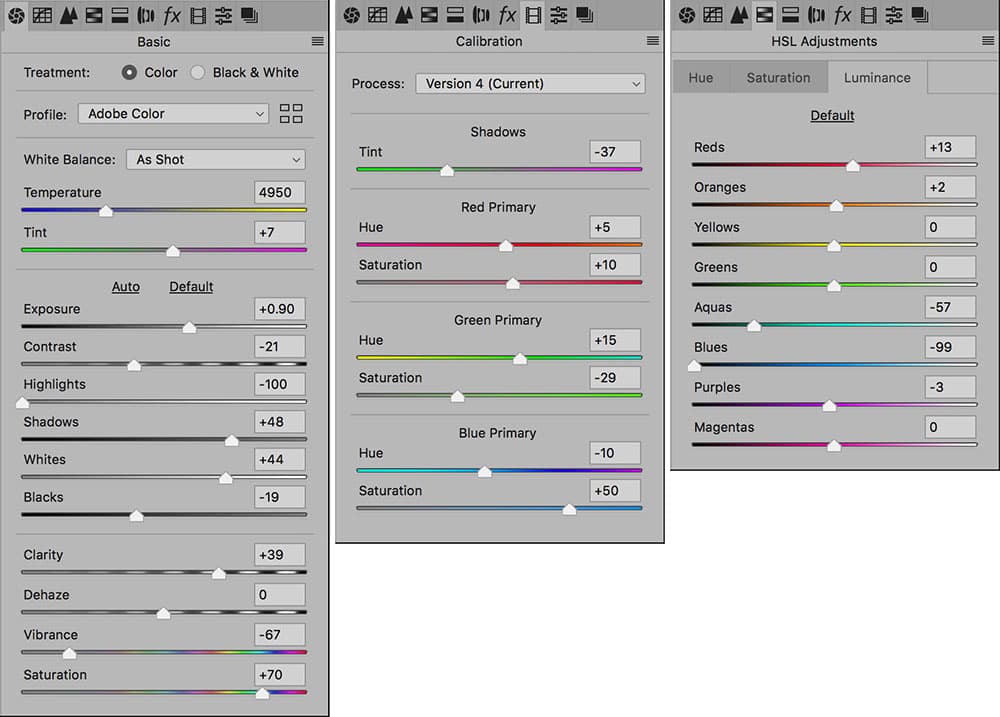
Shoot in raw and make your black & white conversion in Adobe Camera Raw. Credit: Martin Evening
There is much to be said for deferring the black & white conversion process to the image-editing stage. While it is possible to shoot in black & white mode directly and have the camera do the conversion, this normally produces a fixed JPEG image, which leaves you with no further options to modify the black & white result. I therefore recommend you shoot in raw mode. This means your options are left completely open as to how you interpret an image using Adobe Camera Raw.
Now, a default black & white conversion using Camera Raw applies a fixed formula, which mostly takes the green channel information followed by the red channel plus a small amount of the blue to produce a black & white image. This balance is more or less the same as that of panchromatic black & white film emulsions and generally produces pleasing results. However, if you wish to experiment there are a number of controls you can play around with at the black & white conversion stage in Camera Raw. This can happen by converting to black & white at the initial raw-editing stage, which is useful if you intend to do all your editing in Camera Raw. If you intend to take a photo into the main Photoshop editor, then you can always apply Camera Raw as a filter via the Filter menu. Either way the instructions described in this article will work more or less the same in both the photo-editing software.
Basic conversion
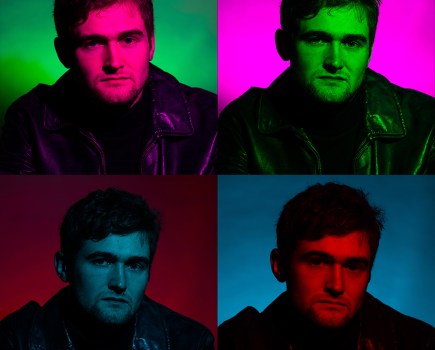
The first thing you can do is adjust the Basic panel White Balance settings. After converting to black & white, as you drag the Temp or Tint sliders the image preview will dynamically update to show the effect this has on the image. Another easy option is to open the Profile Browser from the Basic panel and try selecting different black & white profiles, which I describe in more detail later. Essentially, anything you do to modify the underlying colours will affect a black & white conversion. When you are in black & white mode the B&W panel sliders can be used to manually adjust the luminance for specific colours. Therefore, for instance, if you want to make the grass appear lighter, you simply lighten by dragging the greens slider to the right. However, the B&W sliders can only take you so far. If you want to create more extreme adjustments you can use the Calibration panel’s Red, Green and Blue Primary Hue and Saturation sliders to push the boundaries even further. A standard black & white conversion won’t let you adjust the Vibrance and Saturation sliders (which can also enhance a conversion). But I have included a workaround you can use to overcome this and again extend the controls when making a black & white conversion.
Dealing with halo edges
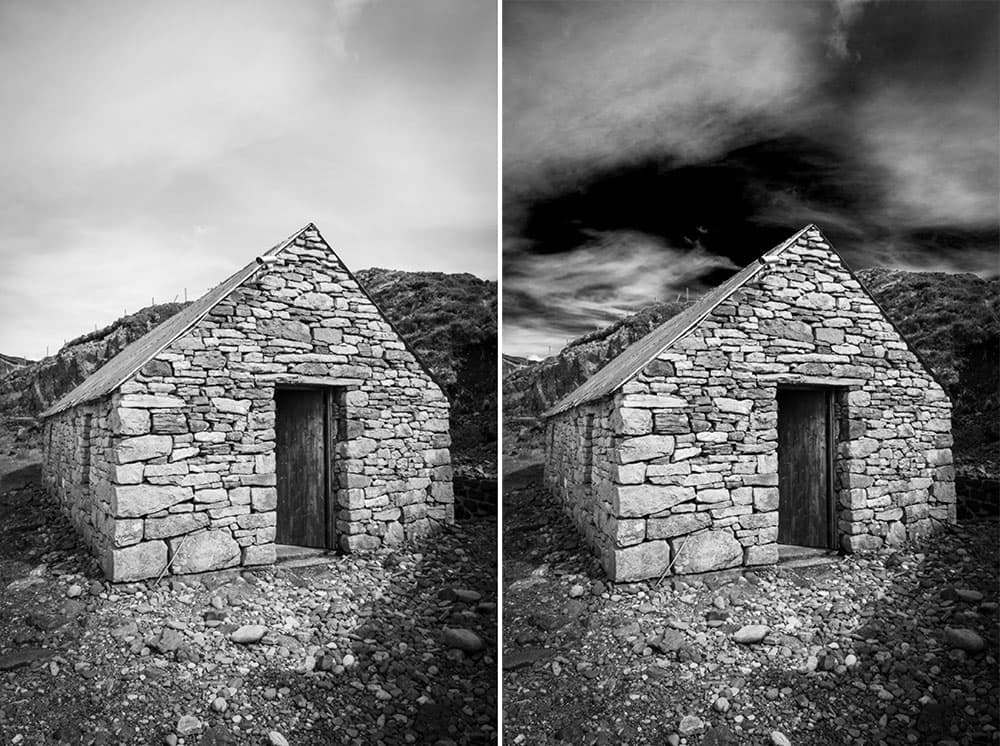
While it is seemingly great that you can do so much in Camera Raw, you do need to watch out for halo edges that may sometimes appear where there is a high contrast between two different colours. For example, this may be most noticeable as you dramatically darken a blue sky. The reason for this is that as you edit a black & white conversion you are essentially adjusting the exposure and contrast of three distinct red, green and blue channels. Now, you could say this makes a good argument for the superiority of black & white film and photographing using deep colour filters. In Camera Raw at least, there is no smooth blending between the three channels. But I have noticed that with Capture One, extreme black & white conversions tend to suffer less from edge artefacts. This may be because Capture One adds some kind of special blending that is missing in Camera Raw. Anyway, it’s something to watch out for as you edit the sliders.
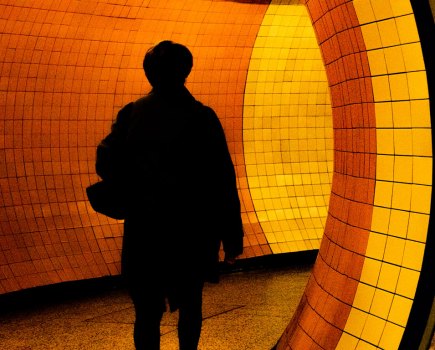
Nonetheless I don’t think you should be over-obsessed when such artefacts are visible close-up. What matters usually is how a photo will appear in print, which means you can mostly get away with seeing minor edge halos. To start with though let’s look at how a colour image can be edited in Camera Raw to create a faux black & white infrared look.
Credit: Martin Evening
HSL black & white adjustments
There are more tools at your disposal in Camera Raw than just the Black & White Mix sliders. Don’t forget to adjust the White Balance sliders, too. Try selecting different White Balance presets from the Basic panel, or simply drag the Temp and Tint sliders to see what happens. Then there is the Camera Calibration panel. This is mainly kept in Camera Raw for legacy reasons. However, adjusting the Red, Green or Blue Primary sliders can make quite a difference to the outcome of a black & white conversion.
Adjust the Red, Green or Blue Primary sliders to adjust the outcome of a black & white conversion. Credit: Martin Evening
The conventional method of converting an image to black & white in Camera Raw is somewhat limited by the fact that the Saturation and Vibrance sliders are disabled. This is a shame because these two slider controls can act as either an amplifier or limiter to tweak the outcome of a black & white conversion. The workaround I use is to not convert to black & white. Instead, keep the image in colour and set all the Saturation sliders in the HSL Adjustments panel to -100. Having done that, you can then adjust the Saturation and Vibrance sliders to fine-tune the conversion.
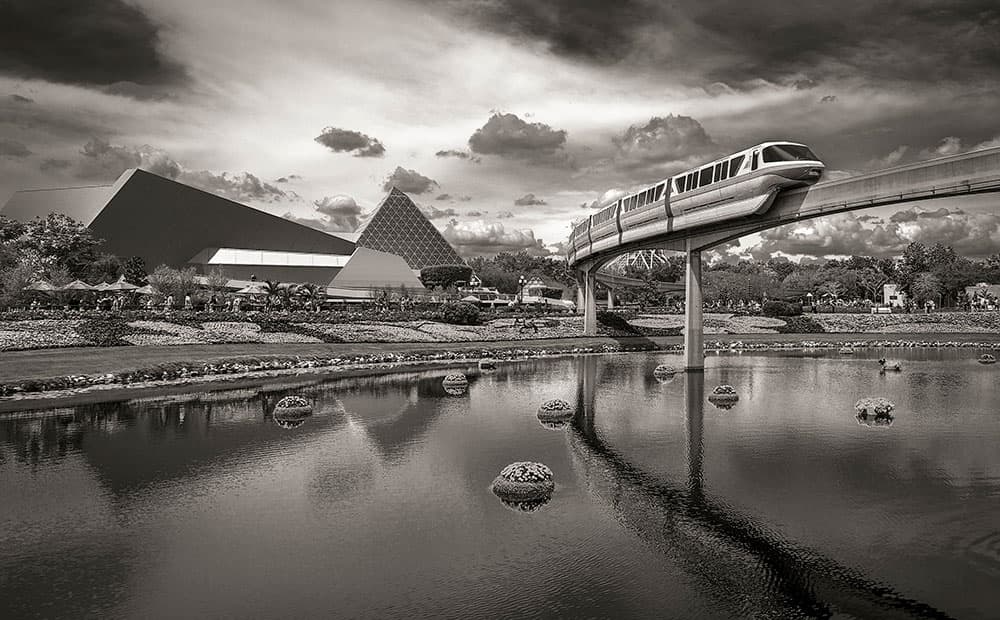
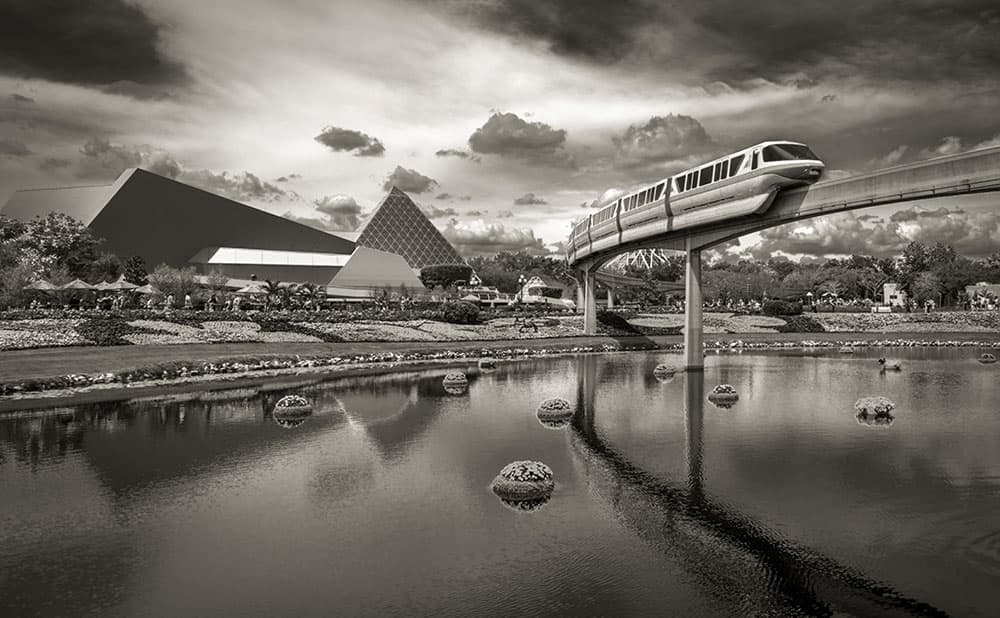
BEFORE: (left) You can adjust the strength of each profile conversion. AFTER (right). Credit: Martin Evening
Black & white profiles in Camera Raw
Profiles have now been given centre stage in Camera Raw and Lightroom, making the available profiles more obvious. There are 18 specific black & white profiles for you to work with. Clicking on the Black & White radio button at the top of the Basic panel converts the image to black & white and applies the Adobe Monochrome profile by default. If you then click on the four little squares in the Profile section this opens the Profile Browser with the profiles filtered so you just see the black & white profile options. Click to select a different profile and this becomes the new default if you toggle between the colour and black & white modes.
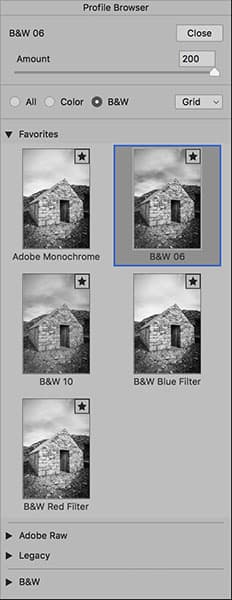
Adobe monochrome is based around the new Adobe Color default profile to provide a pleasing, standard, black & white look. But if you want to explore more, try selecting one of the other B&W profiles. Here you will notice that when you select one of these profiles an Amount slider becomes active. This allows you to adjust the effective strength of the profile conversion, where dragging the Amount slider to the right intensifies the black & white conversion. Therefore, if you select, say, the B&W 06 profile and set the Amount slider to +200, this applies a conversion in which the blue sky colours are substantially darkened.
How to simulate an infrared look
The following b&w infrared technique is just one of the ways you can achieve a creative black & white conversion in Lightroom. The adjustments here may need to be fine-tuned depending on the image.
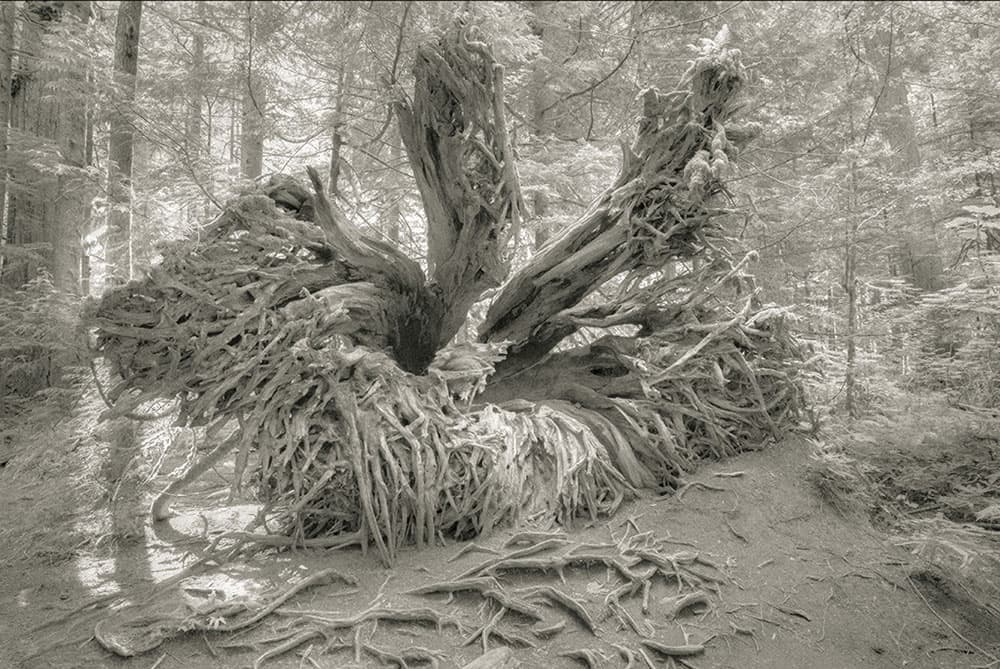
Credit: Martin Evening
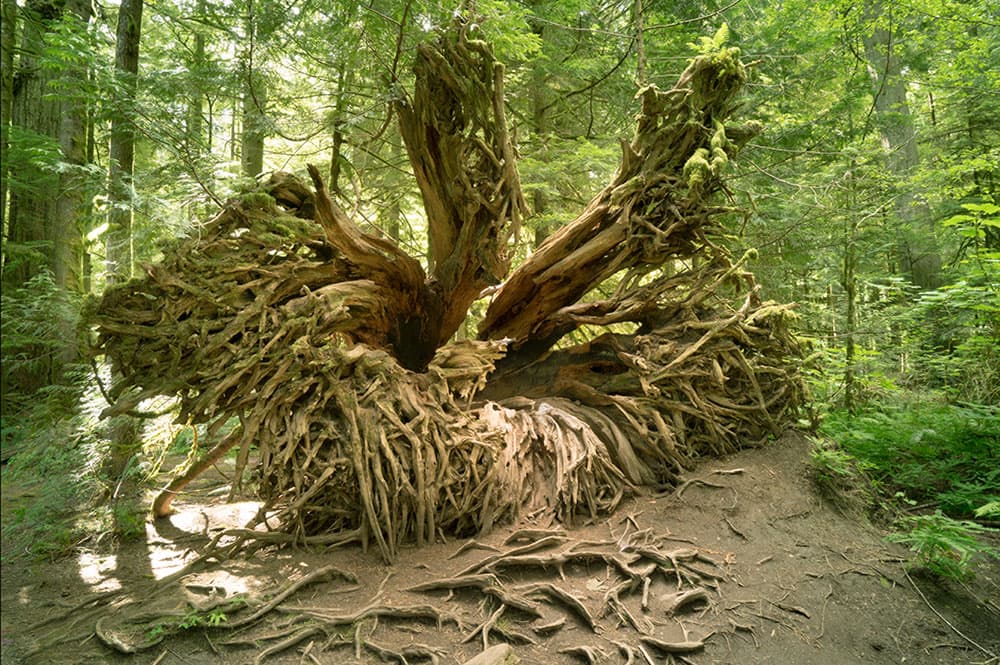
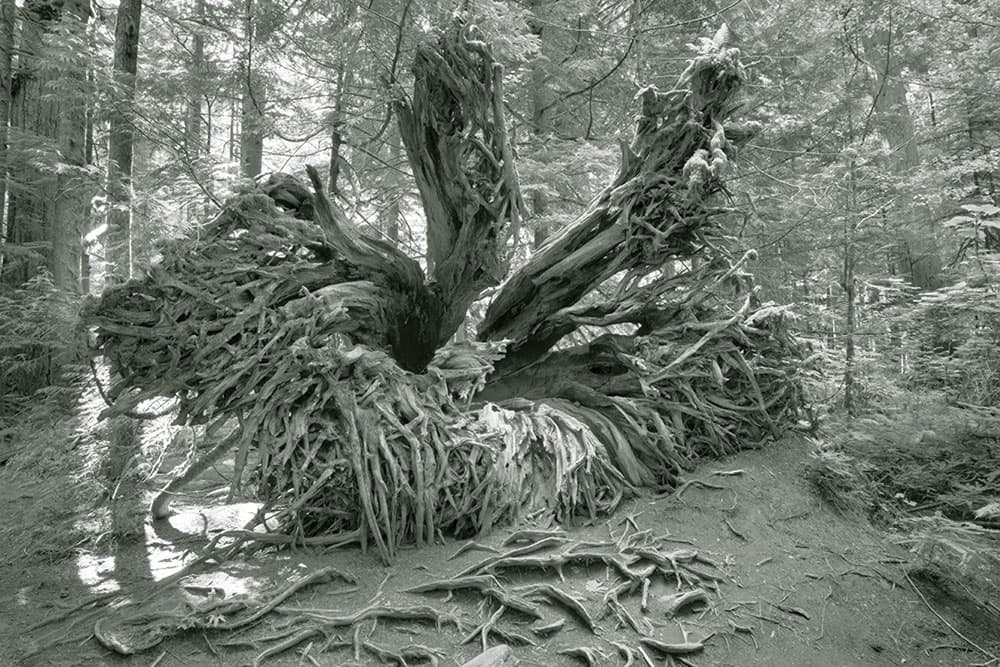
1. Suitable images
Here is a colour photograph shot in Cathedral grove on Vancouver Island. This was an ideal image with which to demonstrate how to apply a faux infrared effect as the photo contains a lot of green foliage.
Credit: Martin Evening
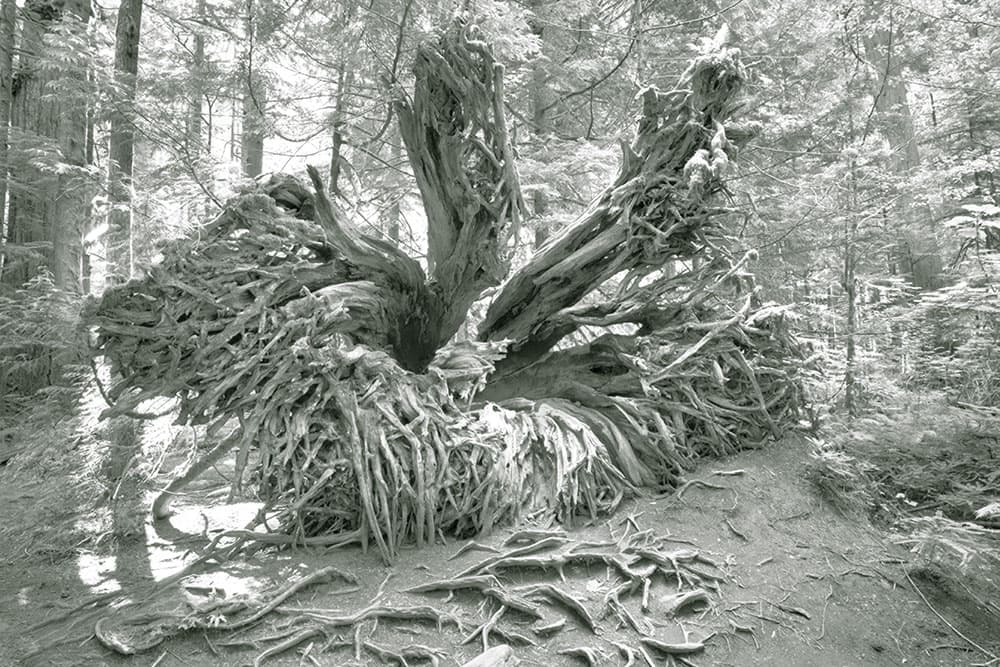
2. Conversion
To create a black & white infrared look, I first applied the B&W 10 profile to convert the photo to black & white. I followed this by applying a full negative Tint adjustment to the white balance. This made all the green colours (i.e. the leaf foliage) as bright as possible.
Credit: Martin Evening
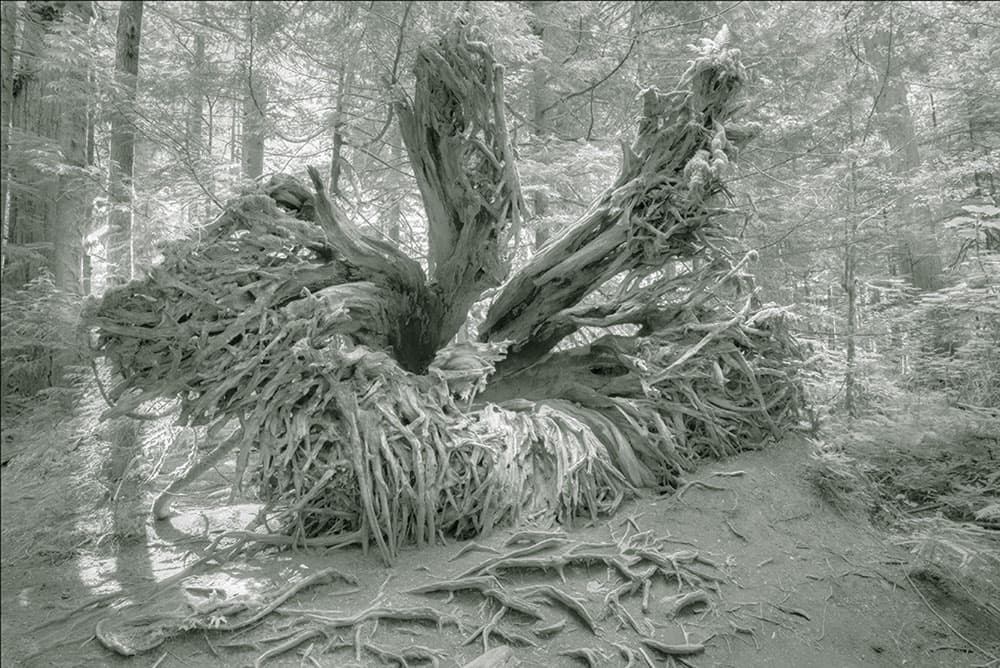
3. Infrared treatment
To get the full infrared look, I went to the Black & White Mix panel. Here I adjusted both the Yellow and Green sliders, setting these both to +50. Alternatively, try selecting the Target Adjustment Tool. Click on any area of green foliage and drag upwards.
Credit: Martin Evening
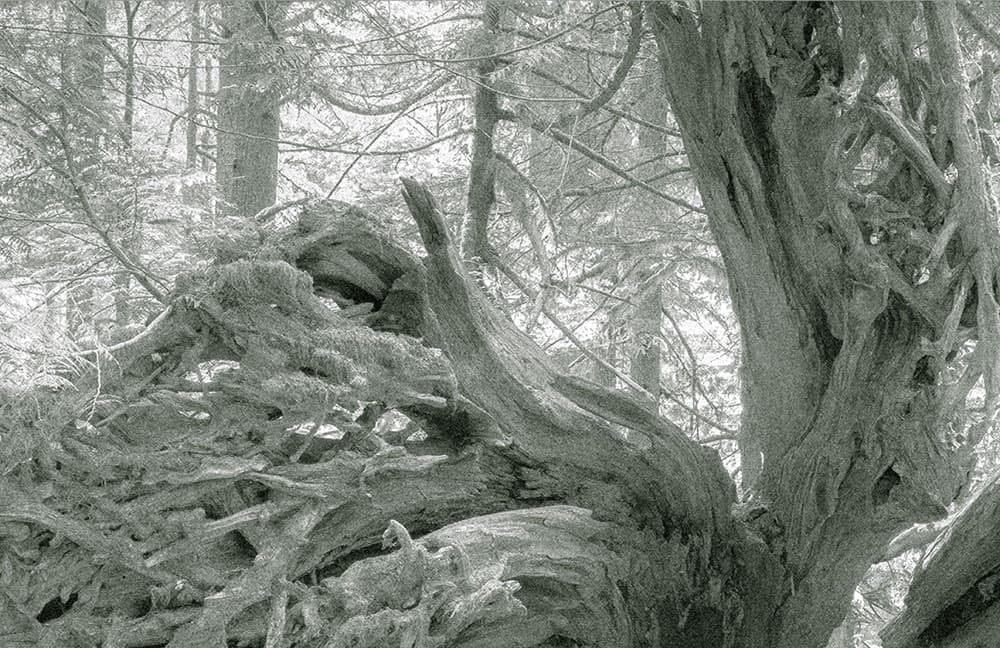
4. Reduce highlights
I also adjusted some of the Basic panel settings. In particular, I set the Highlights slider to -100, which helped preserve some of the delicate tone information in the leaves. I also set the Clarity slider to -35 to apply a diffused printing effect that added a nice, soft glow to the photograph.
Credit: Martin Evening
5. Add grain
In this step I went to the Effects panel, where I wanted to add some grain to the image. I set the Amount slider to +100 and then adjusted the Size slider to apply a fine size, but a noticeably strong grain effect.
Credit: Martin Evening
6. Split tone
Finally, I used the Split Toning panel to add a split-tone colouring effect. The settings shown here worked well for this particular image. If you want to apply this black & white infrared effect to other photographs, I advise saving the combined settings as a custom preset.