Your guide: Ian Pack
Ian is a seasoned photographer based in Sussex. He works across a number of industries and runs a creative studio. To see his work visit his website or Instagram @packs.hacks.
Stability hacks: shopping bags and drink bottles
Sandbags and counterweights are used extensively in commercial photography, video studios and on location for stabilising light stands and booms, especially with heavy mono bloc flash heads and larger flash modifiers. However, you can use readily available household objects to stabilise light stands.
To aid stability, use two bottles of fizzy water in a shopping bag tied to the base of the light stand
If you have a reusable shopping bag, preferably with long handles, and a couple of 2 litre water or fizzy drinks bottles, you have 4 kilos (8lb 13oz) of instant ballast to attach to the base of your light stand, which is sufficient to stabilise most Speedlite to 200Ws flash set-ups with a 60cm softbox/beauty dish. Water bottles are just one solution. Carry a few tote or shopping bags in your kit and use whatever else is available as ballast – rocks, logs, books, magazines.
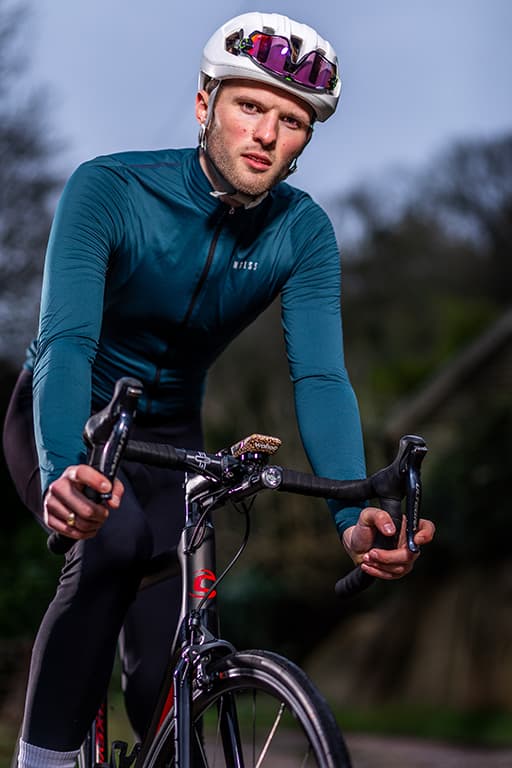
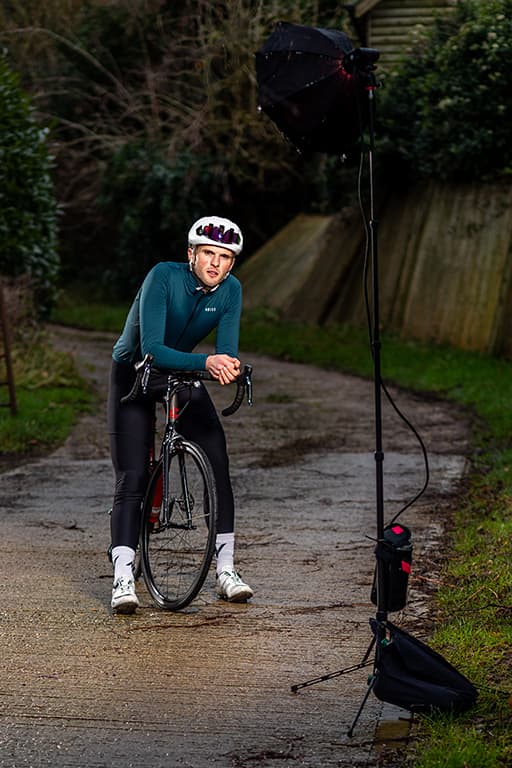
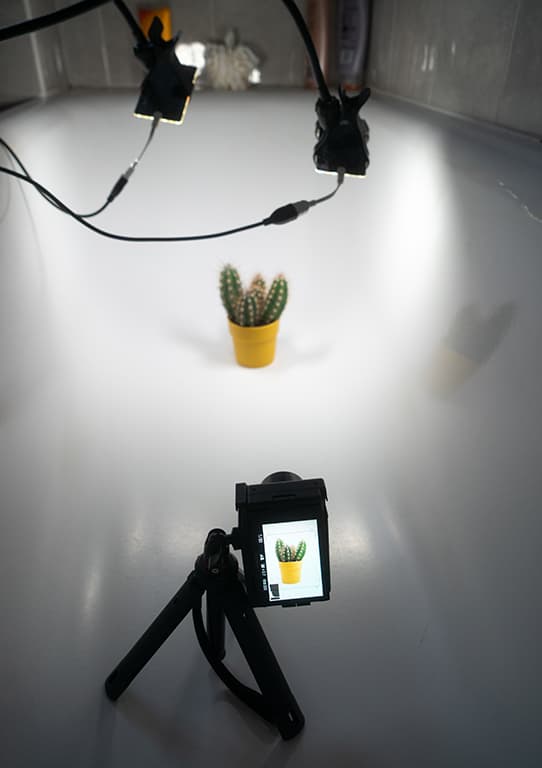
Location portrait using a lightweight portable flash kit
Along with a tote bag in your EDC (Every Day Carry) kit, it’s also worth carrying a small carabiner clip and length of cord clipped to your camera backpack or shoulder bag to attach to a light stand. You can also slide your camera bag handles over the light stand riser to provide stability.
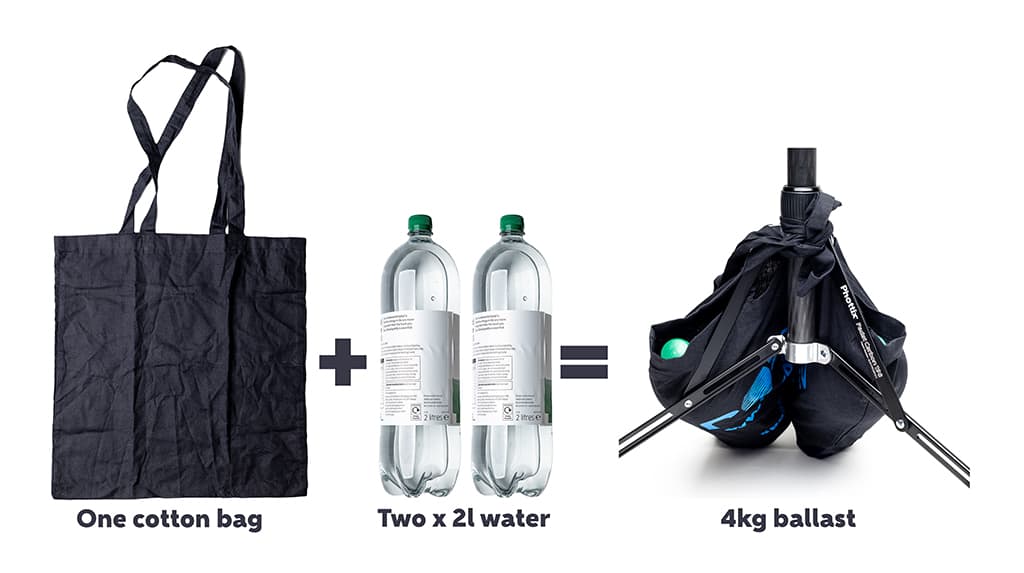
You can create a 4kg ballast with a shopping bag and fizzy water
Ankle weights
Ankle weights, the kind used for fitness training, are a great alternative to steady lighting grip. They are inexpensive and available from many online sellers. They wrap securely around light stands or lighting booms using hook and loop tapes.
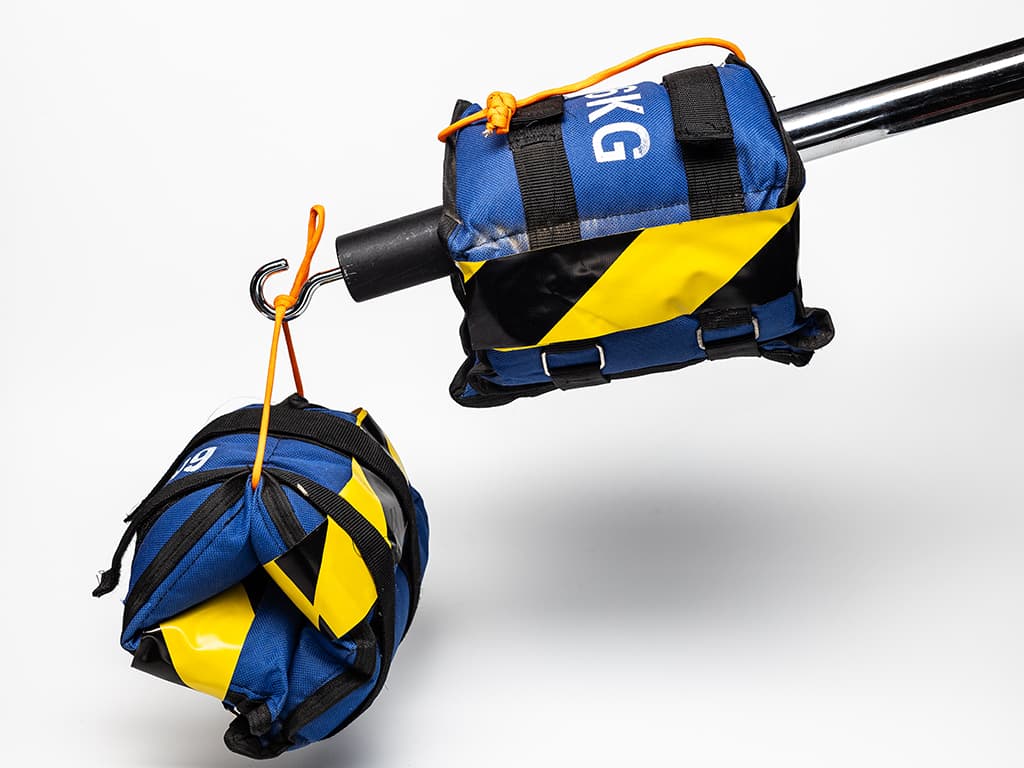
They’re ideal for use on booms, and are available in varying weights so you can fine-tune the counter-balance weight and also slide along the boom.
Ankle weight used to steady a lightweight tripod
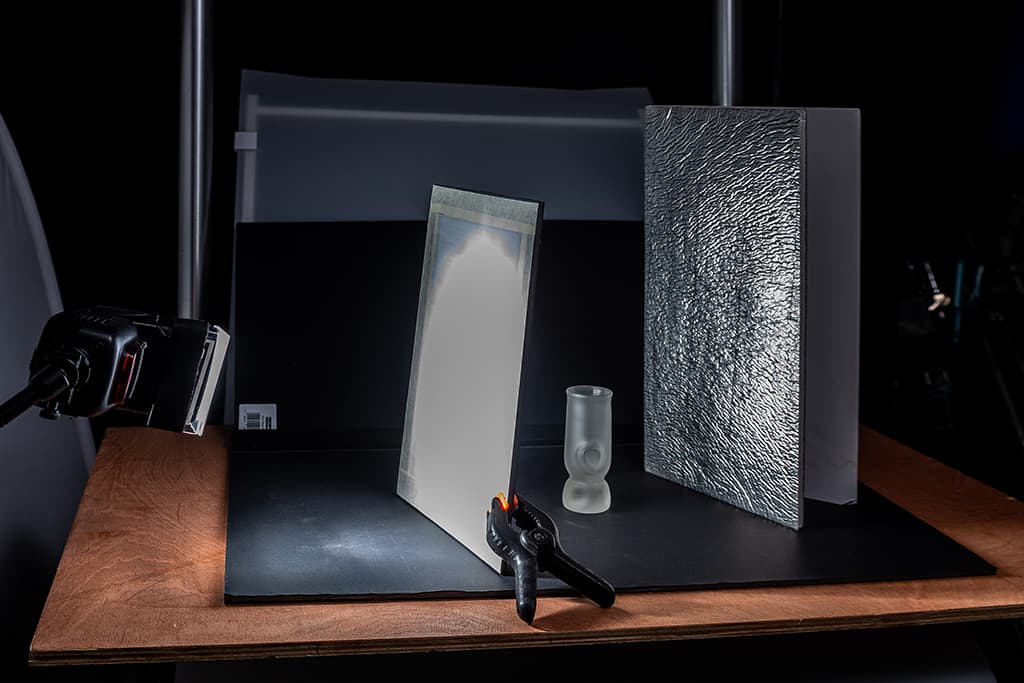
Diffusion and refraction hacks: foam core sheets
The ability to control light, for many, is a revelation – whether by diffusing a light to soften it, bounce to redirect, flag to reduce or remove it from part of a set, or even create patterns. All these things can be achieved with inexpensive materials available from hobby and craft suppliers. It’s worth having an assortment of white, black and grey foam core sheets which are lighter, easier to cut and more rigid than cardboard sheets.

Finished image where a cookie has cast a shadow from a hard undiffused light on the background
White foam core sheets can be used as reflectors either flat or joined to make v-flats. Black foam core sheets can be used as flags to control light spill or as cookies to create patterns with light – Venetian blind slats and leaf-like break-ups are typical examples.
Don’t confuse cookies and flags with gobos. Gobos (GOes Between Optics) are used with optical spotlights to create patterned light and are made from heat-resistant glass or stainless steel. Diffusion can also be achieved with white Ripstop nylon, the textile used to make kites and sails, or white Perspex.
Small-scale diffusion frame cut from an A4 sheet of black foam core board with Ripstop nylon taped in place to provide diffusion. This is ideal for small tabletop sets where larger diffusion panels would be impractical
Both offer varying degrees of diffusion. Ripstop nylon is easy to work with. It can be clipped to a simple boom made from wooden dowel or plastic pipe. For more control it’s possible to make a frame from plumber’s plastic waste pipe.

Cookie cut from an A2 sheet of black foam core board
Must-have accessory
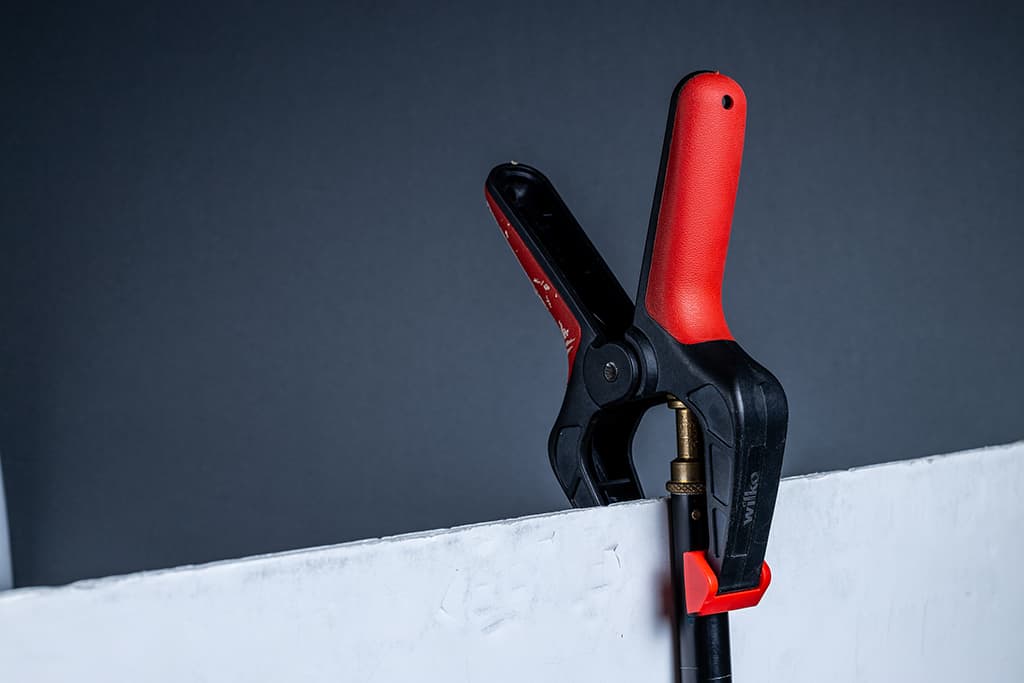
The humble a-clamp is available in many sizes and is one of the most useful accessories to have in a studio. They are commonly available from household and DIY stores. You can use them for holding backdrops to stands, clamping cookies to frames, keeping reflectors in place, controlling unruly mains cables and to pull in badly fitting garments. You can never have enough clamps!
Diffusion and reflection hacks: water pipe frame
The water pipe diffusion frame can be made from a couple of lengths of 21.5mm plastic pipe, four 90º connectors, two T connectors, two swept elbow connectors, a length of 3mm elastic shock cord and wall-mounting clips to hold the diffusion material in place. Total cost is about £20.
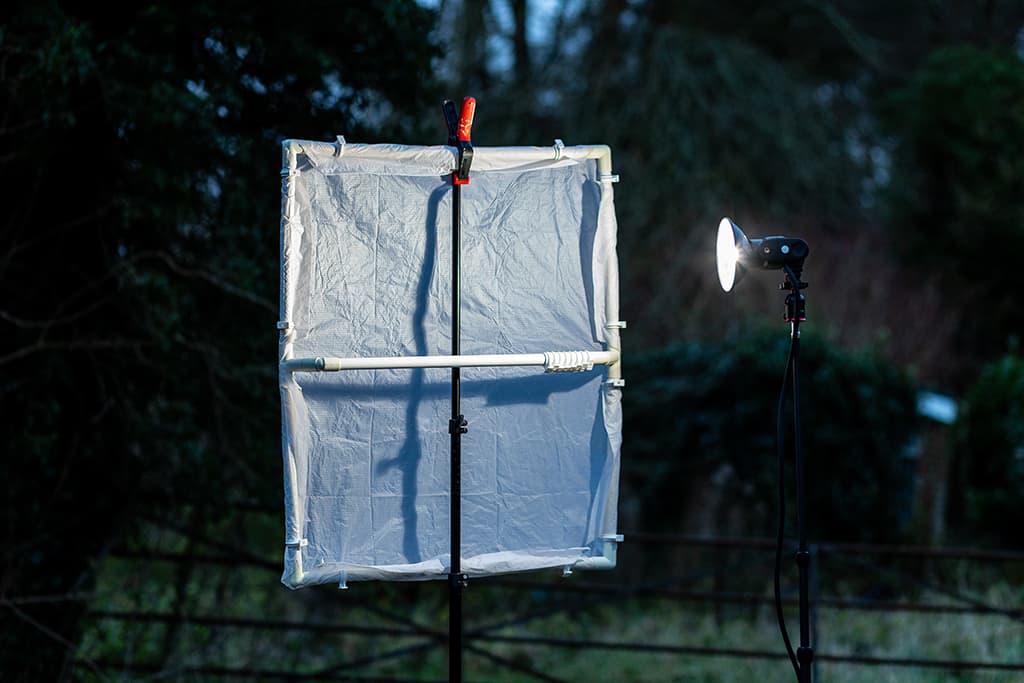
Diffusion panel made from solvent weld water waste pipe and RipStop nylon. The quality of light is as good as off-the-shelf products costing up to ten times more
Remember that if you have access to a plumber’s merchant, the materials will be less expensive than at a retail hardware or DIY store. The frame used for this feature is 80x65cm. It is possible to make larger frames but do bear in mind that when used outside they make great sails!
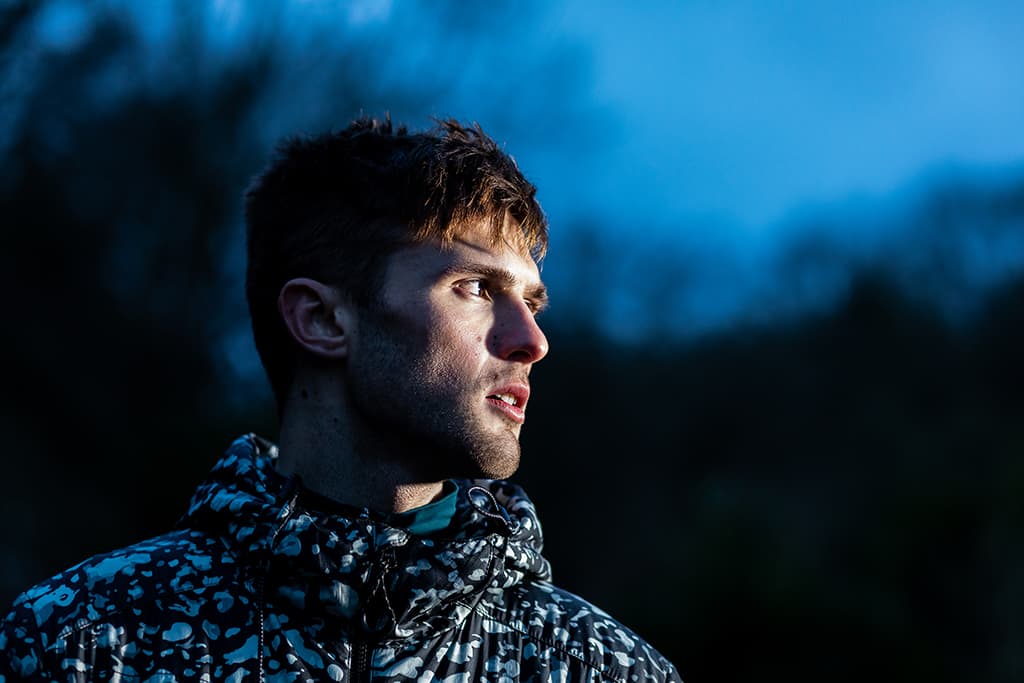
Without diffuser: direct undiffused hard light from a portable battery flash with an open face reflector. Notice the hard shadow edge transition and bright highlights
By placing a diffusion panel between the model and light, the lighting quality is improved. The light is softened – see how the shadow edge transition is longer and less hard and highlights softened, reducing specular shine
Cone of shame
If your pet has been unfortunate enough to need a ‘cone of shame’, don’t recycle the cone once they’ve healed.

The translucent plastic type makes ideal light tent style diffusers for close-up and macro photography projects – diffusing the main light source and filling shadows giving more even lighting from daylight, off-camera hotshoe flashes or even a household table lamp.
Bare undiffused Speedlite flash gives hard-edge dense shadow and bright specular highlights
Speedlight flash diffused with veterinary cone of shame. This softens the light with similar characteristics to a white textile diffusion panel whilst maintaining bright specular highlights
Part two

Your guide: Richard Sibley
Richard Sibley is a freelance writer, photographer, journalist and reviewer, and former Deputy Editor of Amateur Photographer. See his website or find him on Instagram at @richsibley.
Flat stand
Flats are great for backgrounds, shaping light or even to act as an acoustic barrier when shooting video. However, being lightweight and portable also means they need a little help to stand up. Whilst there are commercially available stands for ‘flats’ a simple solution is to use a bike stand, which will cost between £10 and £20, and you’ll most likely need a pair.
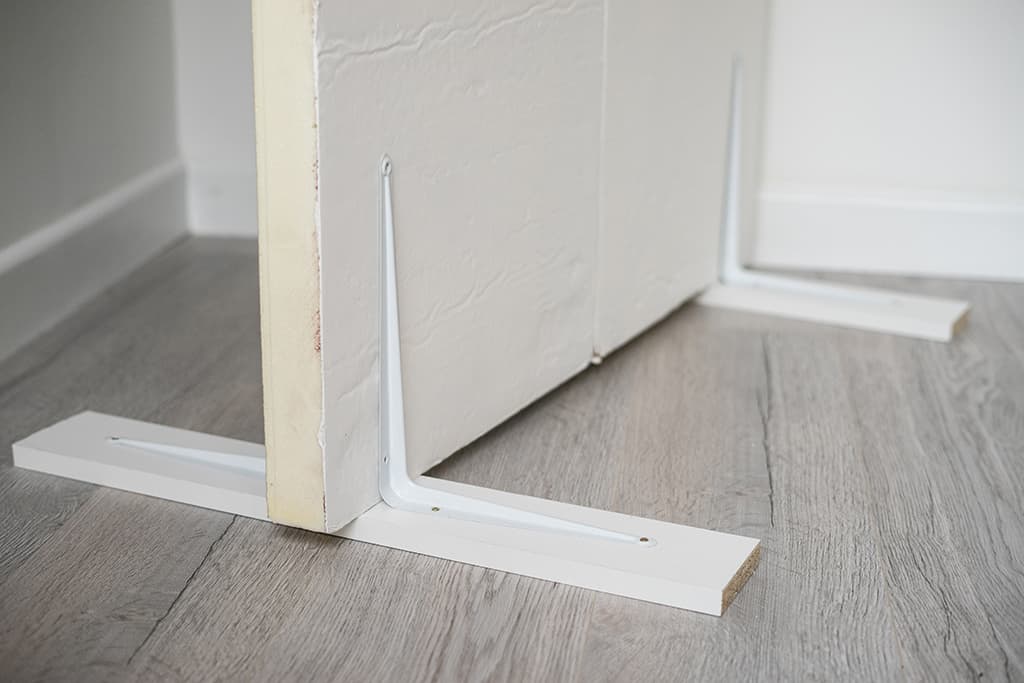
A simple DIY solution that may cost less than £5 for a pair is to use a scrap length of wood to act as a base, then two cheap shelf brackets to act as the upright supports. Simply screw the brackets to the wood as though they were bookends. Make sure the gap in between is slightly bigger than the width of your flat and you will be good to go!
Infinity cove
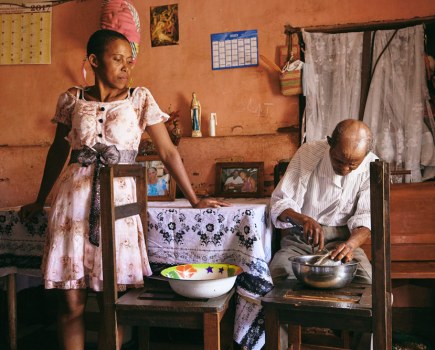
Using paper or card to create a background curve is simple, but what if you want an infinity cove so you have more flexibility shooting from the side? Well, chances are you already have one in your house, albeit a small one – your bath!
Give it a good clean, add some lighting (you may need to get creative here) and you have a tiny, although slightly awkward to use, infinity cove for still-life objects.
A bath is a great location to set up still-life shots
Backgrounds
Scrap materials can make for interesting backgrounds for portraits or still-life shots. Painted cardboard or old sheets or curtains, can make ideal portrait backdrops, whilst scraps of wooden flooring or metal sheets can make for interesting still-life backgrounds.
The possibilities are endless when it comes to using scrap materials for still-life backgrounds
Many DIY stores have a scrap bin of discounted wood, discontinued ceramic tiles or other interesting materials. Check your shed or garage for old tins of paint you can experiment with too. And if a neighbour is renovating a house there may be some interesting old flooring or wooden panels from wardrobes you can use. Open your eyes and see what you can find.
White balance tool
Getting the right white balance is especially important for getting skin tones correct when shooting portraits. Setting a custom white balance is always the best option when colour integrity is vital, but dedicated white balance cards may not be cheap, and you can’t rely on random pieces of white paper to be totally neutral – pick up a few different pieces of white paper to see for yourself.
A simple solution is to use PTFE plumber’s tape. Polytetrafluoroethylene tape reflects nearly all of the visible colour spectrum, meaning it is perfect for taking a white balance reading. The catch is that PTFE is also known under the trademark Teflon, so as you can imagine it isn’t the easiest of materials to stick.
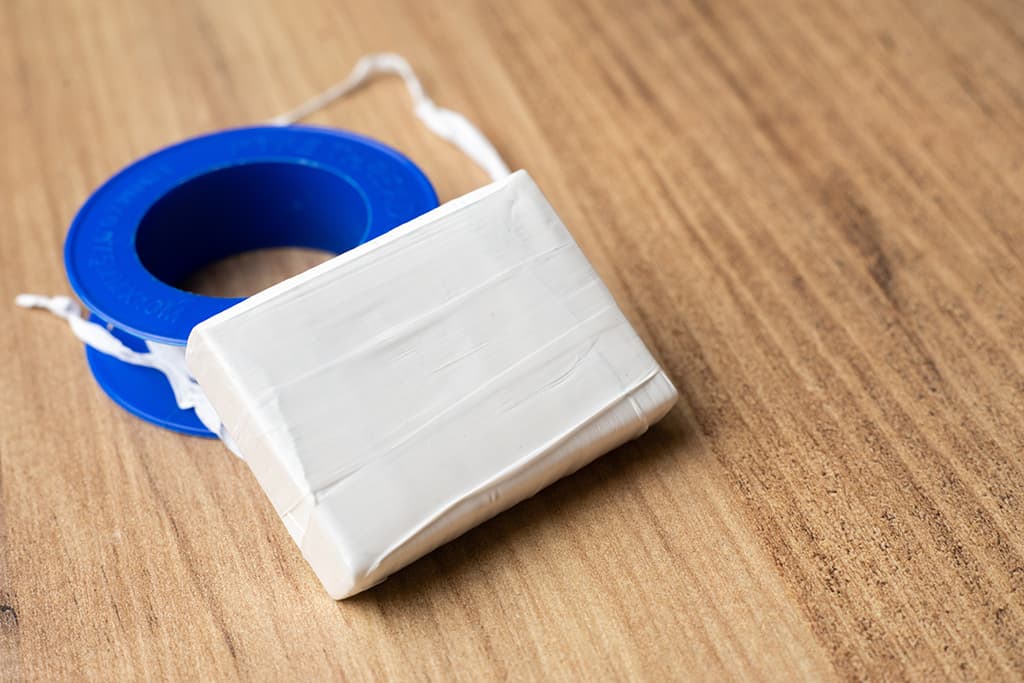
The solution is to wrap it around a pencil eraser. Do this four to five times as the tape is slightly opaque. It can then be used to set an in-camera white balance reading or used as a reference in post-production. For more on this hack see here.
Must-have accessory
Many smaller accessories, such as action cameras and small tripods, now come with built-in magnets. These make it easy to mount cameras or small lights on to metal surfaces. It’s quite easy to make your own such accessories using small but powerful neodymium magnets.
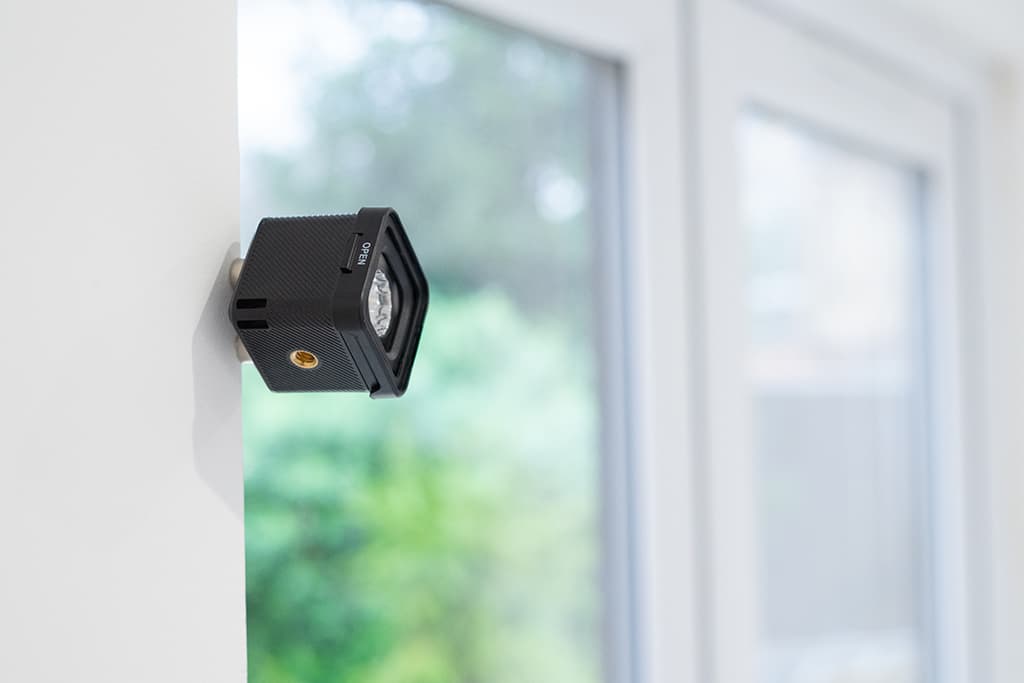
Simply add a magnet using glue or even Velcro. You may even find that you can find magnetic spots under plaster in your house; metal strips are often used to support plaster corners!