Photography is an expensive pastime, but it’s not all about spending thousands on the latest DSLR. Four top pros and eight readers reveal some clever ways of keeping costs down.
Ross Hoddinott
Ross Hoddinott is one of the UK’s leading outdoor photographers. He is multi-award winning, and the author of eight books. Ross is recognised as a close-up specialist, and enjoys photographing insects and wild plants. Visit www.rosshoddinott.co.uk.
Wimberley Plamp

I think the latest version might cost closer to £40, but when I originally bought my Wimberley Plamp – around 10 years ago – they cost £29.95. For close-up photographers, this is a really handy, lightweight accessory. Basically, it is an articulated arm with a clasp at each end. One clamp attaches to your tripod leg, while the other can keep your subject steady or hold a reflector or light in position. It’s like having a extra hand!
Close-up diopter
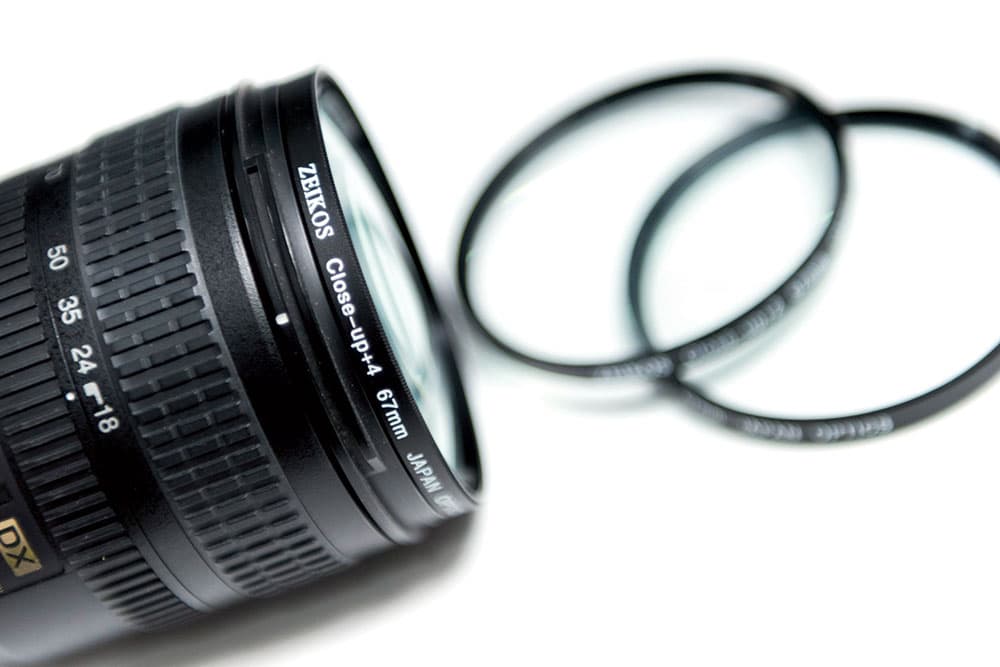
The best budget item I’ve ever bought is a humble close-up filter. Twenty-five years ago, I spent £10 of my precious pocket money on a set of diopters – and they got me hooked on shooting nature and close-ups. They act like a magnifying glass, converting a normal lens into a close- focusing one. You can still buy them for less than a tenner – an absolute bargain!
Guide to Bird & Nature Photography by Laurie Campbell
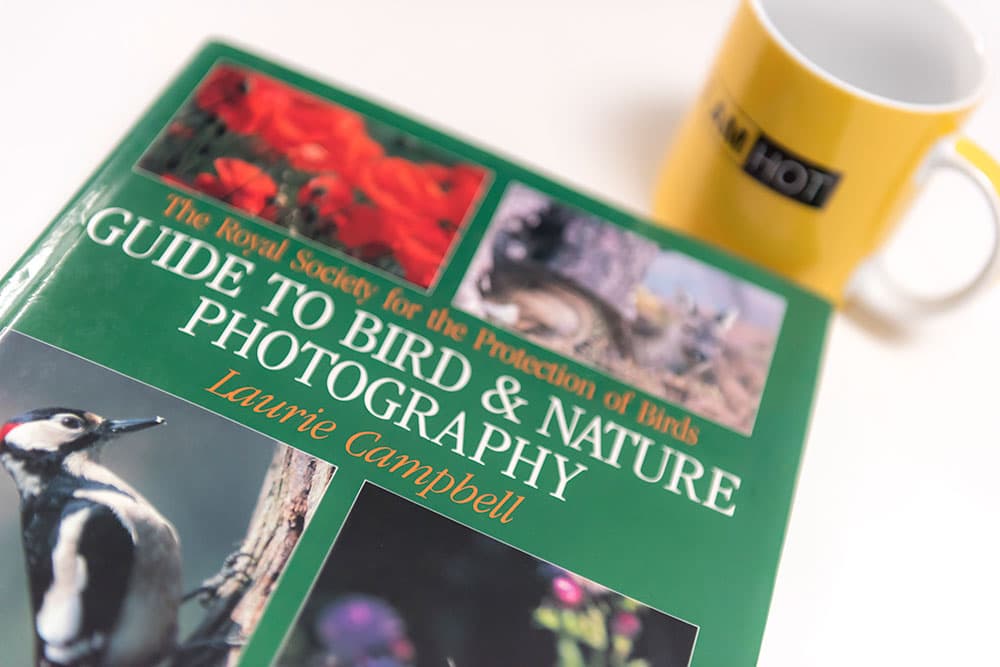
One of the best ways to develop your camera skills is to study the photography of working pros. I bought this title in my teens. Laurie’s images proved to be an inspiration, and his knowledge invaluable. The book might look a little dated now, but I still flick through it from time to time. Photo books, or a subscription to a photo magazine, can prove to be money well spent.
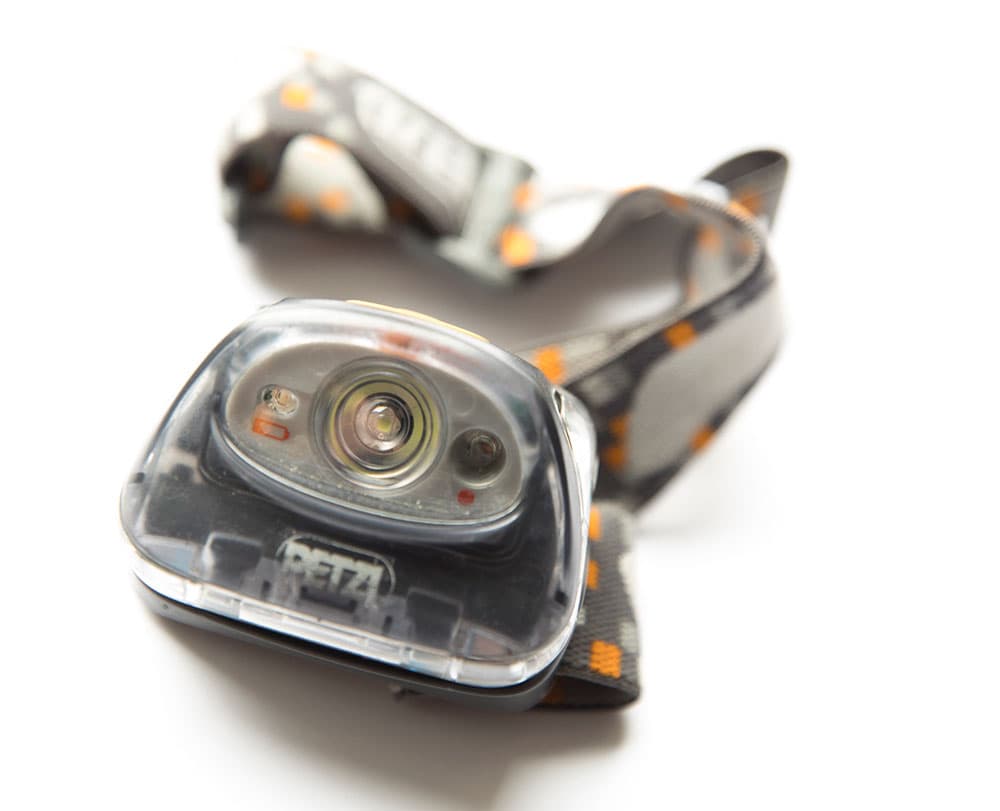
Petzl head lamp
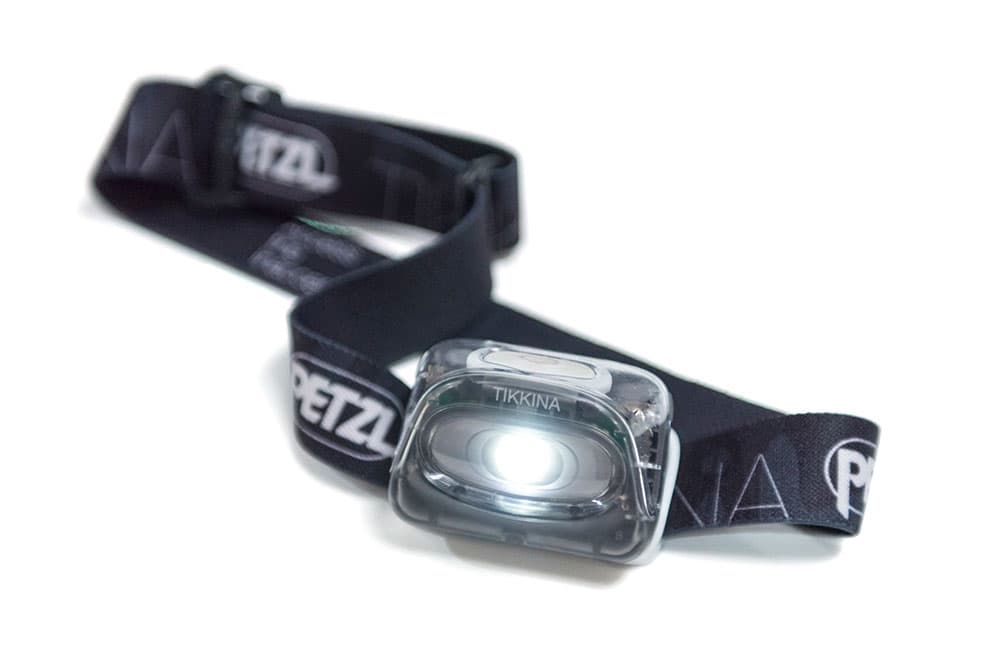
A head torch is an essential item for outdoor photographers. I opted for a Petzl Tikkina, costing £17.95, but there is a huge choice. I often walk to a viewpoint before sunrise or return after dark. A torch allows me to see where I’m going and keep safe. The advantage of a head torch is that it allows you to keep your hands free – perfect when trying to set up or pack away kit in the dark.
Lens wipes
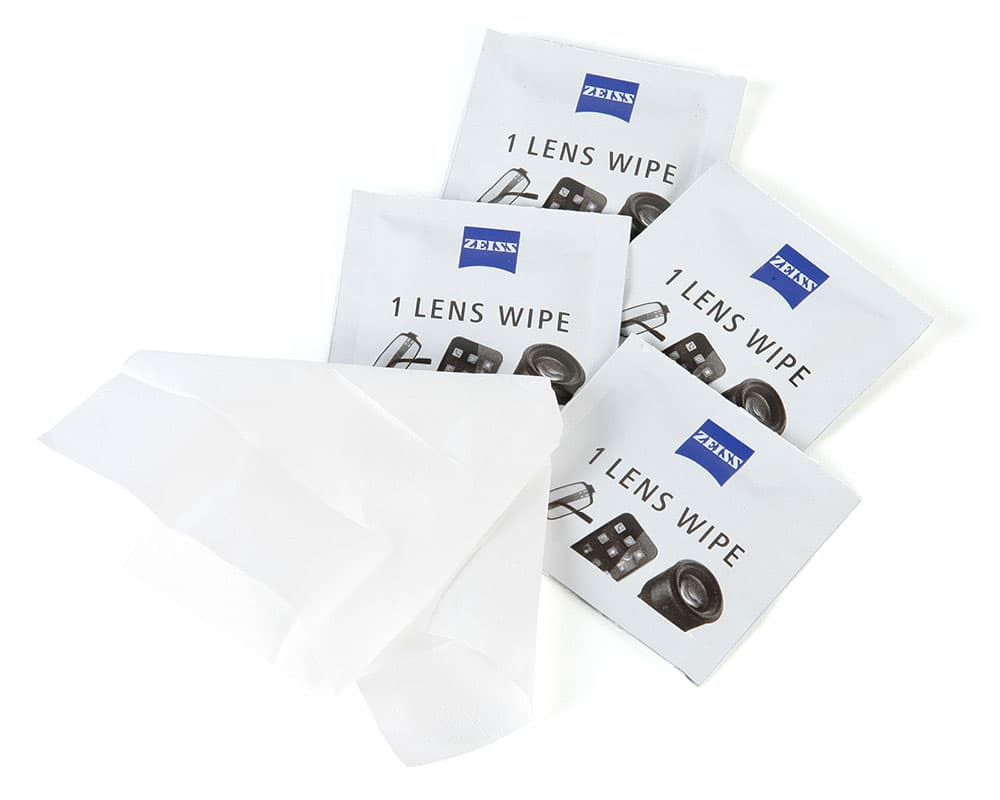
I live close to the coast and often shoot seascapes. But sea spray can ruin a good shoot. Once a lens or filter is smothered, it is difficult to continue – a normal lens cloth soon gets damp and just smears spray, making the problem worse. I’ve found these disposable lens wipes to be a great solution. They are moist, micro-fine tissues, individually wrapped. They cut through salt spray and give you another opportunity to get a clean shot. A real life saver! You can buy a box of 200 for under £10.
Jeremy Walker
Jeremy Walker is an award-winning professional photographer with many years’ experience specialising in landscape and location photography. A belief in ‘quality is everything’, and a meticulous approach serves him well. Visit www.jeremywalker.co.uk.
Lighting filter swatch
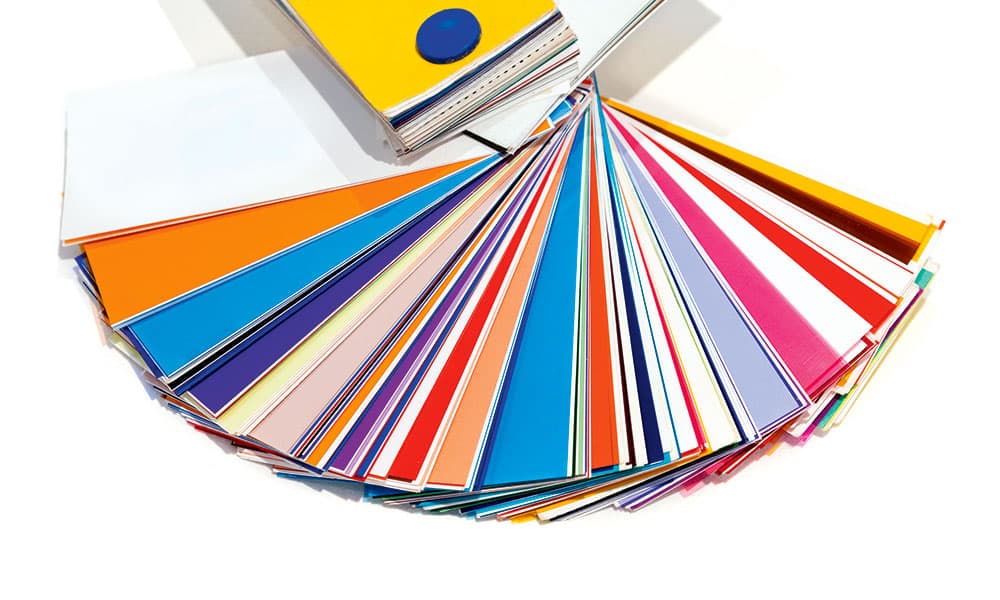
I have used a complete sample book of coloured lighting filter gels for colouring the output from flashguns. Just cut out the colour you need and tape it to the flashgun. I have to admit that I did this when I was a penniless student, and nowadays filter companies are rather reluctant to hand out big swatch books.
Chamois cloth and bulldog clip
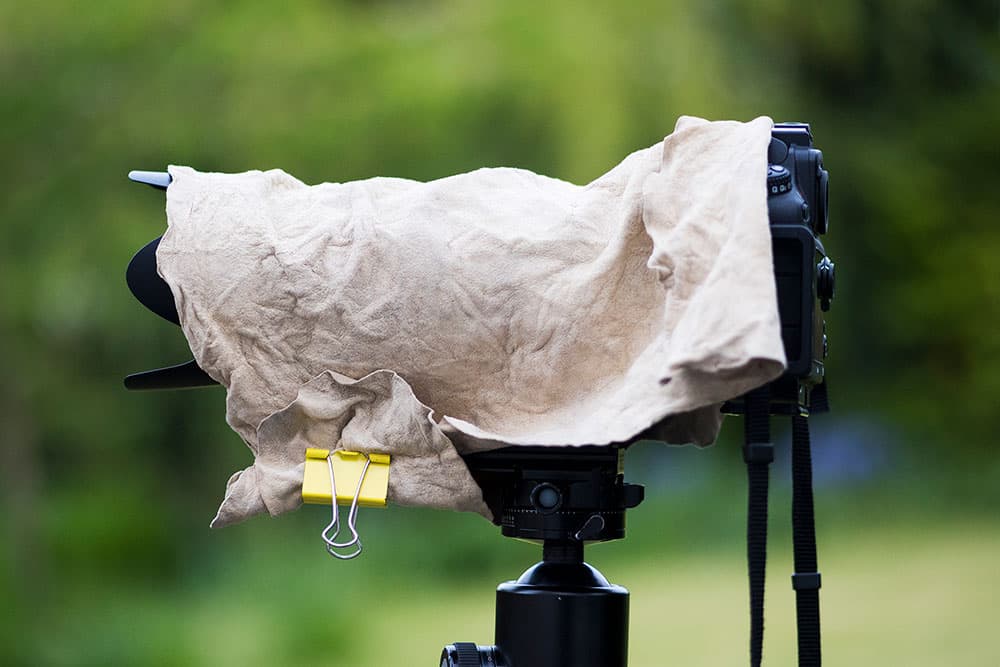
These are really useful for covering your camera and lens when shooting in conditions, such as snow or light drizzle, to protect the body and lens from moisture. It is also useful for working near the sea and keeping sea spray off your kit, or when working in dusty environments.
‘Wiggly Worm’ articulated arm
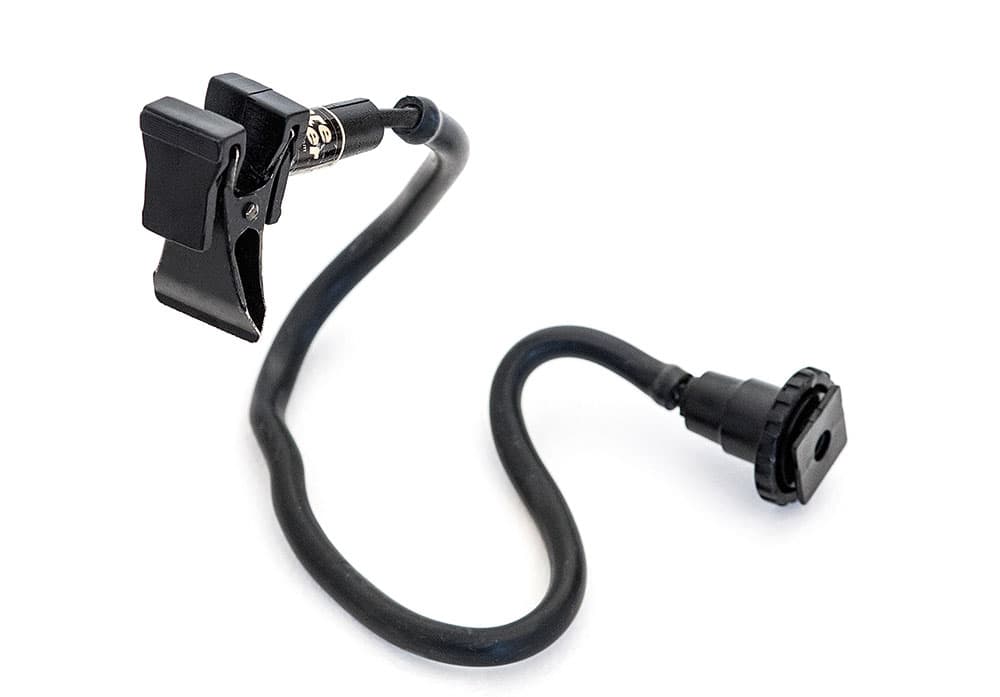
This is an articulated or bendy arm that has a crocodile clip at one end and can be fitted to a camera’s hotshoe. Used to hold a piece of black card, it’s a very accurate way of shielding filters from the direct glare of the sun, especially if your filter holder cannot take a lens hood.
Hotshoe cover and spirit level
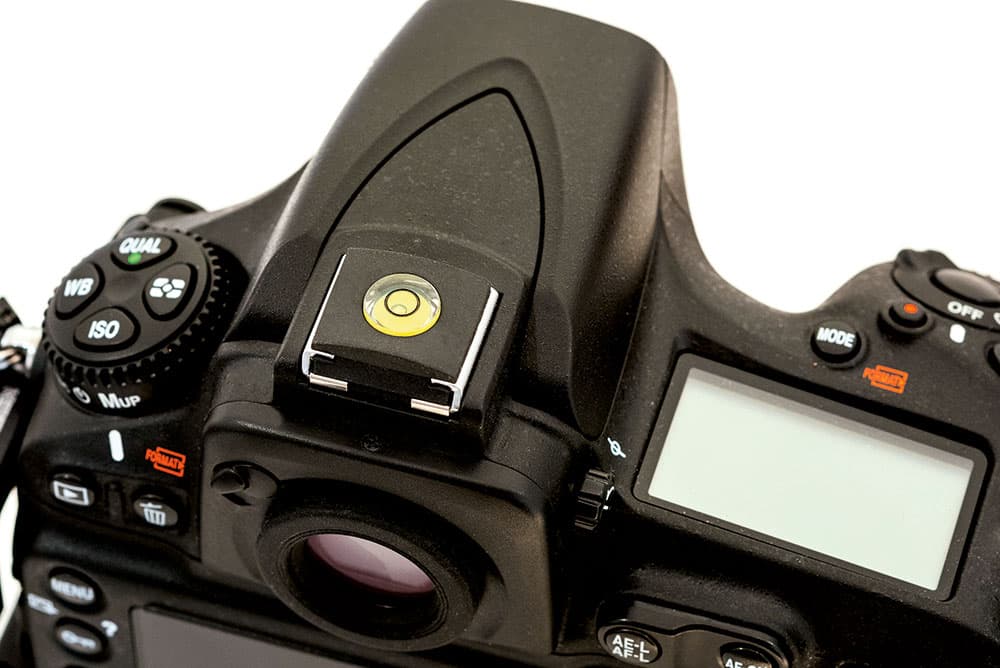
This is a small rubber hotshoe cover and spirit level all-in-one. Great for protecting the hotshoe when working on the coast where there is plenty of sea spray (and salt) and for keeping moisture off the metal contacts. Yes, I know my camera has a built-in level but this gadget is handy for a quick glance, especially when you are in a hurry.
LED torch
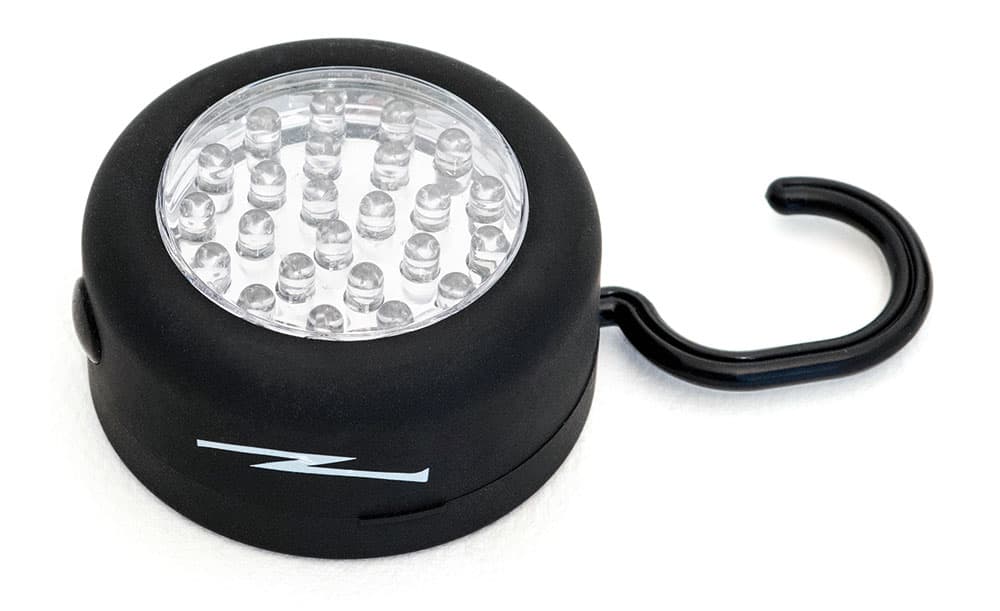
A very small, bright and useful torch from a high-street outdoor shop. It’s very small and handy for fitting into little nooks and crannies, when you need a small area of illumination when shooting interiors. It’s also very useful for illuminating icebergs stranded on the beach in Iceland!
David Noton
David Noton is a leading landscape and travel photographer who runs his own successful freelance company from Sherborne in Dorset. His clients include The National Trust, Royal Mail and Canon. He is the author of several books. Visit www.davidnoton.com.
Head torch
My wife Wendy does get a bit twitchy when I wear my head torch in dimly lit restaurants, but I find mine so useful, and not just for deciphering menus! This is one piece of kit I wouldn’t be without on a dawn or dusk shoot; it’s a lifesaver.
Fingerless gloves

Even in midsummer, it can get pretty fresh in the hours before dawn on exposed hilltops while waiting for the light. I find fingerless gloves so useful, I keep pairs stashed away in key places – my bag, the car and various jacket pockets, but I still lose them! They also serve as a useful first layer in winter.
Bungee cord
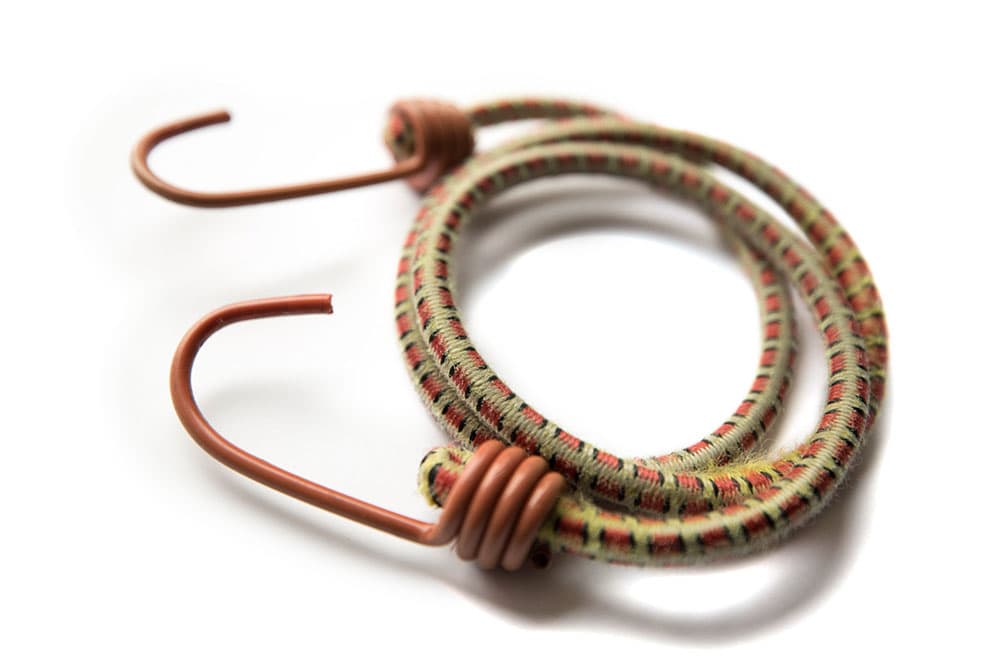
Carbon-fibre tripods are sturdy yet light, which is all well and good, but sometimes I need weight to give additional stability to my camera support, especially when the wind is up. A handy trick is to suspend my laden bag from the tripod using a bungee, not with it swaying in the wind, but just brushing the ground.
Money saving tips continued…
Ordnance Survey app
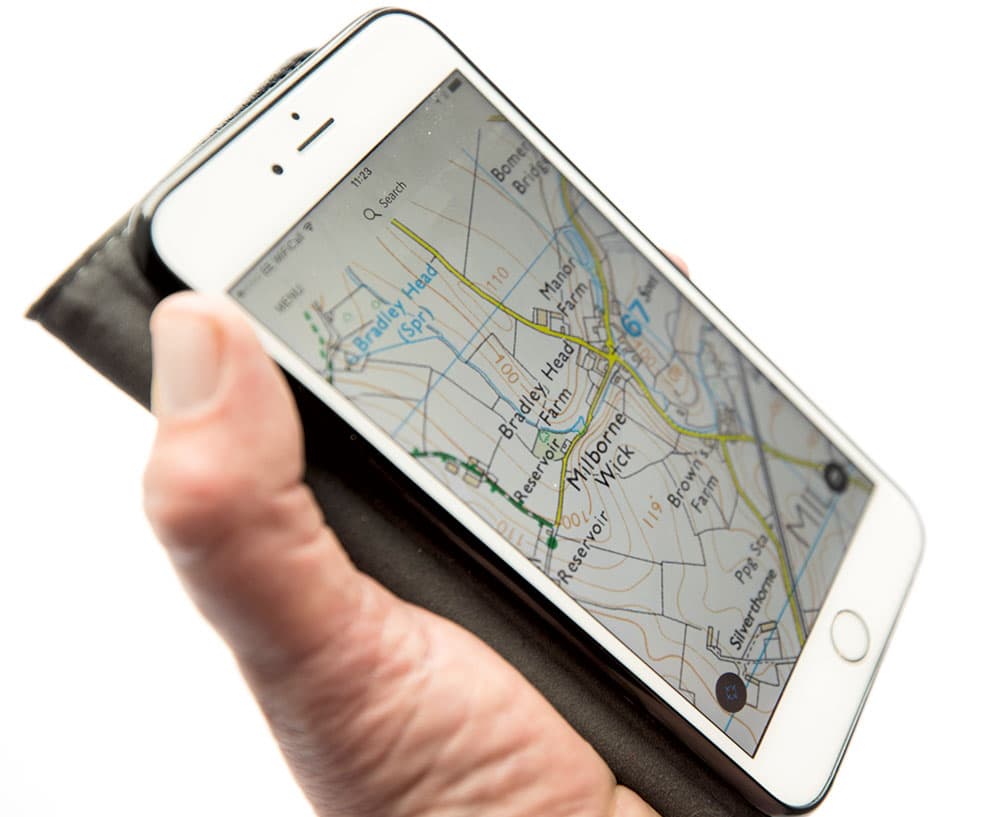
A good map is a must for a landscape photographer. The Ordnance Survey app means that I always have one handy on my phone to tell me where I’ve been in life, and where I’m going. The app is well worth the cost.
Pork pie
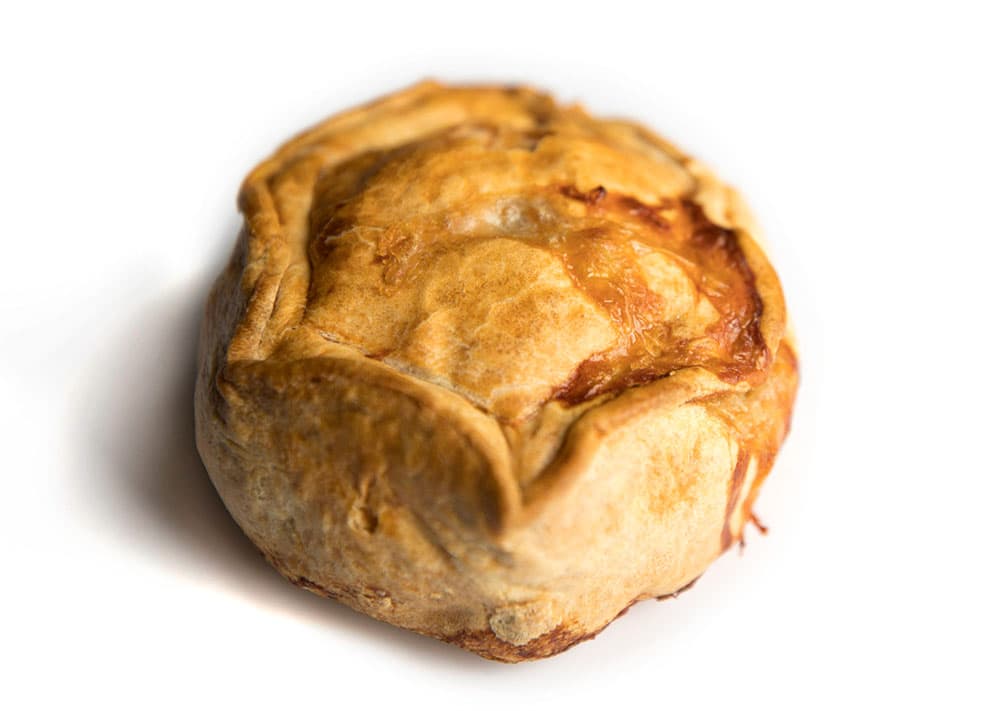
I routinely wait hours for that one shaft of light that sometimes never comes. A pork pie stashed away in my bag above my 24-70mm lens provides a quick lift. Our local butcher is my preferred supplier, but M&S also does a good pie – nice and peppery.
Ben Hall
Ben Hall is one of Britain’s foremost professional wildlife photographers. He is driven by the need to protect Britain’s fragile ecosystems, as testified by his work for the RSPB and other conservation organisations. Visit www.benhallphotography.com.
Neoprene battery pockets
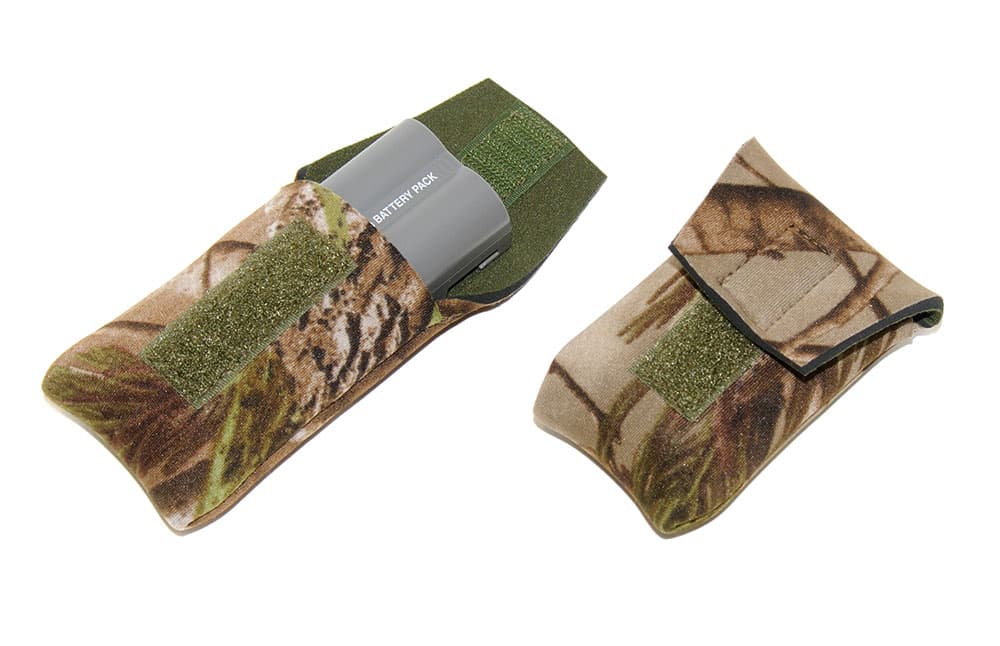
These lightweight battery ‘pockets’ keep batteries warm and protected when I’m out shooting in cold temperatures – thus prolonging their life a little. They also protect the battery terminals from possible short circuits, and are particularly useful when flying, as some airlines won’t allow a battery on board with exposed terminals. Best of all, the pockets (from Wildlife Watching Supplies) only cost around £9.
Floating hide
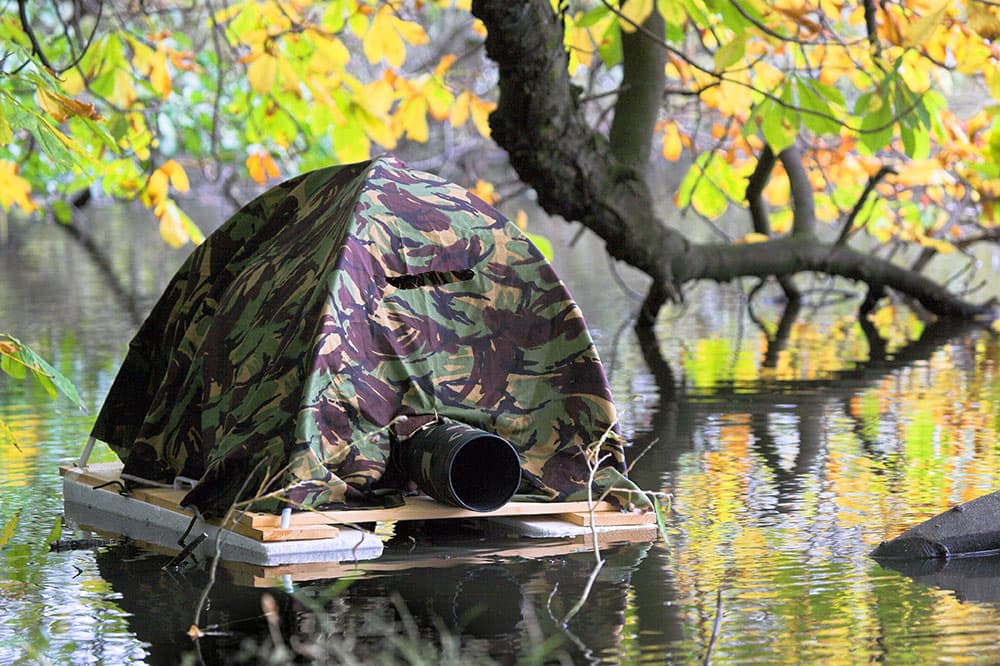
I made my own floating hide as cheaply as possible by sourcing wood from a local scrapyard. I then purchased the camouflaged material from an army surplus store and the polystyrene blocks from B&Q. The whole thing cost me under £30 and has been an integral part of my kit for more than 10 years now.
Micro fibre cleaning cloths
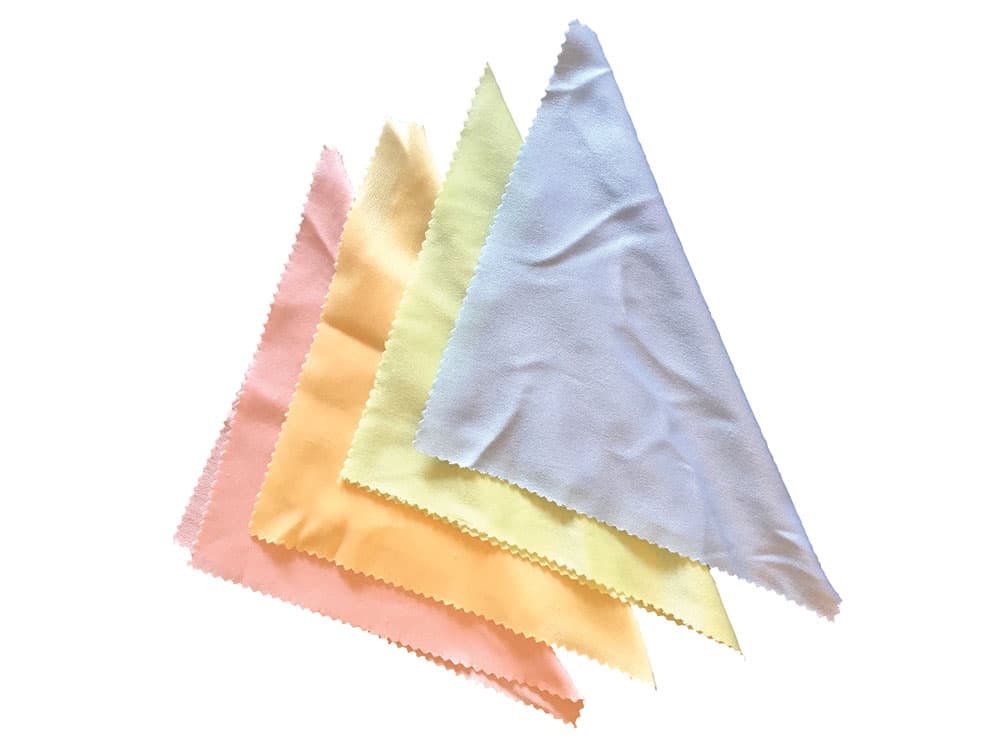
Cleaning cloths aren’t normally too expensive, but the lens-specific variety sold in camera shops can often be overpriced. I get mine from eBay, they do the job perfectly and cost just 99p for 20 cloths with free delivery.
Temporary hide

Hides can be expensive, but building one yourself can be done quite easily for less than £30. I have a semi-permanent hide set up at a feeding station, which I built using some wooden stakes sourced from a local garden centre, a sheet of waterproof tarpaulin and some camouflaged netting from an army surplus store. It has been up for several years now and cost me around £15 to build.
Chased by the Light by Jim Brandenburg
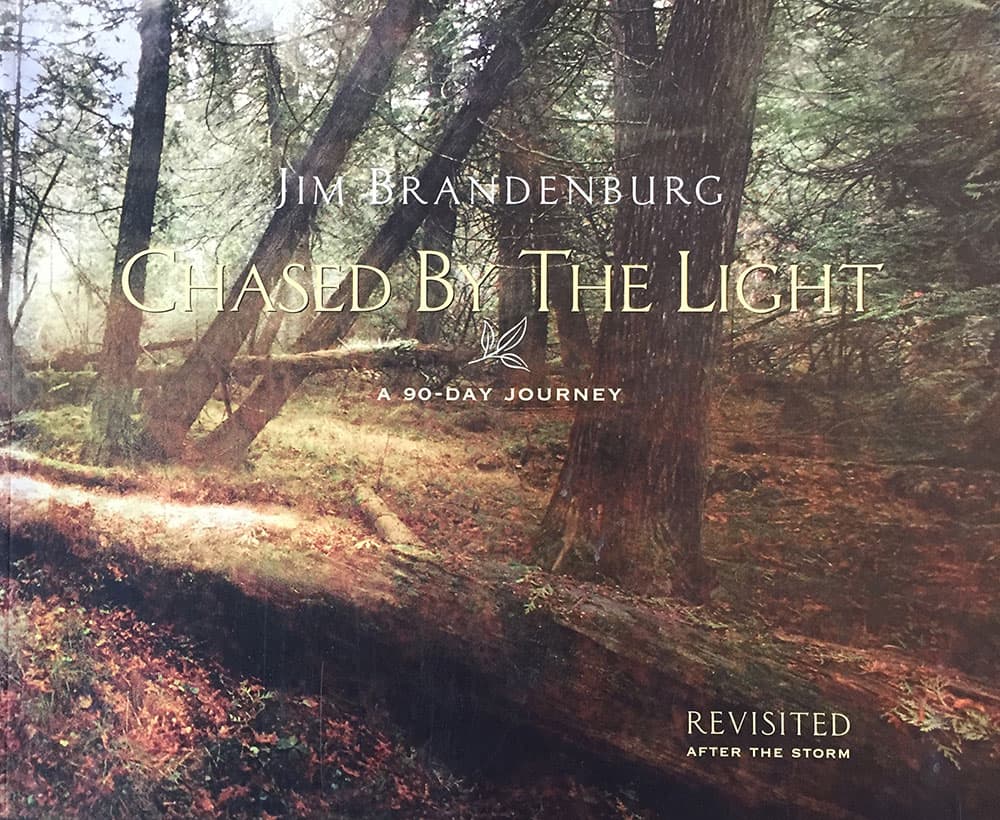
This is one of my favourite photography books and a continual source of inspiration. It is the culmination of 90 days’ work by nature photographer Jim Brandenburg, where he takes just one picture each day in his home forests of Minnesota. I think this book is even more apt in today’s digital age, where it is so easy to reel off hundreds of images without really thinking.
When we asked for your money-saving tips, you certainly delivered a raft of great ideas. It feels only right to share some of the best
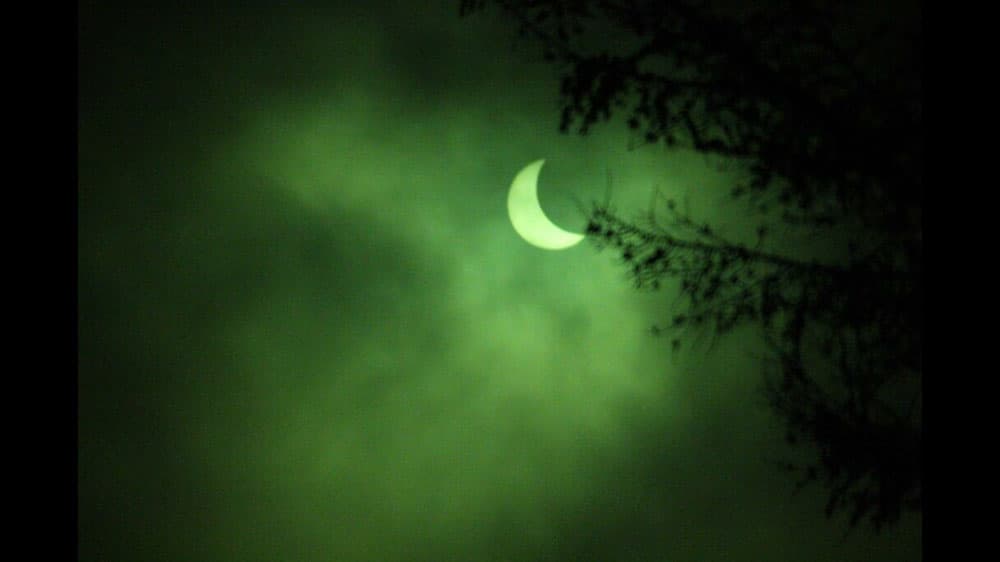
I wanted to take photos of the solar eclipse in March 2015, so I bought a welding glass lens for £4. This type of glass is found in welding helmets to protect the welder from UV rays. I used electrical tape to hold the glass to the front of my camera lens. Unfortunately, on the day of the eclipse it was overcast, so I had wait for breaks in the clouds. Kevin Carr, Lancaster
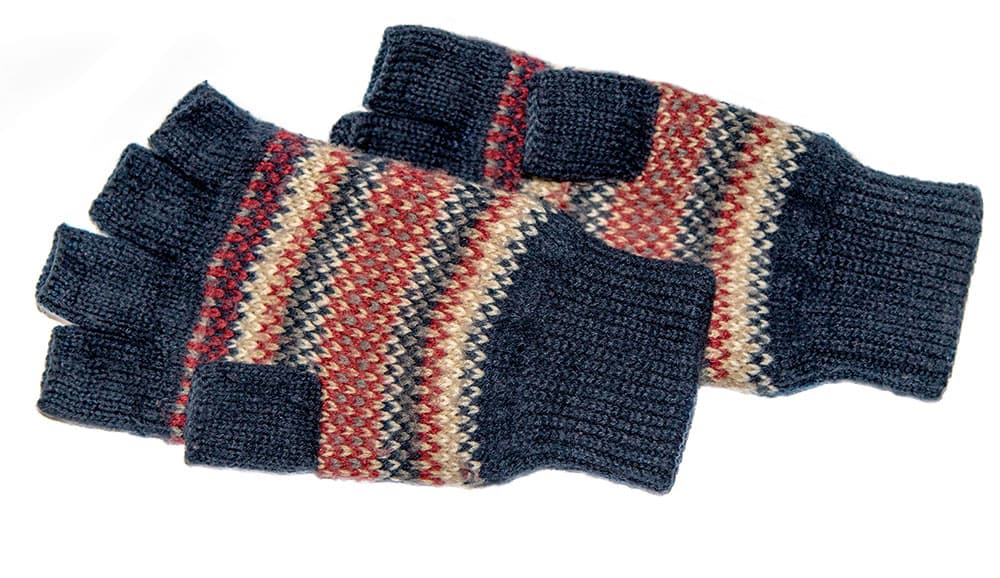
Fingerless woolly gloves are a must when shooting outdoors. I only paid £12 for my pair and I’ve got plenty of use out of them. Neck or shoulder straps are all well and good, but eventually you have to take your hands out of your pocket, and I find it easier to use a wrist strap and just hold the camera while walking around. I still have complete control over the camera settings, but my hands stay warm. Tony Evans, Nottingham
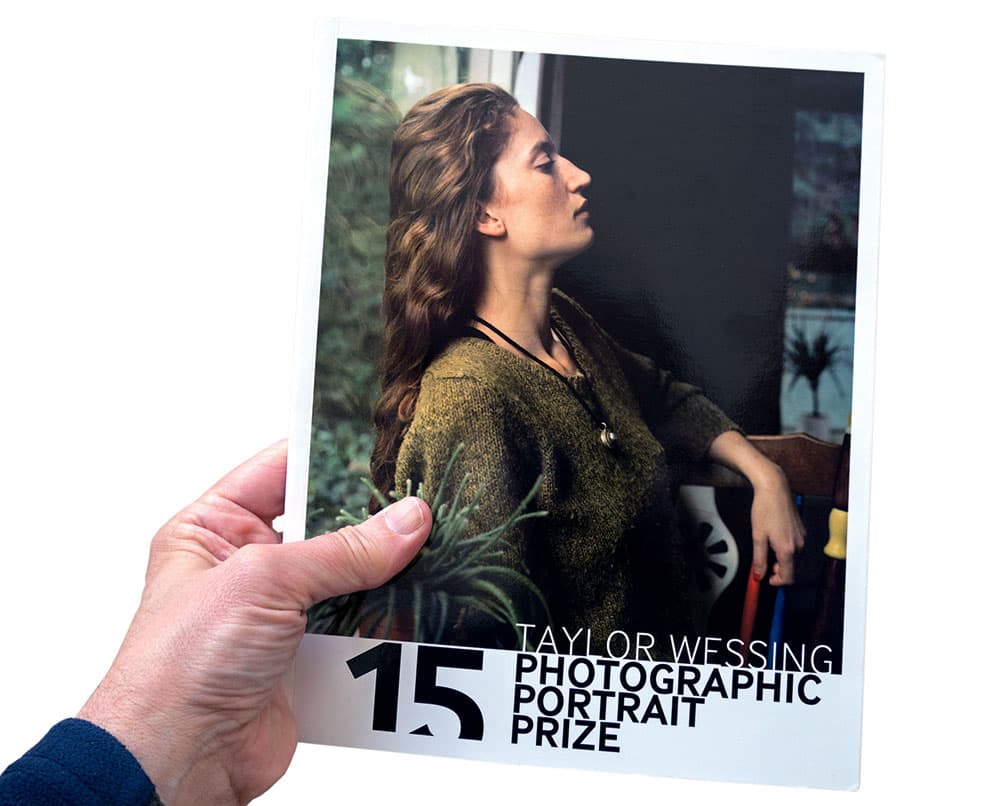
My last purchase for under £30 was the Taylor Wessing Photographic Portrait Prize 2015 exhibition catalogue from an Oxfam bookshop in Edinburgh for £4. I’m in the habit of calling into various charity shops and have picked up quite a few current as well as out-of- print photography books over the years. Four or five pounds seems to be about the average price. Alan Wilson, Edinburgh
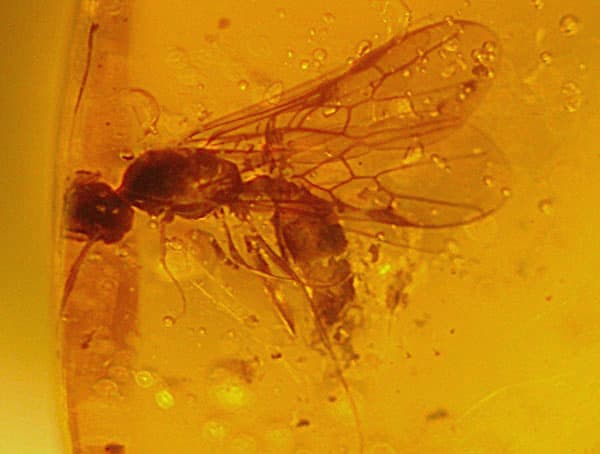
I once bought a rack-and-pinion mounting block for approximately £20 and a dumb extension tube (a tube with no electrical connections) for £6 in order to capture a magnified image of a fossil for my granddaughter. She had recently started a collection and I acquired a drop of amber with an embedded ant to give to her.
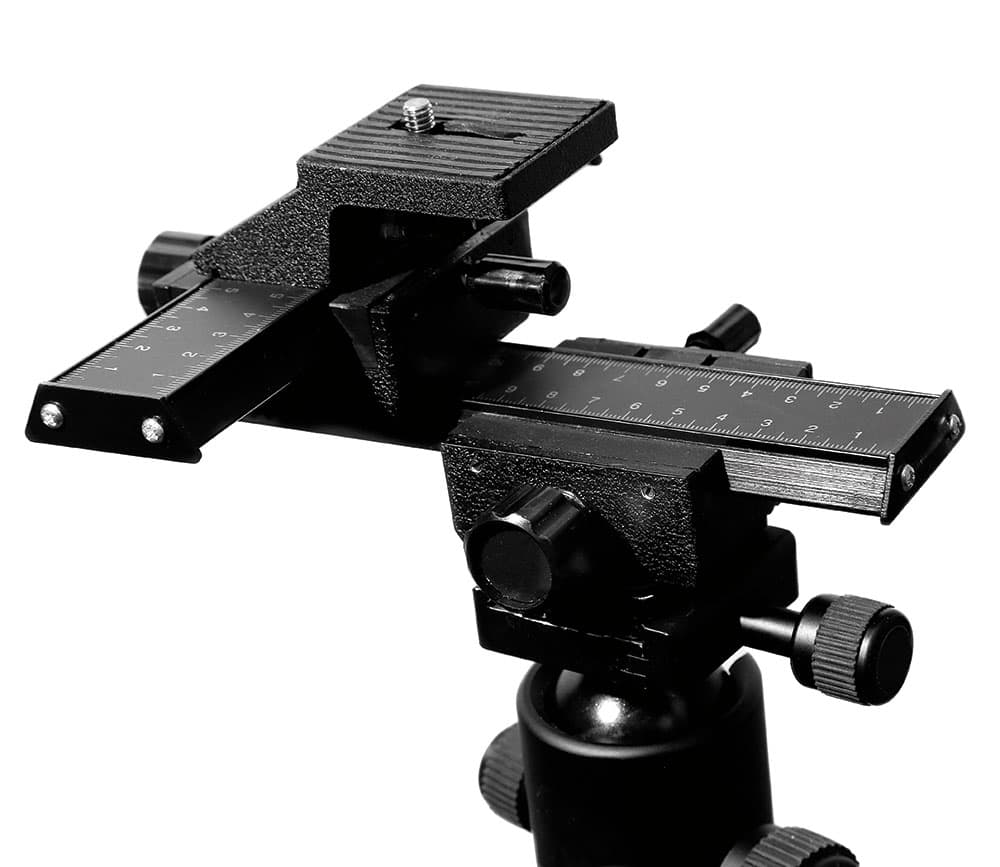
The ant was only 1mm long and extremely difficult to see. Unfortunately, my initial set-up didn’t work, as Olympus lenses do not function without proper connections. So I decided to tape an old Canon FD lens onto the front, as this does not need connections to function. I mounted the amber with a tiny bit of Blu Tack and lit it with a reading light. Roger Macdonald
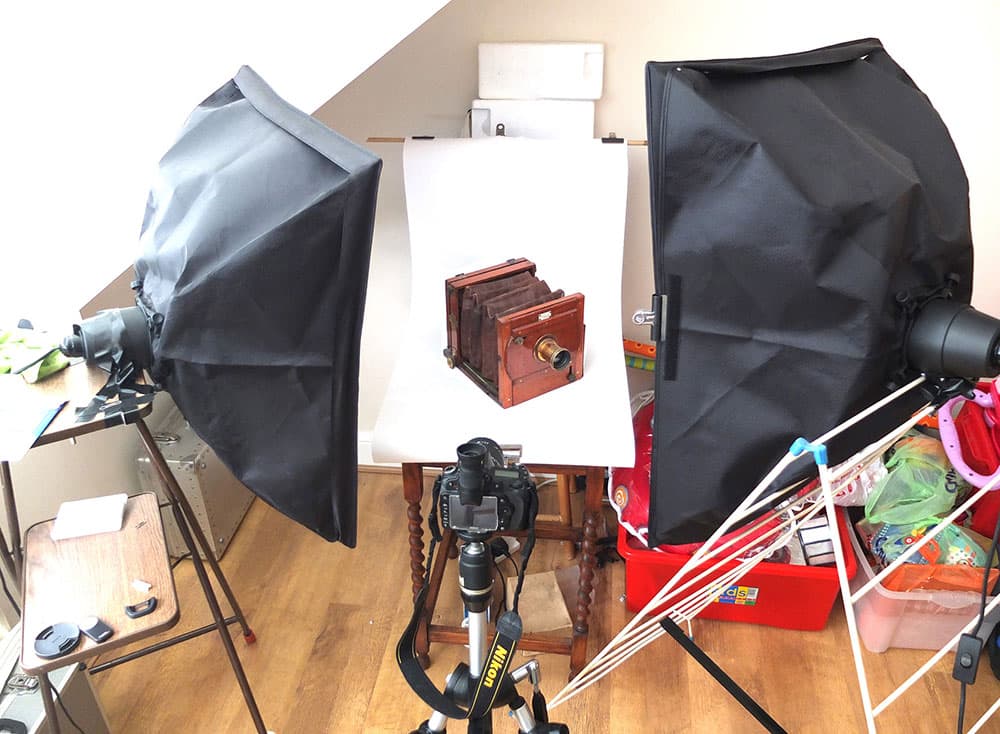
The set-up might look unorthodox, but John’s pictures of classic cameras prove it works
I’ve been taking a lot of pictures of classic cameras lately. They are needed for two projects: a book on retro photography and a series I am writing for AP. Both require cameras shot against a white background with shadowless lighting. ‘That’s easy for you,’ said a friend when he saw my work, ‘you’ve got a professional studio.’ Well, actually, I haven’t. Let me tell you about my so-called studio, which stands in the corner of a spare bedroom.
I have a table I bought from a charity shop. At the back of it, a stout cardboard box stands on its end with a bamboo stick from the garden fixed to its top end with gaffer tape. At each end of the stick there’s a bulldog clip, which holds the white background – which is decorator’s lining paper bought by the roll at B&Q. The paper curves down across the table and is fixed at the other end with another large bulldog clip.
Light comes from two large softboxes containing daylight bulbs and bought on eBay for just £30. They didn’t come with lighting stands, so one is fixed to a clothes dryer that my wife was about to throw out and the other is fixed to an old projector stand that has been sitting in my garage since pre-digital days. The softboxes are lashed to their makeshift supports and held firmly in place with more gaffer tape.
When I lean forward to adjust a camera for each shot, I have to be careful not to bump into the lighting set-up in case the whole lot collapses. Not exactly a professional studio I know, but you know what? The pictures I get from it look terrific. John Wade, freelance writer and photographer. To see more of John’s work visit www.johnwade.org

I bought a second-hand Canon EOS 1000D, which I took apart to remove the IR filter. This shot was taken with the camera from my garden and shows the Orion Nebula. Dave McKeegan, Cheshire
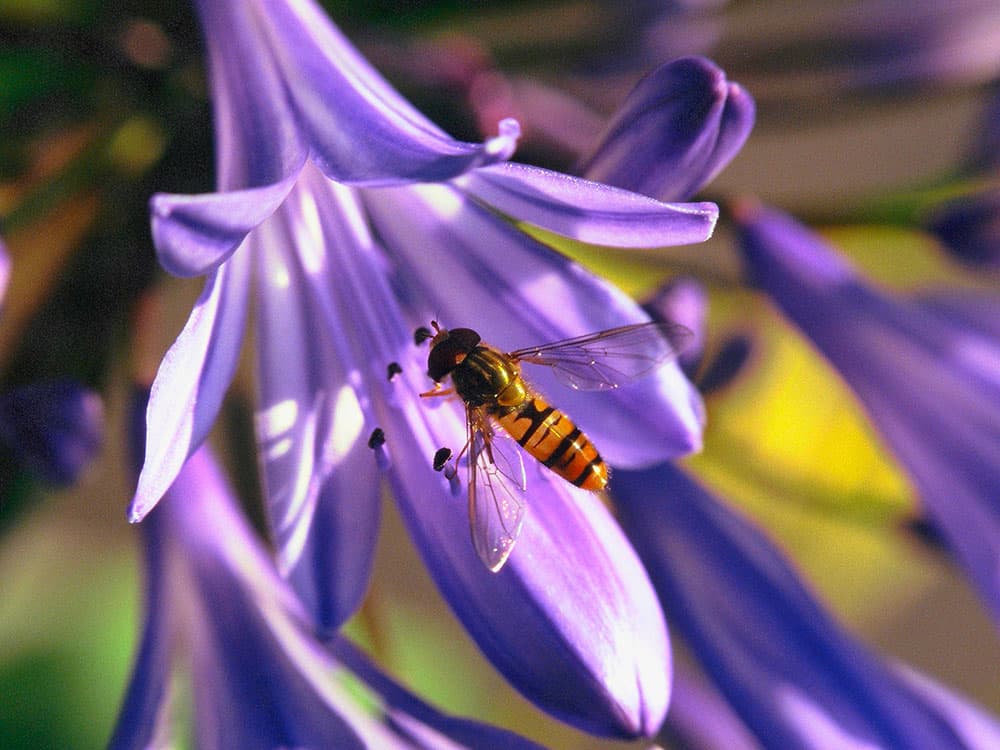
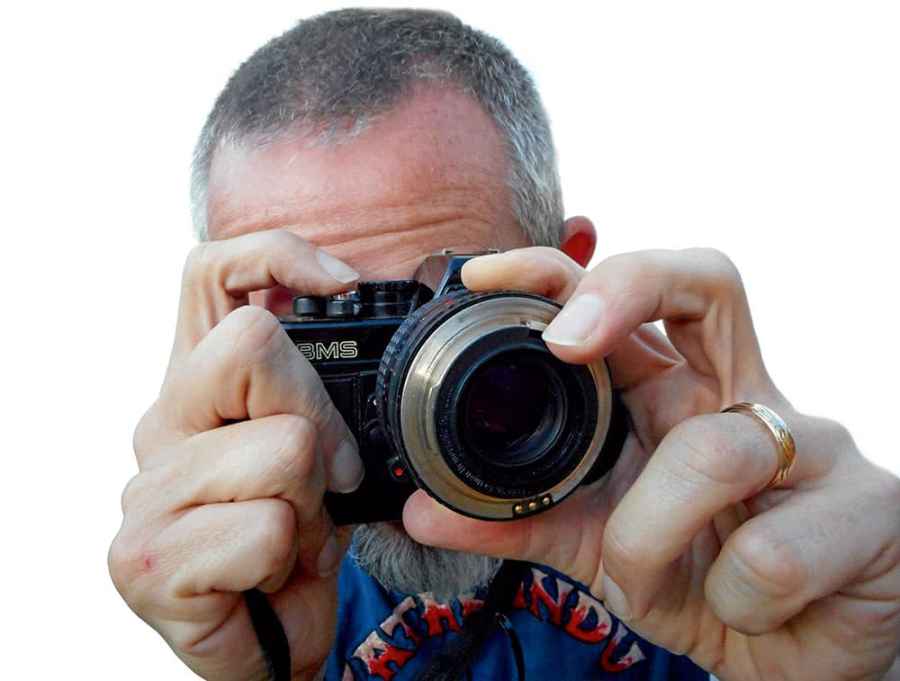
As a teenager, I read about extension tubes, bellows and reversing rings, but I couldn’t afford them, so I made my own. When you take the lens off a Praktica BMS, as with most SLRs, the metering stops, but with an M42 convertor for just £10 (or a T2 convertor) the metering works. I used Blu Tack to block any light leaks and to keep the lens from moving around too much. When not attached to a camera, the lens’s iris stays open, but on old mechanical lenses there is a lever on the lens mount to close down the iris. Focusing is straightforward as there is no focusing mechanism. Reversed lenses are effectively fixed focus, (with minimal depth of field) so I just moved back and forth until the shot was in focus.

For this picture of a hover fly, above, I metered off my hand, and added one stop. I took off the lens and held it on back to front. With a DSLR, you need a lens with a mechanical aperture, and the T2 convertor is vital, otherwise many DSLR shutters won’t fire.
In terms of which optics to use, 50mm lenses are great. Wideangles let you get much closer. A 85mm will give you more room, but a smaller image. Primes are easier to get sharp shots, but if you reverse a zoom lens, the zoom ring becomes a focusing ring, which is handy. Mark Buckley, Longford

I bought some used Kenko Close-up Lenses for £12 to fit my 50mm f/1.8 lens. They have opened up a whole world of possibilities. I have taken some gorgeous close-up pictures and studio shots with this set-up, including this picture of some roses for an ice-themed project. Josie Maskell, Bristol


