Michael Topham reveals how he sets up his camera to capture a light show with a difference
The cold, dark and dreary winter evenings can be an uninspiring time to get out with the camera. If only there were steam trains which ran during darkness that were entirely lit up by thousands of coloured lights for us to photograph. Well, as you may or may not be aware, this is exactly what has started happening at many preserved steam railways up and down the country.
The idea of dressing up a steam train and all its carriages at night with lights and putting on a moving light show along the line with colorful lit-up dioramas has become an incredibly popular seasonal experience with young children and adults alike.
It’s quite something to be onboard, but it’s another thing entirely when you stand back and watch the illuminations pass you by in the dead of night, or attempt to photograph them.
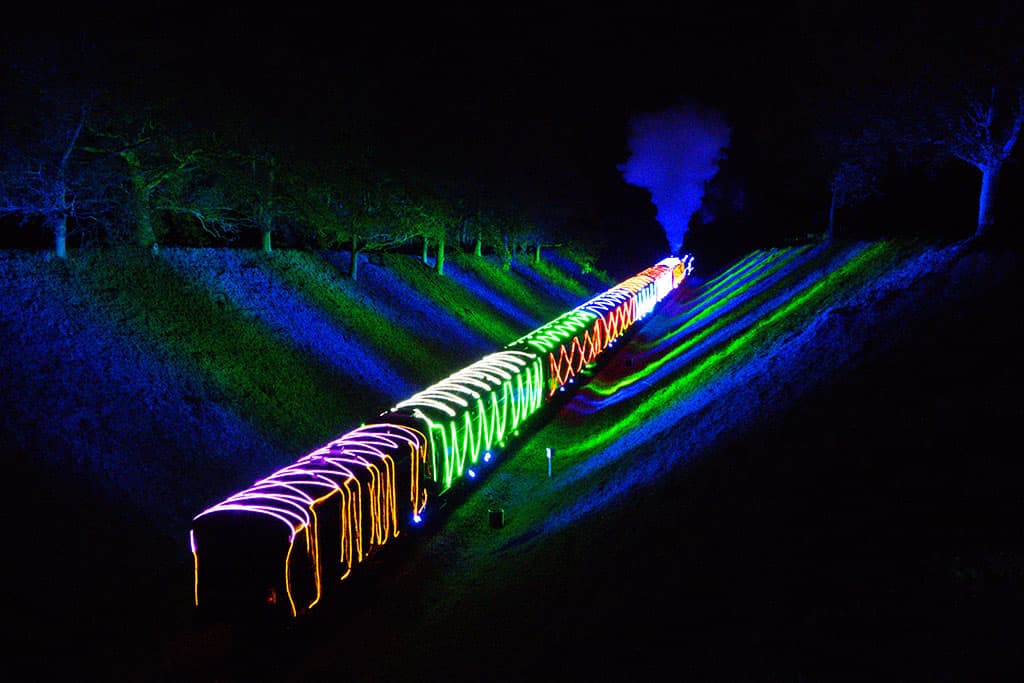
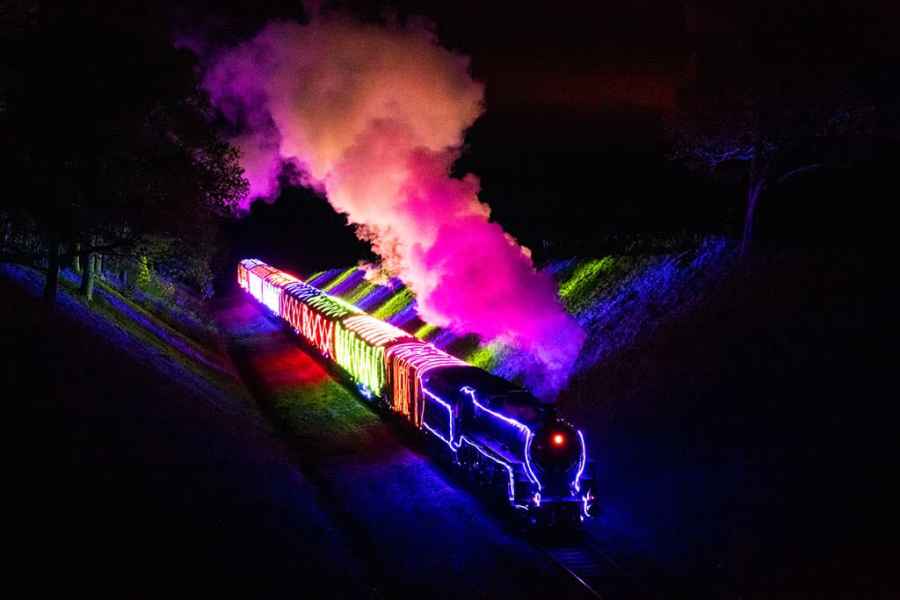
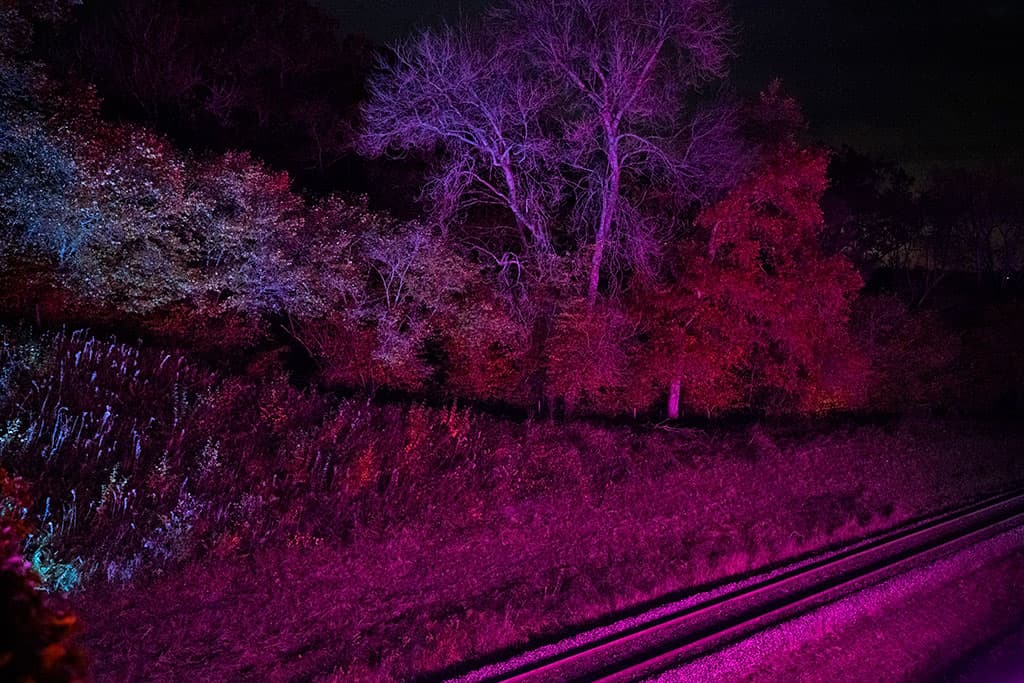
Nikon Z7 II, NIKKOR Z 14-30mm f/4 S, 1/160sec at f/4, ISO 12800
The first time I witnessed it myself was by coincidence as I drove past by my local preserved railway at the same time the train trundled passed. The sight of vibrant lights through the steam and the way the embankment was illuminated by the passing train was mesmerizing.
I have made countless visits to railways during the hours of darkness since to improve my technique and learn what’s required to photograph the spectacle.
Research required
First things first you’ll want to carry out your research. A good place to start is to work out the preserved railway that’s closest to you that’s running a steam lights event. Next, you’ll want to find out the departure time so you know where to be at what time.
Try to avoid the station where passengers are due to board as it can be incredibly busy, hard to access and difficult to get a clear view for a clean shot. You’re better off trying to find a bridge or footpath that’s close to the line, but also at a safe distance to shoot from.
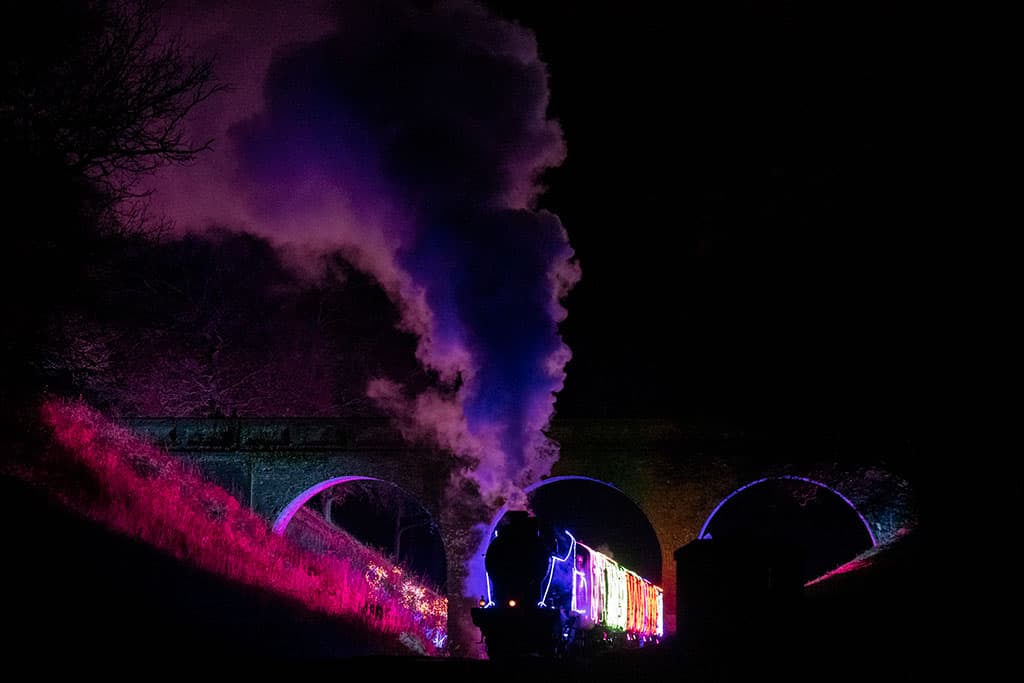
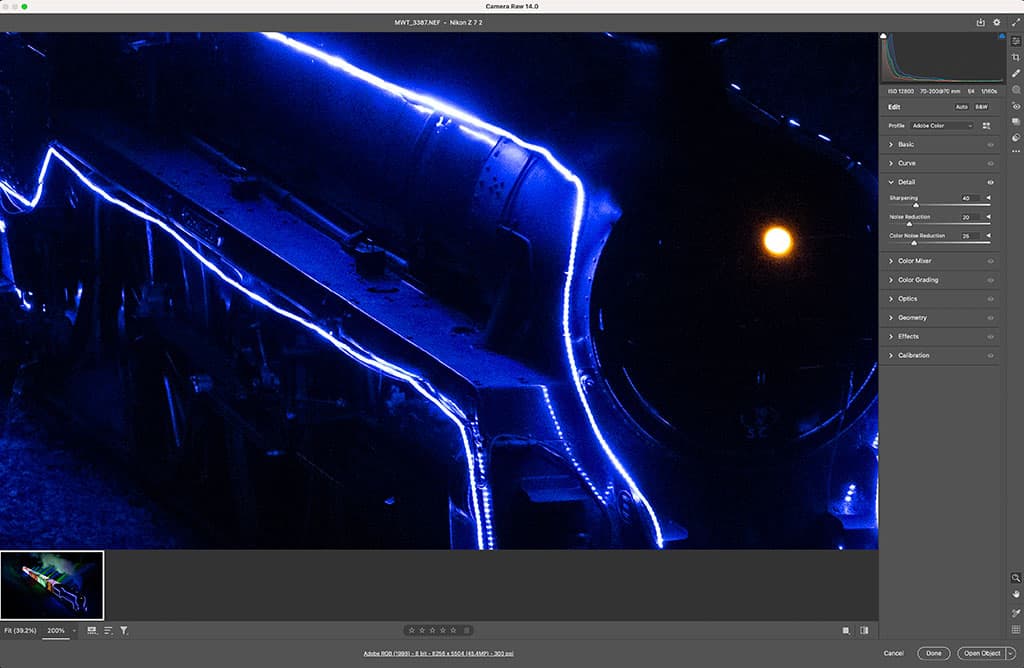
Nikon Z7 II, NIKKOR Z 70-200mm f/2.8 VR S, 1/160sec at f/4, ISO 12800
You may find a step ladder useful to gain extra elevation and a torch to see where you’re walking in the dark is essential. It’s important to remember to turn the torch and your camera’s AF assist beam off in advance of any approaching train so as not to blind the driver’s vision.
Many preserved railways tend to run a couple of steam light services each evening with an hour or two between them. The good thing about this is that if your first few shots aren’t a success you get a second opportunity to refine your exposure settings, change your composition or try a new location.
Camera settings
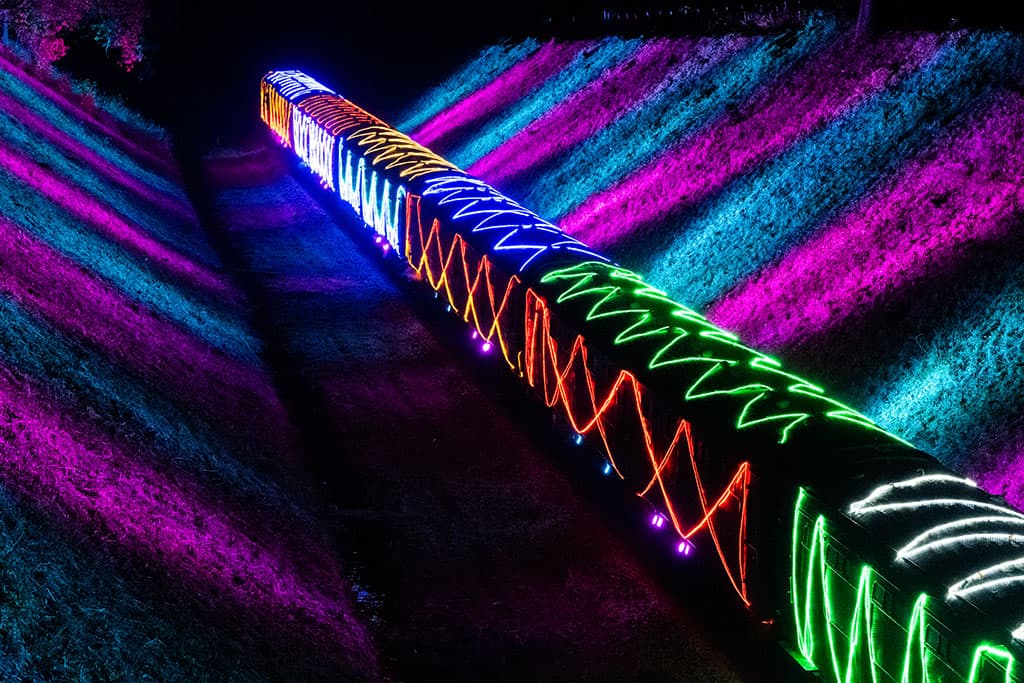
When the train is stationary in a station, you’ll have time to setup on a tripod and use a longer exposure than if you’re at the lineside. If you’d like to capture the train on the move with impressive steam effects similar to the opening image, you’ll find shooting handheld (or with your camera supported on a monopod) with a fast shutter speed is the best approach.
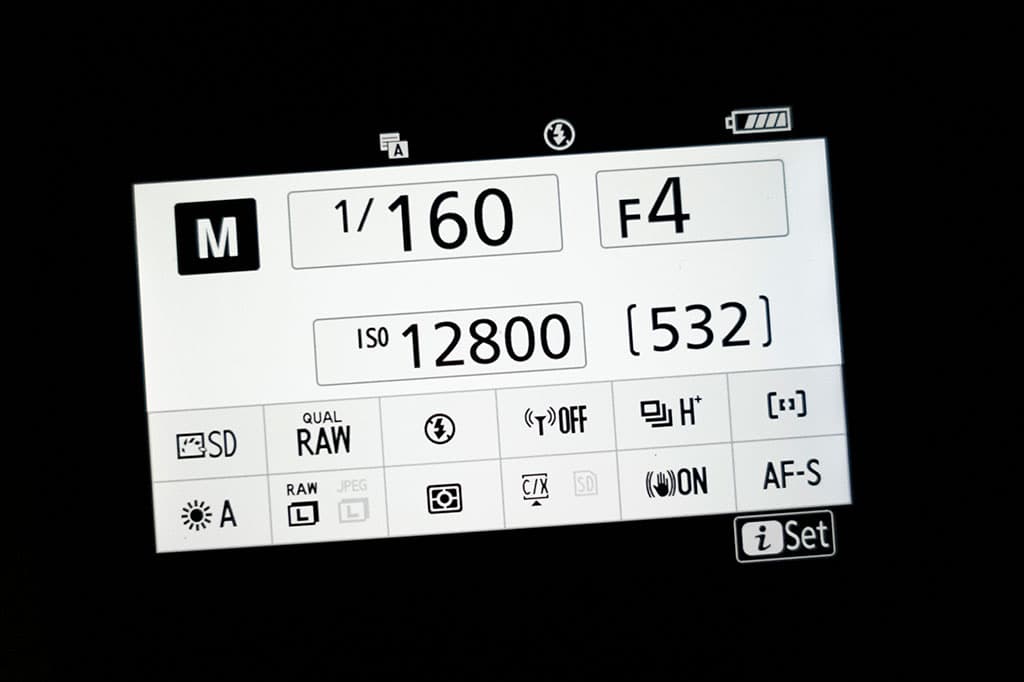
Start by checking you’re shooting in Raw. This will offer better latitude when it comes to refining exposure and applying noise reduction later during post processing. As a starting point I set the camera to around ISO 12,800 in manual mode with a shutter speed of around 1/160sec.
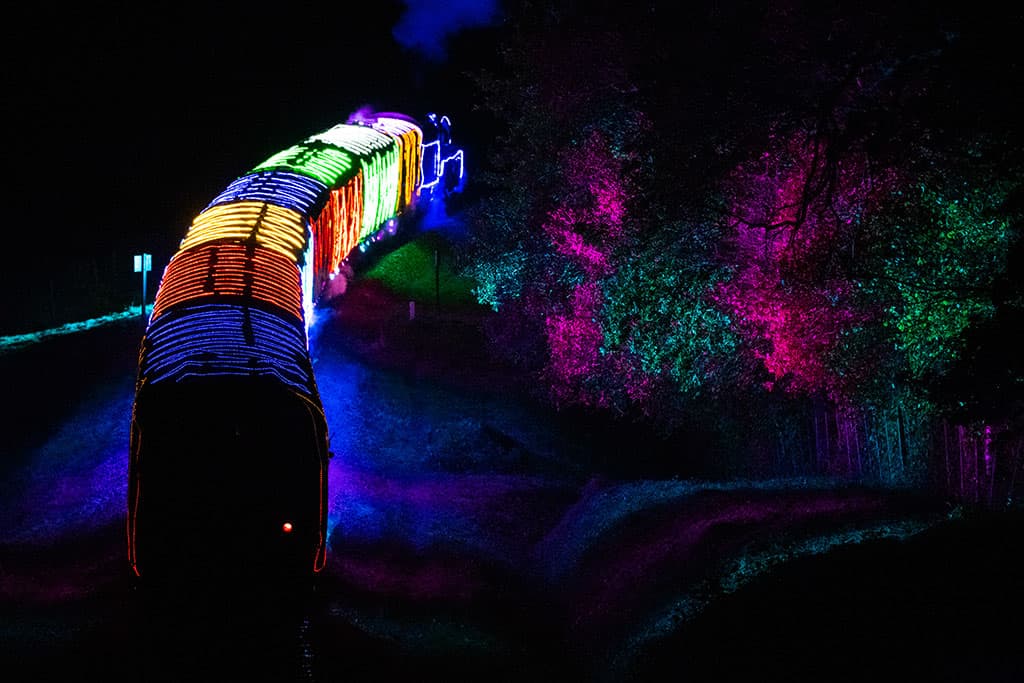
Nikon Z7 II, NIKKOR Z 70-200mm f/2.8 VR S, 1/160sec at f/4, ISO 12800
Although the train will be moving, it’s unlikely to be travelling much faster than 10-15mph so this shutter speed should be adequate to freeze the train with no motion blur. An aperture of f/4 is then dialled in, which helps create a depth of field that’s not too shallow with reasonable edge-to-edge sharpness.
Next, I check in-body stabilisation (or lens stabilisation) is switched on and set the camera to its burst mode so I can fire off as many shots as possible as the train approaches and passes. With regard to focusing, I’ve found Single AF mode to be most effective.
The bright illuminations can cause some cameras to hunt for focus when set to continuous AF. As the train approaches, I let it creep into the frame before I start shooting and am fluid when it comes to shooting orientation.
If there is lots of steam, I often switch to shooting in the portrait orientation. Some of the most striking images are those of steam drifting over the length of the train after it passes so be sure to take shots as it disappears into the distance.
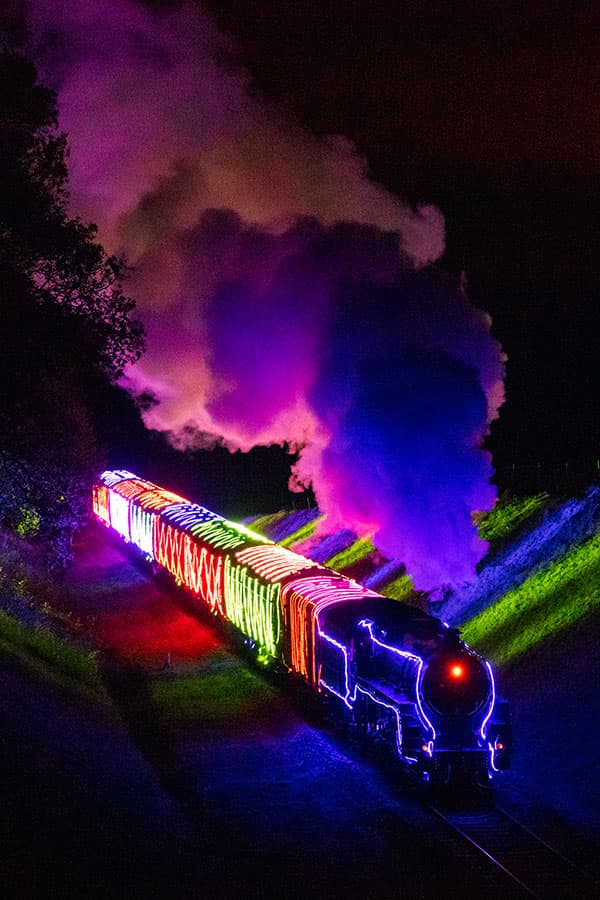
Nikon Z7 II, NIKKOR Z 70-200mm f/2.8 VR S, 1/160sec at f/4, ISO 12800
Don’t give up
If you don’t at first succeed, try and try again. The more you attempt to photograph this challenging subject the better images you’ll get. It took three or four visits to my local railway to find the best location and get the shots I was after.
Despite being free to photograph I always make a point of dropping past the station on my way home to give a donation. A few pounds is a small price to pay for the privilege of photographing such an amazing sight and it’ll hopefully allow events like these to continue for years to come.
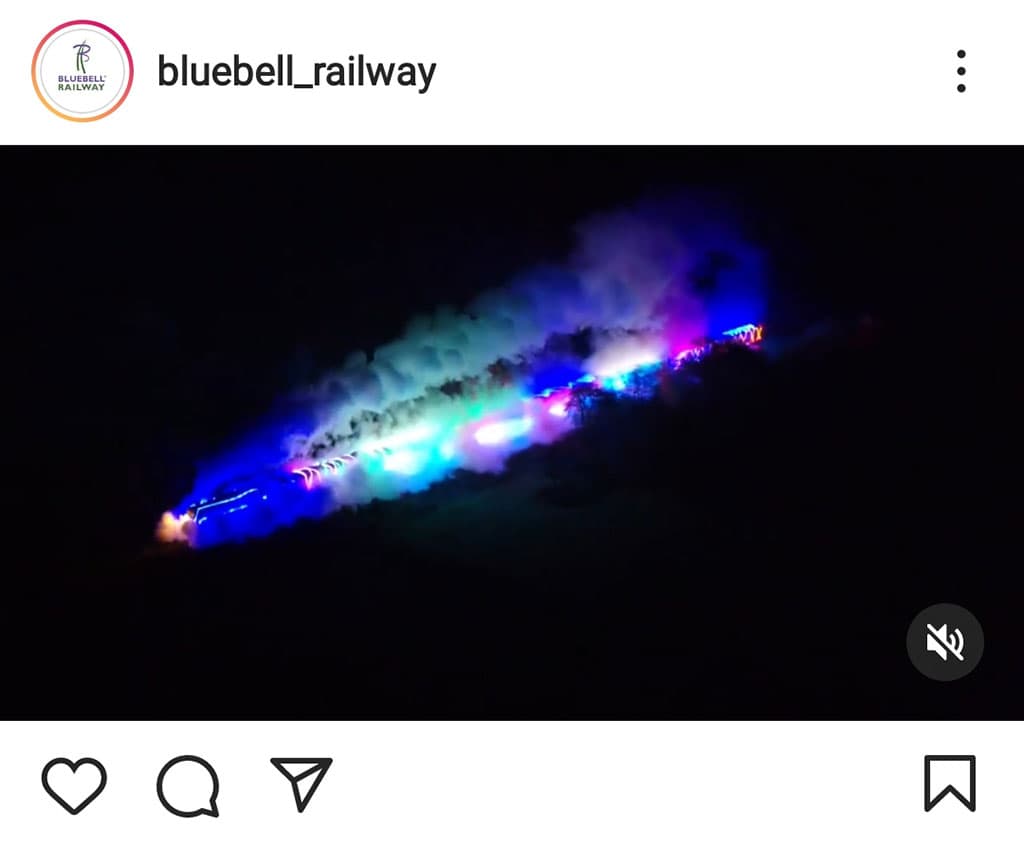
Where to find the best steam train light events in the UK
Different preserved railways call their winter light events by different names. The Bluebell Railway in Sussex for example call their event Steam Lights while the Watercress Line in Hampshire and the North Yorkshire Moors Railway call their events Light Illuminations and Light Spectacular respectively.
There are many other preserved railways dotted around the country that run their own festive steam train light services including the Swanage Railway in Dorset, The Poppy Line in North Norfolk, the Severn Valley Railway that runs through Shropshire and Worcestershire and the Dartmouth Steam Railway in Devon.
Nikon Z7 II, NIKKOR Z 70-200mm f/2.8 VR S, 1/160sec at f/4, ISO 12800
The dates between which the railways run their steam lights trains varies widely so it’s worth checking their websites to avoid disappointment before you visit.
Some preserved railways like the North Yorkshire Moors run their services for a period of a couple of weeks in October, whereas others like the Bluebell Railway run their services extensively into January.
Before visiting a new railway for the first time I’d recommend carrying out some image research on the internet to find out good locations from which you might be able to shoot from. Once found, you can refer to a map to find out how best to access the location.
It’s worth remembering that trees, bridges, cuttings, embankments and water with reflections can make images all the more dramatic.
Kit list for steam light displays
Headtorch
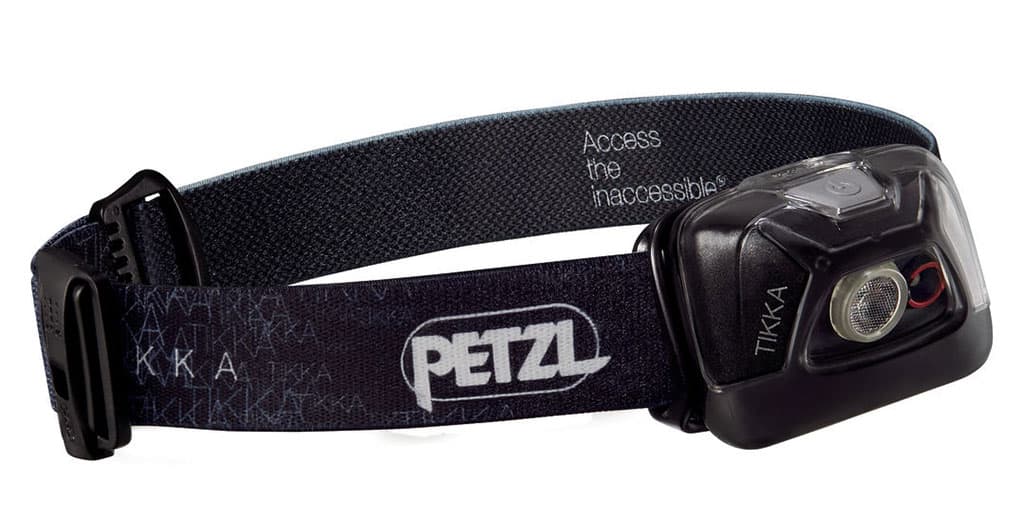
A good quality torch will ensure you make it safely to your location and can prevent a trip or fall that results in injury. It can also make it easier to setup your camera in the dark.
Wellies
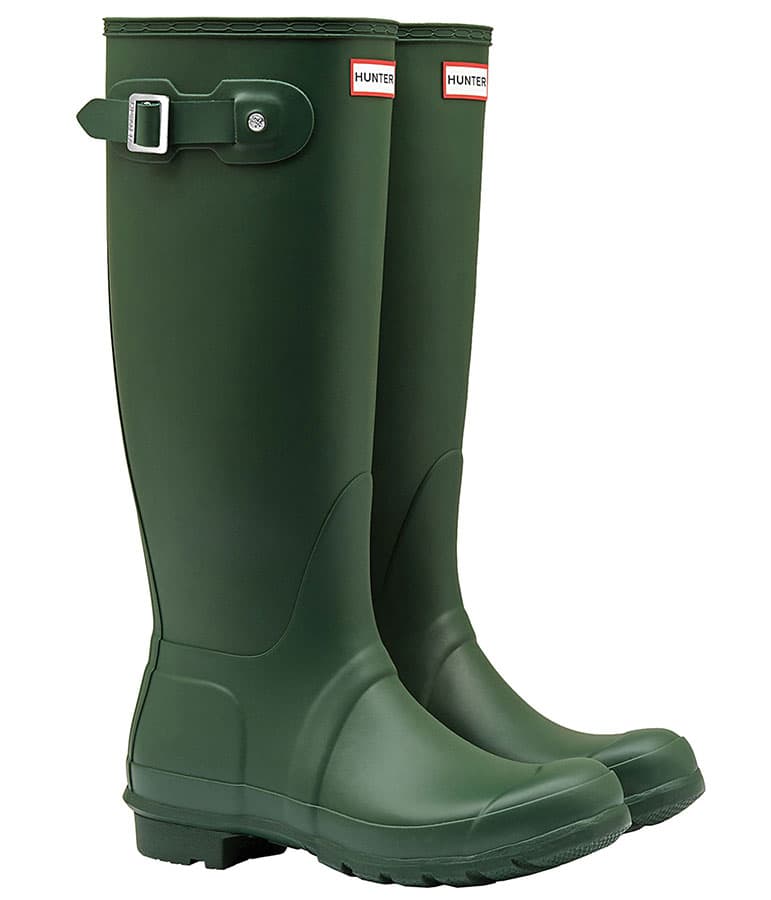
If you’re going to be trudging across fields and footpaths you don’t want to be waiting around to photograph the train with wet feet. Pack your wellies or walking boots before you set off.
Monopod
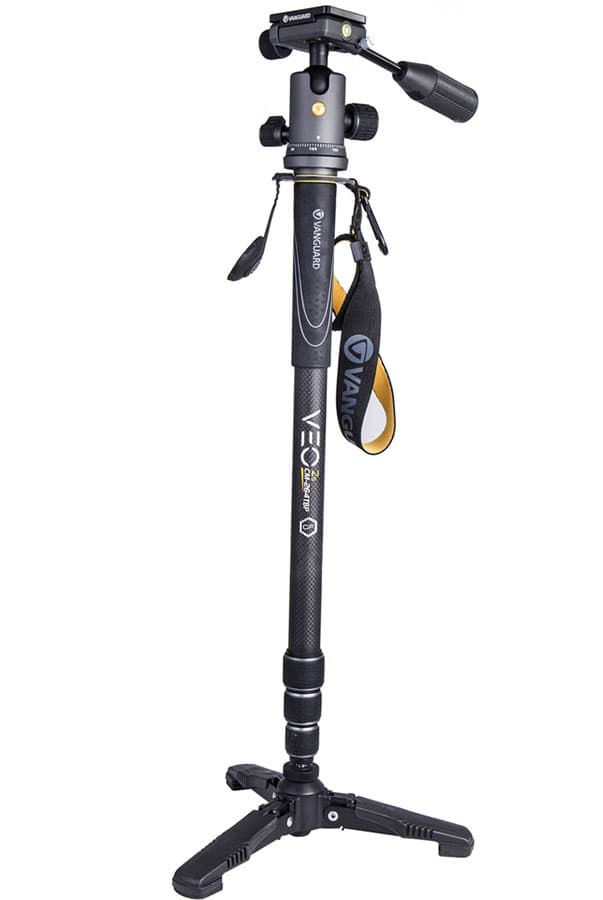
A monopod can help take the weight off, particularly when working with longer, heavier lenses. It also gives you the ability to move more freely than when it’s fixed to a tripod.
Spare battery
I always make sure I have a spare battery at the ready in my warm pocket. Keep an eye on the battery percentage level and swap over to a fresh battery if you’re nearing 15% or less. Batteries will deplete faster when working in cold environments.
Michael’s Top Tips for steam train light photography
Preparation
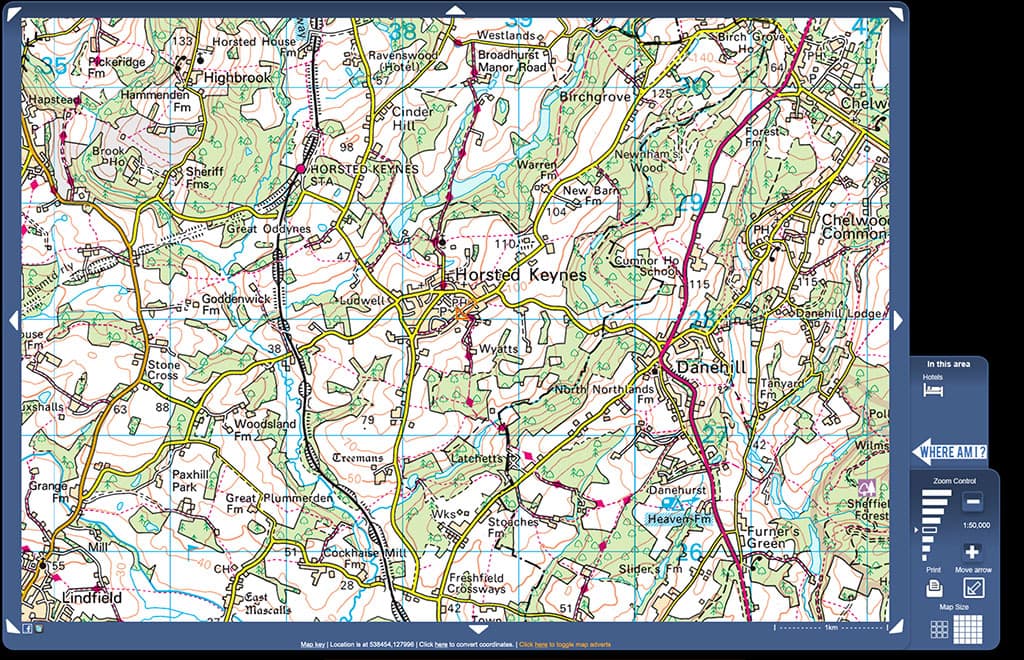
Once you know which preserved railway you’re going to visit and at what time the trains are running you’ll need to find a suitable location. I tend to use www.streetmap.co.uk with the zoom control set to 1:50,000. This helps me find public footpaths, bridges, cuttings and embankments close to the railway.
Arrive early
I always make a point of arriving and getting into position 30 minutes before the train is due to arrive. You’ll find your eyes adjust to working in darkness quickly, but you don’t want to find yourself having to rush to your location and frantically trying to setup your camera as the train approaches.
Nikon Z7 II, NIKKOR Z 14-30mm f/4 S, 1/10sec at f/4, ISO 6400
Push the ISO
If you’d like to capture shots of the train on the move with impressive steam effects but without motion blur, you’ll need to raise the ISO on your camera high. Don’t be afraid to push the sensitivity to ISO 6400 or ISO 12,800. I don’t tend to let my shutter speed drop much below 1/160sec.
Noise reduction
Some cameras are more effective at handling noise at high ISO than others. If your images are prone to noise, or you’d like to reduce the impact of it, you’ll find it beneficial to apply some noise reduction to the raw image. I also find myself tweaking the White Balance and Saturation at the editing stage to accentuate the warmth in an image.
Share your shots
If you capture images you’re particularly pleased with, make sure you share them for others to see. If you’re on Instagram don’t forget to use the tag #appicoftheweek and tag the preserved railway you took the image at. You never know they may contact and want to use some of your images.
Experiment
The settings I’ve suggested in this article are a good place to start but there’s nothing to say you can’t experiment with different ideas. You might want to setup your camera to shoot a long exposure like the image below, which was taken on a tripod with the settings 60sec at f/16, ISO 160.
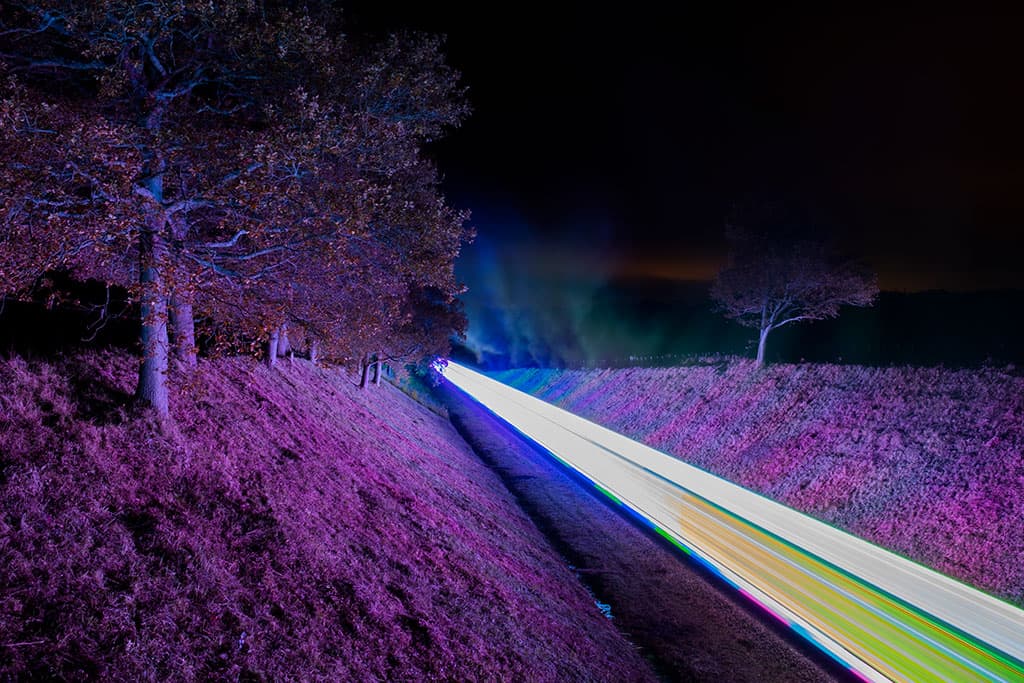
Fujifilm X100V, 60secs at f/16, ISO 160
Michael Topham

Michael is based in the South East of England and enjoys documentary, landscape and railway photography. He also shoots Weddings and his work can be found at www.michaeltopham.co.uk on Instagram @michaeltophamphotography
Further reading