A lens hood not only reduces aberrations such as flare, but it also helps protect the lens from rain and dust. These two factors make a lens hood one of the most important lens accessories. However, when buying a second-hand lens, the chances are that it will not come with its original lens hood as these accessories are often misplaced and plastic versions can break easily. Some lenses do not come with a hood even when bought new, while others, such as the Leica Summicron 90mm f/2 (II) and the AF DC-Nikkor 135mm f/2D, have a metal lens hood built in that slides in and out when needed.
Buying a proprietary lens hood can be expensive. Third-party and replacement hoods cost significantly less, and they can be found at various photographic retailers. For instance, Jessops has a line of collapsible rubber hoods that cost £7.99 (visit www.jessops.com), while Marumi and JJC sell plastic hoods in both petal and rounded shapes starting at £7.99 (visit www.ebay.co.uk and www.amazon.co.uk). However, by far the cheapest option is to make your own lens hood. Not only is this the most cost-effective way, but it also takes up less space in a camera bag because the hood can fold down flat. The following steps explain how you can make your own lens hood for less than £2.
What you will need Black card (or black plastic folder), pencil, A4 paper with lens template, scissors/scalpel, black electrical tape, flocking material and glue

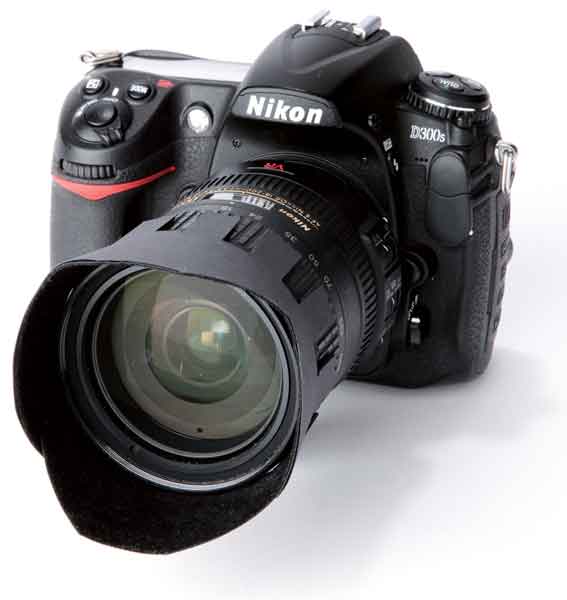
This image has been taken with and without the home-made lens hood. The 18-200mm lens is more frequently at risk of flare at its wider end

Step by step

1 If you don’t have a lens hood to use as a template, visit www.lenshoods.co.uk. This website has a range of templates for the hoods of several popular lenses. Select the desired lens and open up the PDF. Print the diagram at 100% on A4 paper, which is big enough for most hoods. I have selected the Nikkor AF-S 18-200mm ED VR f/3.5-5.6G template from the website.

2 Alternatively, if your lens hood is broken or you want a spare, you can use the hood itself as a template. With a piece of A4 paper flat on a surface, roll the lens hood along it and draw around the outline using a pencil. It is helpful to use the hood thread marker to ensure the whole hood outline has been sketched, and then draw a tab at one end that can be used to attach the two sides together.

3 It is possible to print the template directly onto the black card, but it is difficult to see the outline on black, while a light-coloured card is likely to cause light reflections into the lens, so the best solution is to print the template onto a sheet of white paper and cut it out.

4 I am using black card for the lens hood, but those who want a more durable version can use black plastic or the front of a plastic folder. Having cut out the paper template, its outline can be drawn onto the black card/plastic with a pencil and then cut out using scissors or a scalpel.

5 Black card and plastic can still produce light reflections, so to eliminate these add some flocking material on the inside of the hood, which needs to be cut to shape using the lens hood template again. Secure the flocking material using strong adhesive, making sure there are no bubbles or bumps that could obstruct the field of view of the lens. Wrap the hood around the lens itself, with the flocking material inside, and use electrical tape to join the ends of the hood together.

6 The hood is now ready for use. Tabs along the bottom of the hood should keep the hood firmly in place over the lens. If the hood is a little loose, it can be fixed to the lens more securely using a rubber band. With the hood in place, take an image at the widest end of the focal length of the lens. If any part of the hood obstructs the frame, trim it down. However, if you are using a petal design, make sure that the four ridges are positioned in the right places.


