Nikon’s current crop of DSLRs features an exhaustive range of custom options, which only seems to grow with each new release. Some items that appear in the Custom Menu are rather cryptically titled, which can make them easy to gloss over, but once you appreciate what you can adjust, you may find your camera is far better suited to your needs.
The following doesn’t cover full range of current Custom Menu options to be explored – there are simply too many (and some are too niche to warrant much of our attention). Using the Nikon D750 DSLR as my guide, I’ve selected arguably the most useful options to give you a taste of what’s possible.
a1. AF-C priority selection
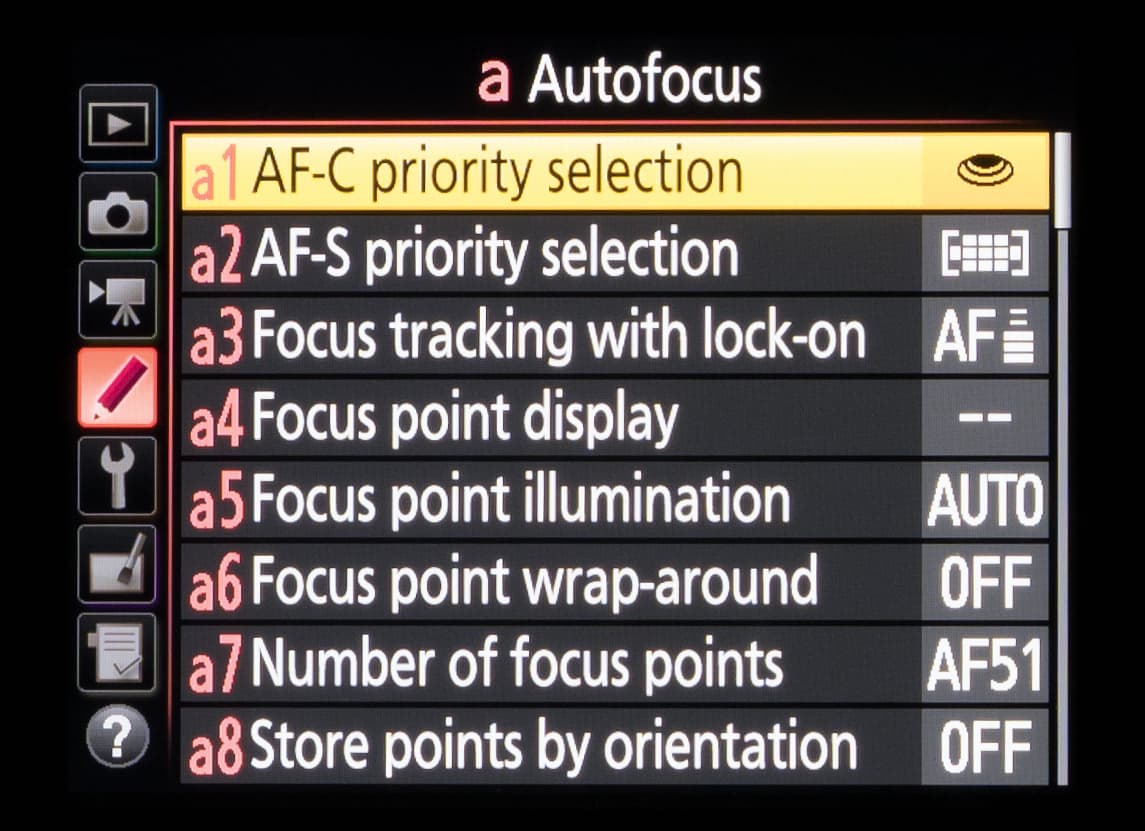
Normally, when your camera is set to autofocus, it won’t capture an image until focus has been confirmed. In some situations you may prefer to let the camera take the shot even if it hasn’t confirmed focus, as it may still be roughly in focus and perfectly usable. This option lets you override the default setting so that the images are captured as soon as the shutter-release button is pressed down fully.
a6. Focus point wrap-around
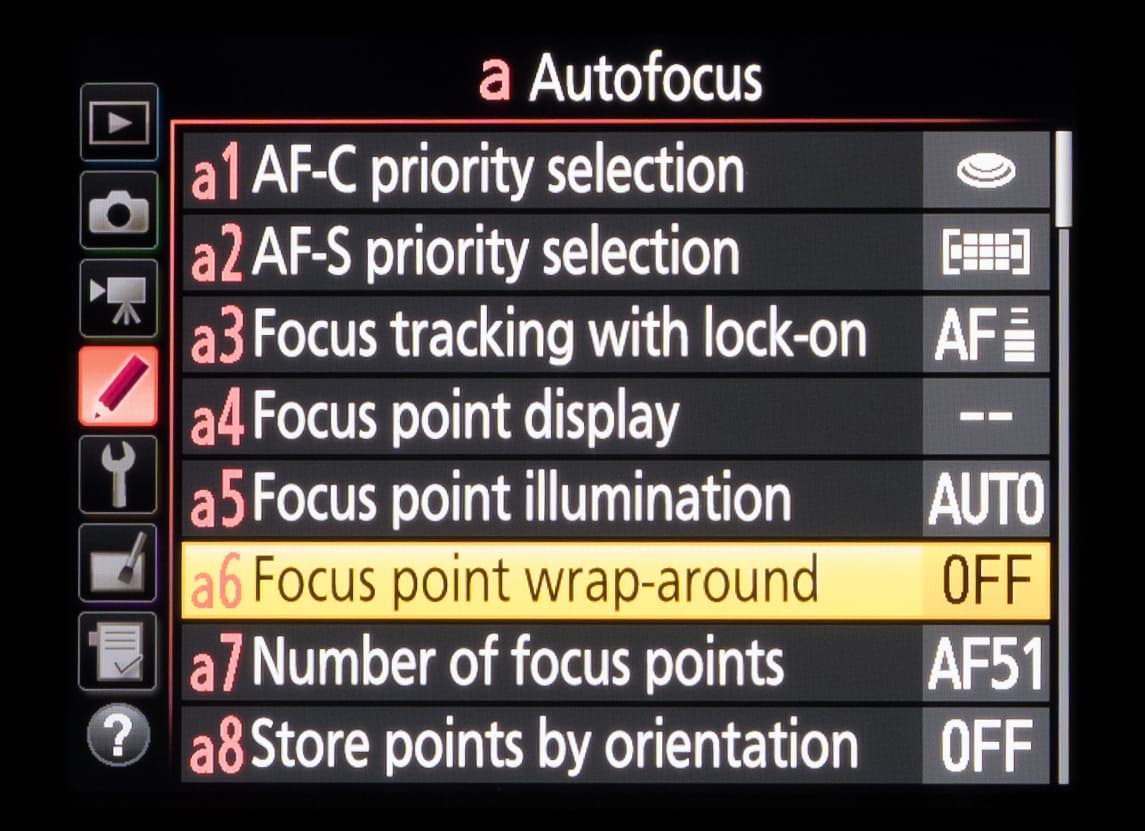
If your camera has a high number of focusing points, it can be frustrating to move from one end of the array to the other. You can speed this up by pressing OK to return the point to the centre, but selecting focus point wrap-around allows you to return the point back to the opposite end of the array once you reach one end. So, pressing the button to move right at the edge of the right-hand side will move the point back to the left-hand side, while pressing the up button when at the top of the array will move the point to the bottom of the array (and, in each case, vice versa).
a7. Number of focus points
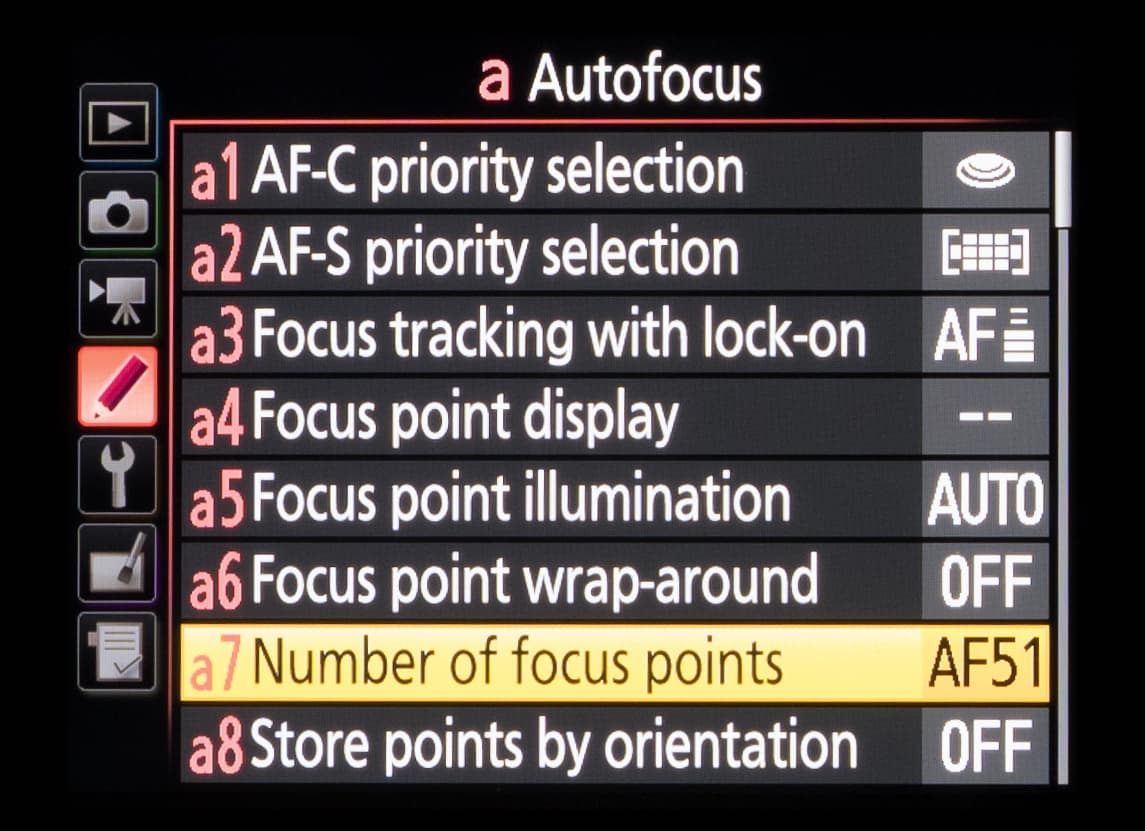
If you find the focusing array too slow to navigate you can reduce the number of selectable focusing points. On a Nikon DSLR with 51 points, you will typically have the option to reduce this to 11 points. This will help you to move from one side of the array to the other at speed, so it’s potentially quite useful if you frequently find yourself having to manually adjust the focusing point and find the default setup surplus to your needs.
a9. Built-in AF-assist illuminator
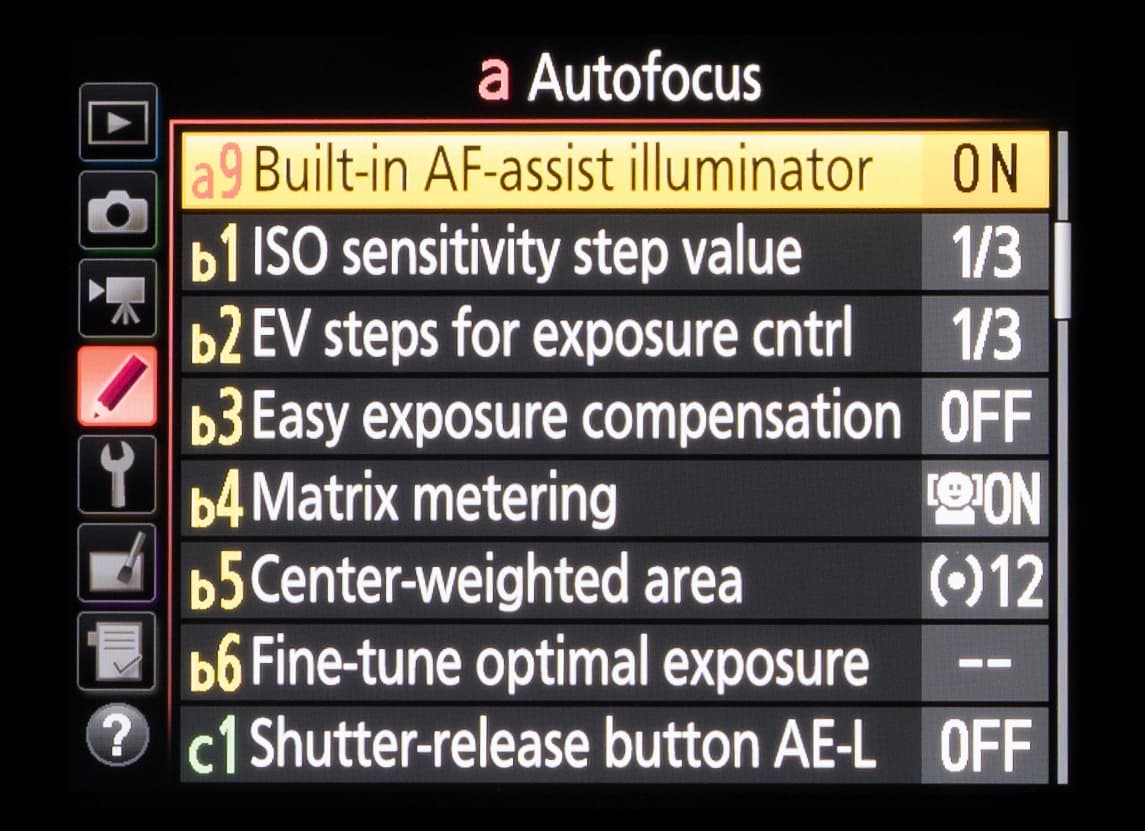
While the AF-assist illuminator can be useful for speeding up autofocus in low light, the beam it emits can be frowned upon when shooting weddings, corporate events or live performances. You can disable the lamp when you find yourself in these situations, but be aware that the camera may find focus more slowly, or not at all.
b5. Centre-weighted area
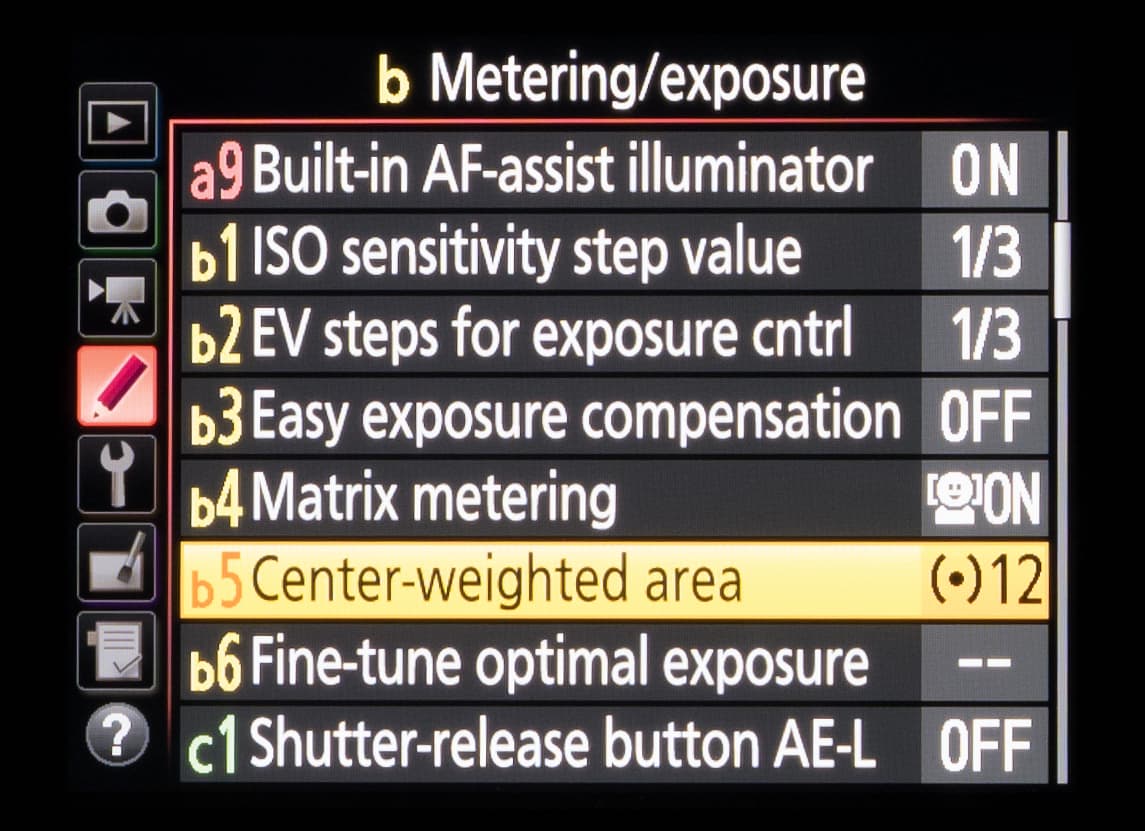
If you tend to rely on centre-weighted metering, perhaps for portraiture or flower photography, you may alternate between subjects that fill varying proportions of the frame. This in turn affects how much of them your camera will use for metering, so you may wish to vary the diameter of the centre-weighted area so that it better suits your subject – a larger area when capturing portraits, for example.
c2. Standby timer
This option lets you reduce the amount of time that the camera continues to meter the scene while not being operated in any way, which in turn helps to conserve battery life.
c3. Self-timer
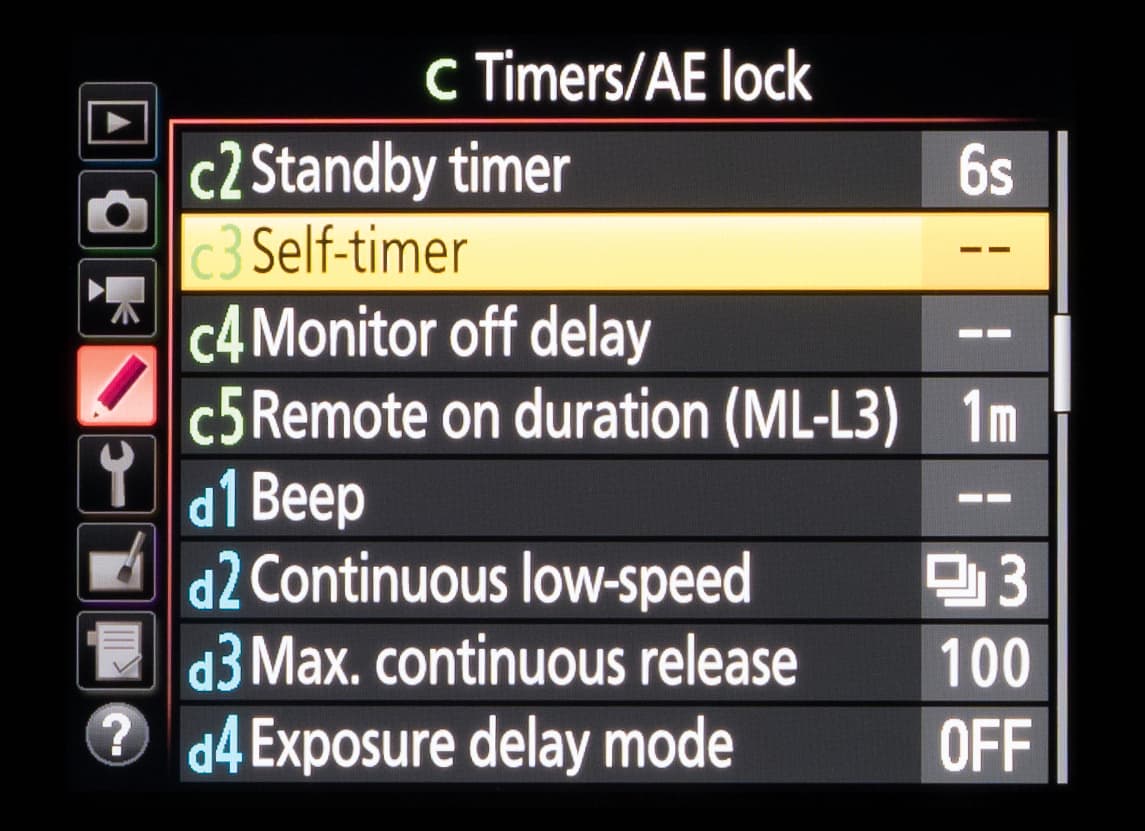
This option allows you adjust the delay between pressing the shutter-release button and the image being captured. It also enables you to specify how many images are captured, and the interval between them. You may, for example, choose a long duration when capturing group shots that include yourself.
c4. Monitor off delay
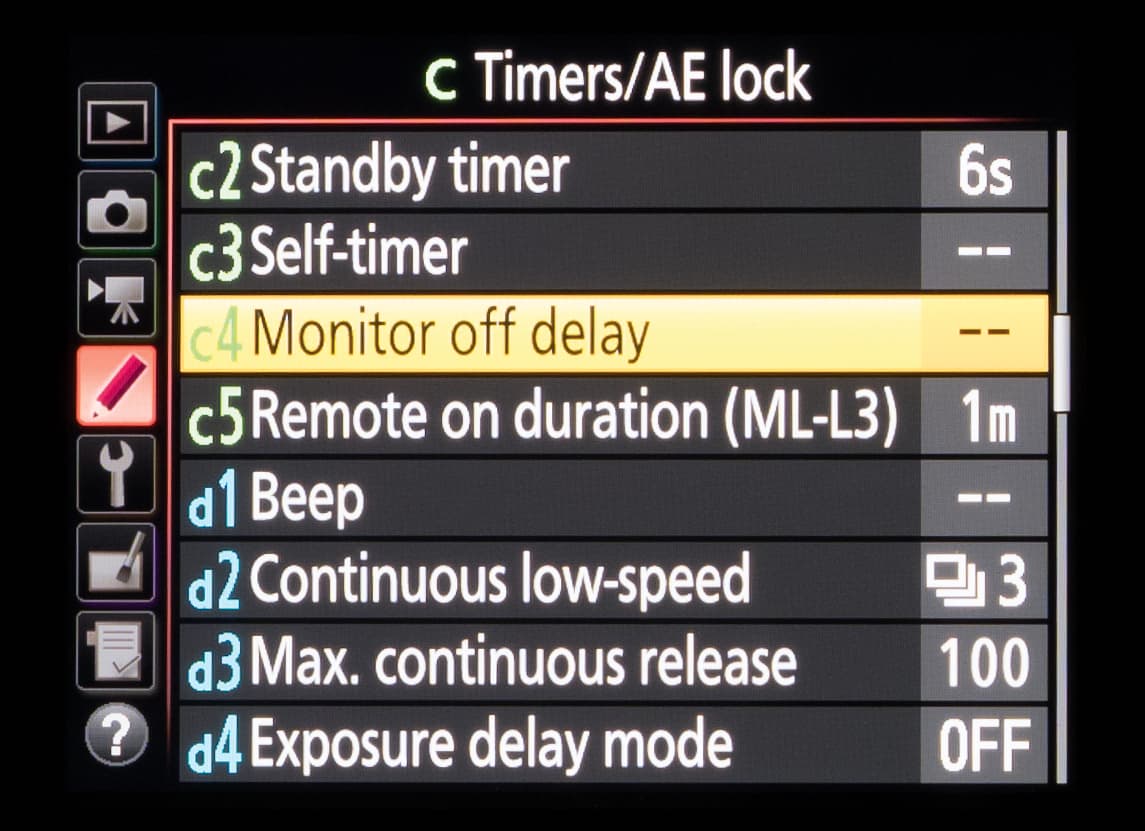
Your camera is programmed to deactivate the rear LCD panel after a specific length of time when the camera is not being operated. You may choose to lengthen this period if you’re relying on the Info screen to make exposure calculations, for example; or you may want to shorten this to conserve battery life.
d2. Continuous low speed
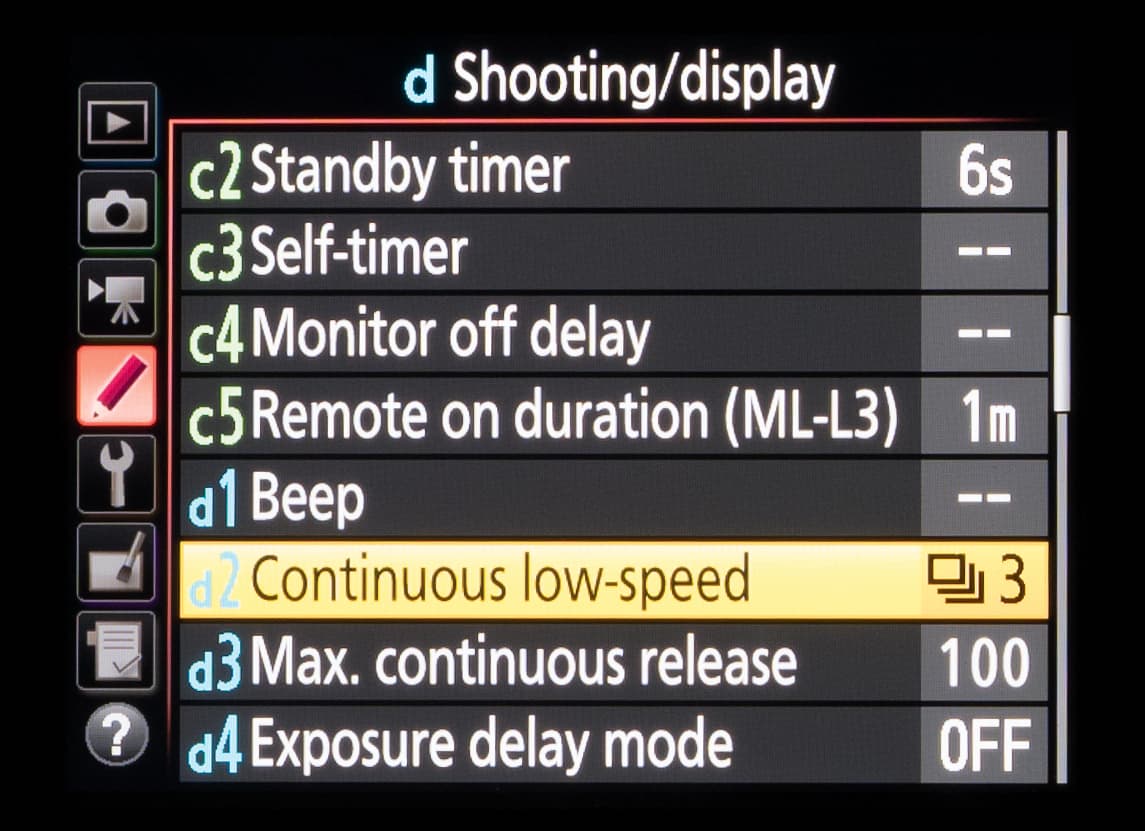
It’s not always necessary to use the fastest burst rate when capturing action, particularly for subjects moving at only a moderate pace such as live performers or wildlife. You may find all this does is fill your card with images too similar to each other. You can use this option to adjust the Continuous Low frame rate to the speed of your choice, which will leave the CL high option for when the fastest frame rate is required.
d1. Beep
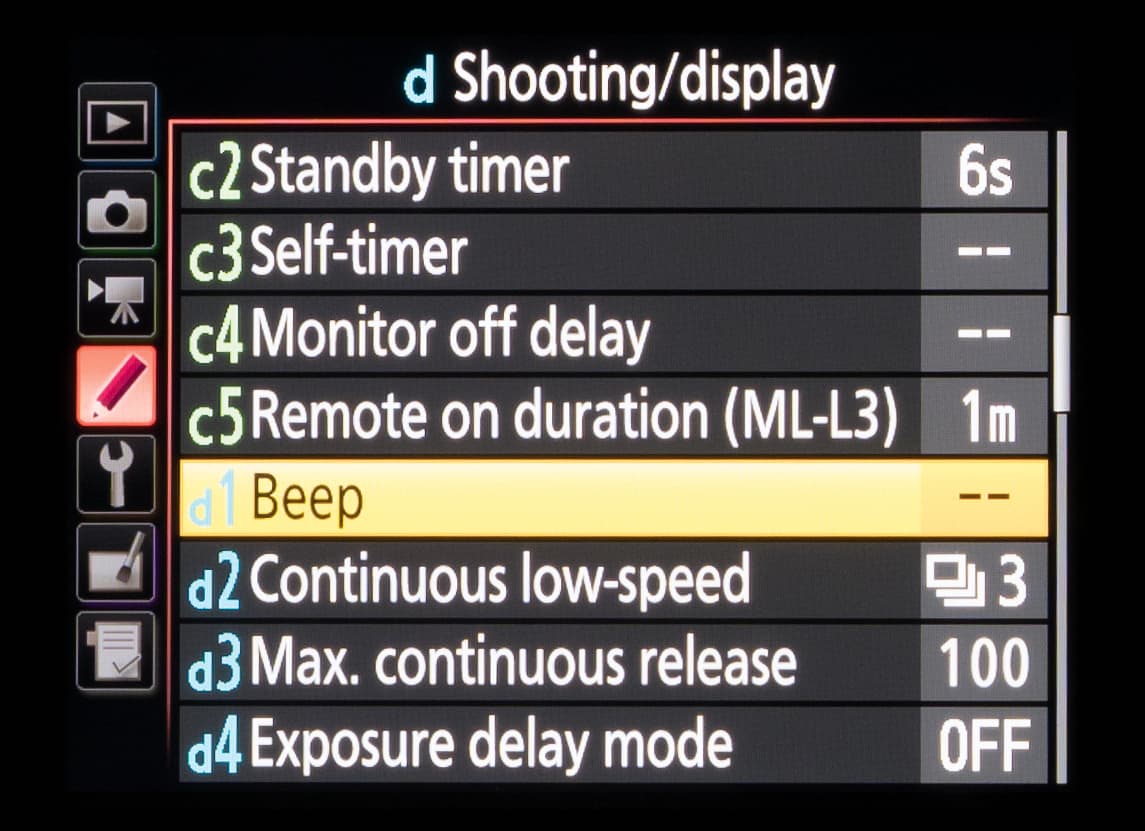
Another tool designed to help you operate your camera discreetly, the beep option lets you change the pitch of the camera’s confirmation beep over two levels, and the volume over three. It can also be disabled. You may wish to adjust this during a wedding, or generally when photographing in places of worship. In such situations, you may also want to call upon the camera’s Quiet shutter option for the same reason.
d6. File number sequence
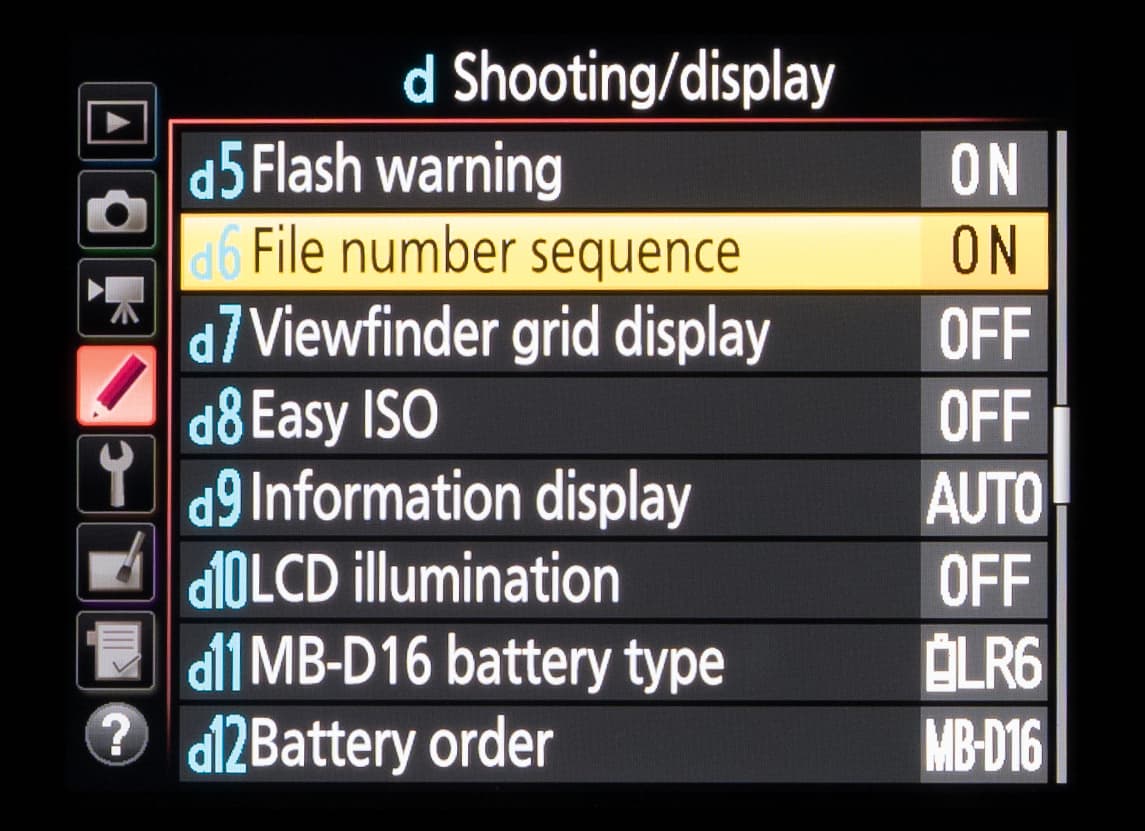
This option allows you to specify what happens to the file-numbering sequence when you use a new memory card, format one, or create a new folder. The On setting picks up numbering from the last captured image and creates a folder once you exceed 9,999 images. If you create a new folder each time you begin a new session, you may prefer to use the Off option to ensure that the first frame is always numbered 0001.jpg or 0001.NEF.
d8. Easy ISO
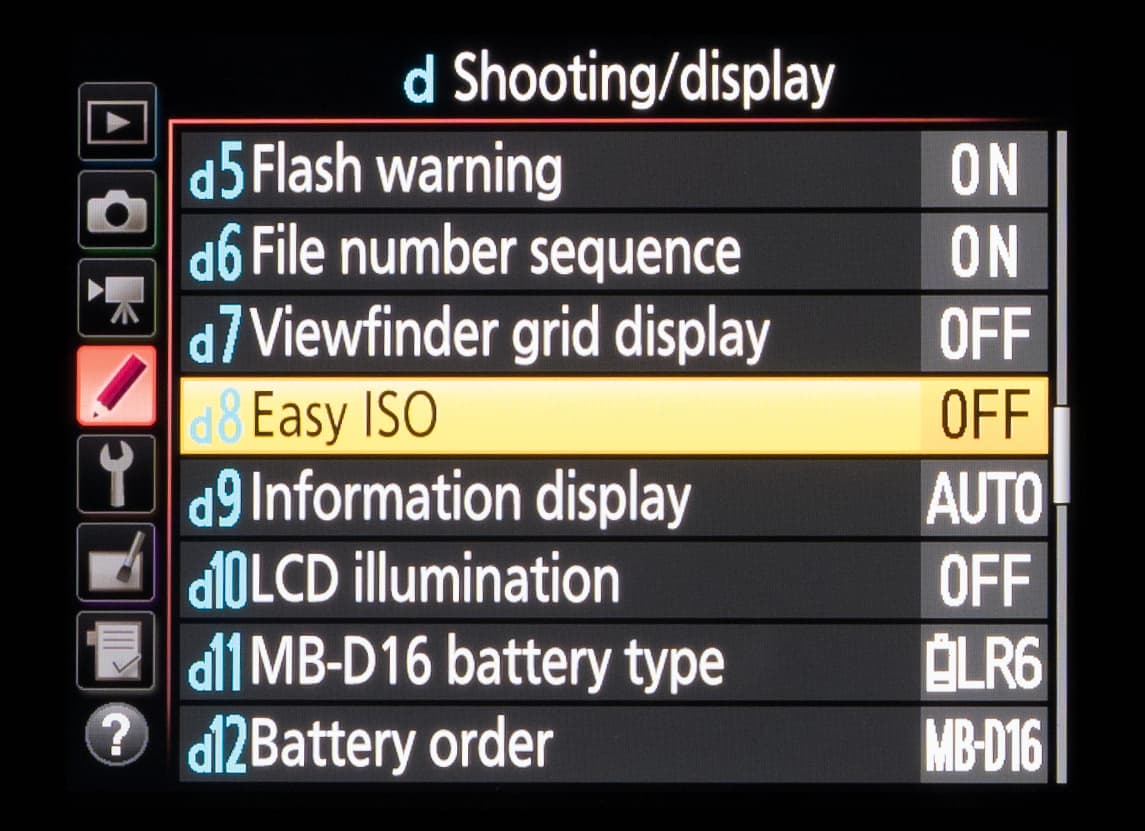
This setting makes use of an otherwise redundant command dial when using program, aperture-priority and shutter-priority modes, and allows you to quickly adjust ISO with one hand, saving valuable time and enabling you to concentrate on your subject. It also maintains the exposure information on the top plate LCD as you do this, which normally disappears when ISO is adjusted using the dedicated control.
e7. Bracketing order

When using bracketing, you may find it helpful to have the images captured and saved in the order of their adjustment, rather than in the default order which is the standard shot followed by underexposed and then overexposed versions. The bracketing order setting allows you to re-order the sequence – it can also be applied to flash and white-balance bracketing in the same way.
f2. Assign Fn button

Most enthusiast-level and pro-level DSLRs allow for individual buttons to have their functions changed, and the primary function button on the front of a Nikon body is ideally placed for a commonly used setting.
f8. Reverse indicators
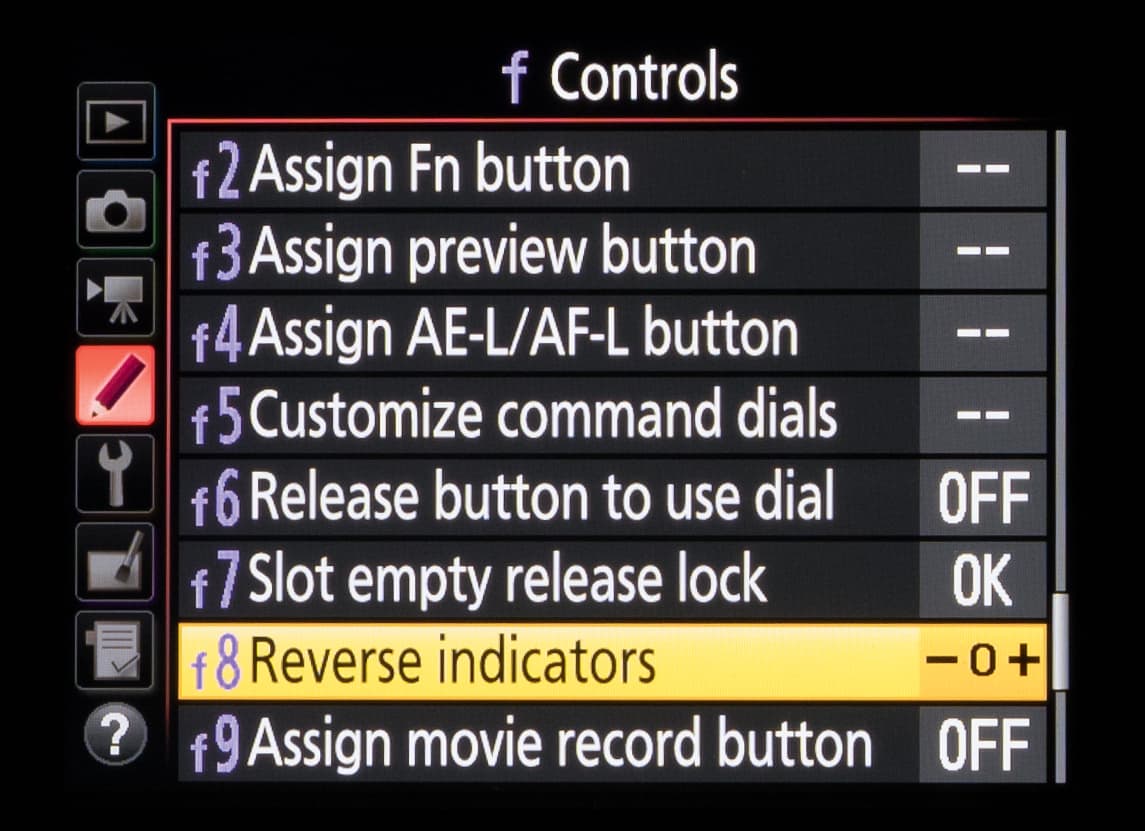
If you would prefer the exposure scale visible in the viewfinder and on the camera’s LCD screens to show positive values on the left and negative ones on the right, you can switch them using this setting.