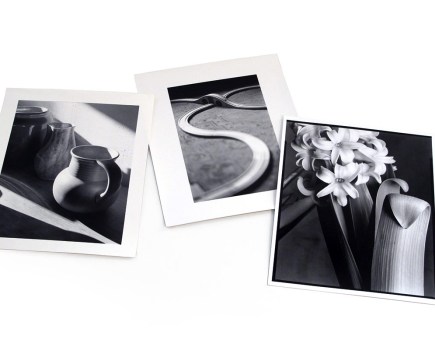
Image: Phil Hall
Freelensing is pretty much exactly what it sounds like. In essence it involves taking the lens off your camera and holding it up to the lens mount.
By slightly – and that’s very slightly, no more than a few millimetres – angling the lens away from the camera body it’s possible to shift the focal plane in weird and wonderful directions.
It may sound simple, but in practice it’s a tricky and subtle technique to pull off. It’s easy to let too much light into the camera, and if you’re not careful you’re also running the risk of dust getting inside the camera.
The key is planning, and knowing what you’re doing before you start. With that in mind, we’ve put together a step-by-step guide to the best and safest way to achieve creative results from freelensing.
Step One: Gear Up

The best lens for freelensing depends on what camera you’re working with. If you’ve got a full-frame DSLR, a 50mm prime is your best bet. If you’re working with APS-C, a 35mm or similar should be just fine.
The important thing is to avoid zoom lenses. Stick with a fast prime – you’ll get fast maximum apertures and less vignetting.
Can I use long focal lengths?
Yes, if you’re steady-handed. You’re running a much higher risk of lens-shake affecting your image with longer lenses, but it’s possible to produce some stunning effects.
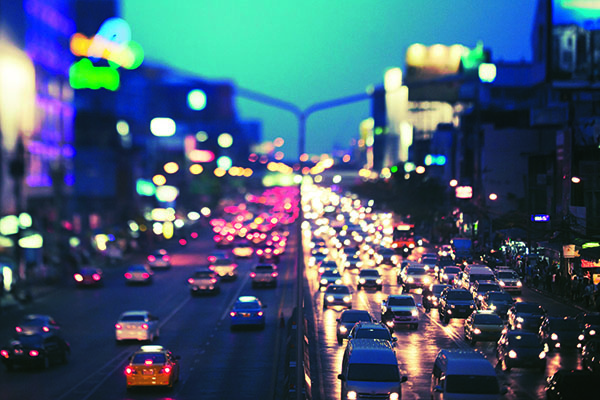
Image: David Tang
This shot by photographer David Tang makes use of a moderate telephoto lens to create the miniaturisation effect on the cars below.
What about wideangles?
Again, not saying no, but it can be tricky to see exactly what – if anything – you’ve got in focus. Vignetting is also a more pronounced issue.
Since the lens and camera don’t need to attach, can I mix and match brands?
Absolutely. It may surprise you to learn that using glass from a different manufacturer to that of your camera can actually make freelensing more successful. Some people prefer to use Nikon primes on a Canon DSLR for instance, as they’re more suited for focusing on distant subjects.
This is because the flange focal distance (the distance between the sensor and the mounting flange) on a Canon DSLR is 44mm compared to 46.5mm for a Nikon.

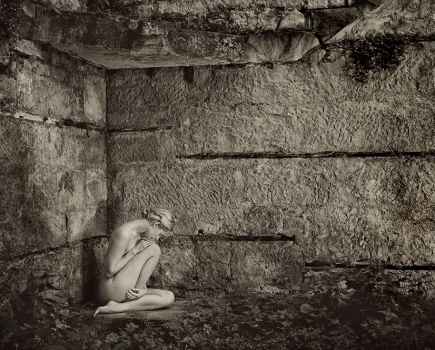
Image: Matt Osborne
Freelensing photographer Matt Osborne often prefers to use vintage medium format optics when detaching from camera, as they still allow him to focus even when the lens is a significant distance from the camera.
Using different lenses
There isn’t really any difference in technique when using lenses from different manufacturers, there are just a few quirks to watch out for.
Nikon G-series lenses close down the aperture blades when disconnected from a camera, so you’ll need to reopen it manually by propping open the aperture lever at the rear.
Also, some Sony cameras by default won’t let you fire the shutter if a lens isn’t attached. Select the ‘Release w/o Lens’ option in the menu to fix this.

Step Two: Set up

First off, set your camera’s drive mode to continuous. There’s an element of trial and error to freelensing, especially when you first start, and every slight movement of the lens is going to alter focus.
You’ll have a much greater chance of bagging the shot you want if you’re firing off in quick succession
Make sure you’re shooting raw and set to manual mode. Dial in the correct exposure for the scene with the aperture setting matching the maximum aperture of the lens.

If your lens has an aperture ring, set it to the maximum aperture and set focus to infinity. You’ll find it much easier to find focus by gently tilting the lens back and forth rather than trying to manually adjust focus one-handed.
Once that’s all done, you’re ready to detach.
Step Three: Start shooting

Probably the number one thing to keep in mind when trying out freelensing is that very small movements are all that’s necessary to make a very big difference.
We’re really talking just a couple of millimetres to alter the plane of focus, and the more you tilt the lens the more pronounced the blur will be.
Tilting the lens to the right will mean the left side of the frame retains focus, tilting downwards will mean the top area retains focus and so on.

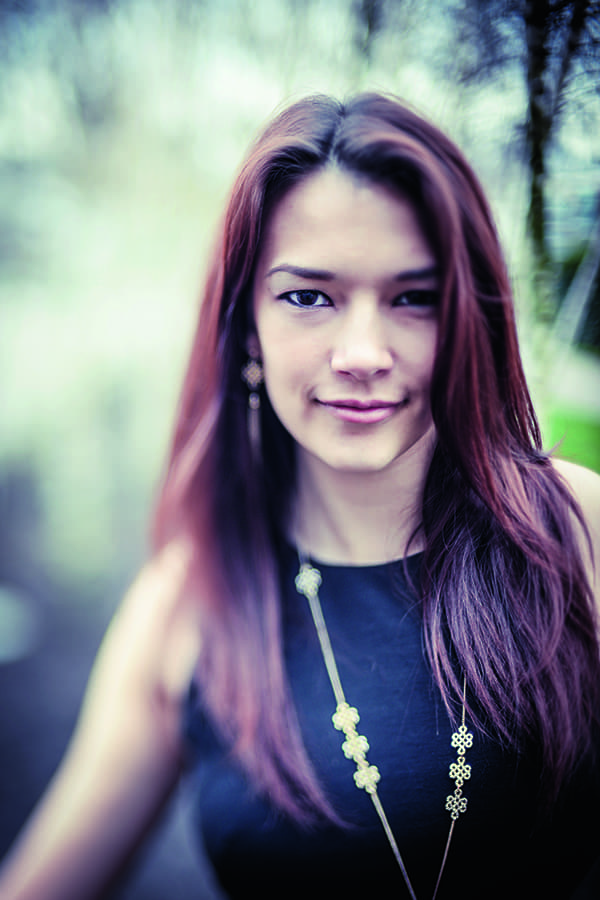
Image: Oli Sansom
Can I experiment with distance between lens and camera?

By moving the lens further away from the mount, you can focus much more closely to your subject than would be possible when the lens is attached. For ultra close-up shots you can even reverse the lens to properly magnify your subject.
There are a couple of issues to be aware of here. The first is dust – having the sensor exposed carries with it the risk of dust incursion, and this is magnified the further away you move the lens.
Be mindful of how much time you spend with your sensor exposed, and where possible try to shoot in an environment that’s as clean as possible.

Image: Matt Osborne
The second issue is light leak. Once the lens gets further away from the mount, the possibility of light creeping in around the edges increases.
While it can easily cause flare that can wreck an image, light leak can also lend a lovely vintage look to certain shots. Just be careful – it’s easy to overdo it.
Matt Osborne provides a helpful tip for reducing light leak – cup the lens from the side where the strongest light is coming from.
What’s the best way to monitor my shots?

Some may prefer to stick with the viewfinder for compositional purposes, however live view can be a much easier way of monitoring what’s in focus. Experiment with what feels most comfortable.
Step four: Share your results

Freelensing is the kind of technique that only gets better and better with practice.
Join a freelensing group on Flickr to share tips and images with likeminded photographers, or share your results in the AP Gallery.
We’d love to see how you get on!