The autofocus systems in the most recent cameras are incredibly powerful, but you need to know which settings to use and when. Angela Nicholson and four top pro photographers explain all…
In the early days of digital photography we had a pixel count race with camera manufacturers trying to outdo each other with a higher resolution sensor that could produce bigger and better images. That’s now settled down and there are cameras with a range of pixel counts to suit different requirements, photographers and budgets. The battleground has moved to AF systems, particularly where artificial intelligence (AI) helps with subject detection. New developments in Autofocus (AF) technology add an extra layer of complexity with more settings to choose from, but once you understand how it all works it makes capturing sharp images much easier.
Set the focus mode
One of the first decisions that needs to be made when photographing a subject is which focus mode is most appropriate. Most cameras offer three settings: manual focus, single autofocus and continuous autofocus. Single AF mode (S-AF or AF-S) is designed for use when subjects aren’t moving. When selected, the camera will focus the lens when the shutter button is pressed half-way. Once focus is achieved, the lens stays focused at that distance until the shutter button is released, then pressed.
Continuous autofocus (C-AF or AF-C and either AI Servo or Servo AF with Canon cameras) is intended for use with moving subjects and the camera continues to assess the focus and adjust if necessary while the shutter button is pressed. If the subject isn’t moving, the focus may adjust backwards and forwards a little in C-AF mode, making S-AF a better choice. Some cameras also offer an Auto AF mode, which will switch between S-AF and C-AF if it detects that the subject is moving and if it decides that the subject is motionless, it will use S-AF.
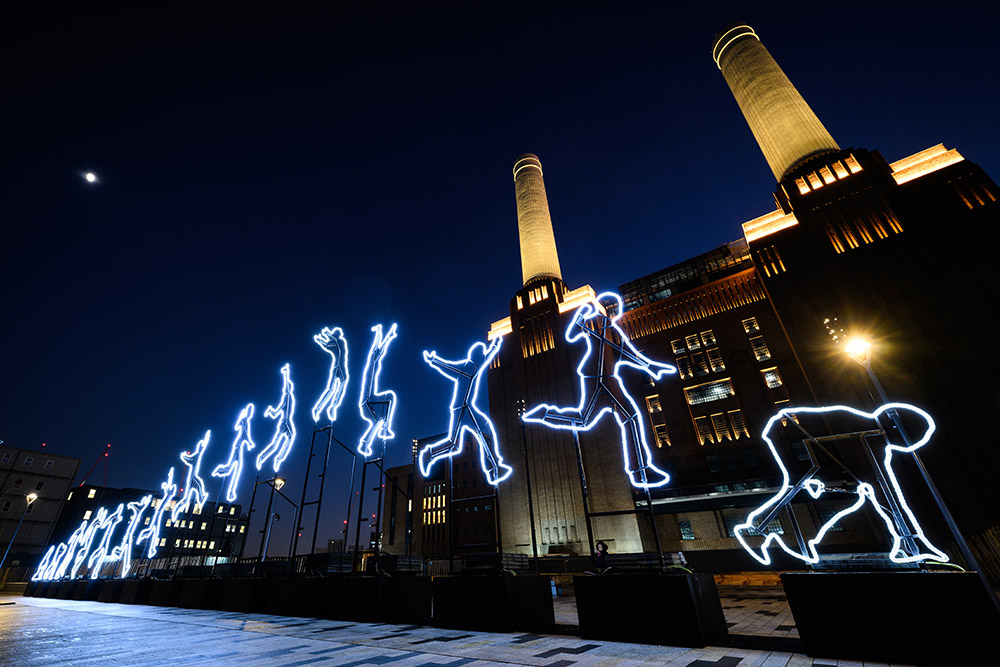
Single-point AF ensured the focus was in the ideal position for this striking shot © Leon Neal/Getty Images
Focus-area modes
In the early days of AF systems, there was one AF point at the centre of the image frame. Today’s cameras have many focus points and modes to help with their selection. Options range from using a single point to allowing the camera to select automatically from any of the available points. If you need to target the subject precisely, it’s a good idea to use a small AF area or single AF point.
Most cameras also allow you to use a larger focus area which groups several AF points. These options increase the likelihood of the active area falling over the subject and it’s easier to keep one over the subject if it moves. Larger AF areas also take less time to position because there are fewer, larger AF zones across the frame.
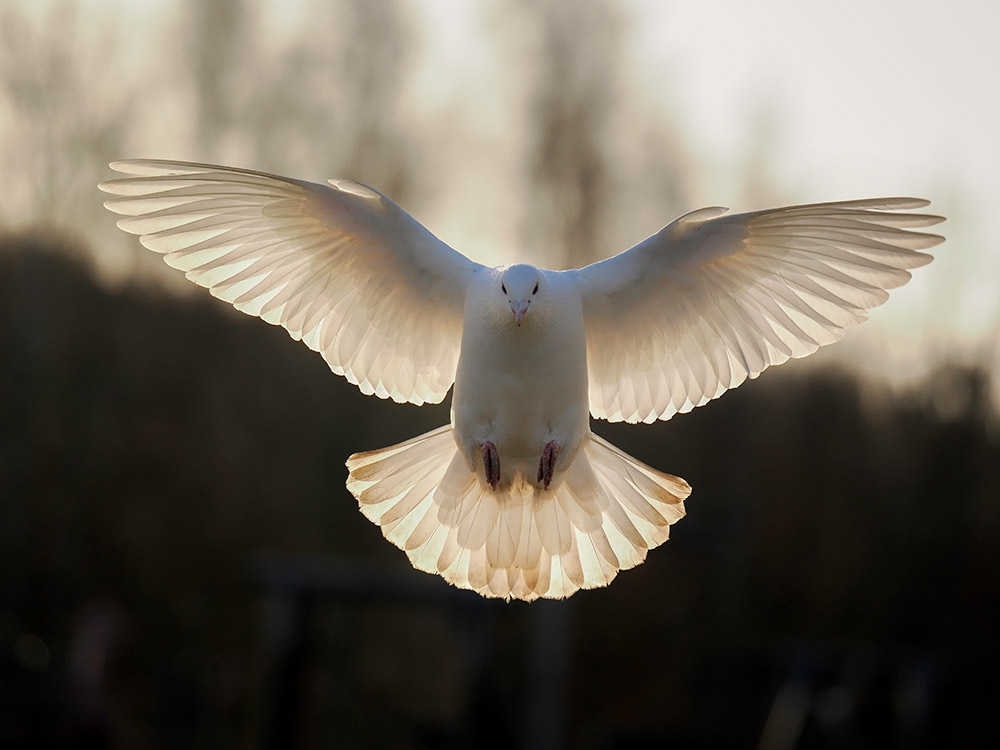
There’s also usually an auto-area, or all-points mode, in which the camera can select any of the focus points to use. This is useful if you don’t know where the subject will appear in the frame, but it gives the camera full control over the point of focus. They tend to work best when the subject is against a clean background, like birds in flight. Improvements in focusing systems and the algorithms that drive them, plus the new subject-detection modes, mean cameras are getting better at spotting a moving subject in the auto-area modes.
AF customisation
Some cameras allow the response of the focus system to be customised, giving control over the speed with which it adjusts to a change in subject distance and the speed with which it will jump to another AF point. These advanced modes require a little experimentation to get right, but they can be useful for getting the best response in specific situations.
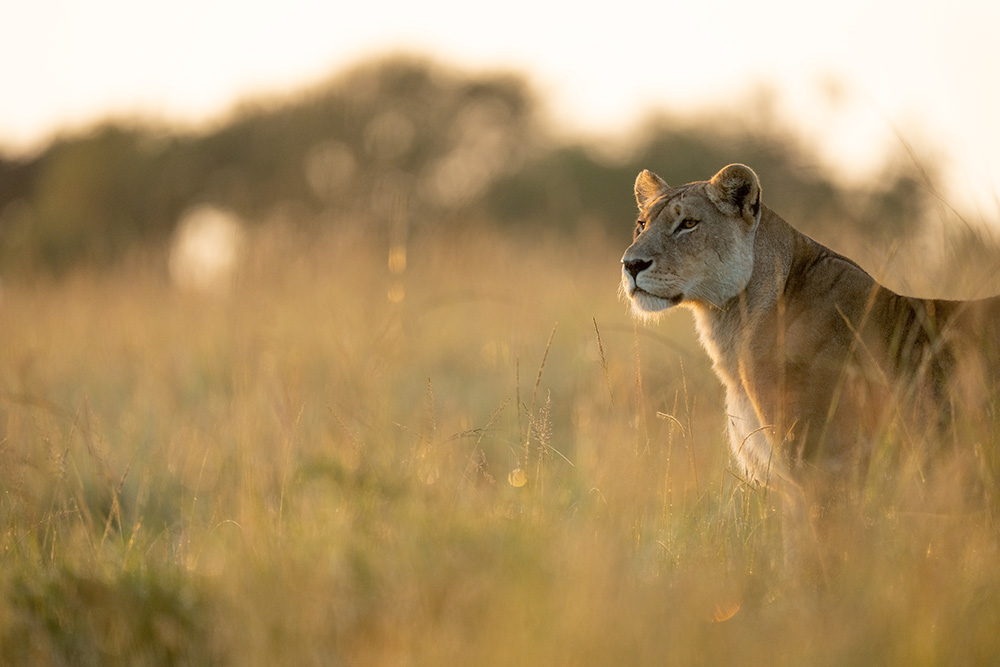
A responsive AF system and subject detection can really help with shots like this © Tesni Ward
Subject detection
Subject detection began with face and eye detection, but the real breakthrough came when Sony combined it with continuous AF. Suddenly, the camera wasn’t just focusing on an eye in the frame, it was able to track it and keep it sharp as the subject moved, making it even more useful for portrait, wedding and event photographers.
Subject detection uses AI, and the information behind it is gathered by analysing thousands of images of people, their faces and eyes from all sorts of angles and in different lighting conditions so that the camera learns what the subject looks like. The ability to detect subjects now includes animals, birds and vehicles.
As well as requiring lots of images and analysis to create the algorithms, subject detection is very demanding in processing power. The camera needs to recognise a subject, do it rapidly and follow it while adjusting the focus and capturing images.
In some cases, subject detection is used in combination with a focus-area mode and the camera will prioritise the subject when it’s detected. Sometimes subject detection works very well when the camera is set to the all-area/all-point modes as it can help to narrow down the focus area to give the camera an idea where the subject is.
With the exception of the Nikon Z9, the subject detection modes are amongst the AF-area modes in Nikon Z-series cameras and there are different-sized areas available to select. With these cameras, including the Z9, the subject detection mode and its intended target is activated via the menu, but can also be assigned to a customisable button for speedier access.
Leon Neal – Nikon
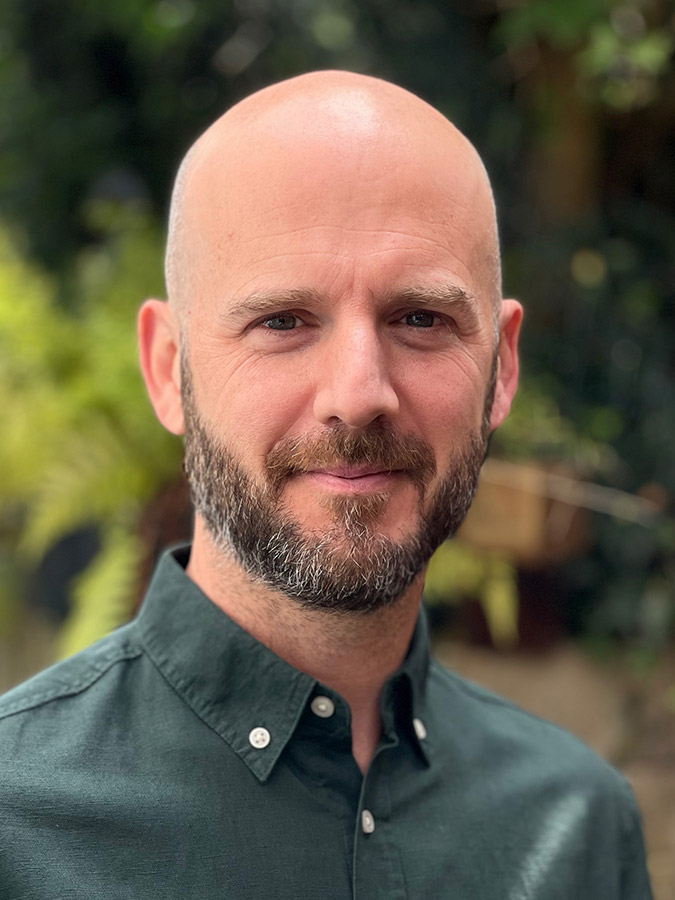
After completing the NCTJ photojournalism course in Sheffield, Leon won a scholarship with The Times newspaper in London. After two years there, he moved to the international news agency Agence France-Presse for ten years, before moving to his current position as a staff editorial photographer with Getty Images, based in London. His role involves covering news, features and current affairs in the Europe, Middle East and Africa regions.
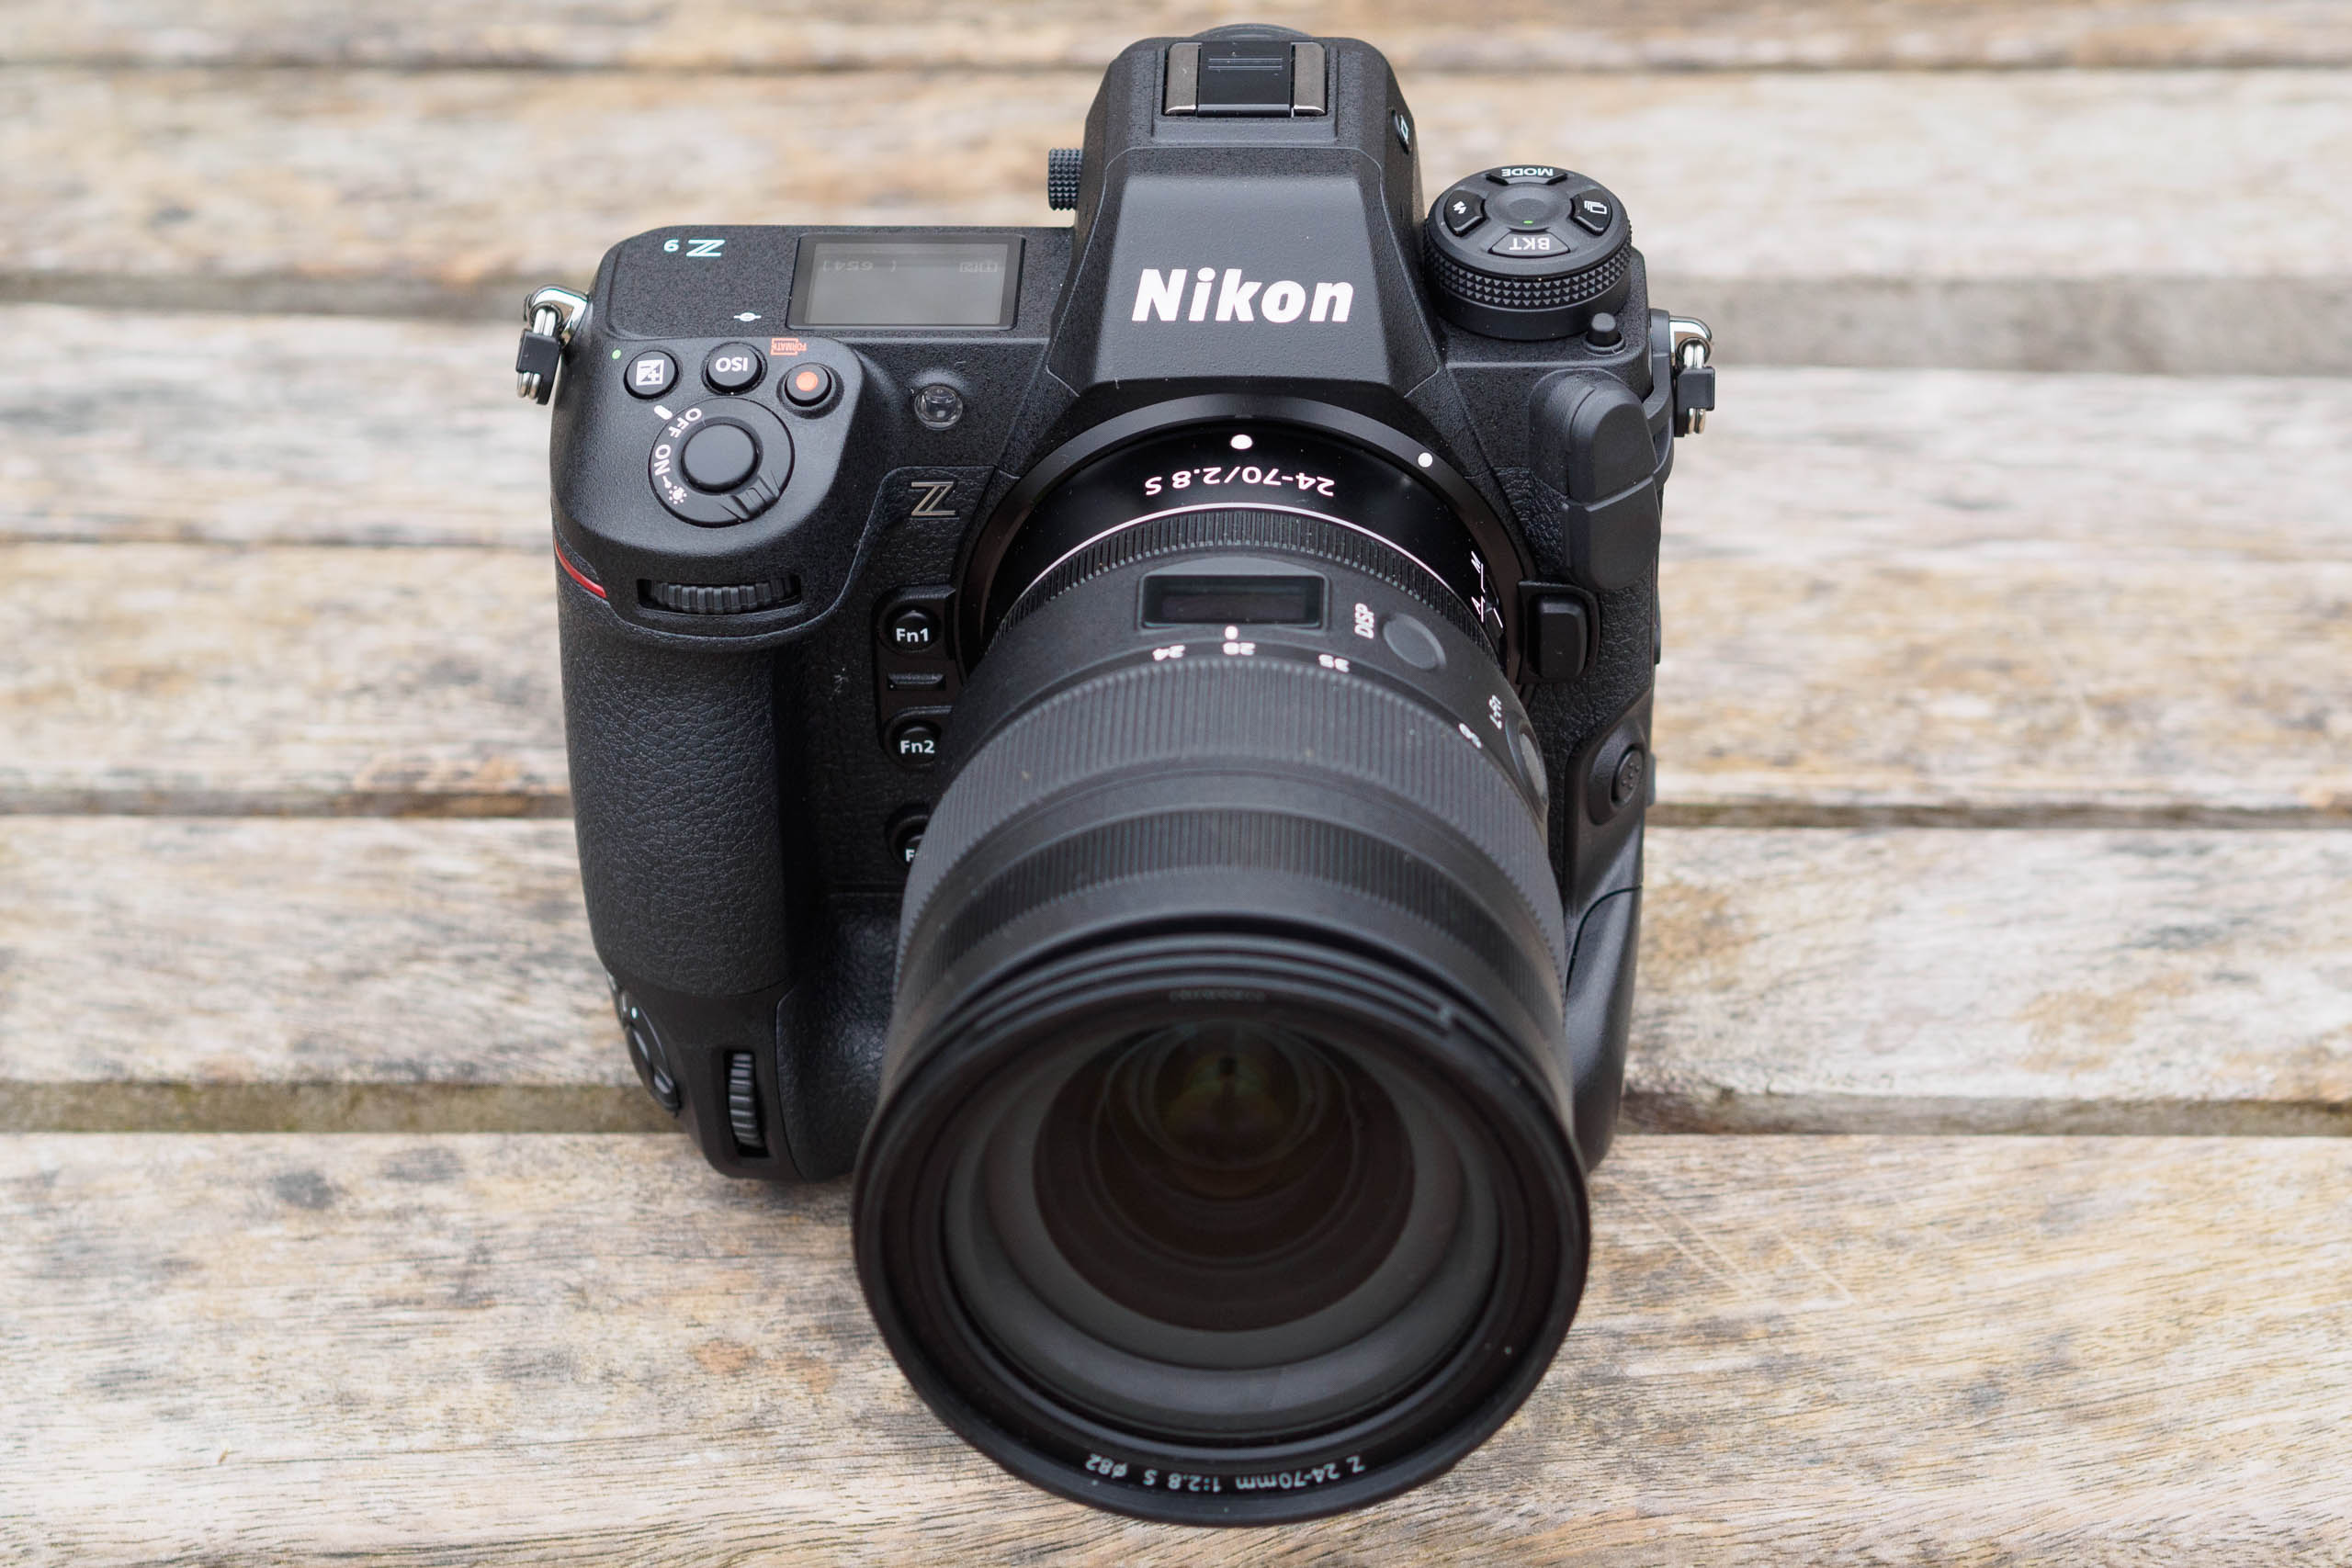
The subjects and topics that I photograph vary wildly, but my work generally involves people. This can be in the fields of politics, news, features, entertainment or sport. Before deciding to switch to the Nikon Z system, I was using the Nikon D6 and D850 and the eye detection was one of the main reasons I made the leap to the Z9 as soon as it came out.
The AF in the Z9 started strong, yet it keeps improving with firmware updates. I also have the Nikon Z 6II and it has proved to be a great features camera for me, even being my main camera for quite some time as I waited for the Z9. However, for my line of work, the Z9 was what I was waiting for, and it does the job very well indeed. Its subject acquisition is instant and very ‘sticky’.
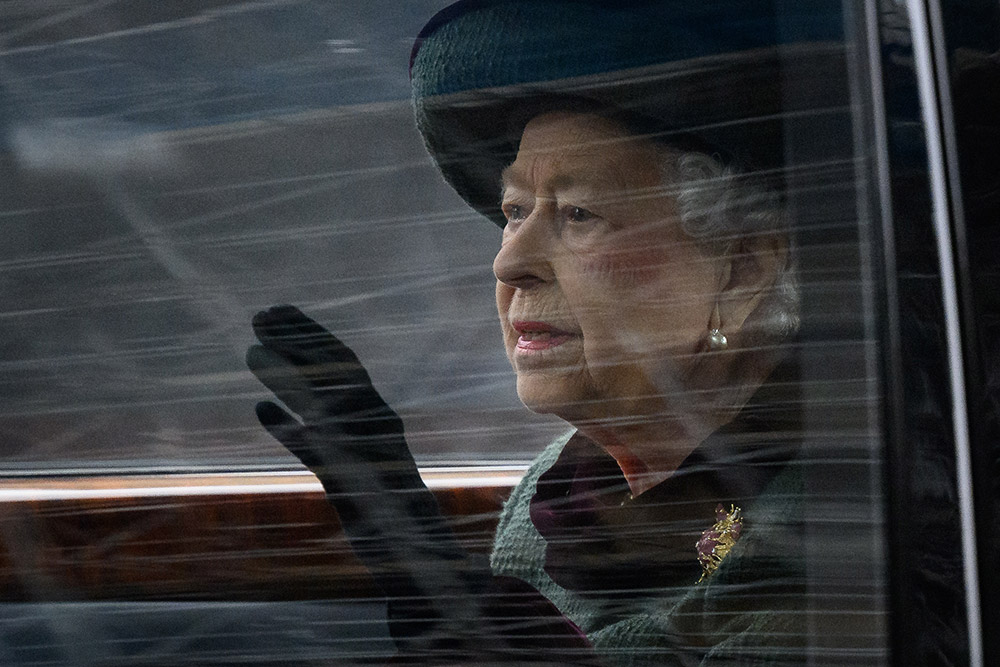
Leon pre-focused for this shot and waited for the Queen to move into the right area before activating the focus system in C-AF. © Leon Neal
I never had any issue with the D6 – it’s the absolute peak of Nikon’s DSLR technology – but the Z9 makes a huge step forward as the technological possibilities of mirrorless were opened up to Nikon’s engineers.
I shoot a huge range of subjects and the vast majority of them are moving. Even portrait shoots often take place at the same time as interviews, so the subject will be moving as they speak. So, I shoot almost exclusively in AF-C mode because it can cope whether the subject is moving or stationary.
As for the AF area, I generally bounce between Single-point, Dynamic Area (small) and 3D-tracking, and I always have the Subject detection set to ‘People’. For general daily use, I tend to go with Single-point AF, but I’ve found that 3D-tracking is great for press conferences and slightly more controlled areas, where I want to compose the shot and allow the subject to move within the frame. The ability to lock onto the eyes, then adjust the composition, leaving the camera to follow focus, has made life a lot easier.
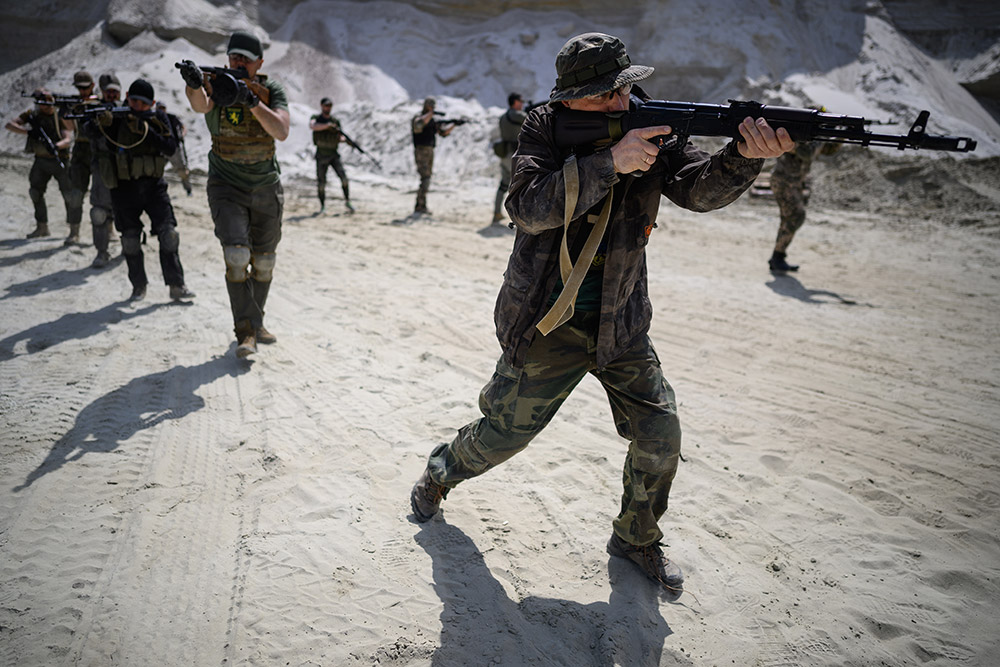
Volunteers undergo training at a Territorial Defence Force facility outside Lviv, in Ukraine. © Leon Neal
Possibly my favourite aspect of the Z-series is the edge-to-edge sharpness the new bodies and lenses are capable of capturing. It’s amazing to be able to select focus points off into the distant corners of the frame and for them to not only work, but work well. I’ve always been happy to shoot with the aperture wide open to separate subjects from the background, but I’ve found that my hit rate has gone up thanks to the Z9’s subject-detection capability.
I keep the camera’s AF-C Priority (a1 in the Custom Menu) set to ‘Focus + Release’ because, in critical situations, it’s important to get a sharp frame, but even more important to have a frame. If the camera was to refuse to take an image due to being uncertain of accuracy lock during a crucial fraction of a second, it would be a real issue! I also keep Focus Tracking with Lock-on (a3 in the Custom Menu) set to the default of 3.
A solid choice for press shooters
Will Burrard-Lucas – Sony
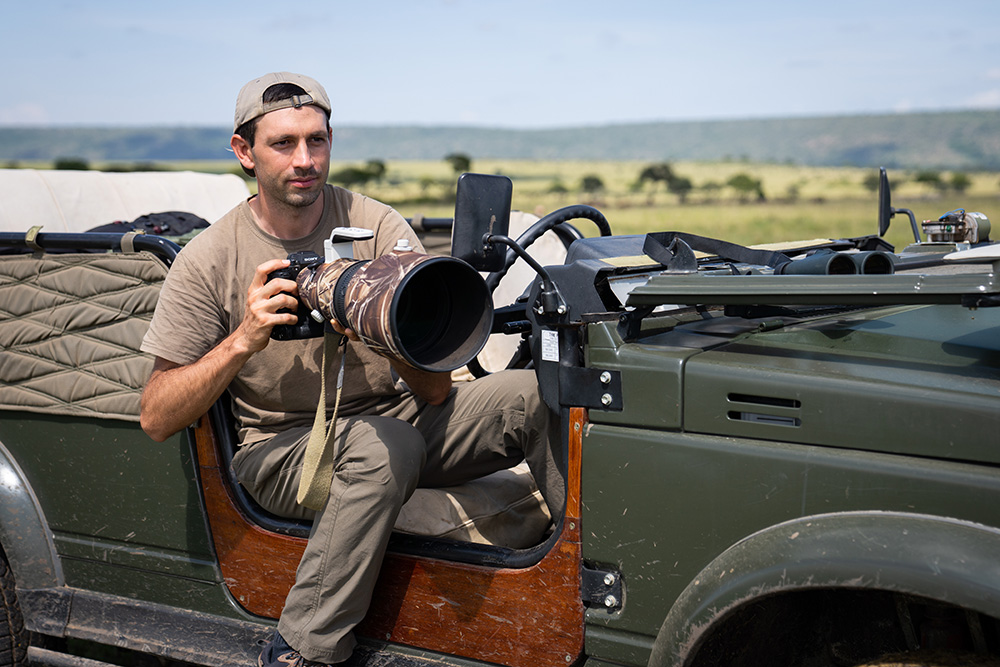
Will Burrard-Lucas is a British wildlife photographer. He is also the creator of BeetleCam, a remote-control camera buggy, and founder of Camtraptions Ltd, a company that specialises in high-quality equipment for camera trap photography and filmmaking. He dedicates much of his time to working on long-term book projects in Africa. His latest book, The Black Leopard, features a rare melanistic African leopard and was published in March 2021. Prior to that, he spent a year documenting the last remaining big tusker elephants in Tsavo, Kenya, for his book, Land of Giants.
Initially, the autofocus performance was considered the Achilles’ heel of mirrorless cameras, but I think from the Sony A9 onwards, is when mirrorless began to overtake DSLRs. Now we have high-end cameras such as the Sony A1 that can recognise subjects, particularly eyes, which is almost always what I am trying to focus on.
If an eye is visible in the scene, the Sony A1 can be relied upon to focus on it. © Will Burrard-Lucas
It means that I hardly have to think about the focus like I did with a DSLR. I always had to move my focus point around to get it over the animals if I wanted to change composition, or if the animal moved. Now I don’t have to think about any of that. I can tell my camera to lock-on to the eye, and it’s locked on.
I know the focus is sorted and then I can just think about composing and timing my shot. My photography has improved as a result, simply because it frees up brainpower to think about being more creative. There are fewer missed shots because in the past, you might have been a bit too slow to get the focus right. Whereas now, the camera can respond quicker than my finger and a joystick. So, those two factors together mean that my hit rate is now better.
When I’m photographing wildlife, I have my primary camera with my long (400mm) lens mounted the whole time. I never change that combination when I’m out in the field because it minimises the amount of dust getting inside the camera. If I plan to use another lens, I will mount it on to a second body. I select from just three different-sized AF area modes, Zone, Large spot and Small spot (all tracking modes that are available in Continuous AF mode), and with subject detection enabled.
The Sony A1 nailed the focus on the most important part of the subject in this image. © Will Burrard-Lucas
I have Custom button one (C1) next to the shutter button programmed to cycle between those three modes. So, with the click of a button, I can cycle between Tracking: Zone, Tracking: Spot Large and Tracking: Spot Small very quickly. I also have the button next to it, Custom button two (C2), set to move through the different subject detection modes so I can use it to cycle between animal, bird or people. Between those two buttons, I can set the camera to lock onto exactly I what I want it to focus on, which is ideal for me when working with a long lens.
I use Tracking: Zone AF with subjects that are moving erratically and I can’t reliably get my focus point over it. Birds in flight are the most common subject I’d use it for, but it’s probably the least used of the the modes. If an eye is visible, the camera will usually lock-on to it if I have an AF point near it, so the choice between Tracking: Spot Large and Tracking: Spot Small is more important when I’m photographing something where the eye isn’t visible.
Using a long lens, often with aperture wide-open, means the depth of field is very shallow, so I always use C-AF because even tiny movements would put my intended subject out of focus.
In some situations it might make sense to use some of the customisation options for the AF system’s response, but wildlife photography is so varied, I’ve never found the perfect combination and I stick to the defaults.

The A1 has lots of AF custom options
Denise Maxwell – Canon
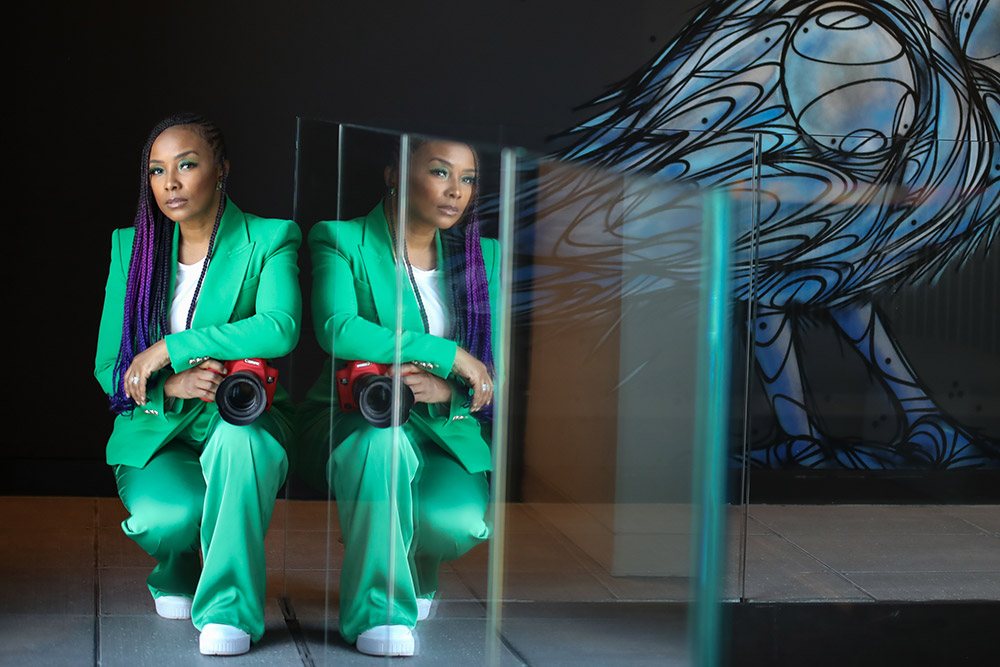
Denise Maxwell covers a wide range of genres including sport, weddings, music, portraits and conferences. She’s also a photography mentor and leads photographic workshops. Denise has also been named one of the top ten Black Wedding Photographers by Hitched magazine and she has shot weddings as far afield as Rwanda. Her work has been exhibited widely and published in publications such as OK!, The Independent and The Times.
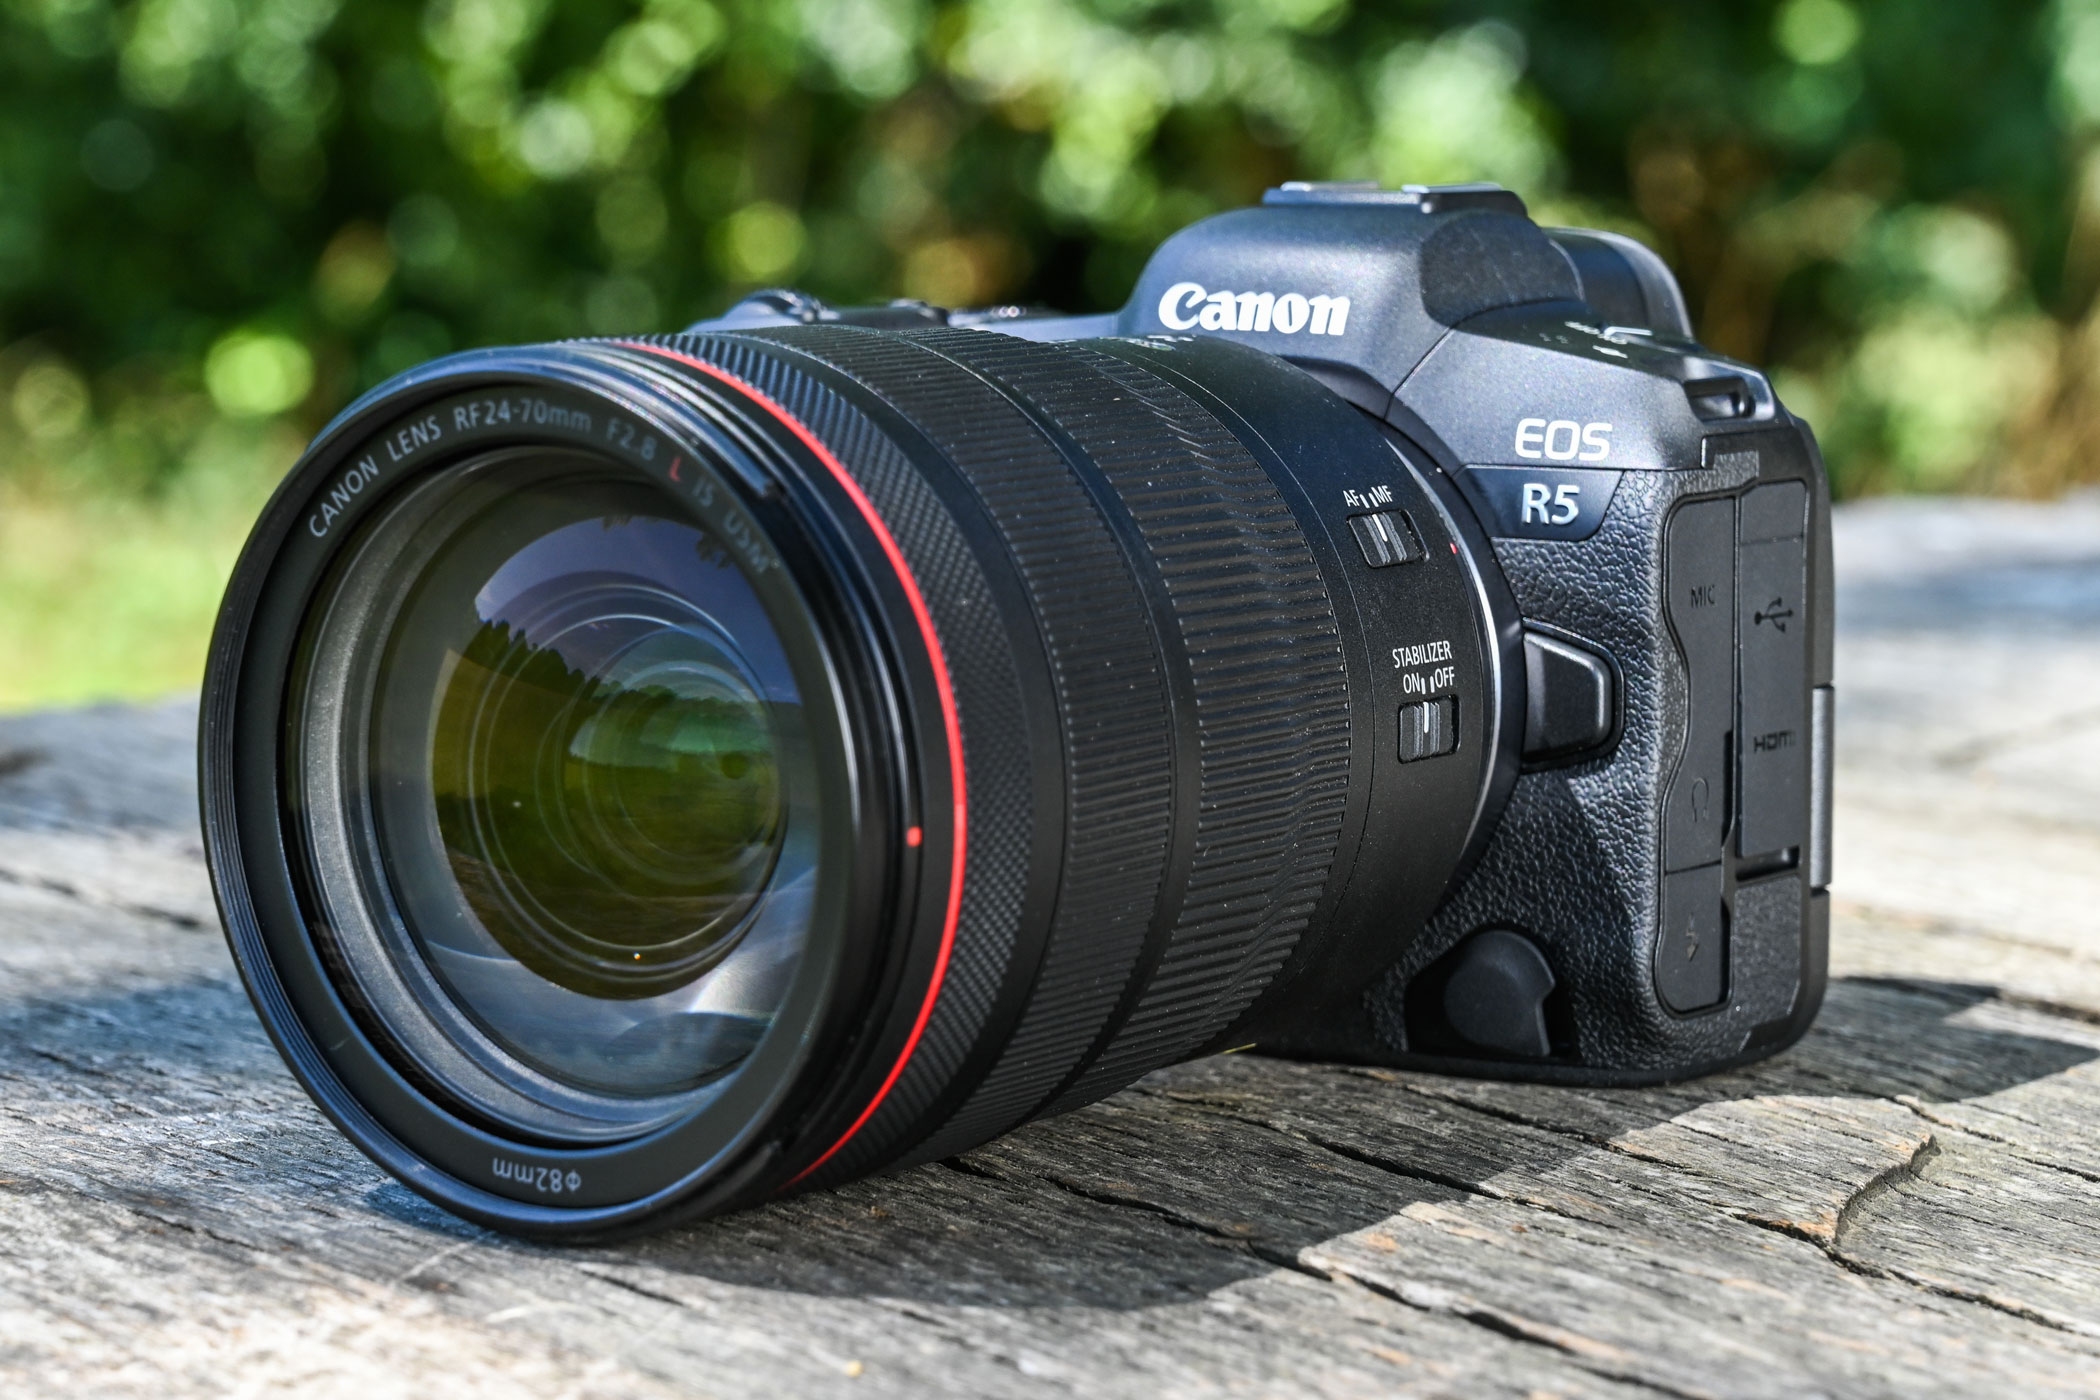
I use a Canon EOS 5D Mark IV DSLR, but I recently hired a Canon EOS R5 to put it through its paces and see how it compares. I’m one of those people who doesn’t pay much attention to the hype, so when something new comes out, I always question if it will give me anything different – because my current camera still does what I need it to do. But the R5 is interesting and I decided to take it to a sports event. I think more than any of the other type of work that I do, that’s a good test for it because the speed and accuracy of the focusing is so important… and I was very impressed.
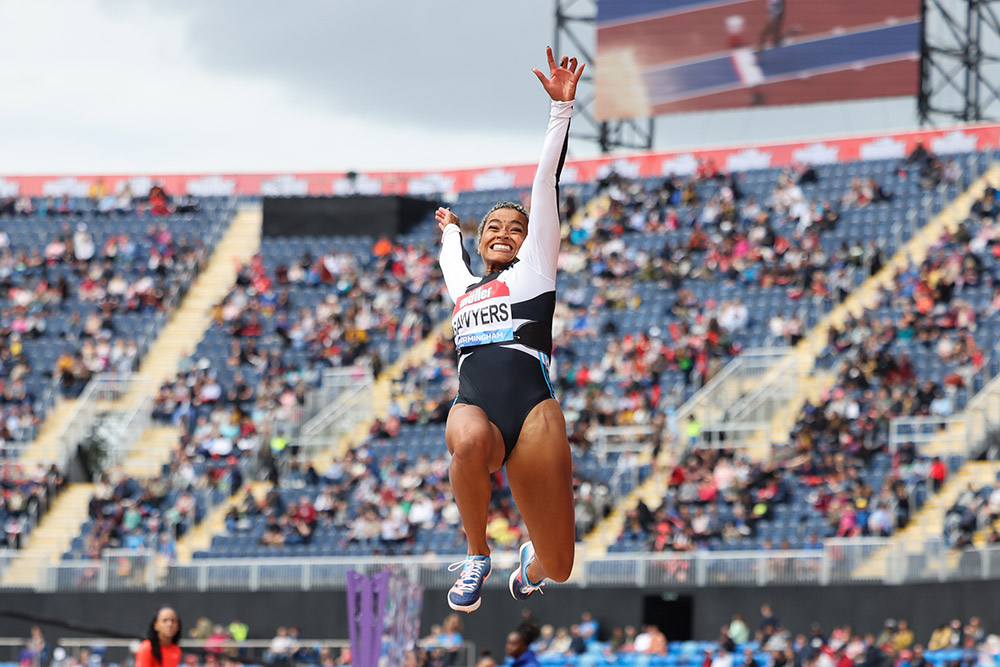
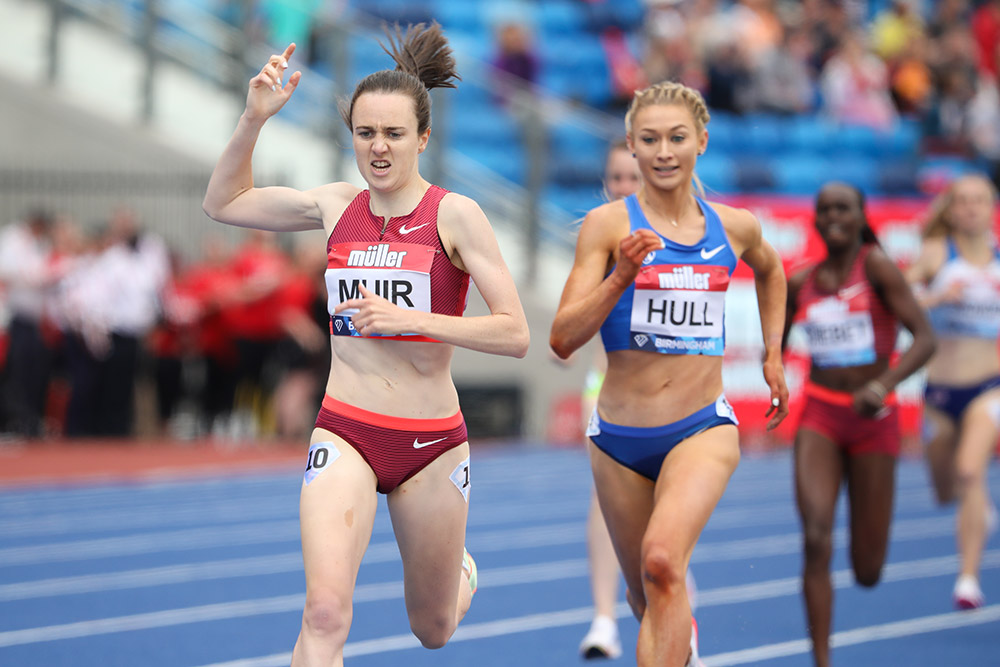
Denise found the EOS R5 eye-detection especially useful for shooting events like the long jump. © Denise Maxwell
I expect to get a higher number of out-of-focus shots at a sports event because there are always times when the athlete suddenly moves away from the focus point and you don’t have time to react. So the fact that I had the eyes being tracked by the R5 made a huge difference, especially with the 100m race, long jump and steeplechase. I compare it to having a manual car or an automatic car; you’re still driving it, but there’s just so much less to think about and it makes your life much easier.
Those few split seconds make all the difference when you’re photographing something like a race. Recently, in a 4x100m men’s race, the British team dropped the baton and I was able to switch from following the race-leader to the action behind without having to move the AF point manually. I’m looking forward to trying the R5 at music festivals because I think it will be useful for shooting the livelier acts.
When I’m shooting sport I use AI Servo AF but when I shoot something slower, like a model moving between different poses, I switch to Single AF. Because I’m used to shooting fast-moving subjects, a model seems slow and I have time to focus and get the shot.
In AI servo mode the camera adjusts focus continuously as the subject moves © Denise Maxwell
I mostly use Single-AF point mode but every now and again, for example when I’m shooting the long jump, I’ll use one of the AF point expansion options to give me a cluster of AF points. It’s useful because it gives me that little bit of wiggle room if the face moves as they’re jumping. But, of course, that’s taken care of with face and eye detection on the R5.
A model walking down a catwalk is like a slower version of a race, so I use the same settings – AI Servo and a single focus point on the 5D Mark IV. A good thing about a catwalk is that you generally know where the model will walk. Now and again, you get a model who hasn’t followed the instructions and veers to one side, but that’s easy to cope with.
Because I shoot such a wide variety of subjects – everything from sport to weddings and fashion to conferences – I don’t tend to use any of the AF customisation options. I want to be sure that the camera is always responding as I expect it to every time I pick it up. I use back-button focusing, however, because I like to separate the focusing from the shooting with moving subjects.
Some of my lenses have focus limiter switches, but they don’t really help with most of my work. In fact, the only time that I tend to use a limiter switch is when I’m using a macro lens and shooting something close because it helps to keep the focus where I need it to be.
A thumbs-up for the EOS R5
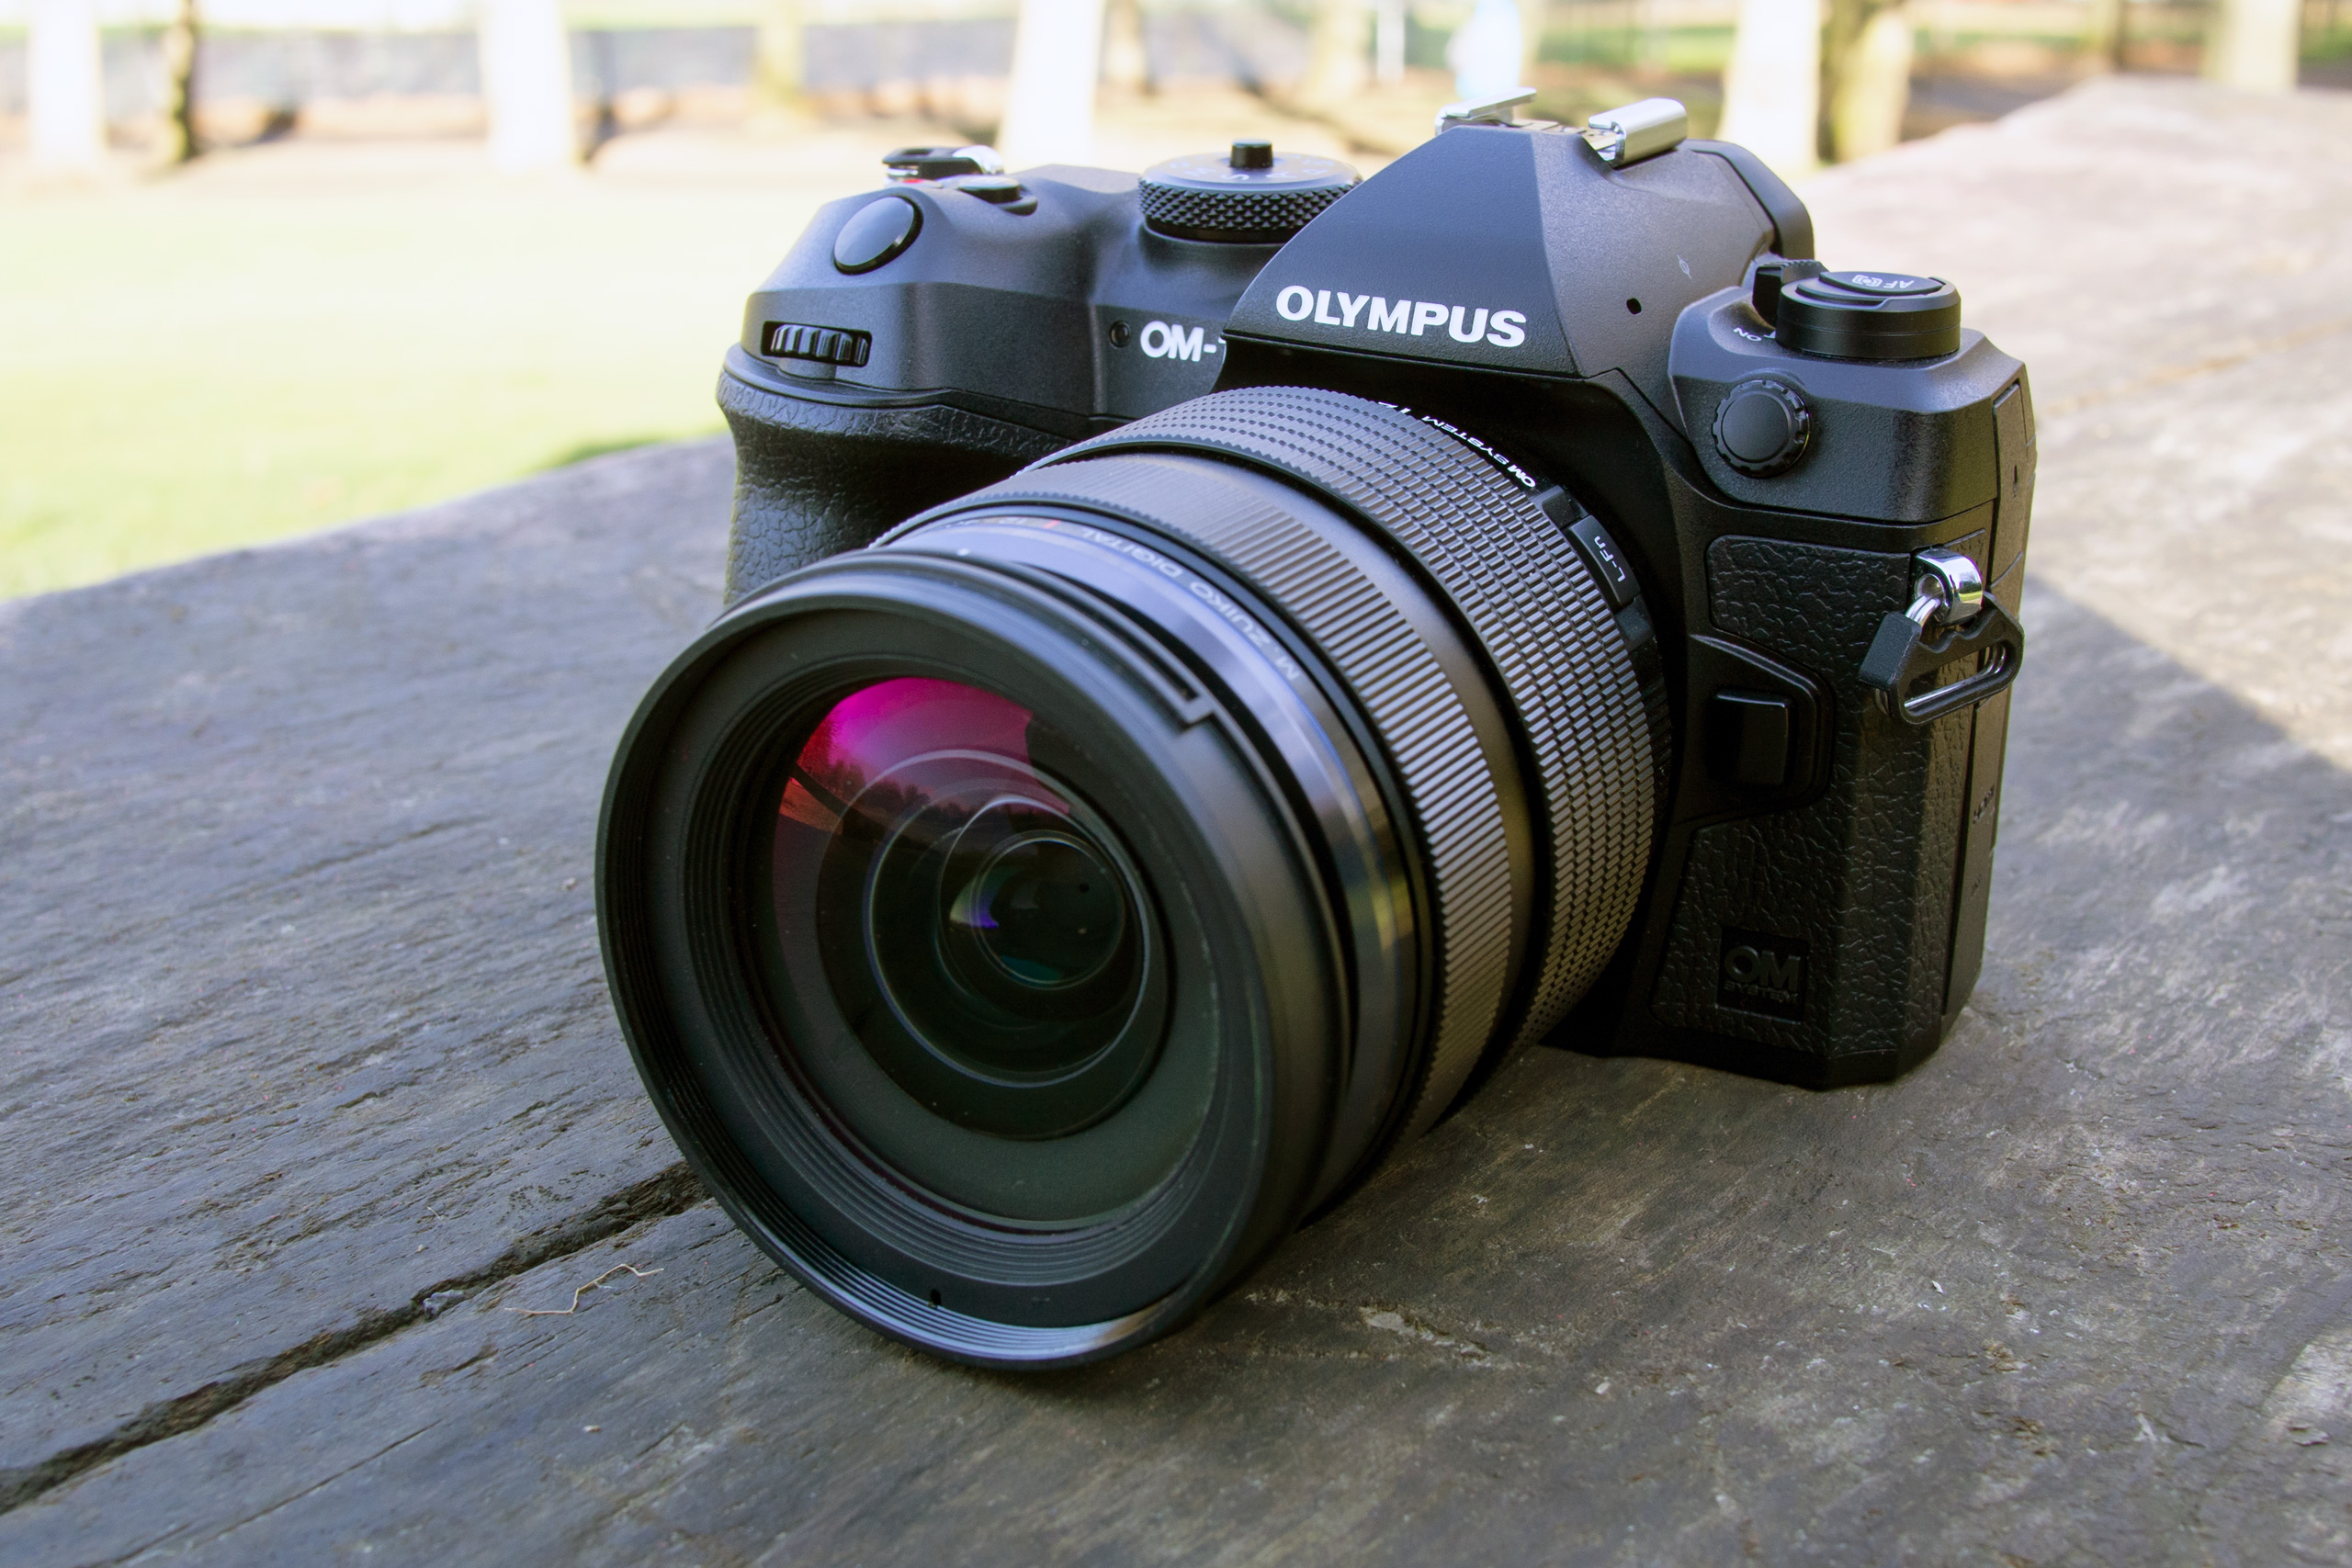
Tesni Ward – Olympus and OM Digital Solutions
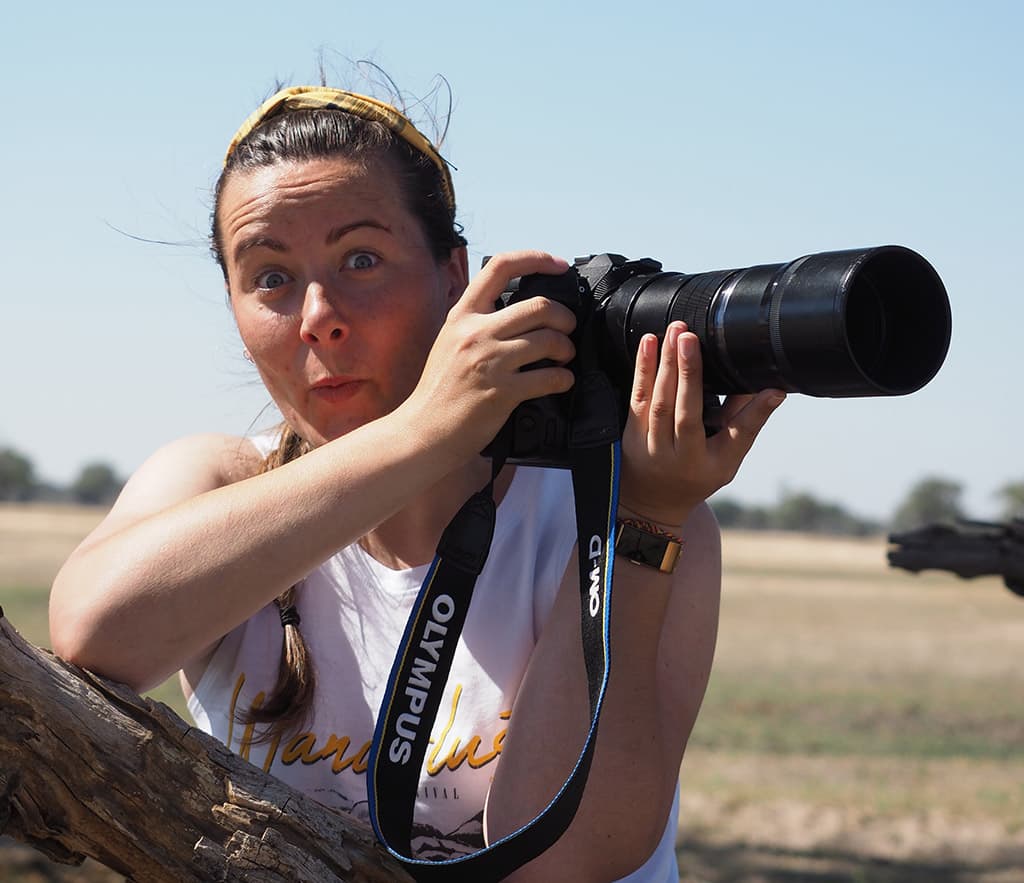
Tesni Ward is an award-winning, professional wildlife photographer, and also an OM System Ambassador, based on the outskirts of the Peak District. While the majority of her work focuses on British wildlife, she also photographs projects across the world and has aspirations to promote conservation and education through her images.
I have the Olympus OM-D E-M1X, but it’s only since I got the OM System OM-1 that I’ve really started to use the AI Detection AF. Its subject detection is in a different league and I use it 90% of the time. Generally, I use a medium-sized focus area that fills up one square of the rule of thirds grid, but it depends on the situation.
Once the camera has acquired the focus, it’s great at staying locked onto the subject, but sometimes needs guidance. If the background is busy, or I’m shooting through vegetation, I’ll set a small focus area to give the camera a guide as to what I want it to focus on. Once it’s got the focus, it keeps with the subject and if there’s an eye visible, it focuses on it.
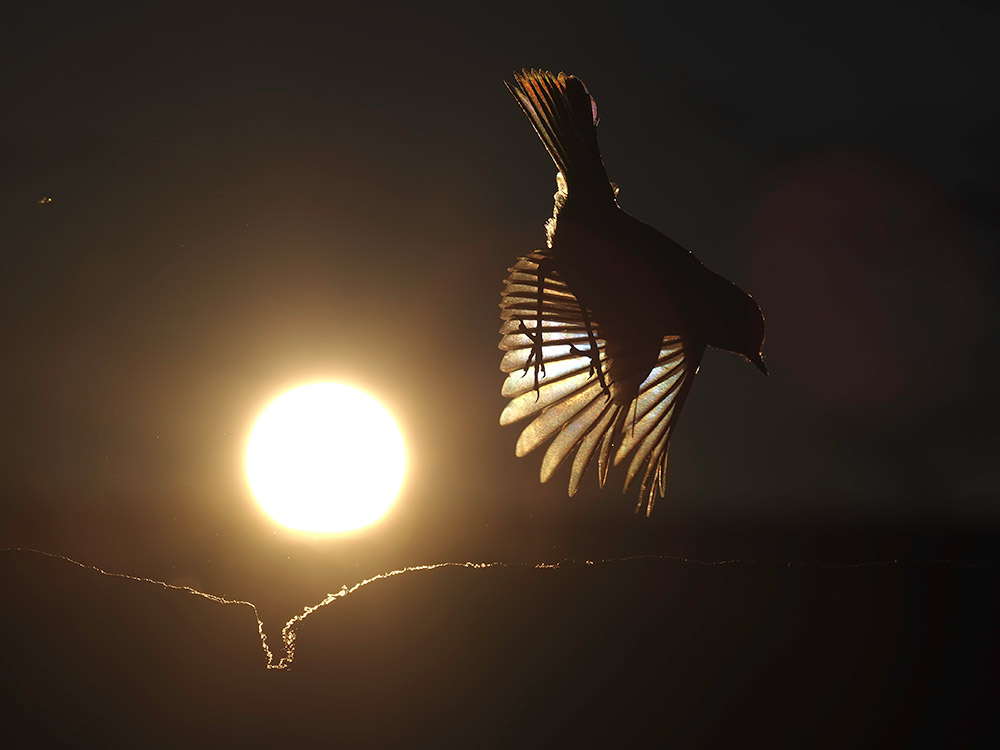
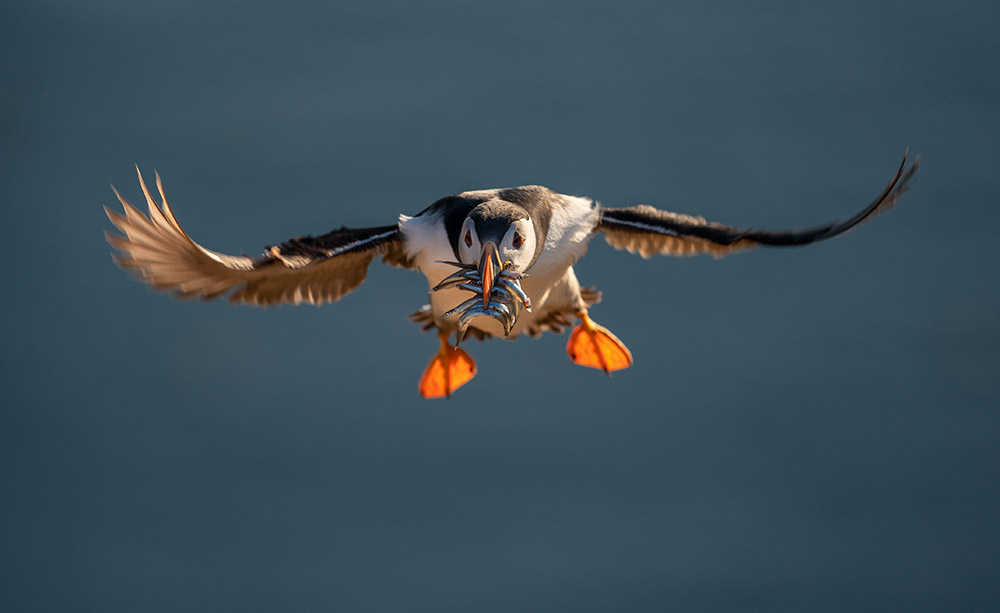
Tesni combined Pro Capture mode with Bird detection to capture the perfect moment. © Tesni Ward
There’s a feature in the OM-1’s AF menu called the C-AF Tracking Sensitivity. I call it the ‘Photobomb’ setting. If there’s any risk of me being photobombed, by a tree or another bird or animal, I reduce the sensitivity to slow down the speed at which the camera will adjust the focus if something gets between the camera and the subject under the focus area. If it’s set to -2, the delay can be up to a second, so if you’re following a bird that goes behind a bush, there’s no problem because the camera is locked on the original subject.
If I’m shooting a peregrine falcon, and it’s hard to find in the viewfinder and keep it in the frame, I put the sensitivity to +2 because I want the camera be able to instantly reassess and lock-on focus the moment it hits the focus point.
I also use the OM-1’s AF Limiter a lot because it helps me keep the focusing in the right range and is much more flexible than a lens AF limiter. Bempton Cliffs is a good example because, when you’re shooting down over the sea, the water is about 120m away. If I set a shorter long range, I’ll have no images of the background in focus and, because the camera concentrates on a smaller range, the focusing is quicker as well.
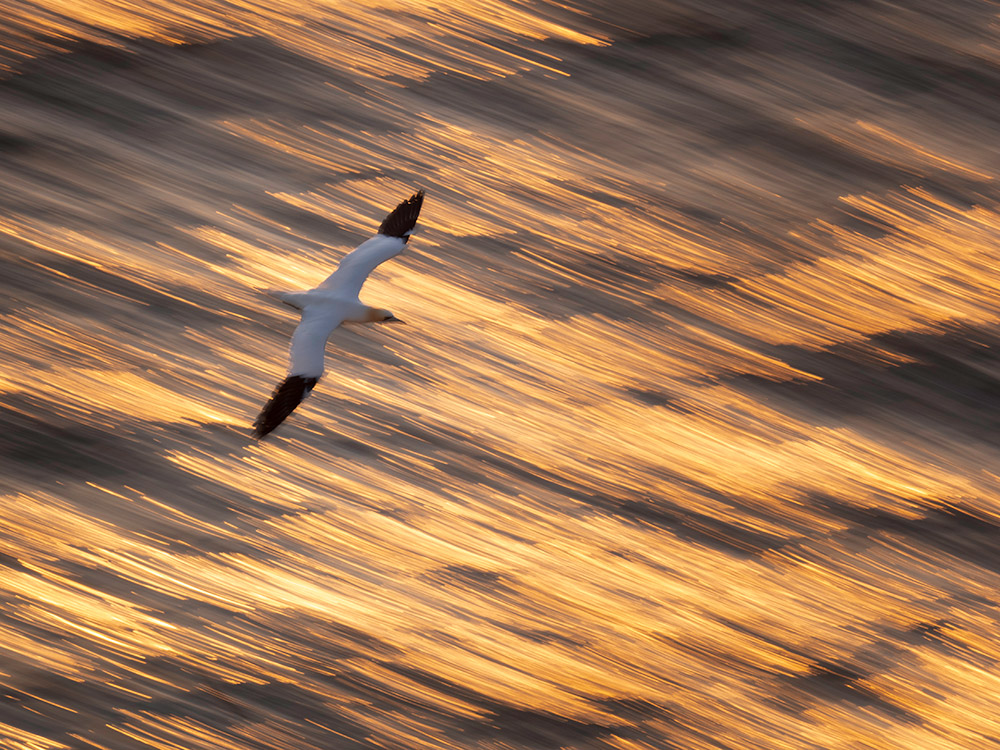
Using the focus limiter ensured that the sea beyond the gannet wasn’t in focus at any point during this shoot. © Tesni Ward
There are three customisable settings that you can set to different focus distance ranges. I’ve assigned the AF Limiter to a button so that, by holding it down and rotating a dial, it jumps between my three presets and tells me the distance range. I set it up at the start of the day, depending on the location and what I’m shooting. I also use the video record button and a dial to switch between the different AI Detection subjects – that’s really handy, and I use C-AF mode with back-button focusing.
The custom AF shapes that you can create for the OM-1 are also incredibly useful. For waterfowl on a lake I’ll create a band that’s three clicks of the navigation key high and covers the width of the frame. Then I can position the AF band where I want it for the composition, and the AF system latches onto any bird coming into the area.
The OM-1 is an AF powerhouse
Related reading:
How to get better autofocus on mirrorless
Which camera maker has the best autofocus for moving subjects?