Over the years, we’ve seen Canon release a few different apps for its users of DSLRs and PowerShot models that feature Wi-fi technology.
In the past, if you wanted to control your Wi-fi- enabled Canon camera remotely, you needed to download the EOS Remote app onto your mobile device, whereas if you wanted to view, share and save your images onto a smartphone or tablet you were required to install another app called Canon Camera Window.
It didn’t take long for Canon to realise that it would be far more useful if they could take the best from both apps and consolidate them into one. Camera Connect is now the main app endorsed by Canon and it blends the functionality of remote shooting with the option to save images straight to a mobile device.
This is great news if you’d like to share images with others via email or social media, and best of all, it’s intuitive and quick to learn. In this guide we’ll take a closer look at all of its key settings and features so you can get the very best from it.
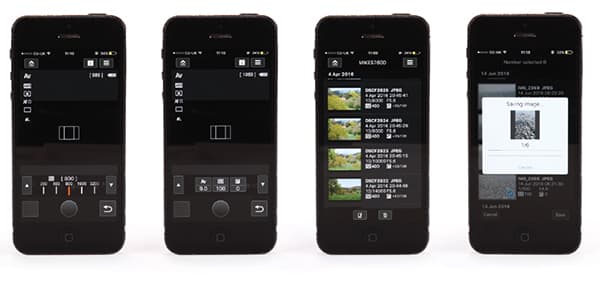
These screengrabs show the intuitive layout of the app. The two images to the left show the ISO scale, shutter button and adjustable AF point in the centre. The third image from the left illustrates one of the two views we’re given when working in the ‘images on camera’ area of the app. The shot on the far right shows what the progress bar looks like when images are being transferred and saved to an iPhone
Connecting to the app
To use the Camera Connect app you’ll first need to pair your DSLR with your mobile device. This might sound simple, but there are a series of steps you’ll want to follow to ensure you get connected quickly. Firstly, you’ll want to head into your camera’s menu and enable Wi-fi/NFC before selecting the Wi-fi function option.
From here, select the connect to Smartphone option and confirm you’d like to connect to the device. If you’re using a DSLR and it has an LCD on the top plate you’ll notice Wi-fi is now displayed as being switched on.
It’s at this point you’ll want to enter your mobile device’s Wi-fi settings and select the appropriate network from the list. A tick alongside the Wi-fi network indicates that the devices have been successfully paired and you can then return to the home screen on your mobile device before locating and loading the Canon Camera Connect app.
It’s at this point you have to wait a second or two before the app confirms its link with the camera. With the hard work done, you now decide on whether you want to select the Image on camera option, Remote shooting or Camera settings option, which we’ll now study in more detail.
Images on camera
The Images on camera part of the app is the area where you can view and inspect the images you’ve taken before rating or saving them directly to the camera roll on your mobile device. Images are neatly grouped into folders based on the date they were taken and you’ll find the most recent images shown at the top.
Set to default, images are grouped together as small thumbnails, but clicking on an image enlarges it, with the option to use pinch and zoom gestures to inspect the quality of sharpness and depth of field. Below the image you’ll find the filename, the time the image was taken and the EXIF data.
If you’re like me, you might want to click on the list icon at the top right, which enables you to switch the view of images – handy if you’d prefer to have thumbnails listed with all the filename, date/time and EXIF beside. The list icon also enables you to sort images quickly based on their date, folder or rating, and there are other options to jump to an album based on a date or control the resizing of images.
Saving images from the app to your mobile device can either be done individually or selectively. For example, if you’re viewing a single image in the app you can copy just this image, or if there is more than one you’d like to copy it’s possible to select which images you’d like to transfer from the wider thumbnail view. It takes roughly 1.5secs to copy a single image with a strong Wi-fi connection, but be aware a transfer may take longer or might not be possible at all if your connection is weak.
Having the option to rate images from 1-5 stars is a particularly attractive feature in this part of the app and is very simple to do. Any star rating you apply is instantly applied to the file on the memory card, making it possible to filter the images you want to work on or keep/delete much faster in editing programs such as Adobe Bridge and Lightroom.
You’ll also find there’s the option to delete redundant images from the camera via the app. This can also be done individually or selectively and prompts you to confirm you definitely want to delete files before going ahead.
Remote shooting
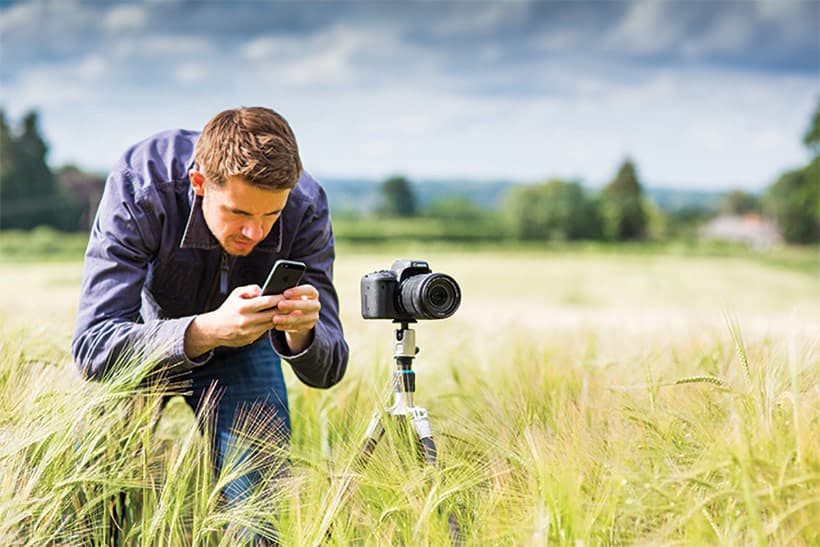
As briefly mentioned in the introduction to this article, the remote shooting feature can be incredibly useful in certain situations and offers an advantage when you’d like to create distance between yourself and the camera, but remain in control of the key camera settings.
Selecting Remote shooting from the app instantly engages Live View mode, which can be identified by the sound of the mirror flipping into its upward position. The Live View feed is transmitted via Wi-fi to your mobile device and by clicking on the information icon towards the top right you can display key camera settings, such as shooting mode, white balance, metering, AF mode and drive mode.
Other than drive mode and AF mode, none of the above settings can be adjusted via the app and these have to be changed via the camera manually. It’s worth knowing that you’ll want to prevent changing the shooting mode when using the app. Doing so interrupts the Live View feed and disconnects the Wi-fi connection, giving you no option but to repeat the task of connecting to the app. Bearing this in mind, it’s important to make sure you choose the appropriate shooting mode before controlling the camera remotely via the app.
Other key variables you can take control of include aperture, shutter speed, ISO and exposure compensation. You’re first required to select the slider icon at the bottom right, which presents the options needed to adjust these exposure variables using a slider scale. Aperture, shutter speed, ISO and exposure compensation appear alongside each other and to access the drive mode and AF mode options you’re required to use the down button. With the latter, you’re given options to select focus tracking, FlexiZone – Multi and FlexiZone Single. All three of these AF Live View modes support repositioning of the AF point around the frame using your mobile device’s screen and it’s a really intuitive way of refining the focus point on your subject when there’s distance between you and the camera.
At the top right of the remote shooting interface you’ll find another icon that gives you the option to lock the screen’s rotation, switch off Live View and control other settings such as showing an AF button. This is used to recreate a half press of the shutter to focus before taking an image, but I find it works best with the AF beep on the camera enabled.
Lastly, at the bottom left corner you’ll find a small thumbnail that can be clicked on to show a strip of the images you’ve taken. Clicking on any of these displays an enlarged view, and again pinch and zoom gestures can be used to inspect the image at closer magnification.
Camera settings
Beneath the Images on camera and Remote shooting options at the front of the app you’ll also find Camera settings. From here you can reflect the date and time of your mobile device within the image EXIF data, with the option to manually change the area and enable daylight saving time if you wish. Of the three options from the front of the app, Camera settings is by far the most basic.
To return to the front of the app at any time you can tap the home icon at the top left of the interface and there’s a disconnect icon at the top right, which is good to use when you’re finished with Wi-fi and want to preserve your camera’s battery power.
If you own a Canon Wi-fi-enabled camera and have access to a mobile device, Canon’s Camera Connect app is worth downloading and comes highly recommended. After all, it’s free to download and provides you with increased functionality and greater sharing options at your fingertips.
Manage your apps
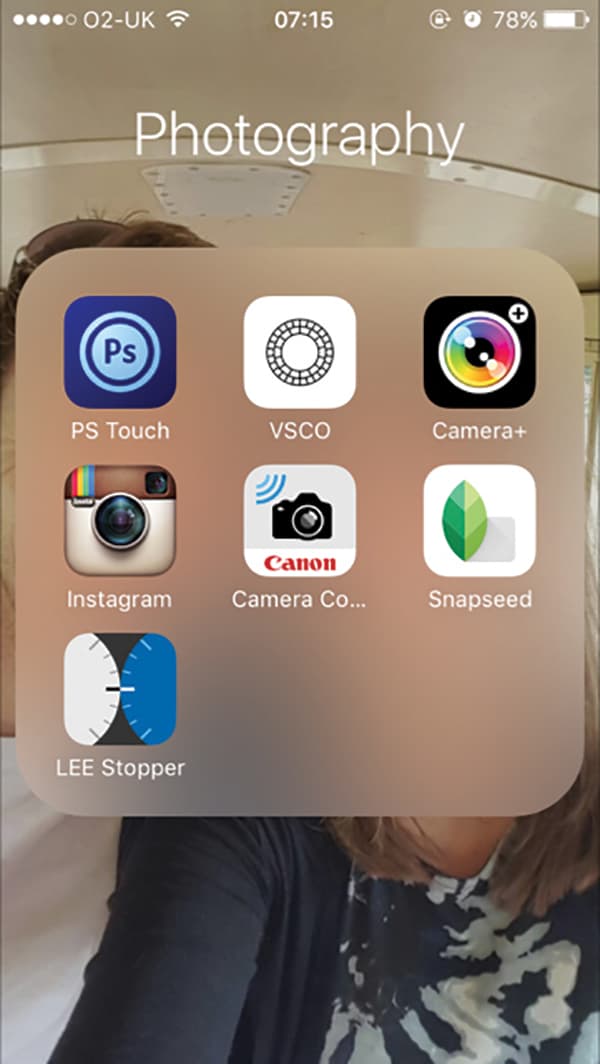
To find the app quickly, it’s a good idea to bundle it with your other photography apps so they’re all located together in one place. Creating a new folder on an iPhone or iPad couldn’t be easier – simply go to your home screen, touch and hold the app you want to create a folder for until all the apps begin to jiggle, and while continuing to hold your finger down on the app, drag it on top of another app you want in the same folder.
You’ll find the app becomes grouped in a new folder and it’s possible to rename the folder at the top of the screen. Keeping your apps tidy and well organised makes them much easier to find and saves you the difficulty of searching for the one you want among many others.
Step by step: How to connect your DSLR to the Canon Camera Connect app
Enable Wi-Fi

Switch your DSLR on and hit the menu button. Navigate through the menu settings to Wi-Fi/NFC, which is listed under the same tab as Format card. Set to the camera’s default settings, Wi-Fi/NFC will be switched off so you firstly need to select it and change the Wi-Fi/NFC setting from Disable to Enable.
Select the Wi-fi function
Move down one option and select Wi-Fi function. From here you’ll find different options such as Transfer images between cameras and print from a Wi-Fi printer but the one you’ll want to select is Connect to smartphone. This is easy to identify thanks to the small smartphone icon second from the left on the top row.
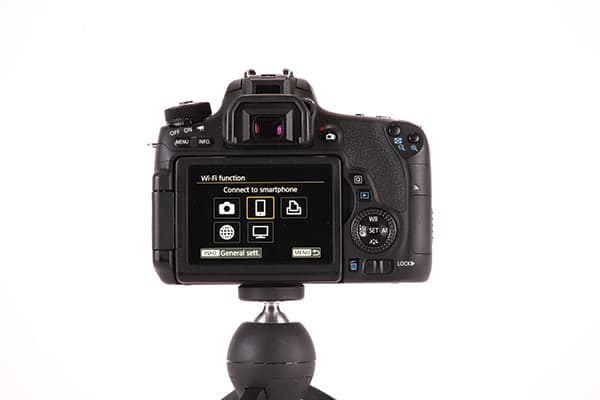
Connect to smartphone
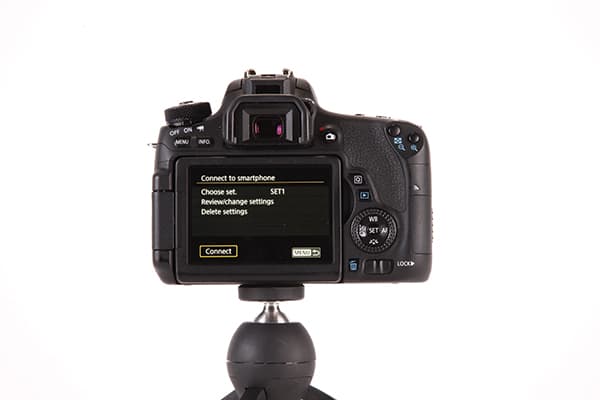
You’ll now be greeted by onscreen options to choose the set and review/change settings. When you want to connect quickly with minimal fuss, simply ignore these settings and select connect at the bottom left corner of the screen. This will prompt a connect to smartphone option and you will want to confirm by selecting OK.
Load the app
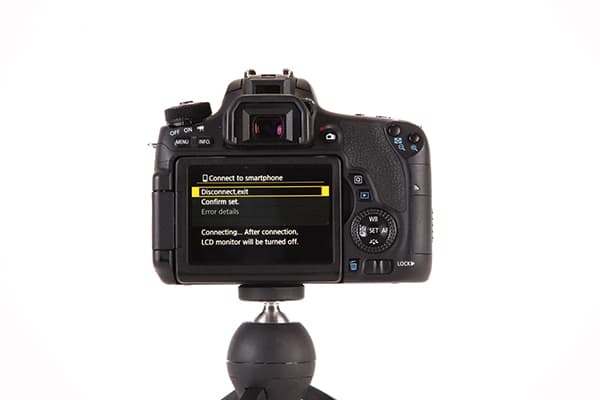
When you have the connect to smartphone and disconnect, exit and Confirm set options listed on your screen, it reveals that the camera’s Wi-fi is now on and it’s ready to connect. If your DSLR has a top plate LCD, you’ll notice the Wi-fi now indicates as On and the Wi-fi icon above is blinking. Next, pick up your smartphone and enter your Wi-fi settings.
Finalise the connection
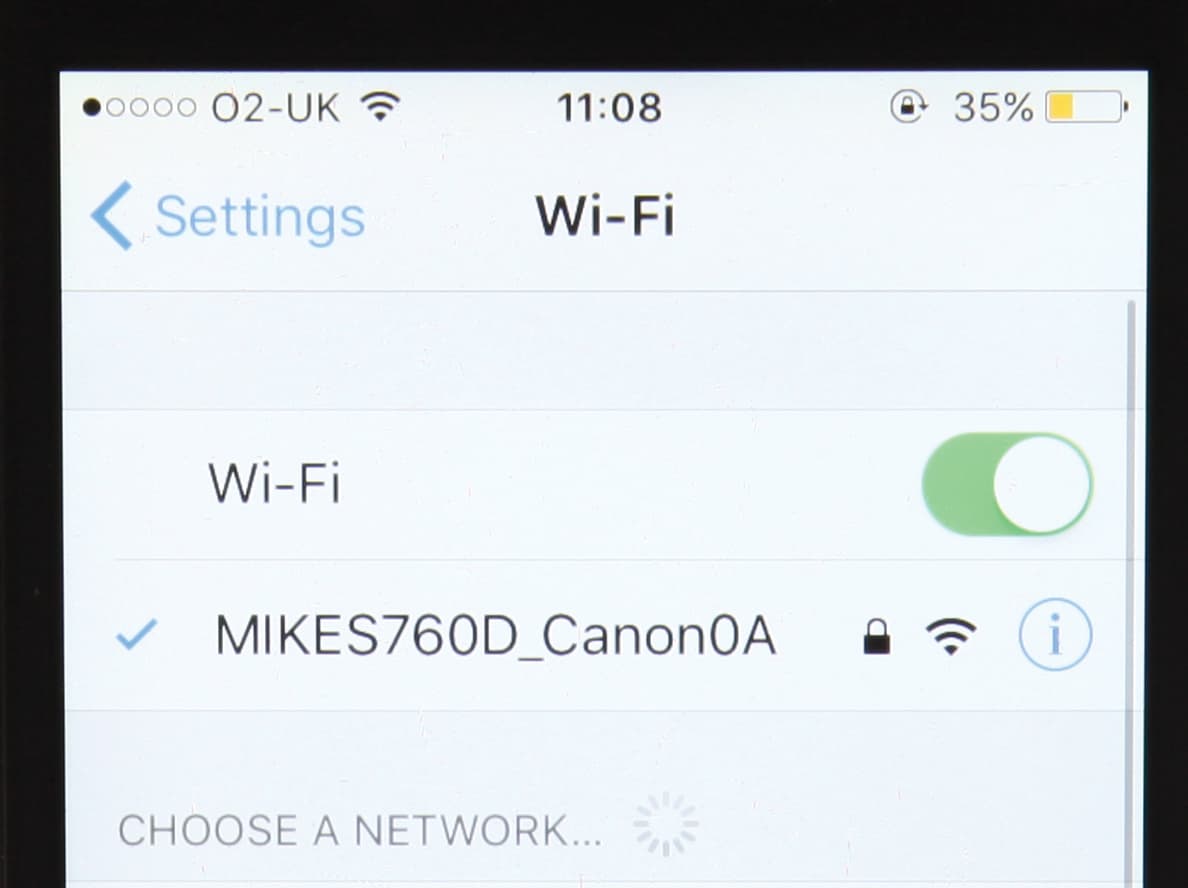
Find your DSLR’s Wi-fi name from the network list. Click on it to initiate a connection. You may be prompted to enter an encryption password (displayed on screen) if you have this setting enabled. Next, load the Camera Connect app. After the connection has successfully been made the LCD monitor will be turned off and the app will display the message Connected to Camera.


