Infrared photography used to be a bit of a performance, especially when it came to getting your camera converted rather than just using a cheap lens filter. Today, a wide range of companies offer to do the conversion for you, whether you use an SLR or a compact system camera, and it’s a great use for an old device you’d otherwise sell on eBay.
Like HDR and fisheye lenses, infrared is an effect you want to use sparingly otherwise it gets gimmicky, but it can be a great way to liven up your portfolio – particularly in summer, when the blue skies, green grass and leaf-laden trees look good.
- Trying an IR conversion yourself carries the risk of damaging your camera if it goes wrong. Most people use a specialist company, such as protechrepairs.co.uk, that will adjust the camera innards and add a filter of your choice.
- Since IR light is mainly captured in the red channel, your images will be mostly red no matter which white balance setting you use. Either set a custom white balance or tweak the white balance later if shooting in raw.
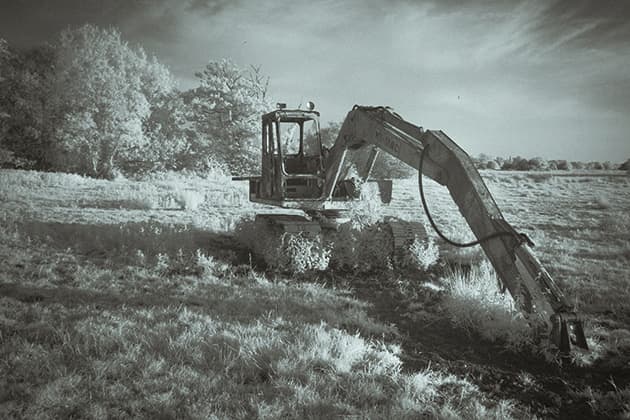
- When choosing subjects for infrared images, leaves, grass and other vegetation take on a surreal ‘bleached’ look, while blue skies look impressively rich and American fashion and dark. IR can also work really well with architecture.
- Carefully work the relevant colour channels in your editing software and adjust the tone curve as required. Split-toning effects can look nice, and put in a bit of grain to give the image a classic film feel.


