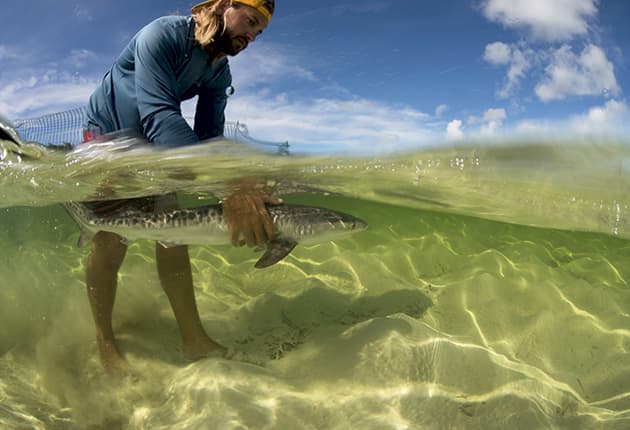
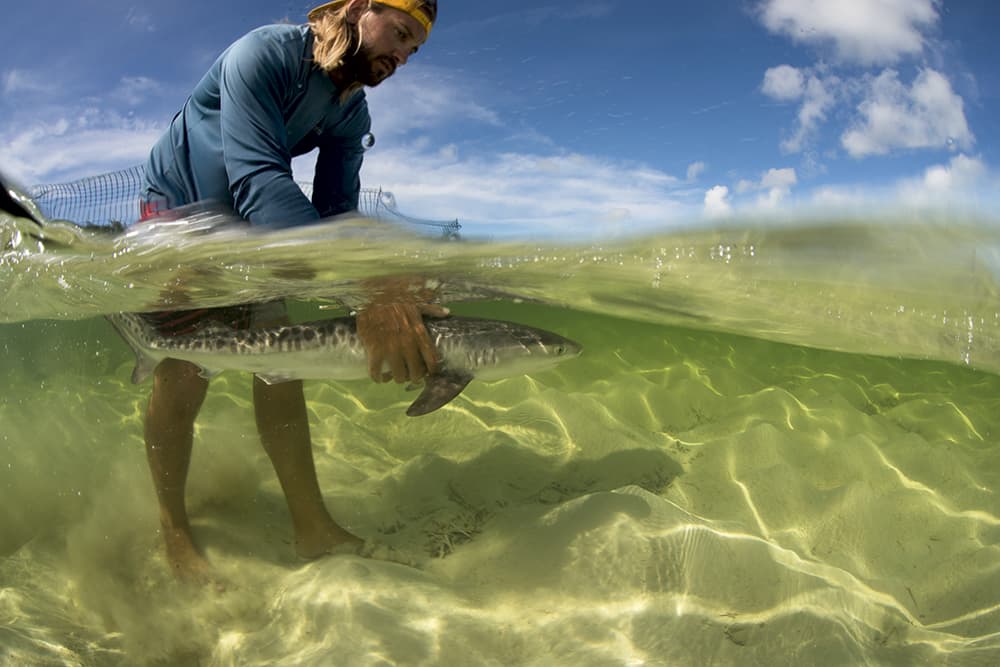
Two worlds for the price of one: a wideangle or fisheye lens is perfect for such shots. Picture by Charlotte Sams
Charlotte Sams
Charlotte specialises in documenting wildlife and the natural world, particularly underwater image making, and is experienced in working in all kinds of in-water climates. She has worked for a variety of organisations and been recognised in numerous competitions. www.charlottesams.com
Getting started
Split-level photography (also known as a split shot or a half and half) is a great way to engage the viewer in two different worlds at once, and help explain the context of the action or subject you are photographing. You can take split images in almost any kind of water, whether deep, shallow, moving or still, so long as you have a main focal point.
This technique is best approached with a wideangle lens or a fisheye. You can try it with other fixed lenses, but it is most effective when considering the image as a standard fisheye shot with a twist. Your focal point can be an underwater subject or a topside subject, with the other environment serving as a background. Although it’s great when you can get a split completely level and nicely balanced, the part of your image that is your underwater/topside background does not need to be huge or necessarily flat water. A wave can actually make an otherwise normal underwater image quite appealing.
Practice makes perfect
Split-level shots require some practice. Usually, you’ll need to wait for the right moment to take the image, while also being aware of what changes are taking place in your frame both topside
and underwater.
For beginners, rock pools are an ideal environment to practise lining up images in a safe, controlled setting. Ponds, lakes or any other calm-water environments are also good places to use this technique with a dome port or even a compact underwater camera. Once you get more comfortable with your set-up, you can venture into deeper water or moving bodies of water, where you have to be much quicker at taking your shot and more aware of your surroundings.
The difficulty in split-level photography lies is getting the right exposure for both the top and the underwater elements. Even when working in shallows, if you have correctly exposed the top your underwater scene is likely to be underexposed. This can be fixed in post-production or with the use of strobes, video lights or any other form of external light. Depending on the clarity of your water and time of day, you may not need to light the underwater part of your image. In midday sun, the light will bear down vertically through the water, and you can use natural light to make your underwater features visible. For evening or night-time images, you will need strobes, video lights or torches. Even at this time, the strobes or external light source only needs to be on a low setting, just to light
your subject and foreground.
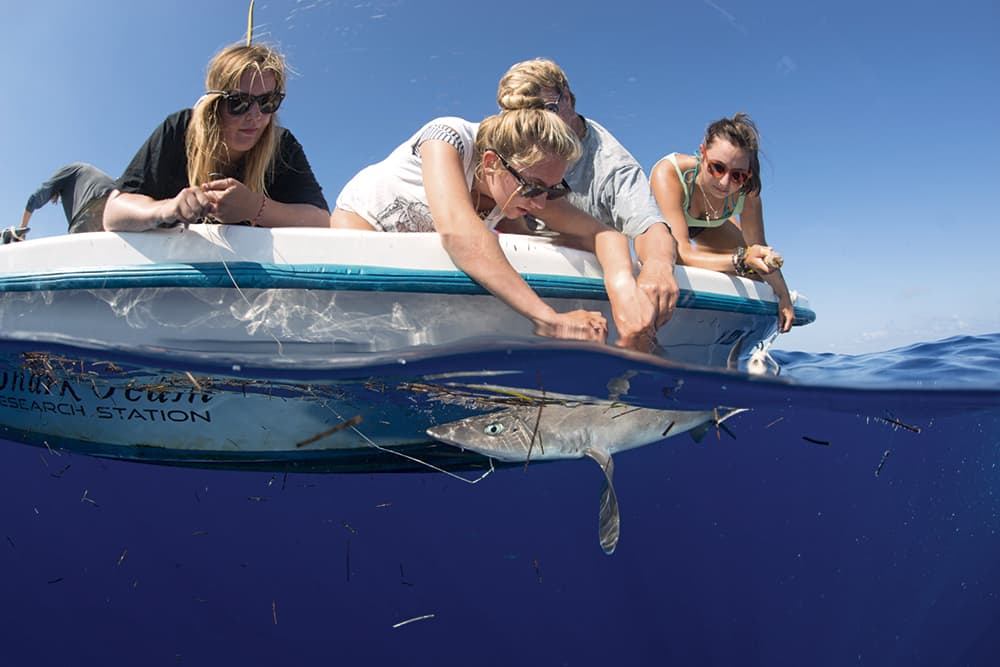
Boats are ideal to take photos from, but make sure you don’t disturb or injure the fish or their habitats. Picture by Charlotte Sams
Charlotte’s top tips
Strobe positioning
The strobe position can make a huge difference to the lighting. I keep them primarily underwater, but in some instances you can use one split to light both topside and underwater. Or you can use one designated strobe for underwater and one topside to highlight and bring the viewer’s eye back to any action that’s happening above the water level. The strobes should always be positioned wide and just slightly facing your subject.
Camera angle (level)
The camera angle should be parallel with the water surface, not facing down or up. Facing the camera down into the water causes the water line to warp, and a slightly off water line will be distracting and can lead to an image being wasted.
Slower shutter speed
When you don’t have a striking subject in the foreground, experiment with slower shutter speeds. If the water line is too harsh, slow down the shutter speed. The trick is to select a shutter speed that will keep the image sharp while you are floating and simultaneously keeping the camera steady.
Kit list
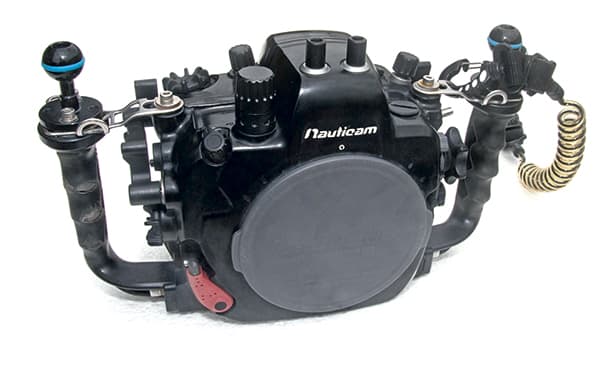
Nauticam NA-D800 underwater housing
Underwater housing is going to be much better for this type of shooting than an underwater camera, mainly because of the additional control you will have by using your DSLR underwater.
4.3in or 8in dome port
The larger the dome port, the easier it is to take split shots. A large dome will make it easier to capture both above and below the waterline without worrying about small waves or water movement.

Dual Sea&Sea YS-D1 Strobes
Strobes are great for additional lighting underwater; however if you’re working in shallow water they aren’t always necessary, as the light reduction and colour loss aren’t very pronounced.
______________________________________________________________________________________________________________________________________
Graham Eaton
Graham has spread his wings from Alaska to Azerbaijan and from Norway to the Red Sea in search of photographic opportunities. He was runner-up in the prestigious Wildlife Photographer of the Year and has had several successes in Landscape Photographer of the Year. Graham likes to photograph wildlife within the landscape and seek ‘alternative’ perspectives. Visit www.eatonnature.co.uk
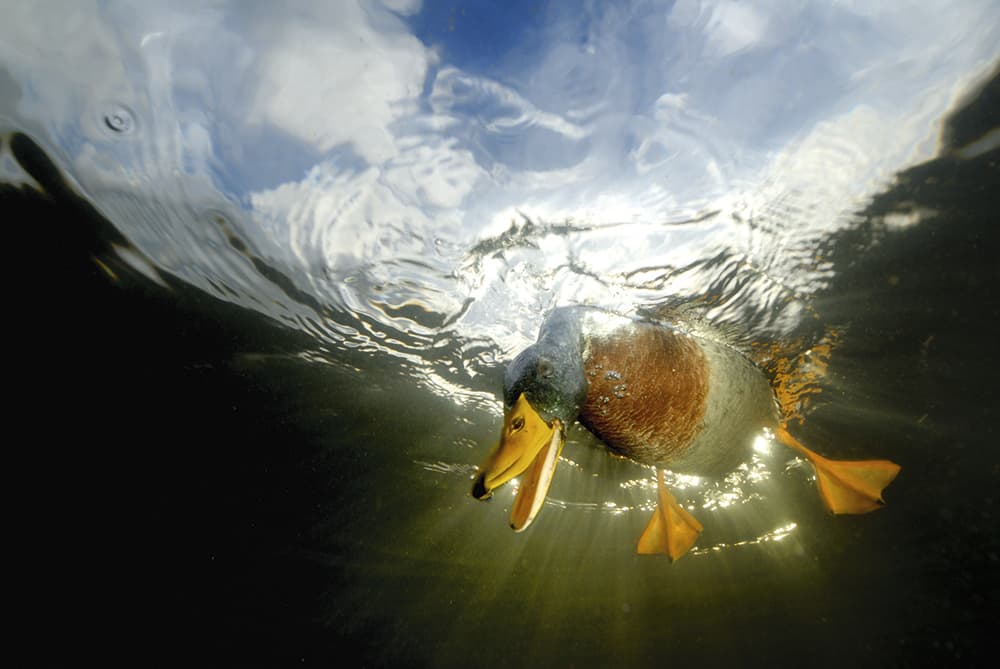
Graham wants to portray a whole animal, such as this mallard drake, underwater. Picture by Graham Eaton
The concept
I started creating split-level images because I wanted to portray the ‘complete landscape’, not only that part of the landscape visible to all. As a geologist by profession, I am aware of the geomorphological processes that create a landscape, and I wanted to bring these processes into the image.
This concept is what I had in mind when I worked on my image ‘War and Peace’, which was taken in Cwm Idwal, Snowdonia. There is the drama and theatre of the harsh mountain scene above the water, and the tranquil, surreal world beneath the surface. I wanted to capture this in a single frame. I also saw the potential of photographing birds such as ducks and swans, where you can portray the whole animal. I used flash underwater to create a surreal view of a swan feeding.
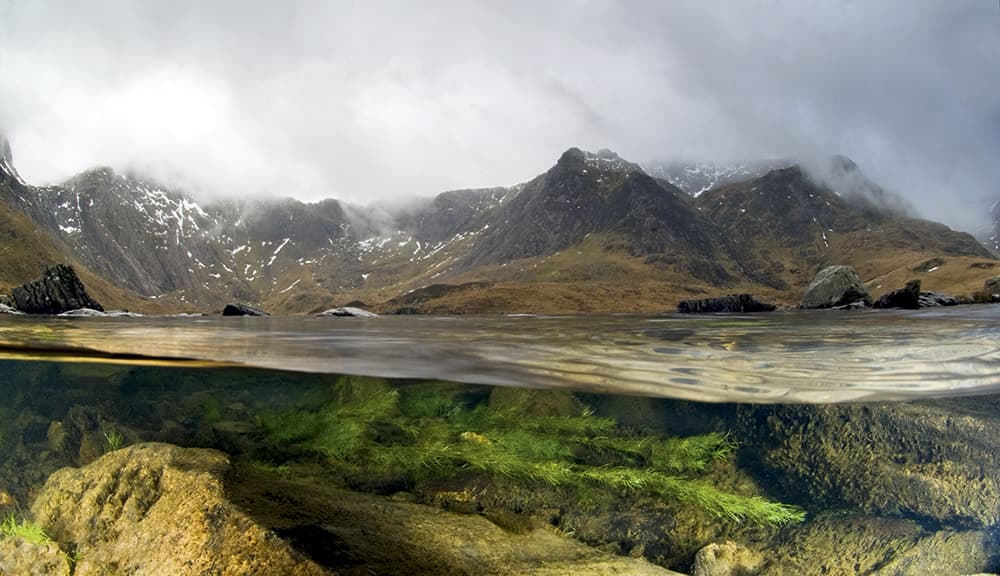
‘War and Peace’. Graham has heard people say that he must have taken this shot ‘through a fish tank, immersed in a lake’. He did not… Picture by Graham Eaton
The technique
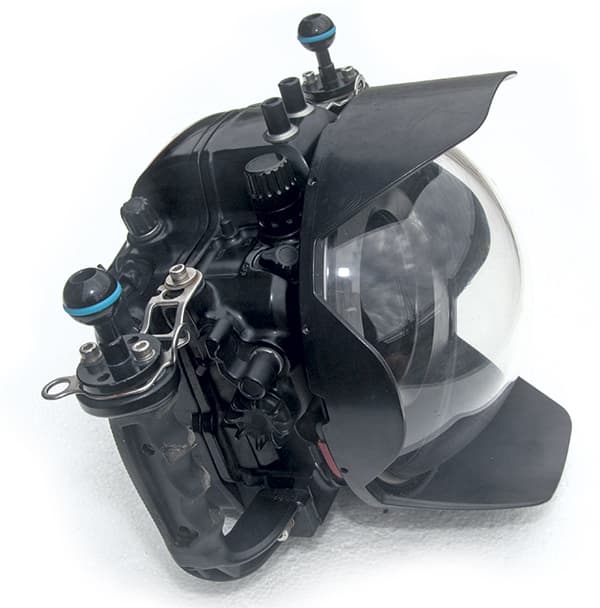
I use Sea&Sea underwater housings for my Nikon cameras. On the front of the housing is a 9in-diameter dome port – this is what provides the contact along the water line. The smaller the port, the greater the thickness of the waterline. This might be OK on a flat lake, but not if there are ripples, and for me ripples are good as they make the image less contrived. Images that have been spliced generally have perfectly flat water surfaces. The real difficulty comes from lighting and focus/depth of field.
Beneath the surface, the light can be a lot less than that above (unless you are working on a tropical reef) and needs to be balanced. To achieve this, I use at least two underwater strobes to provide fill light, plus an ND grad filter. One frustration was finding quality circular ND grads, as the rectangular filters will not fit inside the dome port! In fact, Lee Filters modified a couple of filters for me.
Dome ports act as a lens element underwater in such a way that, in a split-level image, the focus point changes, so you have to work with underwater hyperfocal distance. This is why you often see, for example, a reed in the foreground that’s misaligned above and below the water. The use of flash or strobes also has to be managed to avoid ‘backscatter’ from suspended particles in the water.
With careful subject selection and practice, you can obtain imaginative images that tell a story. A fast-flowing river will reveal the movement of water around rocks, and a lake will display the beauty of algal forests. In shallow water, the underwater subject needs to be close to the camera, as water clarity and light fall off quickly and can only be illuminated with a strobe over short distances.
With a close underwater subject and to preserve realistic waterlines, a small aperture is essential, particularly if your above-water background is distant, to maximise depth of field. Here will be a trade-off between correctly focusing on and illuminating your underwater scene (which will need to be close to the lens), and focusing on infinity above water while maintaining a manageable shutter/ ISO combination. This is where the Nikon D3 and D3S really help, giving me the ability to shoot at high ISOs.
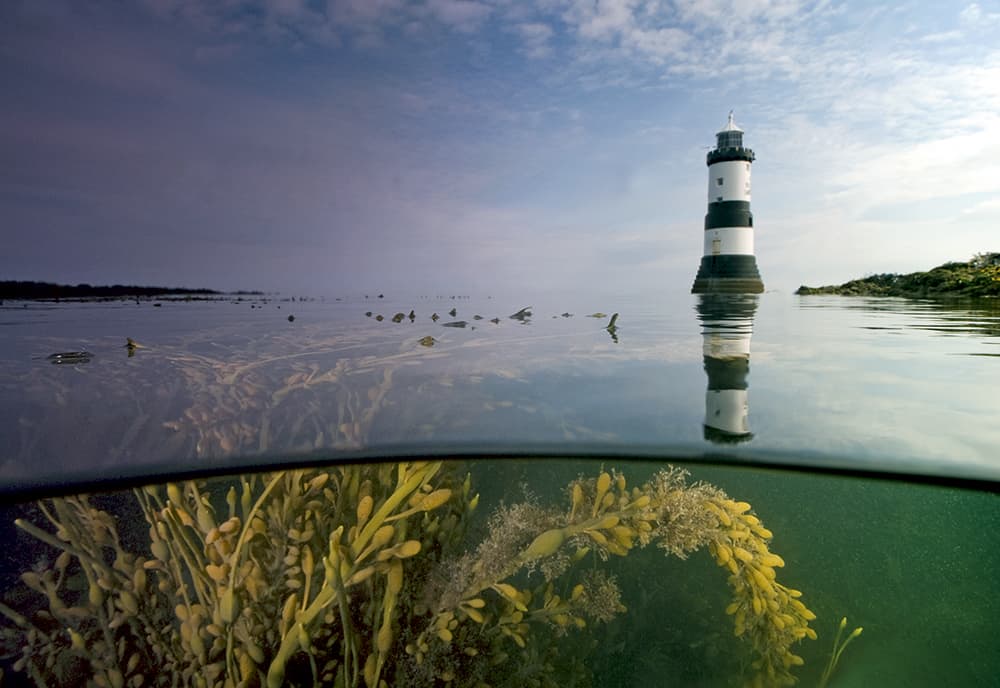
This shot, taken at Penmon Point off the south-east coast of Anglesey, is a great example of life above and below the sea. Picture taken by Graham Eaton
Research
You have to research your concept before you start work. Access permissions should be obtained and water depth, clarity, and the shadow/sun position planned for.
Kit list

Sea&Sea MDX-D3 underwater housing
This housing allows total control of the camera and its menus. An expensive underwater housing is specifically designed for a particular camera, and an upgrade of a camera will require a new housing.
Zen 9in dome port
This is a coated optical glass port that works well with rectilinear lenses and allows for a wide horizon or water contact line.
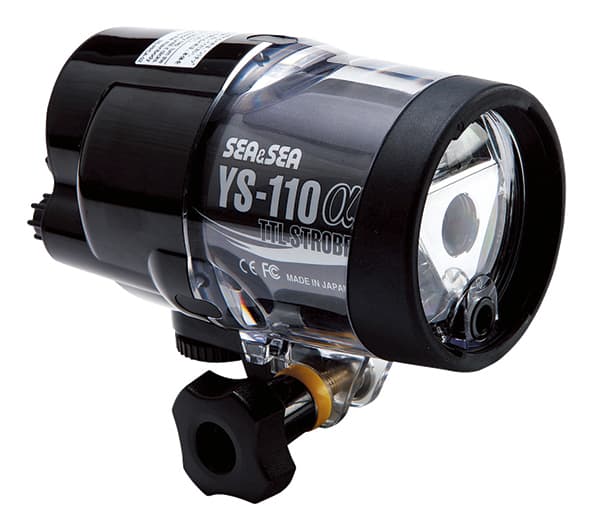
Sea&Sea YS-110 Strobe
Essential for fill light, this strobe can be diffused and directed to illuminate an individual boulder or a whole scene, but it does not illuminate to a significant distance. I often use two strobes attached to the housing and a third as a slave strobe.
______________________________________________________________________________________________________________________________________
Susan Guice
Susan is a fine-art photographer from Mississippi in the USA. She is known for both her underwater photography of children and her aerial landscapes of the endangered coastal waterways of Mississippi and Louisiana. These images form part of her series ‘Beneath the Surface’, which reveals a world of natural fluidity and ease beneath water. You can see more at www.susanguice.com
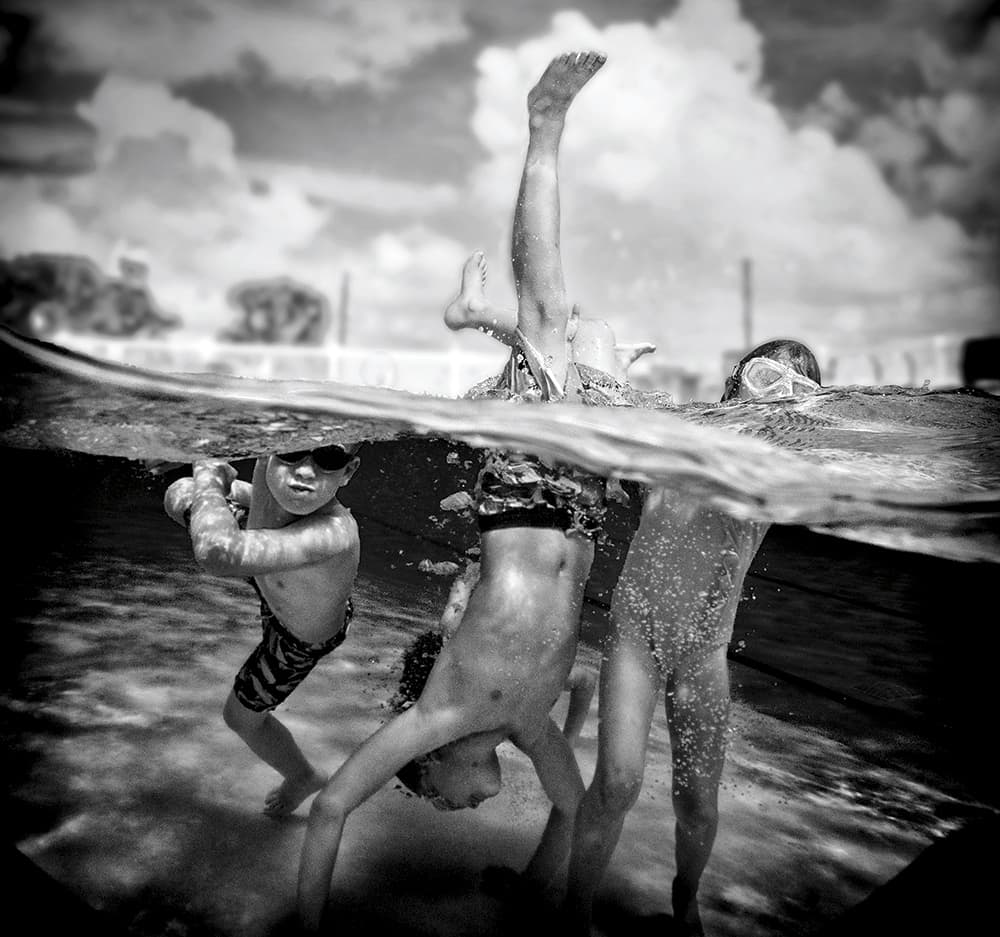
‘Out for Summer’. Susan shoots all her images using a 20mm wideangle lens. Picture by Susan Guice
Specialised gear
For this type of swimming-pool photography, you need a good waterproof camera housing. I use an Ikelite scuba housing (base price around $1,700/£1,300) for my Nikon D800. This is a professional housing, and it will go deep – much deeper than my current swimming-pool series requires. You will also need to invest a few hundred pounds to acquire the appropriate scuba-lens cover for the lens you want to use.
Because swimming pools are clear water, I don’t require any lighting devices for the housing. However, because light does not travel well in water, you need a relatively high ISO (1,000-1,500). You must have a nice sunny day or the shots will be milky and without sufficient density to create a great print.
Camera settings
I shoot everything with a 20mm wideangle lens. This is because I need to be relatively close to the subject, and because there is a good chance that the kids will do something unexpected and I don’t want their legs or arms to be cropped. Typically, I set my aperture at f/5.6. I want my background slightly out of focus, and the water cuts the light by several f-stops. On a clear day, I set my ISO at 1,000-1,500. My Ikelite has a big wide hood for my camera lens, and with the 20mm lens, I get some shading in the corners. I quite like the effect, but you can crop it out if you want to.
Shoot camera raw
Shoot JPEG and camera raw simultaneously. Swimming pools put a cyan cast on everything, which I’m not a fan of. So after viewing my images, when I find one that looks interesting, I open it in raw and immediately complete some levels adjustments and convert it to black & white using Nik software. After this step, I’ll continue to dodge and burn until the image is just right.
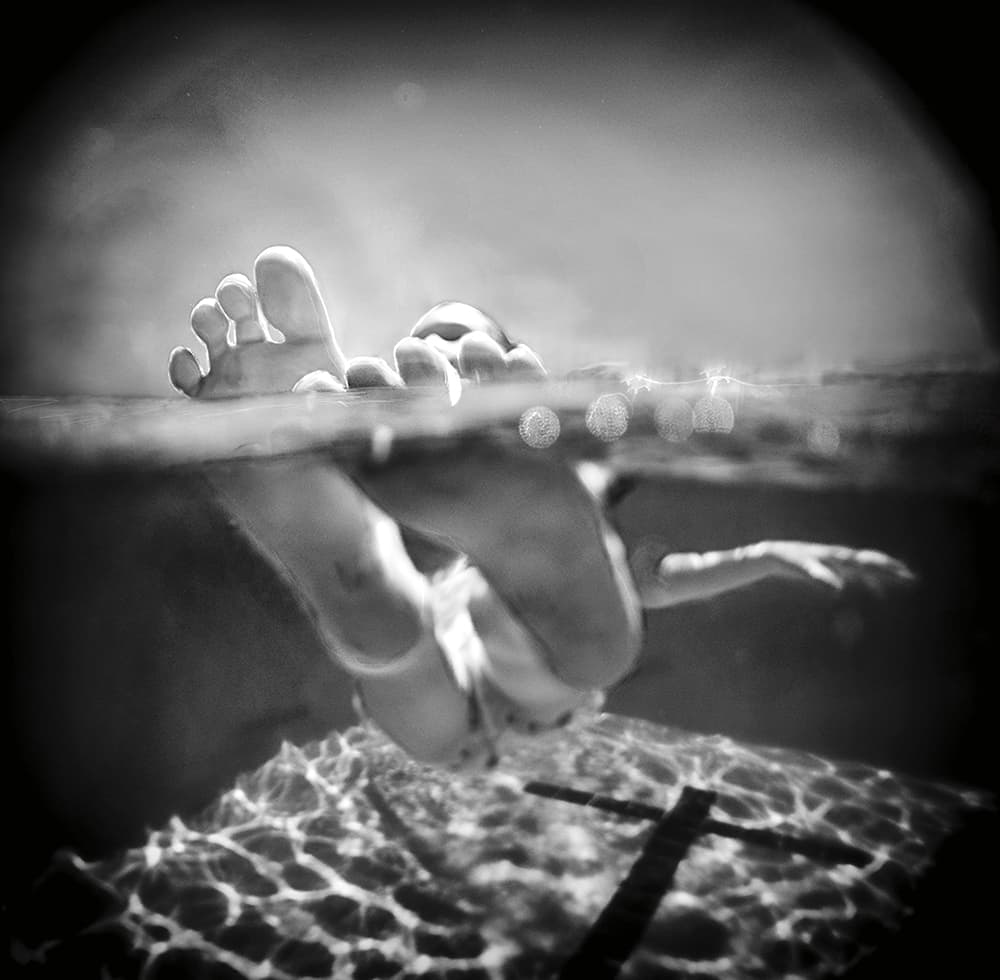
No lighting is needed, but choose a sunny day. Picture by Susan Guice
Shoot and shoot some more
In swimming pools, I don’t use scuba gear. I put on a pair of swim goggles, take a deep breath and go under. In this series, I’m trying to capture that moment when the kids are doing something interesting and their bodies just break the surface. Everything has to be right, but so many things can go wrong. This is why my kit list includes high-capacity storage. I can take 100 photos and have only one with potential.
You need patience and a sense of adventure when you go into the water. Between the movement of the water, the fluidity of the people being photographed, and your own movement as you float, there are many factors that will keep you from capturing what you planned. But the nice surprises can more than make up for the loss of control.
Kit list
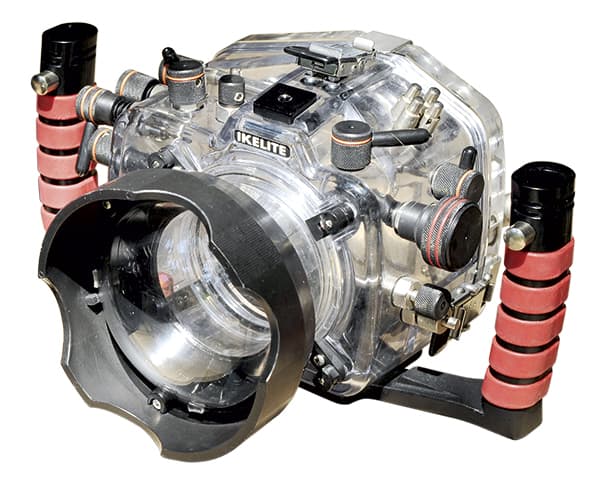
Ikelite scuba housing
I use an Ikelite scuba housing, which can be ordered to fit almost any DSLR perfectly. Virtually every control is available underwater.
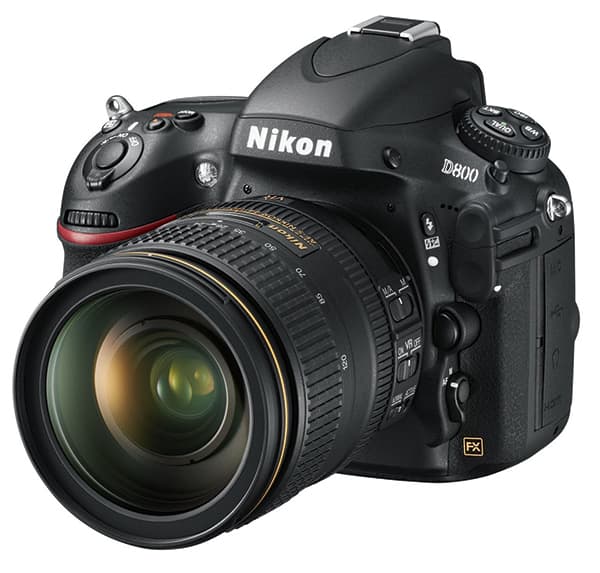
Nikon D800
My camera of choice is a Nikon D800. With a 36.3-million- pixel sensor, it gives sufficient image data to work with.


