In 1879, photographer Eadweard Muybridge created the zoöpraxiscope, a device that combined three technologies: photography, the magic lantern and the zoetrope. Using discs painted with galloping horses, athletes running and women dancing, Muybridge created some of the first sharable animations, and then proceeded to wow crowds across Europe and America with his invention. Fast forward 137 years and we can now produce HD (High Definition), Full HD and 4K videos using the same device we use to take photographs – a DSLR. We can also share footage with as many people as we like via email and social media. Now that’s progress.
The heyday of the camcorder is over, and more and more people are now using smartphones, tablets, and stills cameras to record videos, before uploading their footage to the internet using Wi-fi technology. Until fairly recently, photographers were reluctant to shoot ‘serious’ footage on DSLRs, fearing that the quality was just not there. But times have changed, and without us really noticing, film directors, TV producers, and advertisers have been using stills cameras for part, or occasionally all, of their projects. The majority of the television series Dexter was shot with a Nikon D800, for example.
It’s no longer a question of whether DSLR video is good enough, more whether or not we choose to use it. Furnishing our cameras with one extra button doesn’t cost much, so we can shake off the suspicion that manufacturers are bumping up prices to fund a feature we won’t use. The technology is there, so why not embrace it.
HD, Full HD and 4K resolution
There are various reasons for shooting video on a DSLR, compared to a smartphone or a tablet, but superior quality is top of the list. Back in January, Nikon released the D5, the first in the line-up to offer 4K video. To understand what this really means for any budding filmmakers, we need to look at resolution and frame rates.
As recently as the 1990s, many families still owned at least one CRT (Cathode Ray Tube) television set. This device was roughly cube-shaped, and had an aspect ratio of 4:3, with pixel dimensions of around 640 x 424. Many popular programmes, such as Only Fools and Horses, were filmed in 4:3 in what we would now consider very low resolution; as televisions were equally primitive, the results looked fine. Today, however, we use rectangular, flat-screen televisions, with aspect ratios of 16:9, and pixel dimensions of around 1280 x 720. As a result, when we sit down to watch an old episode of Del Boy wheeling and dealing, the visual experience is disappointing – the input doesn’t match the output, and the conflict is hard to ignore.
These days, most DSLRs are capable of shooting HD (1280 x 720) and Full HD (1920 x 1080) video, which looks great on modern-day viewing devices. But in April 2012, Canon upped the ante with the launch of the EOS-1D C, the first DSLR to offer 4K (4096 x 2160) video capture. So what’s the point of all those extra pixels? Well, essentially, more pixels means more information, leading to a higher level of detail, more realistic colours, broader dynamic range, and increased options when it comes to editing. The downside to this technical wizardry is that if you don’t own a 4K television or computer screen you won’t be matching pixels to pixels, so you’re unlikely to see any difference between Full HD and 4K. But what you are doing is future-proofing your work – 4K is here to stay and, inevitably, the price of output devices will fall as demand for them increases.
Footage shot in HD or Full HD has a letterbox shape that’s ideal for modern rectangular, flat-screen televisions
Frame rate and shutter speed
Once you’ve chosen a suitable resolution, you can turn your attention to selecting an appropriate frame rate. Most DSLRs offer at least four options: 24fps, 25fps, 30fps and 60fps. (The reason that 24, 25 and 30fps are so common is that footage intended for UK television is shot at 25fps, while programmes for US television tend to be filmed at 30fps.) You might be tempted to use 30fps instead of 25fps for all your work, but remember that these files include audio, too, and will fill up your storage faster than a James Bond car chase. If you’re unsure as to the end use of your video then set the resolution to Full HD, and the frame rate to 24fps.
Once you’ve decided on a frame rate, make sure that you stick to it – switching speeds halfway through a project can look amateurish. Having said that, a touch of slow motion can add a nice change of pace to a sequence. To record slow motion, select a relatively low resolution (1280 x 720, for example) and opt for the highest frame rate your camera will allow (usually 60fps). When the clip is played back at the normal speed the extra frames will reveal previously hidden details.
Camera settings
As we all know, three main things influence exposure: the aperture of the lens, the sensitivity of the sensor (determined by the ISO), and the shutter speed. When it comes to shooting video the last of these is, in many ways, the most important. When you’re shooting at 24fps you need a shutter speed that at least matches this rate – in this instance 1/25sec. But for more natural looking action, and a smoother transition between individual frames, select a shutter speed that is roughly double the frame rate – in this case 1/50sec. Using this rule of thumb, you can introduce motion blur, without things looking too dreamy. You can, of course, use a much faster shutter speed than your frame rate, which can lead to energetic, but uneasy footage. Matching the frame rate to the shutter speed can limit your creativity a little, because you have less choice when it comes to selecting an aperture and ISO, but don’t forget that you’re using a camera not a camcorder, so the low-light performance will be more than acceptable. On the flipside, you can limit the light entering the lens by using an ND filter. Again, once the shutter speed has been decided resist the temptation to change it mid-shoot.
Your DSLR has a wealth of wonderful automatic and semi-auto controls, but when it comes to video, many of these are best left well alone. Every time you turn a dial, press a button, or allow the lens to ‘hunt’ while focusing, the built-in microphone picks up the noise produced by the camera. For consistent, professional results do as much as you can yourself, preferably before you press Record. For a start, you can use manual focus and manual exposure. Focusing by hand will allow you to be totally precise, but it takes practice, so give yourself some time to experiment. If you’re struggling to keep things sharp, consider investing in an LCD magnifier such as the Hoodman Hoodloupe, and look for lenses with broad focusing rings.
Shooting video requires skills that photographers already have in abundance, such as patience, an eye for composition and a natural sense of timing. As a result, what seems like a steep learning curve is actually more of a steady incline. Being a stills photographer is the hardest part – once you’ve mastered that, all you really have to do is press Record.
Understanding audio
If you’ve ever held your ears while watching a film, you’ll know that sound has a significant role to play in building tension, communicating emotion, and dictating the pace of a story. Unfortunately, capturing sound on video is notoriously tricky.
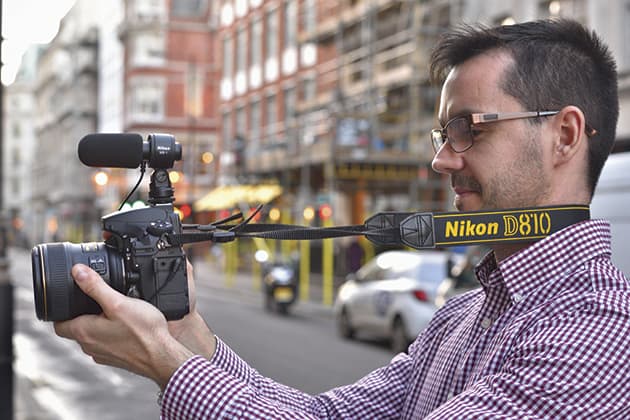
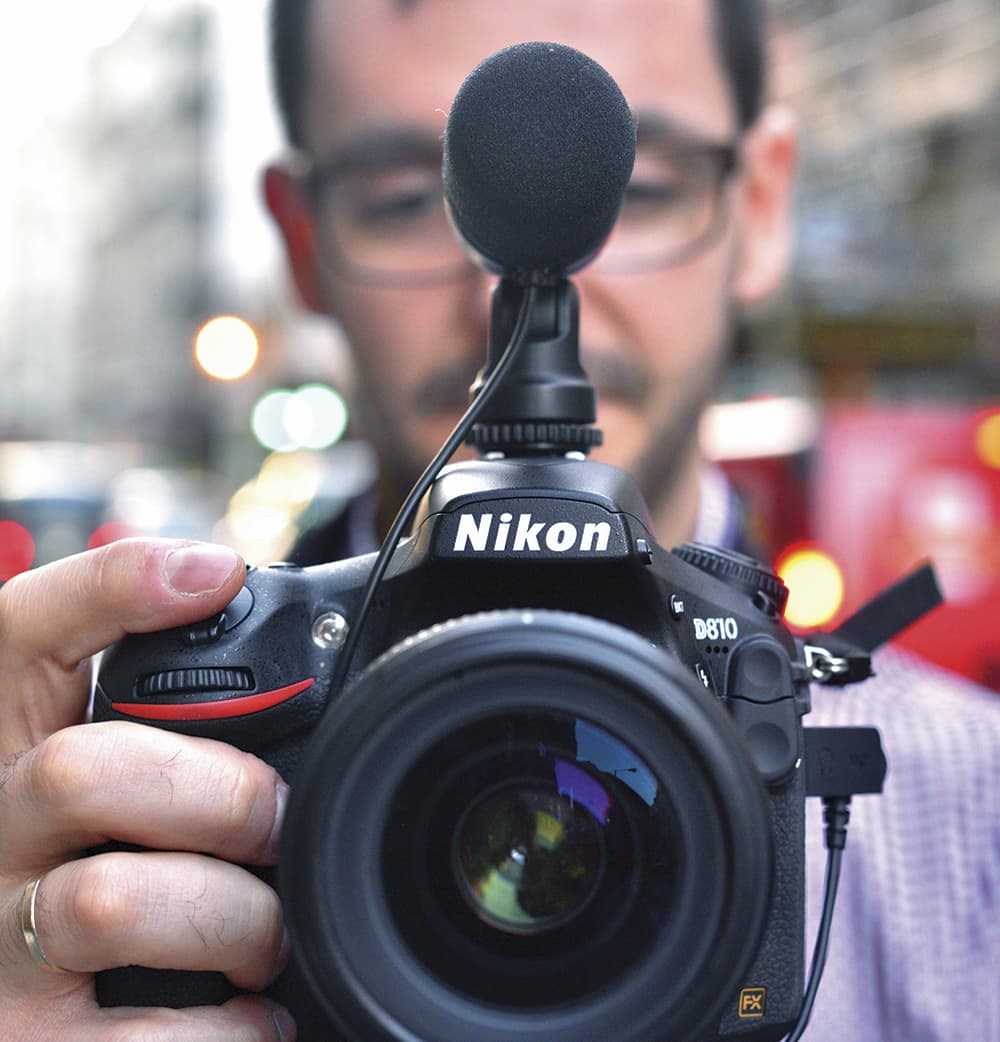
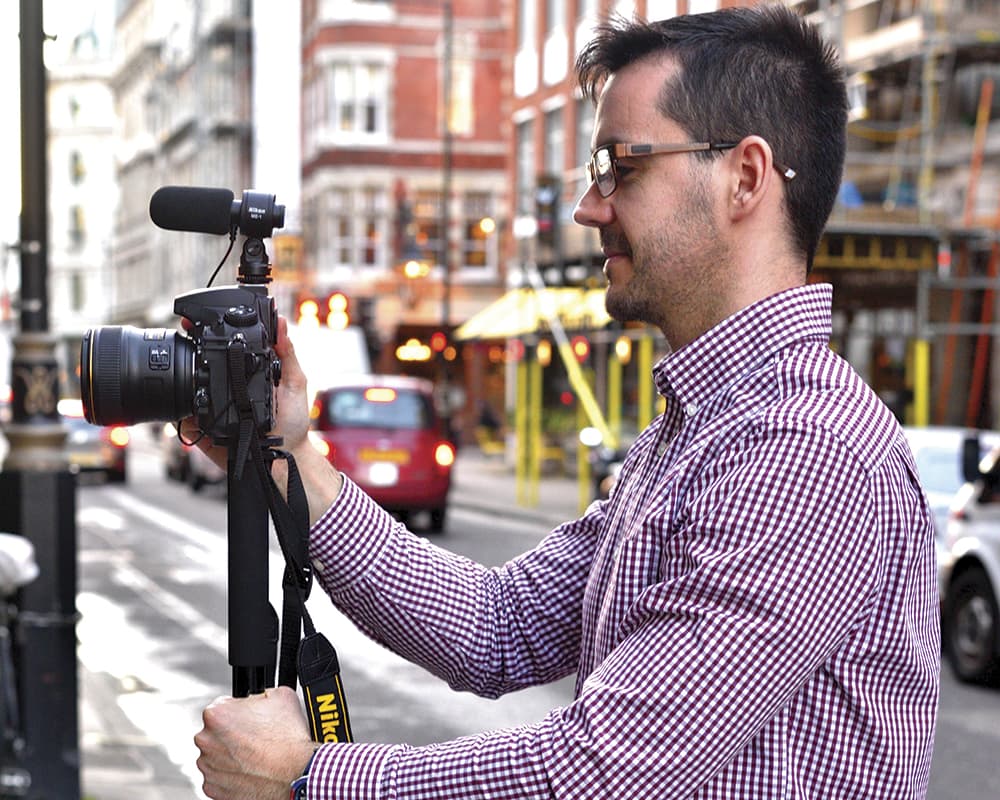
The built-in microphone on your DSLR is okay for general use, but to get the best out of it you need to be in a quiet environment, close to the sound source. For superior results, use an external microphone – there are three main types: handheld, lavalier and shotgun. The Nikon ME-1 stereo microphone is a great all-rounder: it can be positioned on or off-camera, and records sound directly in front of it, while reducing unwanted background noise.
On windy days you can try what’s known as a ‘dead kitten’ – a furry device that slips over the microphone and acts as a wind screen. In conditions like these, it’s also worth activating the wind filter on your camera.
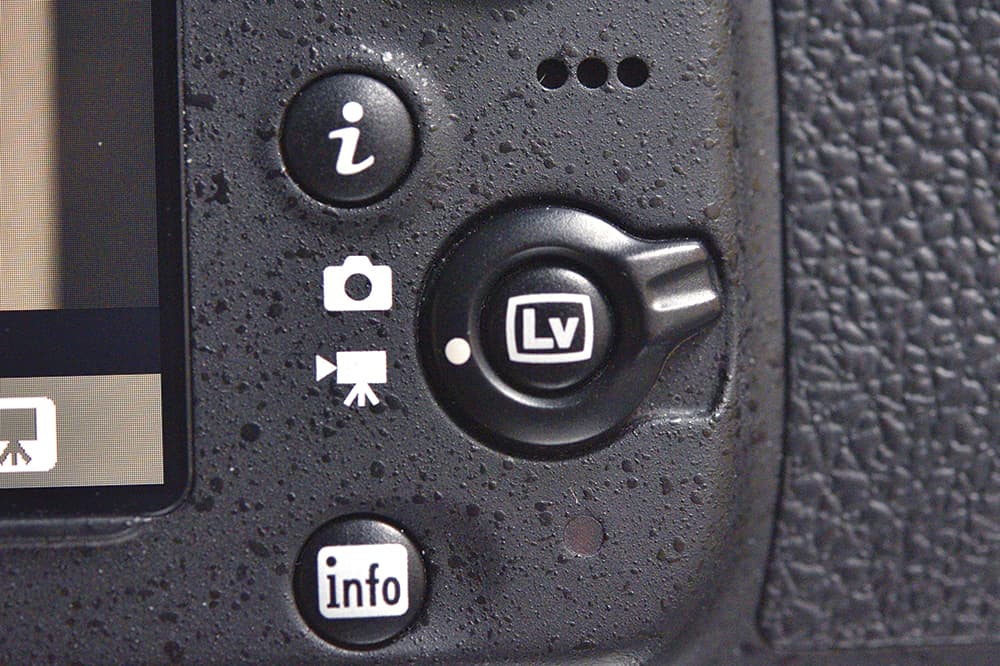
Many Nikon DSLRs allow you to monitor sound during a recording – when you’re in Live View look for two meters on the left-hand side of the screen; if they head into the red, it’s an indication that the audio may be becoming distorted and you’ll need to take action.
Don’t think of sound as secondary to visuals: spend what you can on an external microphone, and then make the most of it by placing it as close to the sound source as possible.
Keeping things steady
Unlike camcorders, DSLRs are not designed to be handheld for long periods. To solve the problem you can invest in a tripod with an expensive fluid head, but your regular camera tripod, or a monopod, will work just as well, leaving you with some spare cash to spend on a microphone (see Understanding Audio). You can also use your body to keep things steady: just place the camera around your neck and push it away from you until the strap is taut – it’s surprisingly effective for panning.
Shooting video with your Nikon DSLR
Step 1
Mount your camera on a tripod or a monopod. Alternatively, place the strap over your neck and pull it taut for extra stability.
Step 2
Bring up the Shooting menu and select an appropriate resolution and frame rate. Activate Live View via the switch on the camera body.
Step 3
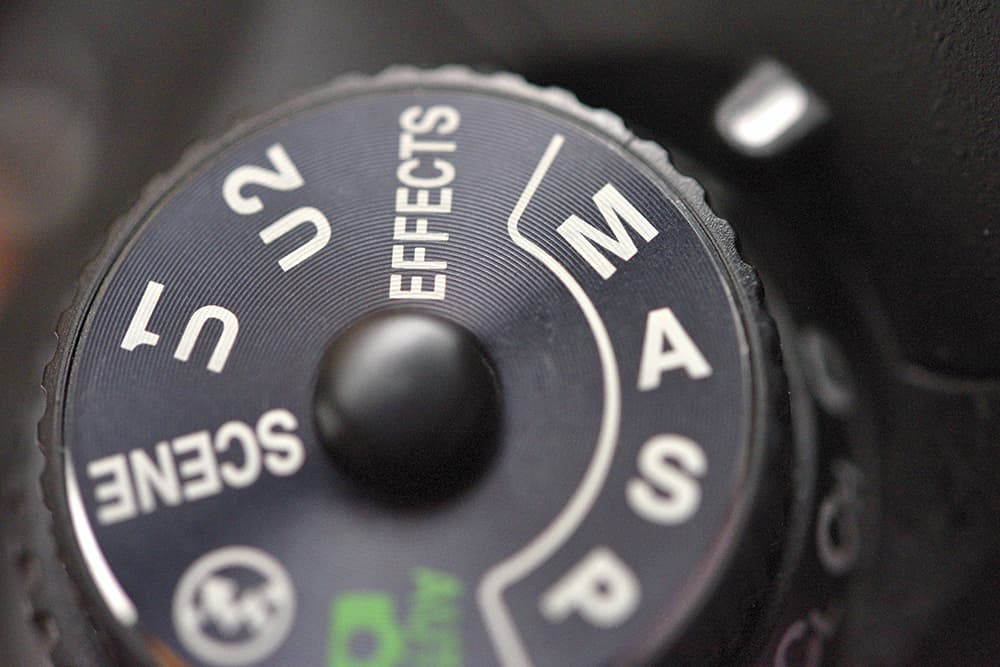
Select Manual exposure on the Mode dial. When it comes to shooting video many of the automatic settings are best left well alone. Slide the focusing switch on the lens to M (Manual) too.
Step 4

If you’re shooting at 24fps, select a shutter speed of 1/50sec to introduce natural blur, while smoothing the transition between frames. Decide on the depth of field you desire, and then choose an appropriate aperture. Finally, set the ISO.
Step 5
With your exposure set, check the audio levels on the LCD screen, and make any necessary adjustments. Now focus the lens manually on your subject. Press Record and you are ready to film.


