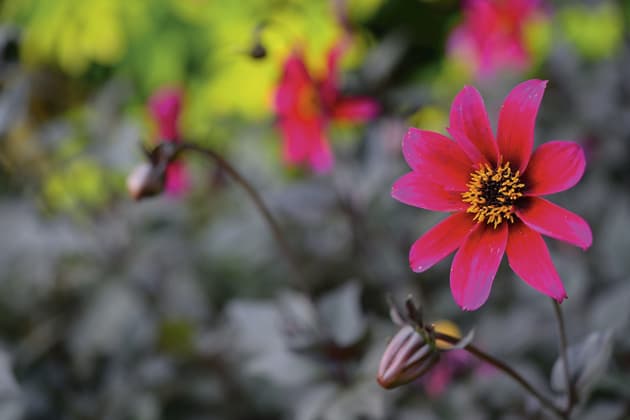
The ‘Vivid’ setting adds punch to this image of a flower, increasing saturation and making the colours really pop. All photos by Neil Freeman
The Nikon Picture Control system enables you to easily control the appearance of your images. It is a powerful setting, and once you have experimented with it and are able to observe how using it can influence the atmosphere of your pictures and movies, you will see that there are endless opportunities to create your own personal image styles to suit your taste.
If you want, you can even replicate the look of specific film emulsions. For those of us old enough to remember the days of film, this opens up a world of creative opportunities. We are now in a position to ‘load’ a picture control setting and take control of the colour hues, saturation, sharpness and contrast to create a particular ‘film’ look in any image.
Picture control is not just limited to still images, you can also customise the look of the movies you shoot with your Nikon DSLR.
You can also name and save custom picture control settings as new menu items and then quickly call them up via the menu system when you need that particular look.
Choosing the ‘look’ you want
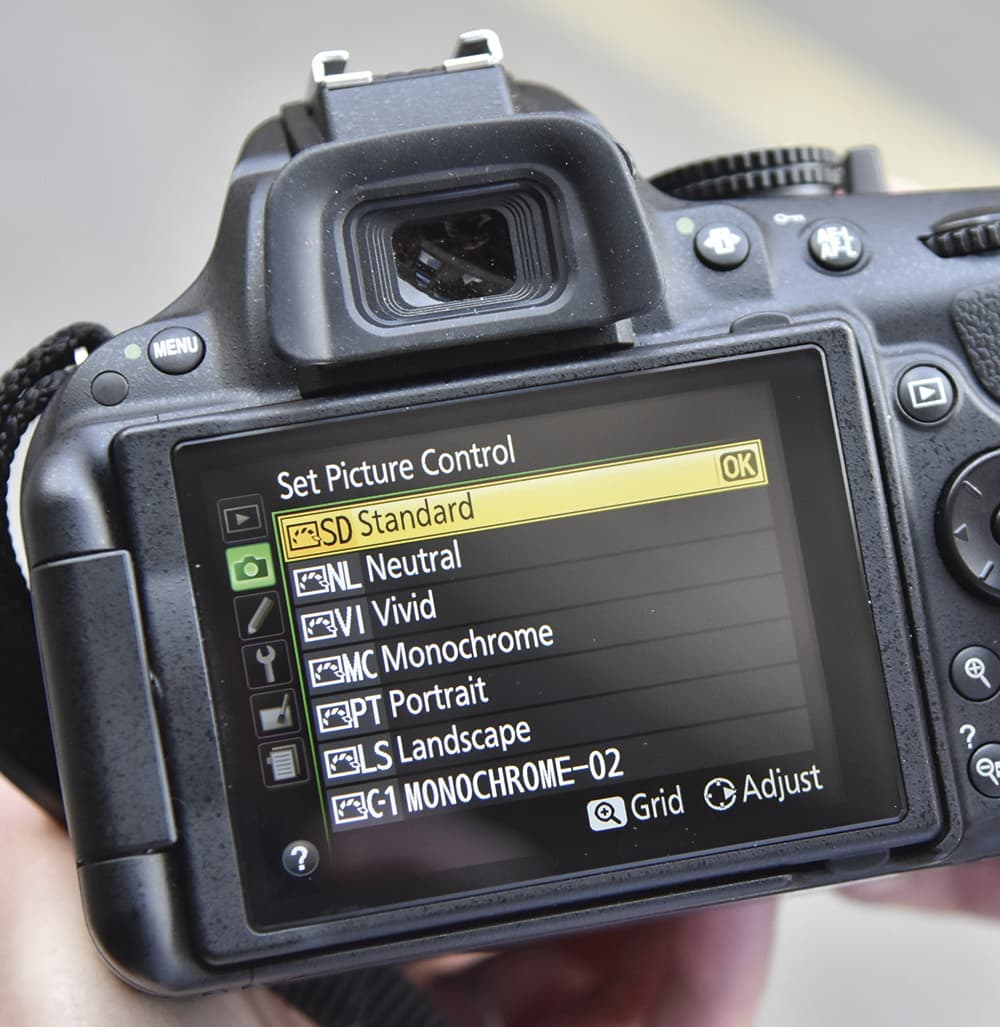
Depending on which Nikon digital camera you own, you will have a number of picture controls settings. These include Standard, Neutral, Vivid and Monochrome. Some Nikon DSLRs also have an expanded range of picture controls which add Flat, Portrait and Landscape, too.
The different picture control settings give you the choice to change the look of your image and, if you want to go further, Standard, Neutral, Vivid, Portrait and Landscape allow for further adjustments to sharpening, contrast, brightness, saturation, and hue (coloration). Monochrome allows for adjustments to sharpening, contrast, brightness, filter effects and toning.
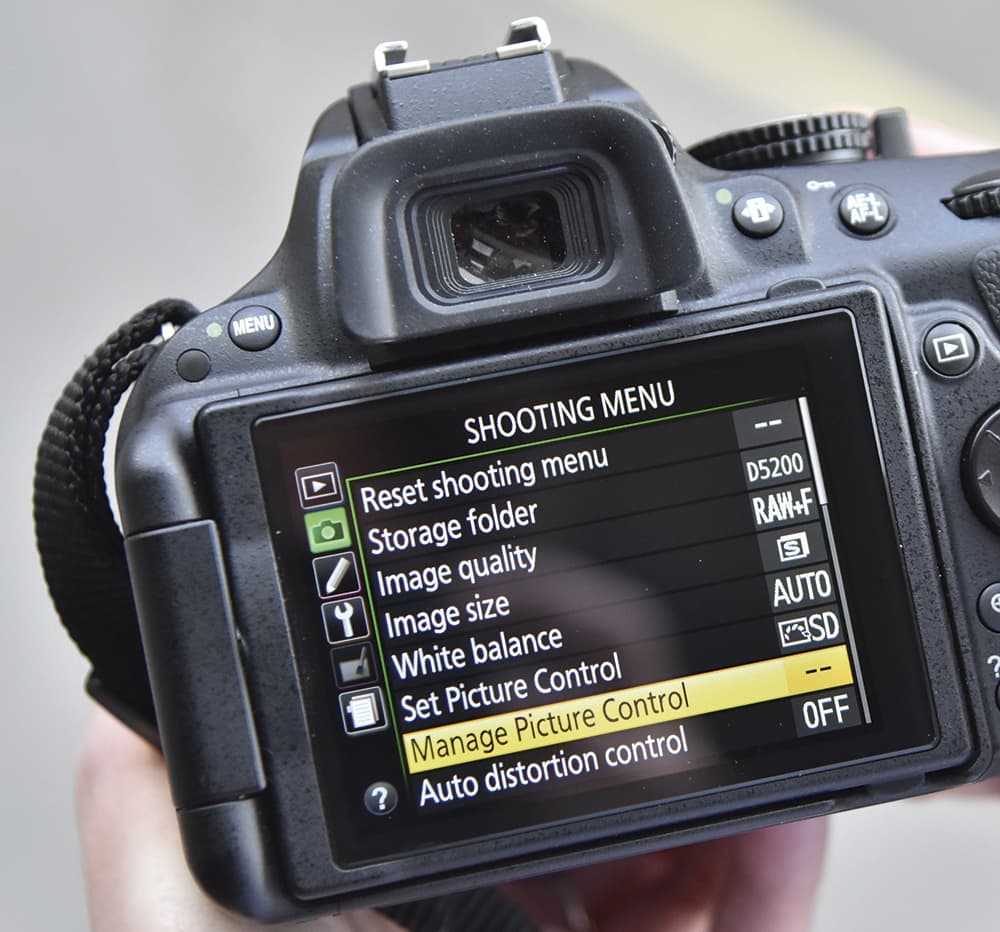
To change the picture controls, press Menu and then under the shooting menu, highlight Set Picture Control and press OK. Then you simply choose a picture control from the selection available on the menu, and press OK
Basic picture controls and what they do
Standard
Suitable for portraits, landscapes and just about any other type of photograph. As expected, Standard picture control givesyou normal-looking, balanced images. This is the default setting for picture control.
Neutral
Delivers images that are closest to the original scene. To reproduce the subject’s unique colours and gradations with authenticity, avoiding extreme enhancements. Gives a smoother overall impression than Standard.
Vivid
For distinct, colourful, fresh-looking images with just the right emphasis on your subject’s contrast and sharpening. Compared with Standard, Vivid gives a more ‘punchy’ overall impression. It’s ideal for situations where you wish to emphasise primary colours, such as colourful fashions, city streets, fresh fruits and floral arrangements.
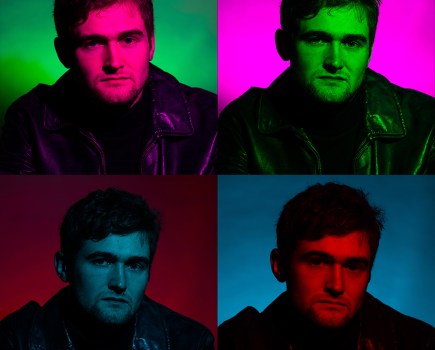
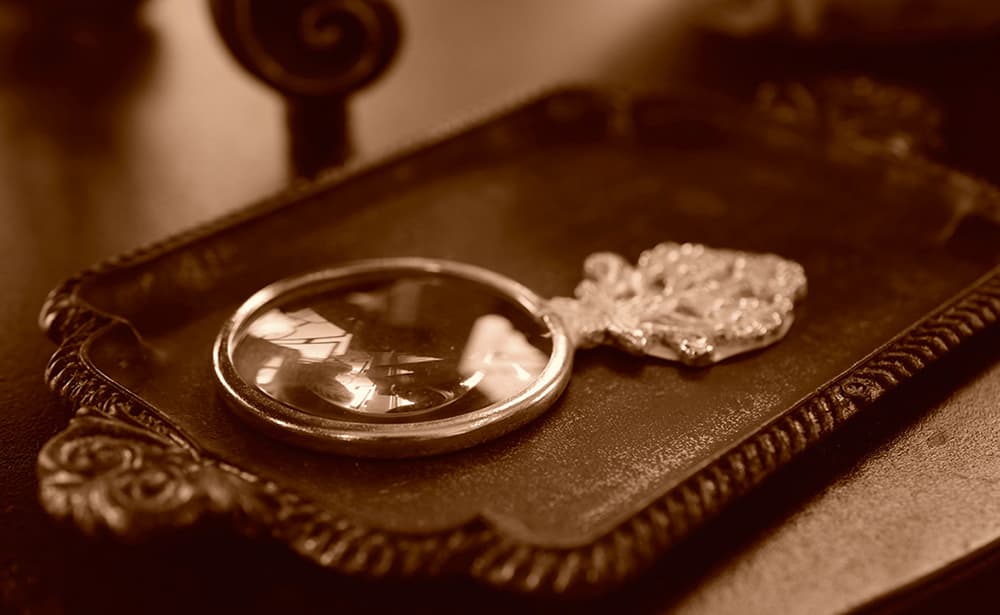
Monochrome
Gives you monochromatic shadings, such as black-and-white or sepia. You can also select Filter Effects, to create the kind of results you get when shooting with a colour filter for black-and-white photographs. You can then further ‘tone’ the images to adjust the overall look of images in a way that formerly required working in a darkroom with photographic paper.
Additional picture controls
Flat, Portrait and Landscape are additional picture controls that may be available on your Nikon DSLR. These give you further opportunities to customise the appearance of your image.
Customising picture control settings
Whichever picture control you choose, you can further customise the look and atmosphere of the setting in order to create your own bespoke control. To do this, under the shooting menu, highlight Set Picture Control and press OK. Now, from the selection on the menu, choose a picture control and press the right arrow on the multiselector. This now enables you to customise any of the following settings to create your own personal look to your images.
Sharpening
Sharpening enables you to alter the strength of your subject’s contours, starting from 0 (no sharpening) to 9 (maximum sharpness). You can also set the camera to A (auto), where it makes adjustments automatically to match shooting conditions. The lower the number, the softer your image will be; the higher the number, the sharper the image.
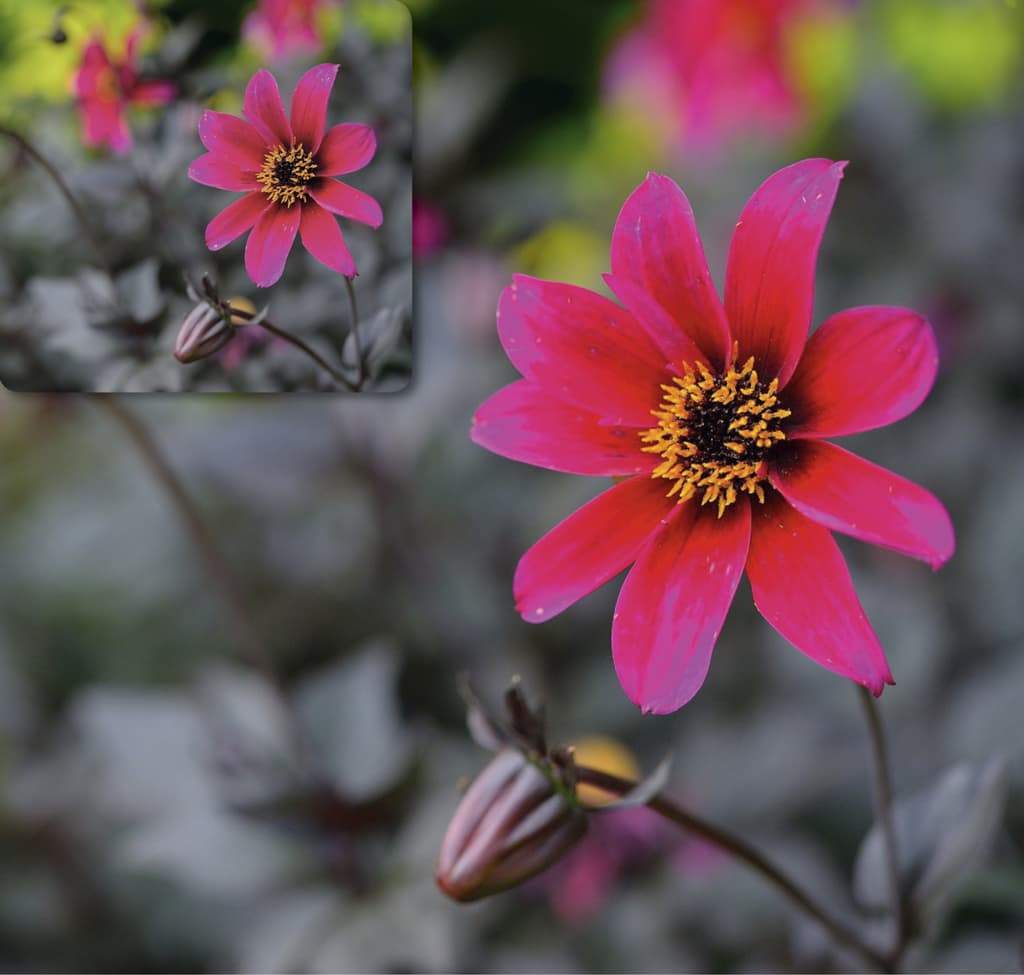
Clarity
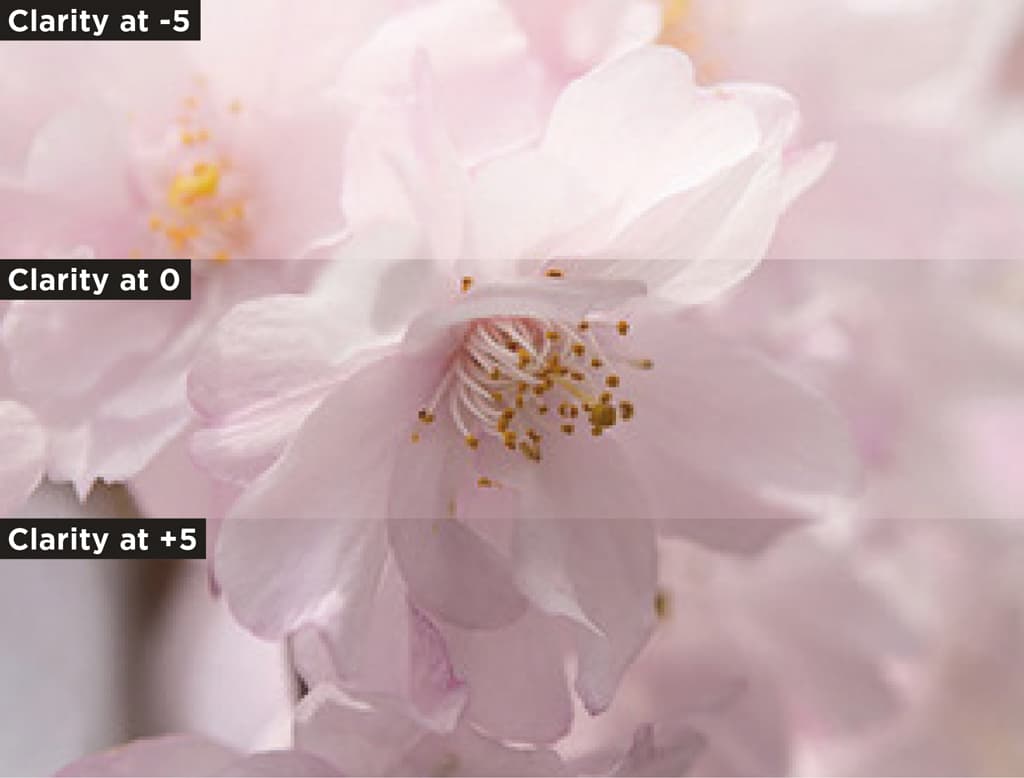
At -5, an already soft image appears as if a stocking has been placed over the lens. The 0 setting shows the image as it would normally appear, while +5 increases overall definition
Clarity is a new addition to the latest Nikon DSLRs. The level of clarity from -5 to +5 can be selected as well as A (auto), so that the camera automatically adjusts the clarity according to each shooting situation.
Clarity is useful when you want to make hazy-looking subjects appear clear, while maintaining detail, or when you want to make hard-looking subjects appear softer and gentler. Effectively, the lower the number, the softer the image and the higher the value, the clearer the image becomes.
It’s worth noting that while sharpening mainly controls the contours of a subject, clarity can control the subject’s clearness. At the same time, it maintains the gradation of highlight and shadow areas.
Also, if you control contrast, the brightness of highlight and shadow areas may be affected, but with clarity, the brightness of the original subject will be largely unchanged.
Contrast
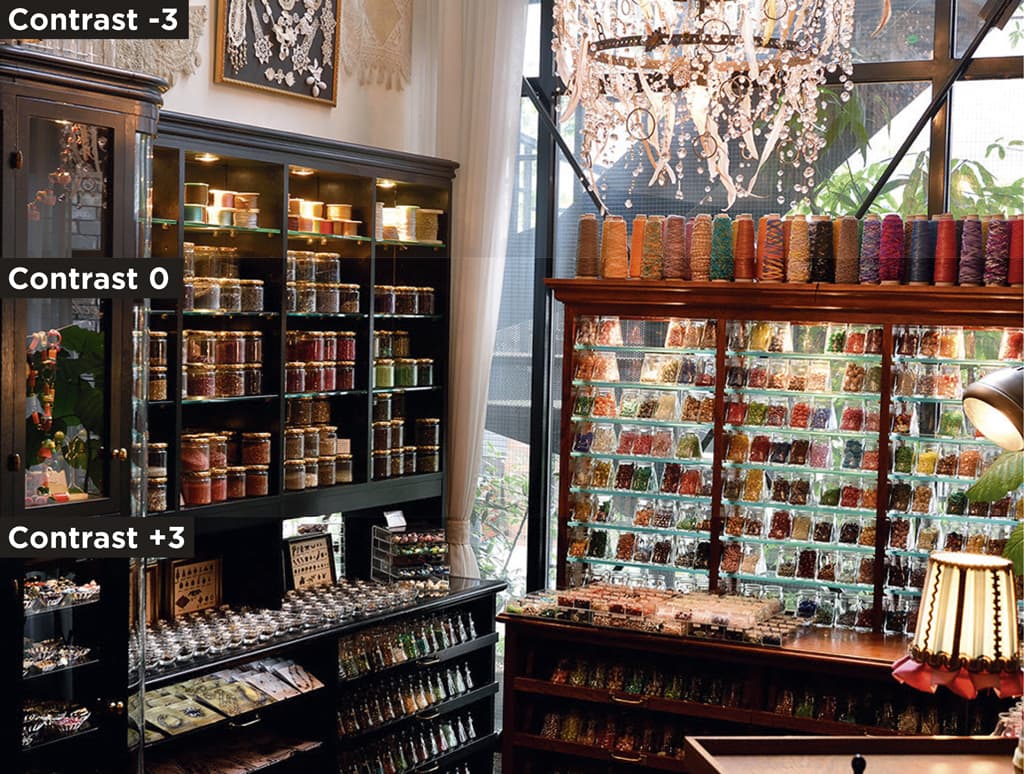
Softer contrast is the result at -3, with colours appearing muted. At 0, they are more ‘normal’, while at +3 the colours are denser
It is possible to fine tune the contrast of your images from -3 to +3. You can also set the camera to A (auto), where it makes adjustments automatically to suit the shooting conditions. When set to the minus side, the image appears softer. When set on the plus side, the image becomes harder. A minus setting is recommended when shooting portraits in bright daylight, or if there’s a danger of highlights being overblown. A plus setting is suitable if, for example, you’re shooting a distant subject covered with mist.
If you want to achieve a nostalgic-looking image with a soft and gentle atmosphere, use a weaker setting. When you require clear and crisp images, make it stronger.
Brightness
The overall brightness of your image can be adjusted from -1.5 to +1.5. When set to the minus side, contrast is enhanced within the highlight areas, while the mid-tones (areas other than highlight and shadow) are darkened. When set towards the plus side, the scene can be rendered brighter, while maintaining detail in the highlight areas. This is a particularly useful setting on occasions when exposure compensation may result in washed-out highlight areas.
Saturation
It is possible to control the saturation of colour images from -3 to +3. You can also set the camera to A (auto), where it makes adjustments automatically to suit the conditions in which you are shooting. Moving toward the minus side results in a reduction in colour brightness, while moving toward the plus side imparts a deeper brilliance to the colours.
Hue (a setting that is not available in monochrome) allows you to adjust the hue of images from -3 to +3. In effect, this is the colouration of the various shades that make up an image. In terms of skin tones, the minus side increases reddishness, while the plus side enhances more yellow tones.
Monochrome effects
Monochrome filters provide an effect that is similar to shooting black-and-white photographs with a colour filter. Y (yellow), O (orange) and R (red) effectively emphasise the contrast of your image, with Yellow providing the most subtle effect, and Red being the strongest. This is a particularly useful setting when you want to decrease the brightness of the sky to make the scene appear deeper and denser. G (green) provides a similar effect to shooting black-and-white photographs with a green filter, making some areas of an image appear deeper and denser. This can make the skin tone or lips look subdued, which is effective for portrait photography.
Toning
This enables you to control the overall tone of the image, in the same way as if you were toning photographic paper in the darkroom. There is a choice of ten colours including the default B&W (black and white) setting. The density of each colour (other than B&W) can be adjusted in increments from 1 to 7.
Managing Custom Picture Controls
So you have now created your custom look for your images. You can save the settings of your personal adjustments in Picture Control, so that you can access them again easily. This is done with the Manage Picture control settings in the shooting menu. For example, if you have created a picture control that gives a look such as ‘Portraits with a gentle atmosphere in bright sunshine’ and you intend to use the same setting again in a similar situation, you can register the setting and save it in the camera, You can save up to nine custom Picture Controls, depending on which DSLR you own.
Step 1
Edit the parameters outlined above based on a built-in Picture Control. Now select Manage Picture Control
Step 2
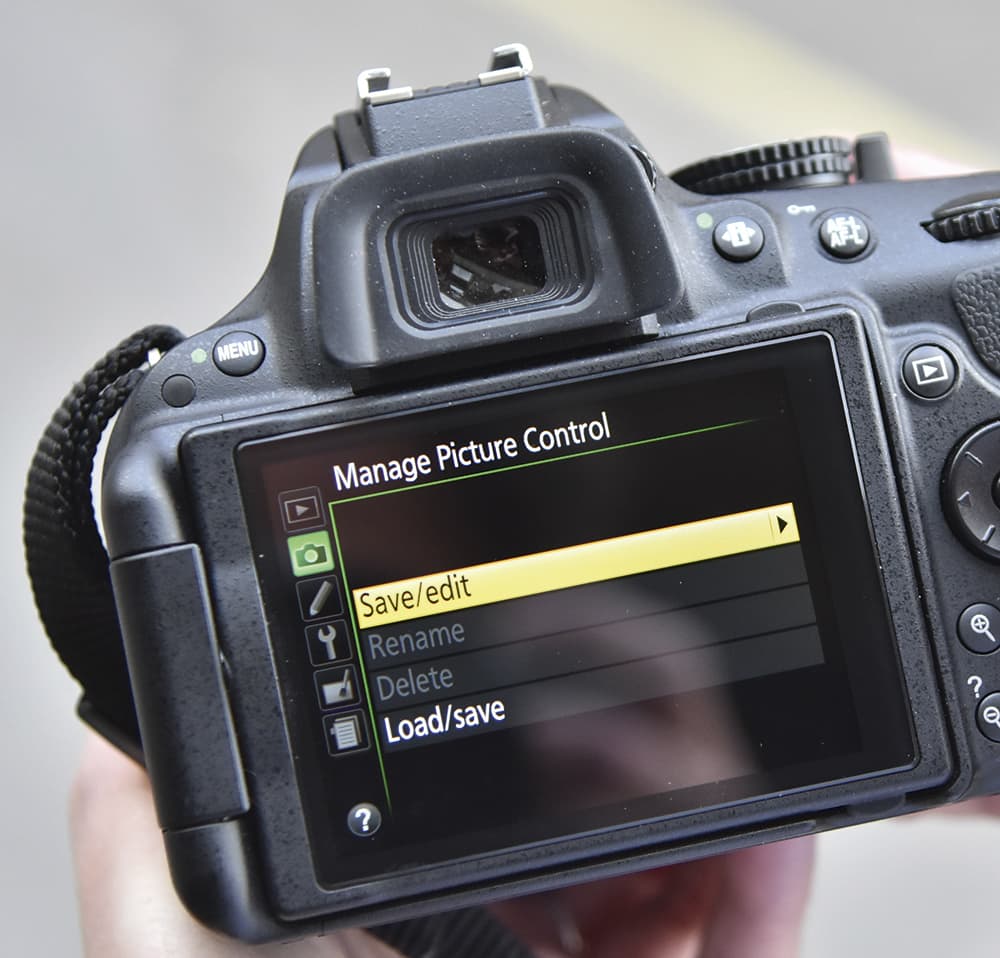
Choose Save/edit.
Step 3
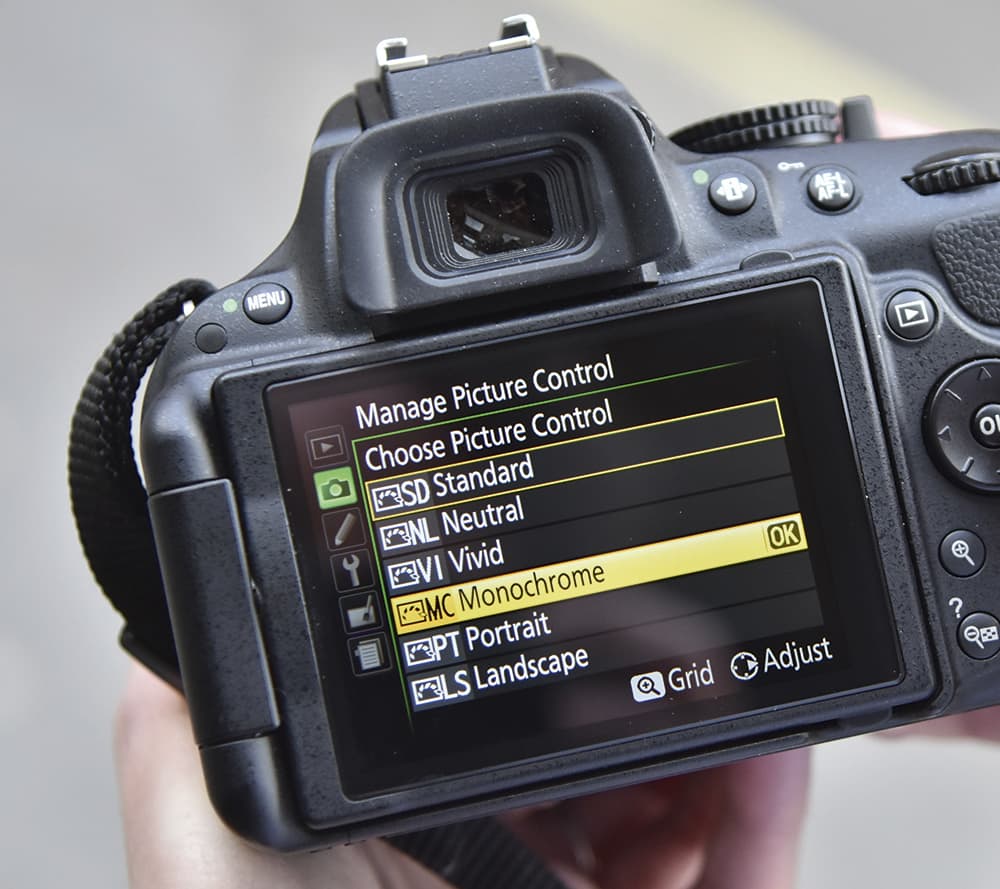
Select the picture control you wish to customise.
Step 4
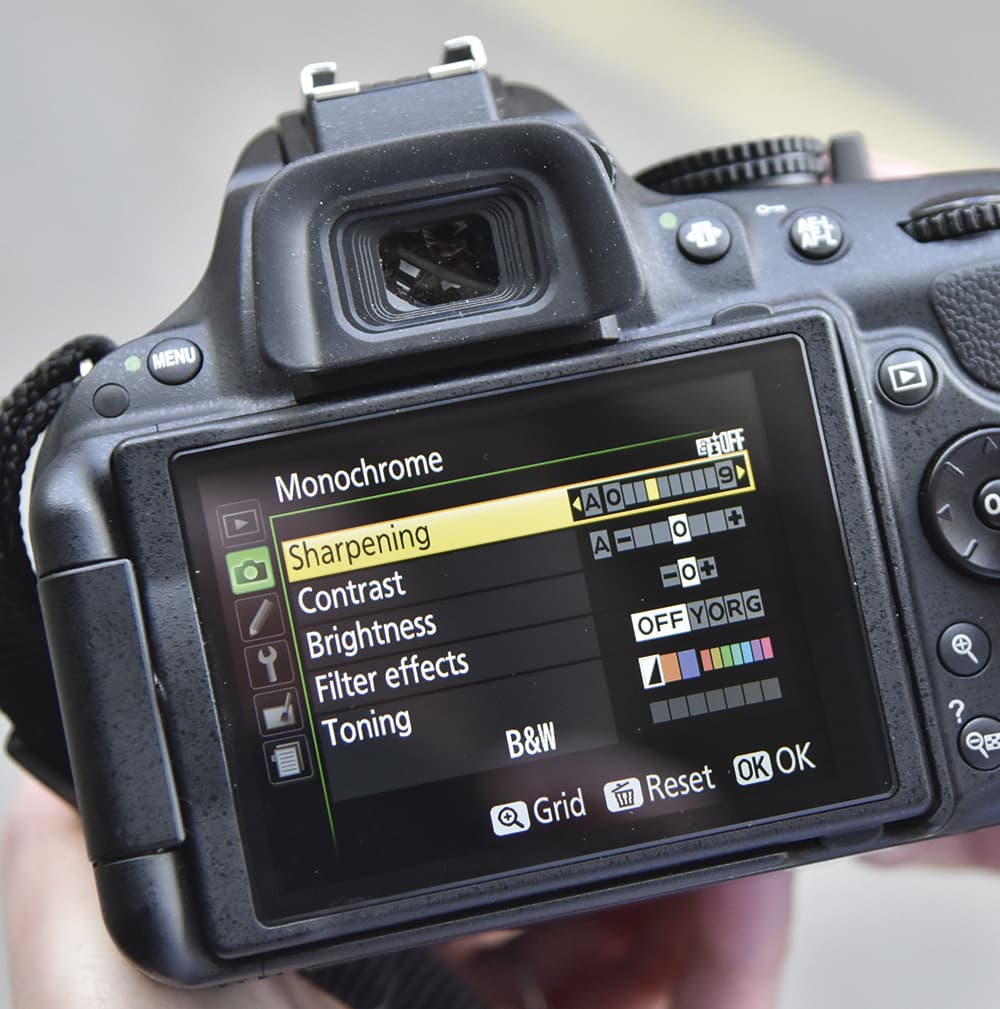
Press right on the multi-selecter to access the Picture Control custom settings page.
Step 5
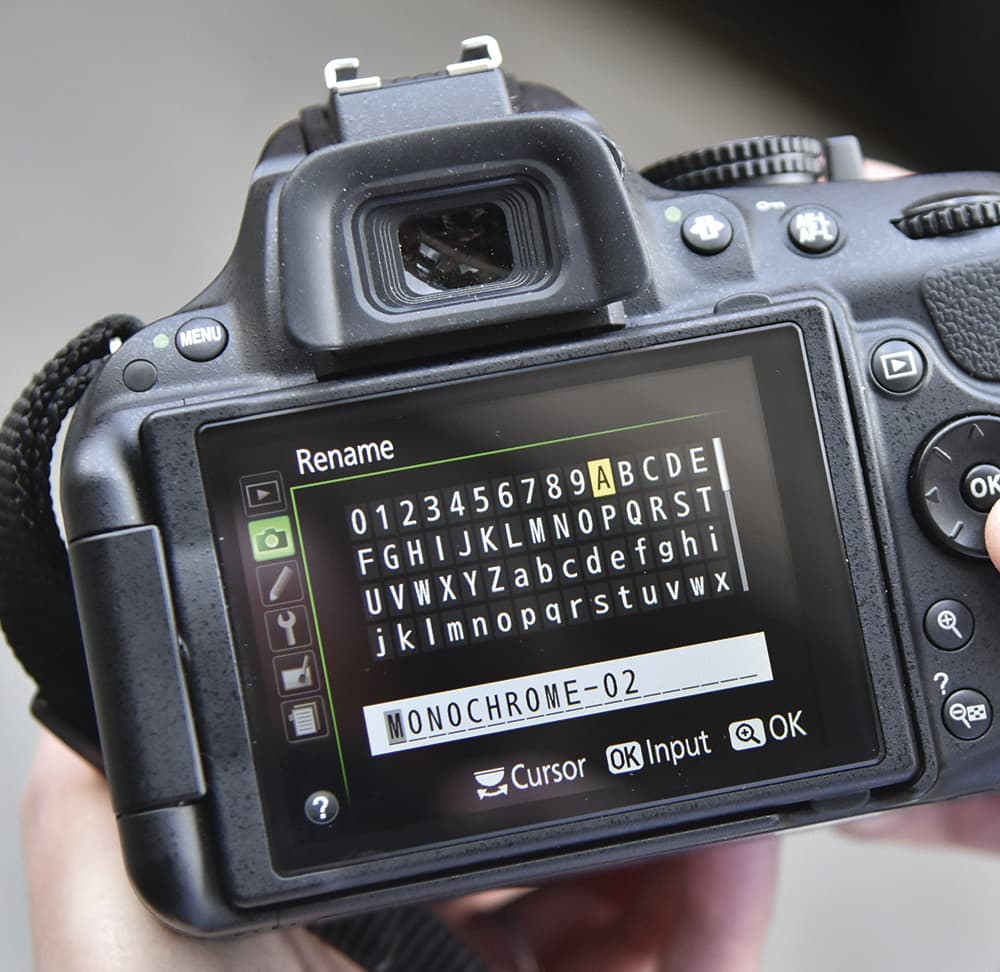
Move the sliders until you have the settings you require and press OK. You can now choose which custom setting bank and the name you wish to use for your custom picture control.
Step 6
After saving your custom picture control, all you need to do is select it and shoot.