
Depth of field is the term given to the zone of acceptable sharpness in a photograph. In reality, only the exact point you have chosen to focus on – and anything that falls within the same plane – will be completely sharp, but an area in front of and behind your subject will also appear to be sharp.
Learning how to control your depth of field is crucial to successful image making. Using it creatively allows you to highlight key elements of the picture, while downplaying potential distractions. Ultimately it leads to images that have greater clarity and impact.
Changing the aperture
Three main factors affect the depth of field: the size of the lens aperture, the focal length of the lens, and the camera-to-subject distance. Let’s look at each of these in turn.
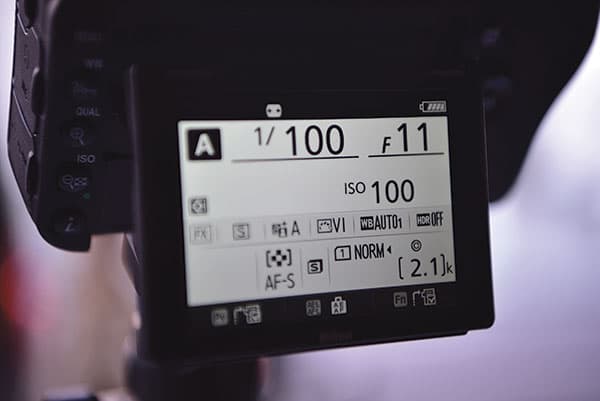
The most common way to alter depth of field is to change the lens aperture (or f/stop). Generally speaking, wide apertures (small f-numbers) produce shallow depth of field, and narrow apertures (large f-numbers) produce deep depth of field – think small number small depth of field, big number big depth of field.

However, if you want everything in the frame to be sharp, then selecting the narrowest aperture is not necessarily the best course of action. This is because every lens has a ‘sweet spot’ – an aperture at which it performs best, providing the sharpest results. This ‘sweet spot’ is usually around the middle of the aperture range (say f/8 or f/11), and locating it has never been more important.
When you use a narrow aperture with a high-resolution sensor (say 20-megapixels or more) the light only has a small hole to travel through, and it is forced to hit the sensor at an angle. This angle stops the light from reaching the bottom of all of the photodiodes on the sensor (think of these as little buckets gathering light as it pours in through the lens). The higher the resolution, the smaller the photodiodes, and the harder it is for light to reach the bottom of each one, which leads to image softness.

Wide apertures (small f-numbers) produce shallow depth of field, while narrow apertures (large f-numbers) produce deep depth of field
Some sensors have micro lenses to help direct light into the photodiodes, but if you want to ensure front-to-back sharpness it’s still good practice to use mid-range apertures. (In the days of film the light-sensitive surface was flat, so there were no bucket filling issues to contend with.)
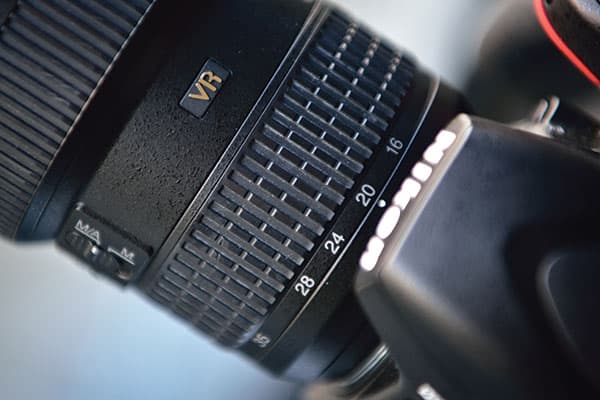
Changing the focal length


The closer you focus the lens the shallower the depth of field will be
One way to change the appearance of depth of field is to change the focal length of the lens. It’s a commonly held belief that wideangle lenses produce deep depth of field and telephoto lenses produce shallow depth of field, but it’s more complicated than that.
To understand what’s going on would require an entire magazine full of diagrams and comparison charts, but if you are really interested in the science then download the Depth of Field and Bokeh guide by H. H. Nasse from the internet, and prepare for some serious strain on the brain.
For most of us it’s enough to know that wideangle lenses give the appearance of deep depth of field and telephoto lenses give the appearance of shallow depth of field – so a 24mm lens has a greater apparent depth of field at f/8 than a telephoto lens at the same aperture. Basically, it’s down to how the light behaves, and the laws of physics.
Camera-to-subject distance
A lesser-known way of controlling depth of field is to change the camera-to-subject distance. The closer you focus the lens, the shallower the depth of field is. So if you are using a 50mm lens at f/8 and you focus on an object two metres away the depth of field will be shallower than if you use the same lens and aperture and focus on an object 10 metres away.
Close-up photography is a good example of this: shooting subjects extremely close to the lens results in depth of field that extends to just a few millimetres, even when using narrow apertures.

Macro photographers are used to dealing with limited depth of field, where the zone of sharpness measures just millimetres
But confusion can arise when you shoot a subject that is a long way away from the camera. In such instances depth of field is also very shallow. This is because when we focus on a distant object we often use a telephoto lens and, as we have observed, telephoto lenses produce shallow depth of field.
At this point it’s worth dispelling a common myth about depth of field and sensor size. It’s often said that depth of field is shallower on a camera with a full-frame sensor than a camera with a cropped sensor. This is not the case. Putting a cropped sensor behind a lens does not change how the lens behaves, or the depth of field.
A cropped sensor shows a portion of what the lens is actually capable of seeing, which gives images the appearance of greater depth of field. To allow for this crop we often move further away from the subject (changing the depth of field) or use a different focal length (altering the appearance of depth of field).
In reality depth of field is exactly the same on a full-frame sensor as it is on a cropped sensor. If you’re not convinced then take a look at Matt Granger’s Sensor size and depth of field video on You Tube and you soon will be.
Putting everything into practice
Having covered the three main factors that affect depth of field it’s time to put what we have learned into practice. To begin with try adjusting just one factor at a time, starting with camera-to-subject distance, and then review the results on a computer.
If you change more than one variable at a time you might be thrown by the results, and you may never know which one was the most effective in that instance. When you adjust camera-to-subject distance, the effect is obvious, which is why it’s such a good place to start. If you can, leave changing the f-stop to last.
When we learn about depth of field we tend to focus on changing the aperture to increase or decrease the zone of acceptable sharpness. But, as we have seen, there is more than one way to determine which elements are sharp, and which fall out of focus.
Depth of field can be as complicated or as straightforward as you like, but the most important thing is to get a feel for it. Don’t worry about the maths or the physics behind it – simply shoot, observe, and adjust as necessary.
Hyperfocal distance calculators
One way to maximise depth of field is to calculate the hyperfocal distance – a job that used to require a complex formula, and plenty of experimentation. Thankfully, you can now use online calculators and apps to carry out the maths for you.
A quick trawl of the internet brings up DOFMaster (www.dofmaster.com), a handy (and free) hyperfocal distance calculator. To use it just enter the make and model of your camera, input the focal length of your lens, fill in the aperture, and enter the camera-to-subject distance. When you press ‘calculate’ the program comes back with all the information you need to guarantee front-to-back sharpness.
By way of an example, if you’re using a Nikon D700 with a 35mm lens at f/16 and the camera-to-subject distance is 100 metres, the program brings back a hyperfocal distance of 2.59 metres. So if you were to focus the lens manually at 2.59m the depth of field will extend from slightly in front of this point to infinity.
Don’t be afraid to use technology – being able to calculate hyperfocal distances in your head does not necessarily make you a better photographer. And don’t feel that you need to calculate the hyperfocal distance every time you shoot a picture; it’s there to assist you not to enslave you.
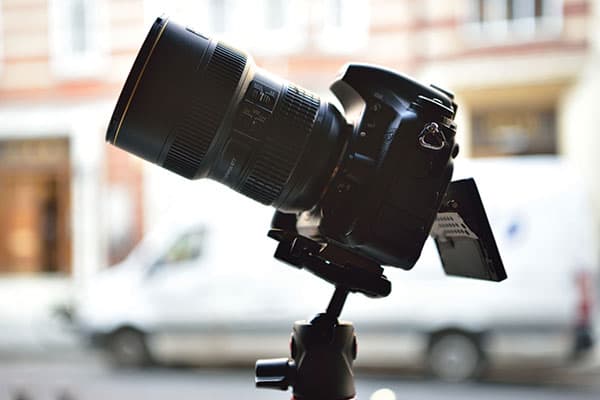
Step by step: Checking depth of field with your Nikon DSLR
1. Mount your camera on a tripod. This will ensure that the camera-to-subject distance does not change, which allows you to alter one variable at a time.
2. If you’re using a zoom lens, set an appropriate focal length for the subject – doing so will ensure that this one variable does not change.
3. Select a suitable aperture for the subject. Most lenses do not perform at their best at minimum and maximum apertures, so experiment with mid-range settings
4. Focus the lens. Depth of field covers the subject and an area slightly in front and behind the subject, so experiment with positioning the focal point.
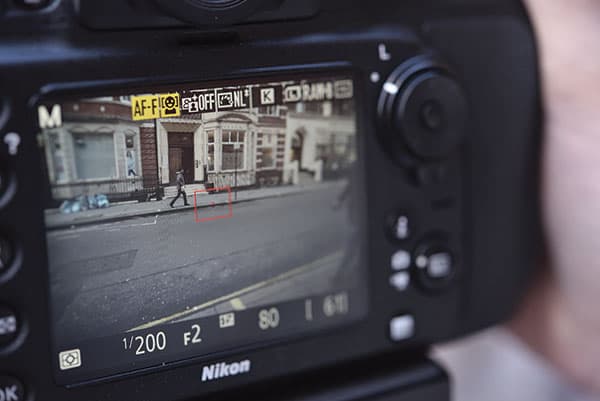
5. Shoot and review the image to check that the depth of field is adequate. If not, use a smaller aperture, a shorter focal length lens, or move further away from the subject.
How to find the ‘sweet spot’ on your lens
To find the ‘sweet spot’, attach your camera to a tripod and stick a sheet of newspaper (or anything with small print) to a wall a few metres in front of you. Ensure the paper and wall are completely flat. Use a spirit level to position the camera so it’s parallel to the wall. Using Aperture Priority, focus on the newspaper and take a picture at each full aperture. Review the pictures on a computer, zooming in to 100%, checking contrast and sharpness. Look at the EXIF data to ascertain which aperture provides the best results. Repeat with all your lenses.