
Correct exposure and focusing are the cornerstones of good photographic technique. Related to focusing is one of the fundamentals of creative photography: depth of field. This is the zone of sharpness in front of and behind the actual plane of focus, and it has a huge impact on the character of an image. For example, you can enhance the feeling of depth in the scene by keeping everything sharp from foreground to background. Alternatively, a shallow depth of field can be used to blur distracting backgrounds or force attention onto a particular part of the frame. But to achieve either of these effects, the obvious question is, how do we control depth of field?

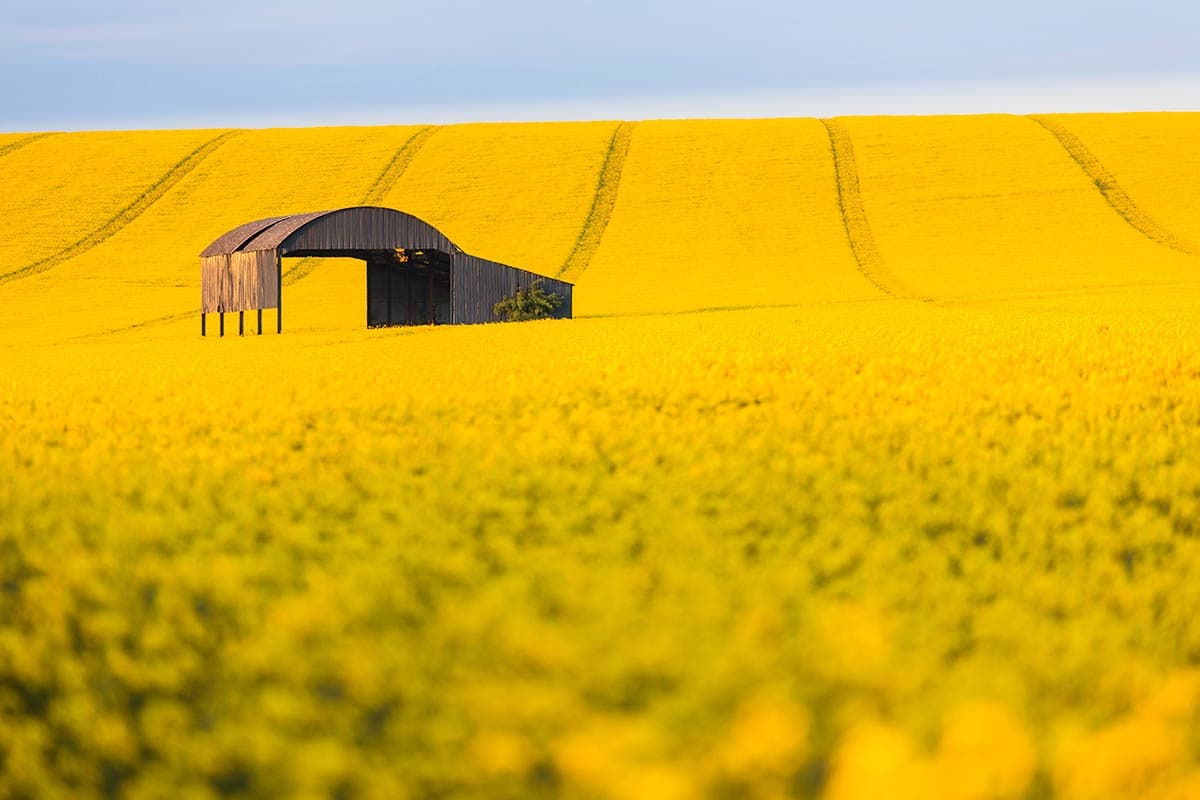
When there is no foreground object particularly close to the camera, focusing about a third of the way into the scene – in this case, just in front of the second set of posts on the jetty – will give you all the depth of field you need in a landscape
There are three main factors that affect depth of field in images. Lens choice is the first one, as the wider the lens, the more inherent depth of field it has. Second is aperture, and the smaller the aperture (bigger f-number), the greater the zone of sharpness. Finally, choosing the correct point of focus is vital when you want to extend depth of field. You can shoot with an ultra-wide lens stopped down, but if you focus in the wrong place then either your foreground or background might end up not being sharp enough.
Front to back sharpness

Setting the hyperfocal distance allows you to maximise sharpness throughout the image
One of the most commonly asked questions regarding depth of field is, ‘How do I get front-to-back sharpness?’ The usual advice for beginners is to focus a third of the way into the scene. This is because depth of field extends twice as far behind the point of focus as in front of it. However, this method lacks precision, as it’s often difficult to exactly locate ‘a third of the way in’ – and it doesn’t take into account variables such as the focal length of the lens you’re using, or the aperture you’ve set. Nonetheless, it can work surprisingly well in many situations.
Where it does fail is when there is an object close to the camera that needs to be kept sharp along with the background. In these cases, a more accurate way of calculating and controlling depth of field is needed – namely, focusing using the hyperfocal distance.
You might think this is complicated but, in fact, it’s easy to use. Put simply, the hyperfocal distance is the precise focal distance at which depth of field is maximised for a given aperture and focal-length combination. While it can be tricky getting to grips with the principles, it’s perfectly possible to apply the technique without getting bogged down in the theory.
Circle of confusion
There’s no rules that says you have to have front-to-back sharpness in landscapes, so don’t be afraid to experiment with limited depth of field. Use the depth of field preview button to see the effect before you take the shot
For those keen to understand the theory, however, you need to start with the ‘circle of confusion’ (CoC) – and no, it’s not a group of photographers trying to understand hyperfocal distance! The circle of confusion is the maximum size at which an unsharp ‘blob’ will appear to the human eye as being indistinguishable from a perfectly focused point. For 35mm film or ‘full-frame’ sensors, this is usually stated as 0.030mm, and assumes a maximum print size of about 10x8in (about 8x enlargement for 35mm). Different formats will require more or less enlargement to achieve the same-sized print, and so different circles of confusion are used. The circle of confusion is part of the equation used to calculate depth of field and hyperfocal distance, so knowing what CoC has been used can be useful.
For once, practice is easier than theory, and there’s no need for complex calculations using the CoC, as there are many pre-prepared charts available, as well as several smartphone apps. To put hyperfocal distance into practice, just check the focal length and aperture you’ve set, find the hyperfocal distance from your chart or app and then manually focus on an object at this distance. (You could use the distance scales on your lens, but these are not always very detailed or accurate on modern zooms). Everything from half the hyperfocal distance to infinity will be within the zone of sharpness. For example, if you shoot with a full-frame camera at f/11 on a 20mm lens and set a hyperfocal distance of 1.2 metres, depth of field will extend from 60cm to infinity.
Before pressing the shutter, you’ll need to check that your depth of field calculations are correct. Looking through the viewfinder won’t show you the depth of field, as the aperture stays wide open until the shot is taken. Most cameras have a depth of field preview button, however, which enables you to manually stop the lens down to the shooting aperture. The problem is that with the aperture stopped down, there is less light coming through the lens and the viewfinder image might be too dark to be useful. Live view works better as the screen brightens to compensate for lower light levels. Camera manufacturers implement live view in different ways, though, so check how yours works. For example, Canon’s live view operates in the same way as the viewfinder, with the aperture wide open. To check depth of field, press the depth of field preview button. With other makes, such as Nikon, the live view image is shown stopped down to the taking aperture, so there is no need to use the preview button.
Don’t get carried away

When there is no foreground interest close to the camera, it’s best to ignore the hyperfocal distance and focus on your main subject instead
Occasionally, those new to the technique will routinely set the hyperfocal distance for every landscape shot they take, even if there’s nothing of particular interest in the immediate foreground. While this doesn’t necessarily lead to bad results, it can mean that you’re using depth of field where you don’t need it – in the foreground – and that the background, while acceptably sharp, could be sharper.
When there is no close foreground interest, it’s better to check what the hyperfocal distance is and then, if the nearest object to the camera is beyond the hyperfocal distance, focus on that object, or just slightly beyond it.
Tilt-and-shift lenses
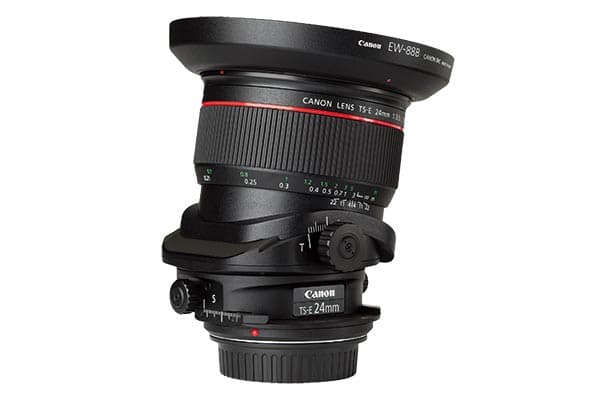
With foreground interest close to the camera, sometimes the only way to get enough depth of field is to stop the lens right down, but the resulting image may end up soft due to the effects of diffraction. One way around this is to use a tilt-and-shift lens. These are specialist lenses, which have movements that allow you to tilt the plane of focus, thus extending depth of field. This means that you can shoot at the lens’s ‘sweet spot’ of around f/8, while still obtaining front-to-back sharpness.

No tilt

With tilt
These two images show the difference between shooting at f/8 with no tilt (top), and at the same aperture and focused on the same point with tilt applied (bottom).
Kit list
Prime lenses
To make setting the hyperfocal distance really easy, use prime lenses with clear distance scales – you won’t even need to use a chart.
Tape measure
Not everyone is good at estimating distance, so when accuracy is important a tape or laser measure can help you find an object at the hyperfocal distance.
Live view
Precise focusing is essential for getting the depth of field you want, so if your camera has a live-view facility, use it.
Hyperfocal distance chart or app
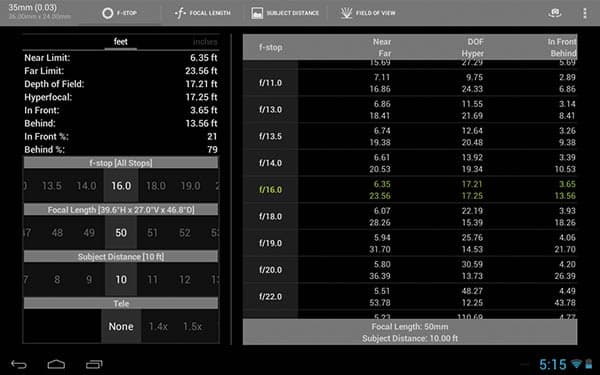
Unless you really enjoy complicated maths, use a chart or phone app to help you find the hyperfocal distance.
Tripod
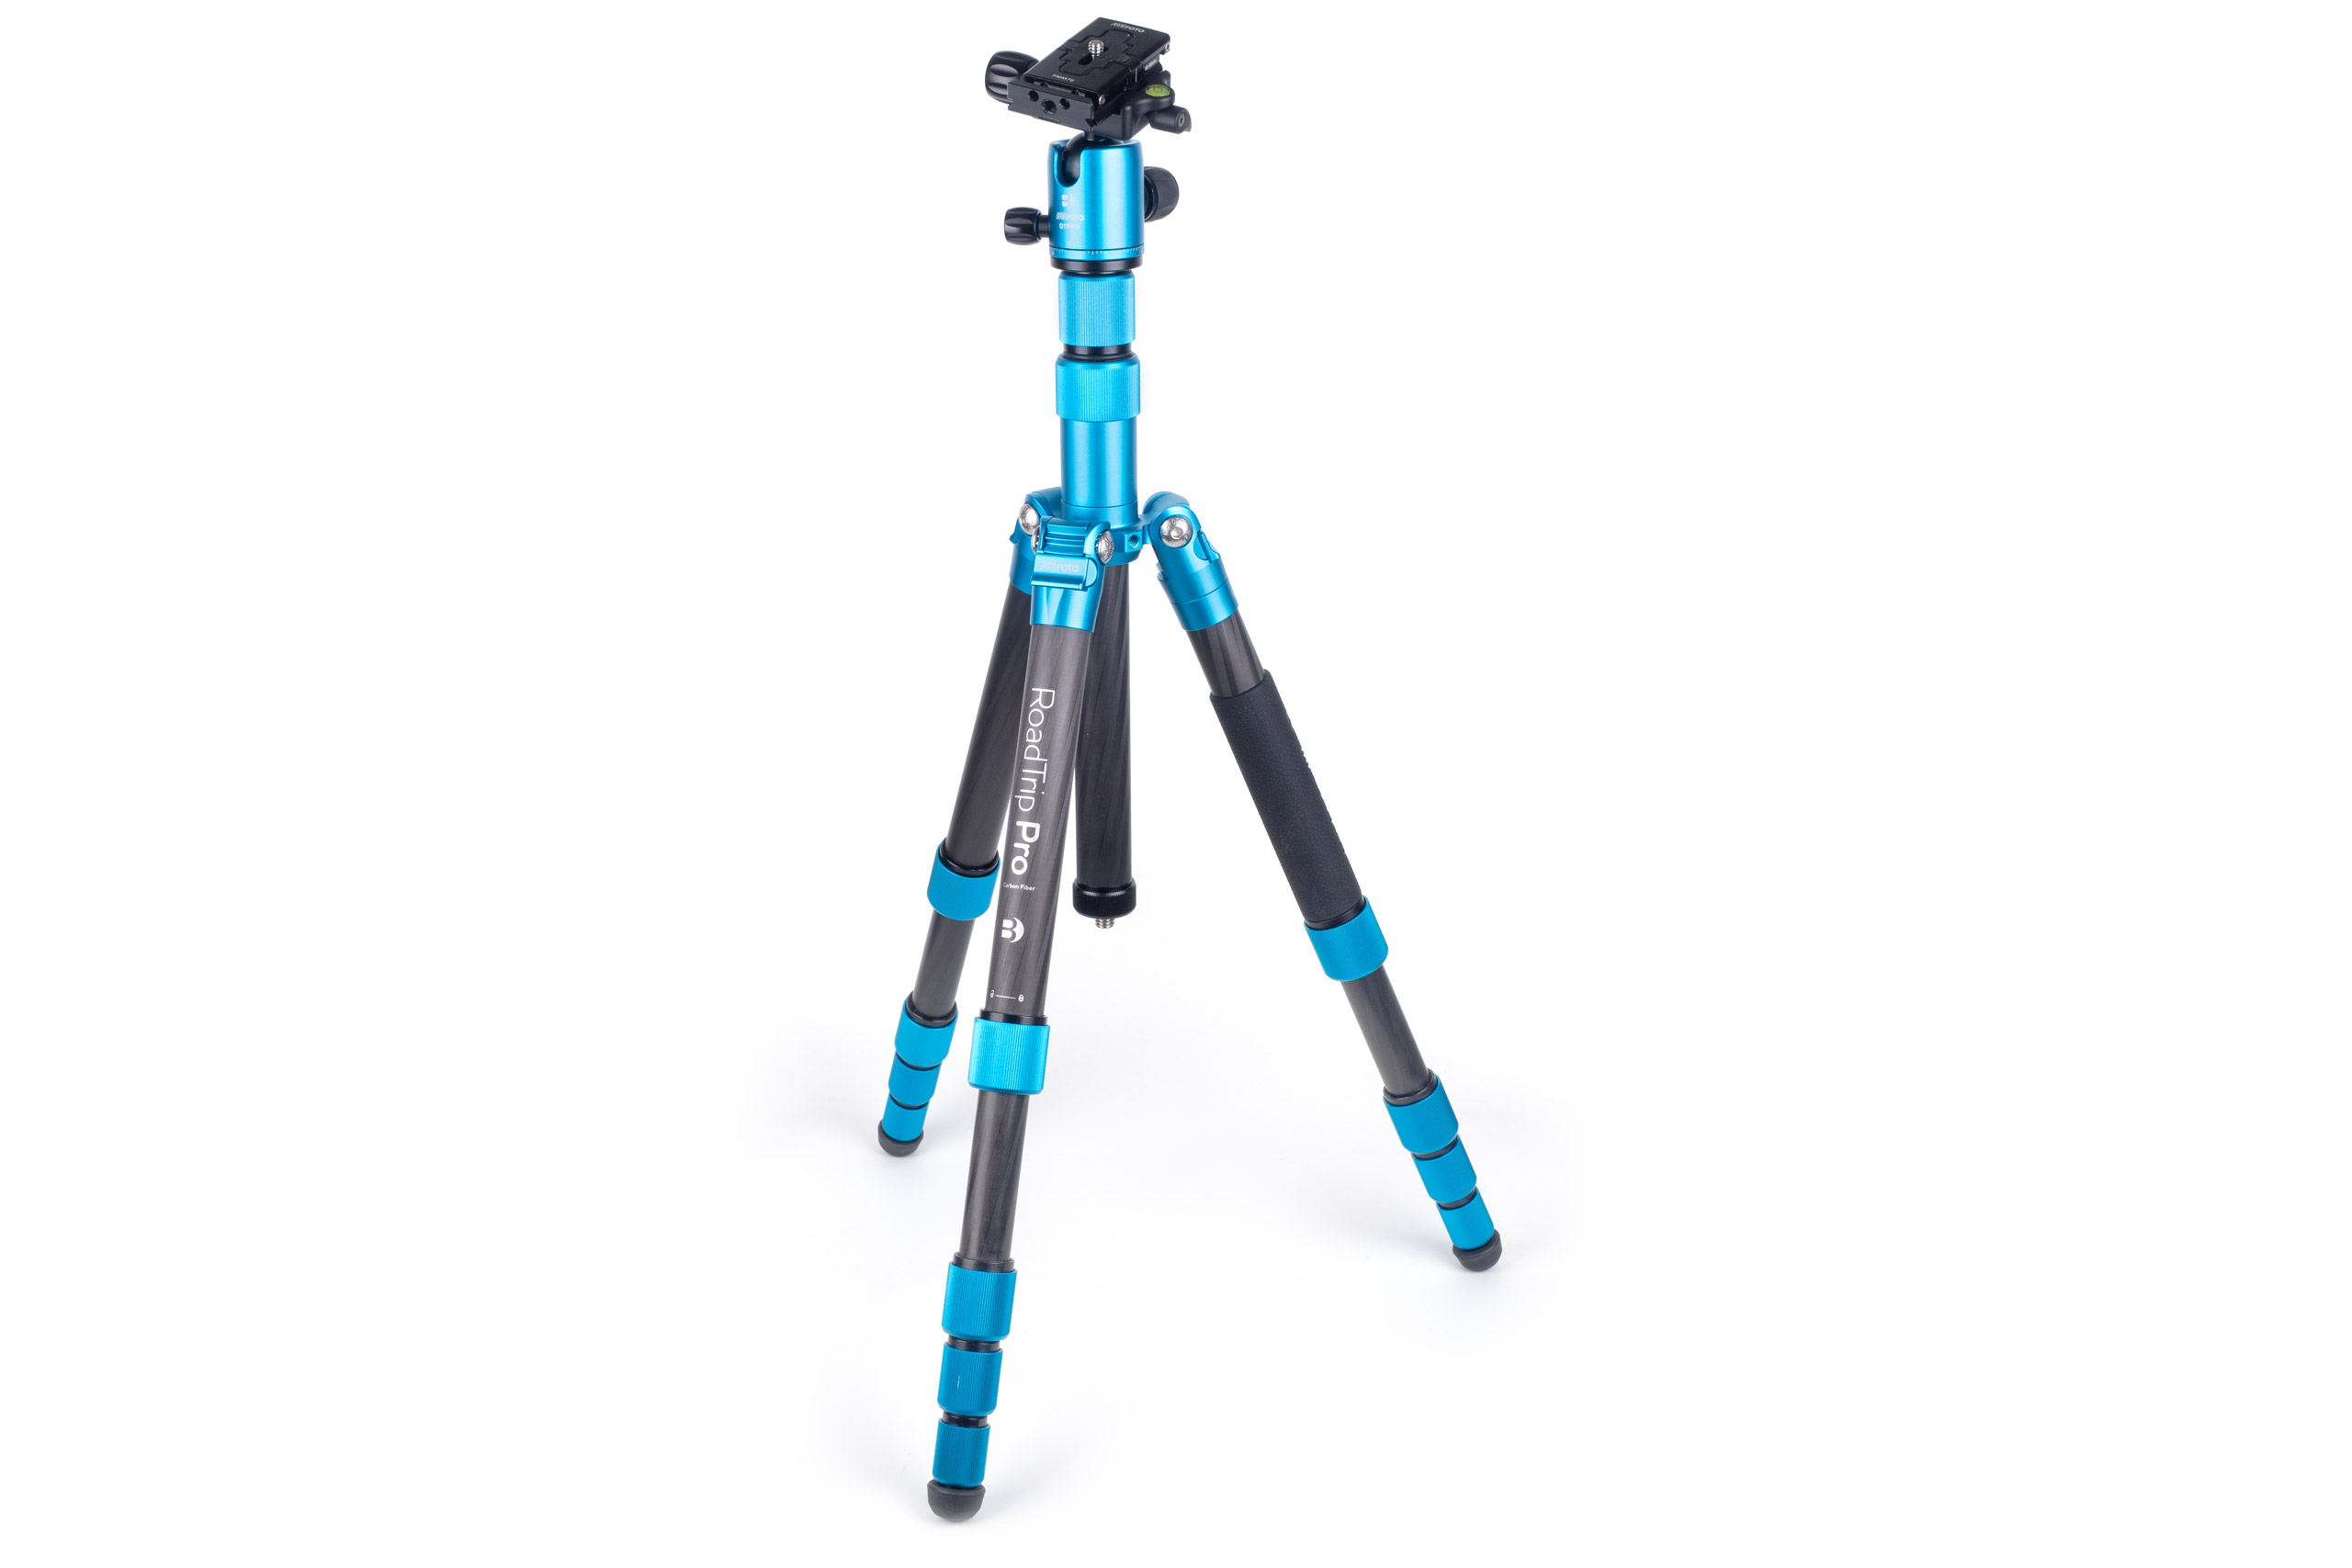
MeFoto RoadTRip Pro Carbon Fibre tripod
A tripod not only helps you with setting precise composition, but also means you know exactly where the sensor plane is when calculating or measuring distances.


