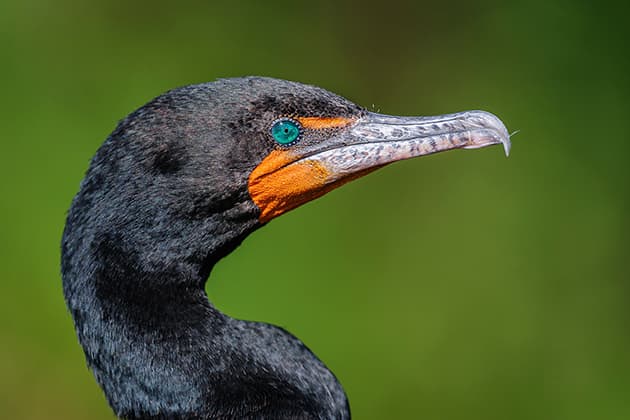
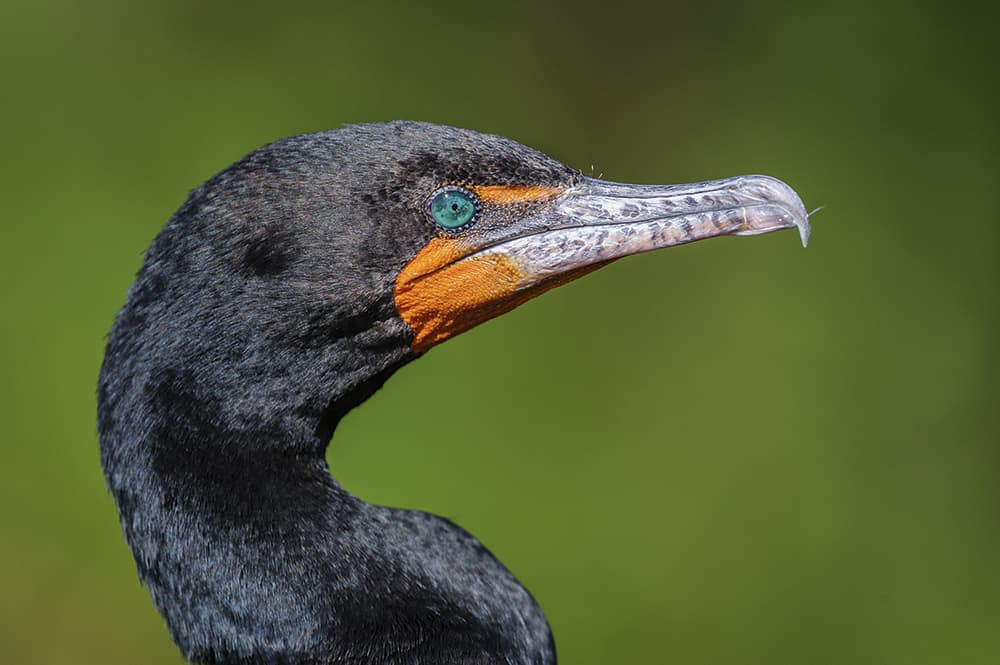
This image of a cormorant was taken on a recent trip to Florida. Nikon D300, 200-400mm at 550mm, f/7.1, ISO 450
It’s all too easy to look at crisp, sharp wildlife images taken with huge focal lengths and think to yourself that if you had the same lens you could take the same quality photos. However, there is much more to it than just having what is considered to be ‘the right kit’. Knowing how to use any piece of camera gear effectively is key to producing better images. And in the case of telephoto lenses, which is a staple for wildlife photographers, this is especially true.
Regardless of whether you are a newcomer or a more seasoned wildlife photographer, a term that everyone comes across as they venture into bigger and further reaching optics is ‘long-lens technique’. However, these three simple words represent a vast amount of useful information. In its most basic form, it refers to keeping movement of the lens to a minimum in order to obtain the sharpest image possible. This is information that, when fully noted and understood, will help you produce the sharpest images your kit will allow, even with the longest focal lengths and sometimes without the aid of dedicated support.
Proper care
This is one of those rare situations when a lightweight camera and lens is a bad thing. Very light equipment is quite tricky to hold still, compared to kit that has a little more weight to it. So although those bigger lenses may seem very heavy and cumbersome at first, it is actually an advantage in this scenario. In either case, not fully understanding how to keep your lens steady can be extremely frustrating. There is nothing worse than looking at images on your camera’s LCD screen that look sharp, and then realising they are not when you view them at home on the computer. Simply put, without proper care, even the most expensive lenses will produce poor results if you don’t know how to use them properly.
There are several tips you can learn straight away. For example, lightly press the shutter release rather than jab at it, and when handholding make sure you are not breathing heavily as you take the shot, because the movement of your chest will make your arms move if you’ve got them tucked in – which you should have.
Camera support
The first thing that springs to mind when trying to eliminate camera shake is the use of a dedicated camera support. While using a support certainly helps, it isn’t a golden ticket and correct technique still needs to be observed to get the very best from it.
Tripods are the most common form of support. Not only do they help keep things steady, but also, when paired with a good head, they take some of the weight of the lens. This is important when working with some of the larger optics that can weigh more than 5kg before you even attach a camera body.
Tripod heads can vary, but the two main types are gimbal and ball heads. Gimbals work better with fast-moving subjects as they allow you to pan and tilt the lens easily compared to ball heads, which are generally more suited to wideangles than telephotos. However, a heavy-duty ball head can offer a firmer base because a gimbal essentially suspends the lens in the air from an arm, which is more susceptible to vibrations.
Setting up
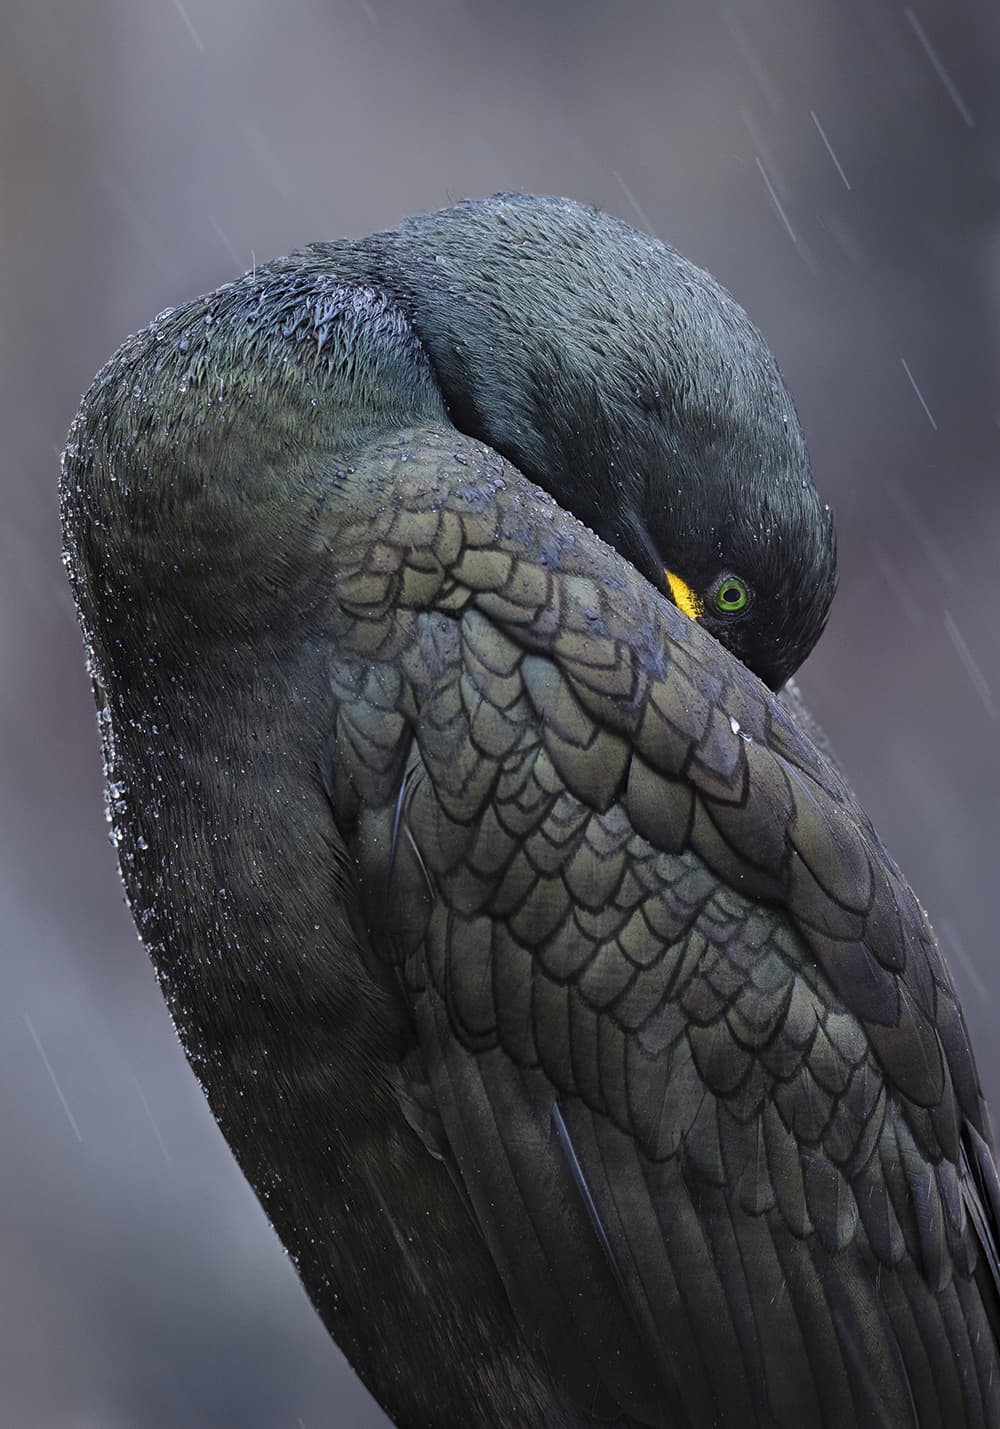
To keep the ISO as low as possible, while also capturing the rain streaks, I applied the correct tripod technique to produce a sharp image at a slow shutter speed. Nikon D3S, 600mm VR, 1/160sec at f/8, ISO 2,000, tripod
In either case, once you have chosen your head the next thing is to ensure the tripod legs are only extended as far out as they need to be. The lower you can keep them and the camera, the more rigid the set-up will be. With the tripod legs fully tightened in place and the head securely fastened to it, with any adjustable knobs tightened just to the point where the lens can still move freely but with a small bit of resistance, the idea is to push your forehead against the back of the camera as you look through the viewfinder. At the same time, place your left hand at the front of the lens barrel and pull down on it ever so slightly, while doing the same with your right hand that is holding the camera at the back. The idea is that the entire camera and lens set-up is braced at either end, while also being supported from below by the tripod.
By using the lens in this way, the effects should be immediately clear when looking through the viewfinder, as the view should be noticeably more stable once you have this technique mastered. When you start shooting at focal lengths over 600mm, you’ll be amazed how even the smallest movement is transferred to the viewfinder. So following this method will help reduce how much vibration you introduce by physically touching the camera. You may think you can get round that at times by using a remote shutter-release cable, but even if that were practical it’s not just you touching the camera that introduces vibration. There is also the camera’s mirror mechanism to consider, and that can be quite forceful when it flips open – especially on some of the higher-end cameras.
Using a tripod
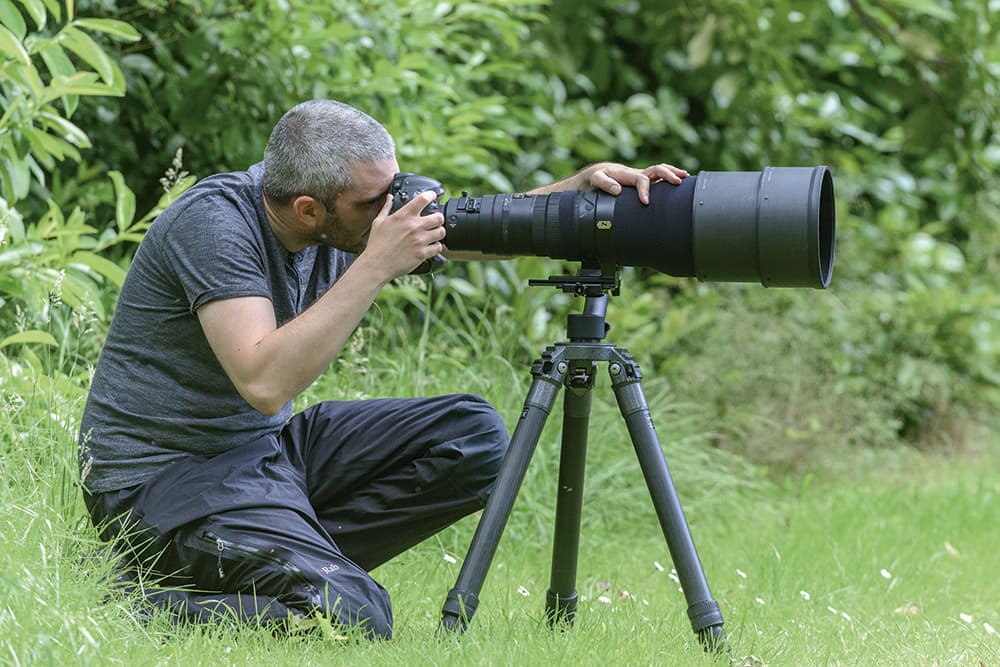
Always ensure the tripod legs are as low as possible, unless there is something blocking your view. A low centre of gravity and shorter legs will make any tripod, even less expensive ones, much more stable
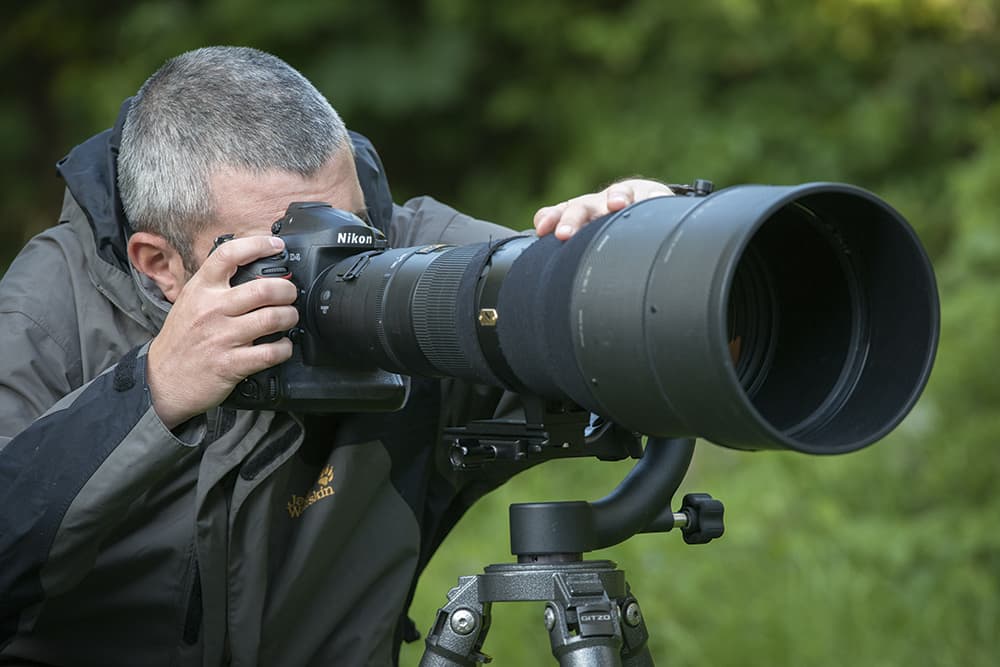
Larger telephoto lenses are far easier to use if you have a tripod. To ensure you get the best from your long lens, press down a little on the front of the lens while pushing your face against the camera
Monopods
Another dedicated support method is the monopod. However, these supports do not work in quite the same way as tripods, as they are designed more to take the weight off the lens rather than offer a complete support system. Think of them as a cross between handholding and using a tripod. Monopods come into their own when working with subjects that do not require much more than simple panning to track them. Again, the same rules apply – you want to brace the camera with your forehead and the front of the lens with your left hand. Much like handholding, monopods work far better with lenses that offer image stabilisation.
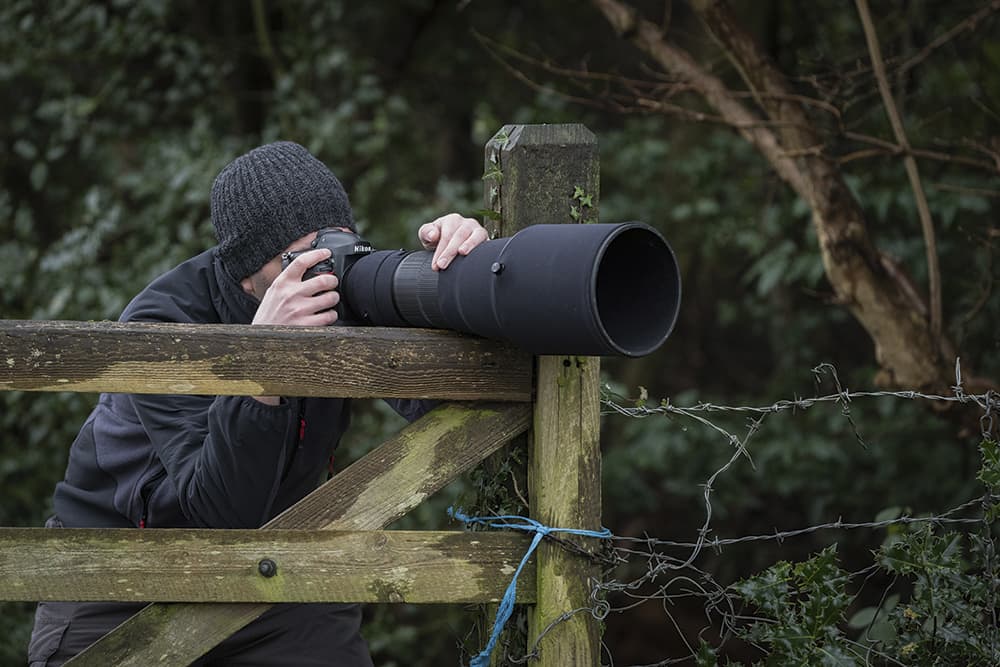
If you find yourself in a situation with none of these options available to you, improvise with anything that offers a surface on which to rest the camera, especially with the help of vibration reduction (VR). When out in the countryside, fence posts, fallen logs and rocks can be very useful in helping to steady yourself, especially if the light levels have fallen and you want to keep the shutter speed down to maintain a low ISO value. Even your camera bag could come in handy to rest a lens on when shooting low level. It’s one of the reasons I always ensure my lenses have a LensCoat cover on them to provide some form of protection when being rested on potentially rough surfaces.
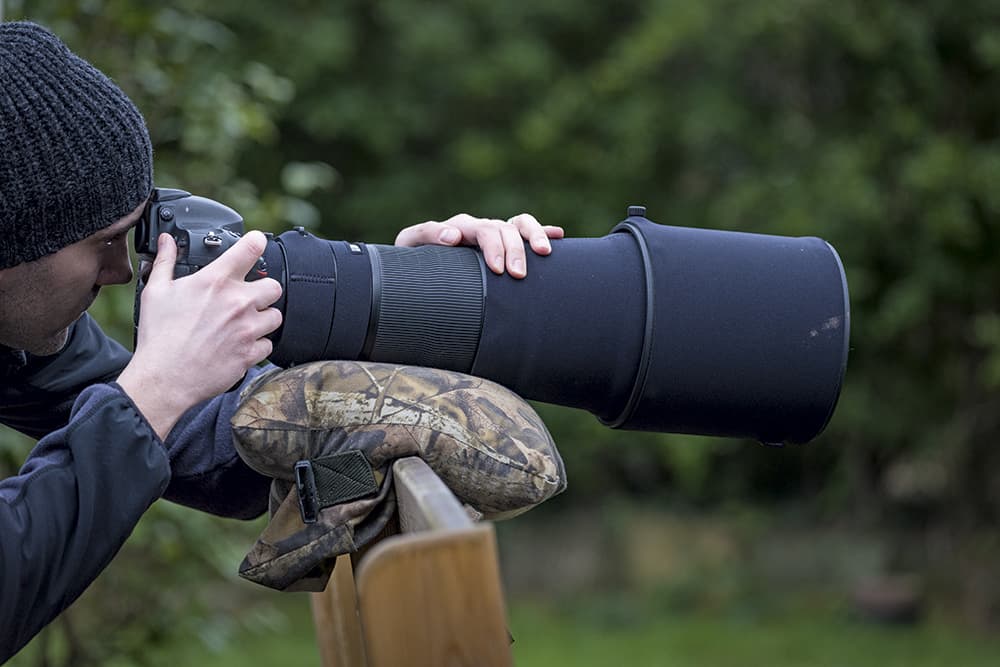
Whatever you use, be it handholding, a dedicated support or an old gate, the trick is always to brace the camera from as many directions as possible. Simply ‘resting’ it on something is not enough, as it actively needs bracing. Also, the more points of contact it has with other solid objects when you’re doing so, the less vibration and movement will be transferred to the viewfinder and the sharper your images will be.
Handholding
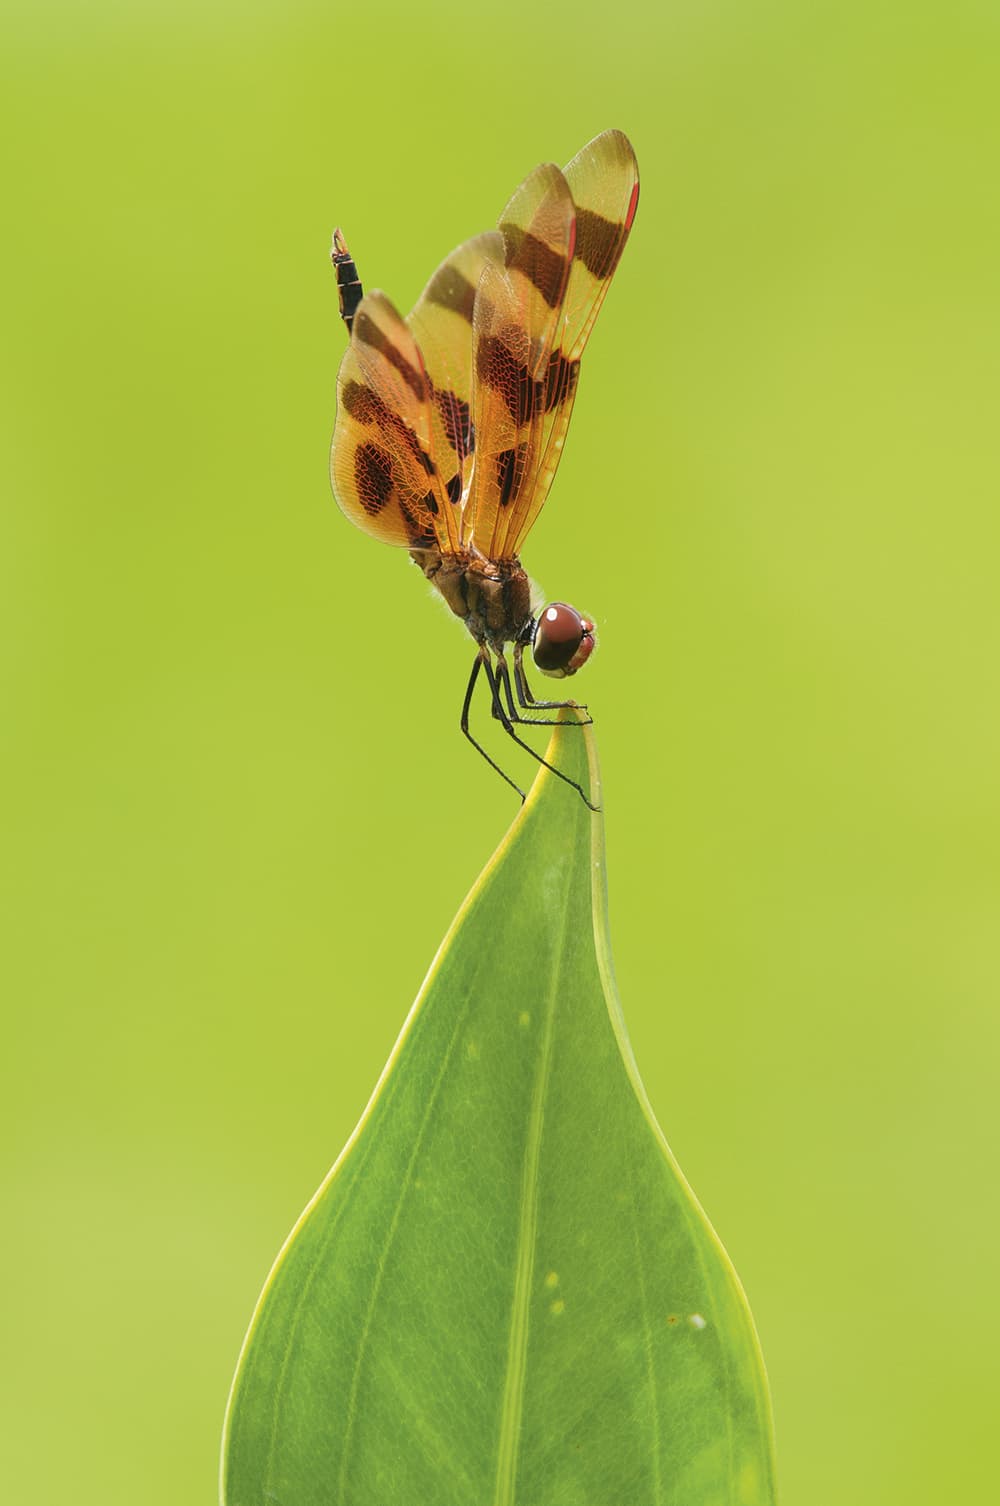
While walking around a lake in Florida, I came across these beautiful insects. With no tripod to hand, I handheld and used VR to drop my shutter speed down below the focal length of the lens. Nikon D300, 200-400mm + 1.4x teleconverter at 550mm, 1/400sec at f/8, ISO 500, handheld
When dedicated support is not an option, it is possible to handhold surprisingly long focal lengths with a high success rate provided you take proper care. Observing the correct shutter speed appropriate for your lens by at least matching its focal length is a good starting point. For example, when using a 500mm lens, you want to set a shutter speed of at least 1/500sec to correct for your movement.
However, this isn’t set in stone and other factors will play a part in this formula working adequately, such as how steady you are as a person or if you’re shooting in windy conditions. To help ensure you’re getting the very best results alongside an appropriate shutter speed, use the methods mentioned in this article to hold the camera as steady as possible.
Bracing
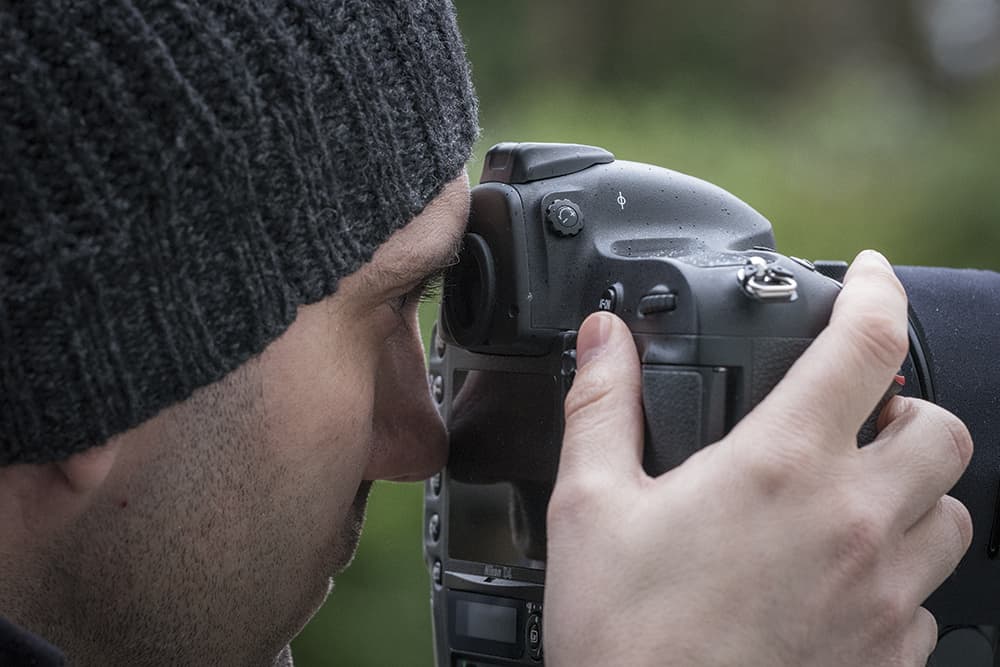
Whatever support you use, be it dedicated support or handholding, it’s essential to push your face against the camera for additional bracing
Almost any object can be a makeshift support. The trick is to get the lens touching as many surfaces as possible – here it is wedged into a gate corner
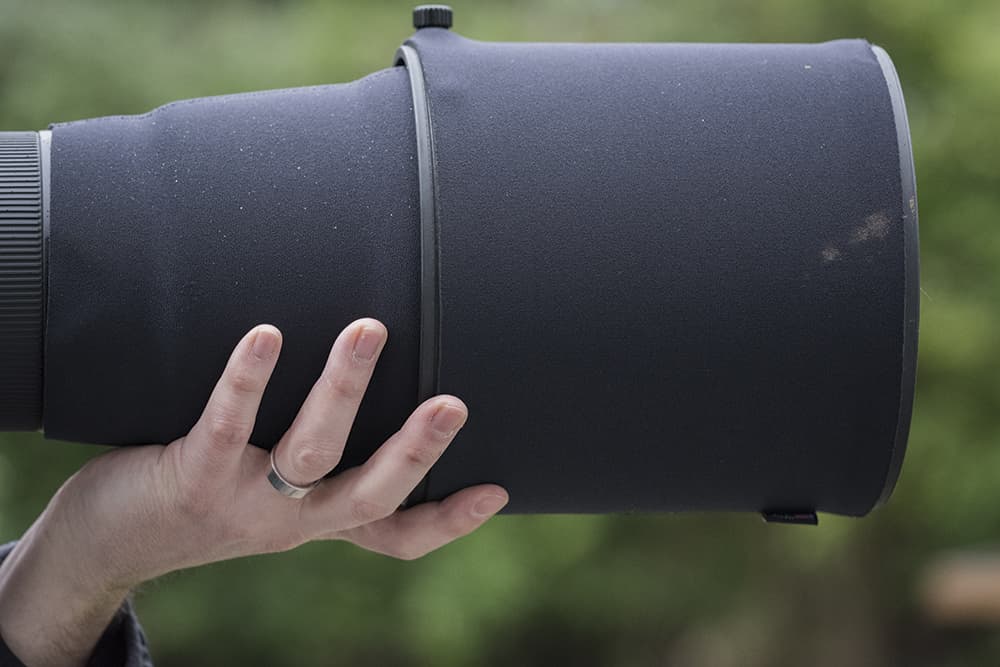
When handholding, it’s essential to support the lens from below at just the right point so that the lens and camera are comfortably balanced
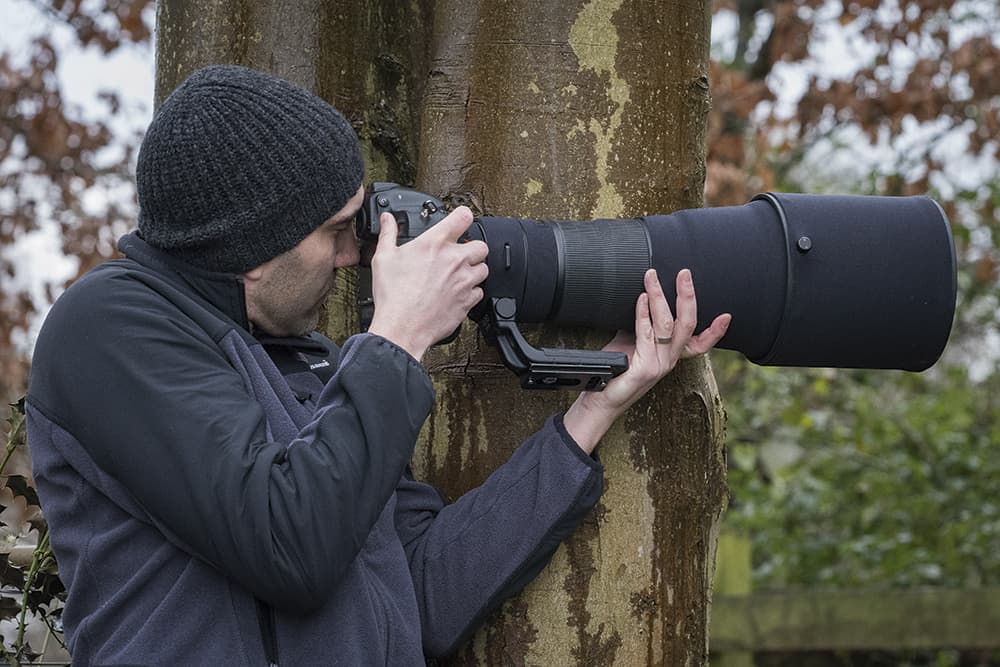
When no horizontal surface is available, press yourself and the lens against a vertical surface, such as a tree, for much more stability
Vibration reduction

With VR turned off, handholding at this slow shutter speed produces an unusable image. 400mm, 1/25sec, f/5.6, ISO 64

With VR turned on, the same shutter speed produces an image that is very usable. 400mm, 1/25sec, f/5.6, ISO 64
Image stabilisation has come to the forefront in recent years. Where once it was reserved for only the most expensive lenses, it is now almost frowned upon if it is not an included feature. All the major manufacturers have their own versions, but they all do essentially the same thing – which is to allow you to shoot at slower shutter speeds than you might normally be able to do, for any dedicated focal length.
As an example, a lens with 3 stops of VR should allow you to obtain the same level of sharpness from handholding a 600mm lens at 1/125sec as it would at 1/1000sec. The benefits of such a reduction in shutter speed have other effects on the image, such as allowing you to shoot at a lower ISO to produce cleaner images in lower light. Of course, it’s important to remember that regardless of how slow a shutter speed vibration reduction gives you, it won’t account for, or be effective against, the speed of the subject itself. So it’s important to maintain a sharp enough shutter speed to still freeze the motion of the subject.
As a final pointer on VR, ensure you allow sufficient time for it to engage before releasing the shutter. It usually takes a second or so to kick in and settle down. Before it does, you may notice that the picture in the viewfinder jumps, and you don’t want the camera going off then.
Beanbags
Beanbags can make the most uneven surfaces suitable for supporting larger telephoto lenses
One of the optimal support methods for long lenses is the beanbag. When paired with the right type of filling they offer rock-solid platforms to shoot from on the most uneven of surfaces. The crucial thing to do is fill it using something such as rice, dried beans or bird seed, and make sure the bag is somewhere around 80-85% full. Of course, this means the bag becomes heavier to carry, but it’s important not to give in and use something like polystyrene balls, as they do not offer a solid enough foundation.
Another important factor to consider when using beanbags is the size and shape. While the more traditional squared-off bag will undoubtedly work well, these days the ‘U’ shape is more common. These are especially useful if shooting from a car window where the two sides of the beanbag essentially ‘clamp down’ on either side of the door. Try to get one that offers anti-slip so it won’t slide out of place, even with the biggest and heaviest of lenses weighing down on it.
Richard Peters is a professional wildlife photographer whose work has won him numerous awards. Last year he was named winner of the urban category of Wildlife Photographer of the Year as well as the GDT European Wildlife Photographer of the Year. www.richardpeters.co.uk