Skylum Luminar 4: At a glance
- £69
- Image processor and editor
- For Mac or Windows
- License for two computers
- Works standalone or as plug-in
- See www.skylum.com
Skylum still feels like a relatively new kid on the block when it comes to image-editing software, with the first version of Luminar having only been released in late 2016. But the program has evolved rapidly since, and has now become one of the most interesting options available, thanks to its embrace of artificial intelligence to perform complex tasks. In its latest iteration, version 4.2, this is pushed to new levels, with multiple specialist tools that are proudly prefixed by ‘AI’. The question for photographers is whether this is just a gimmick, or whether Luminar offers genuinely useful and timesaving capabilities that you won’t find elsewhere.
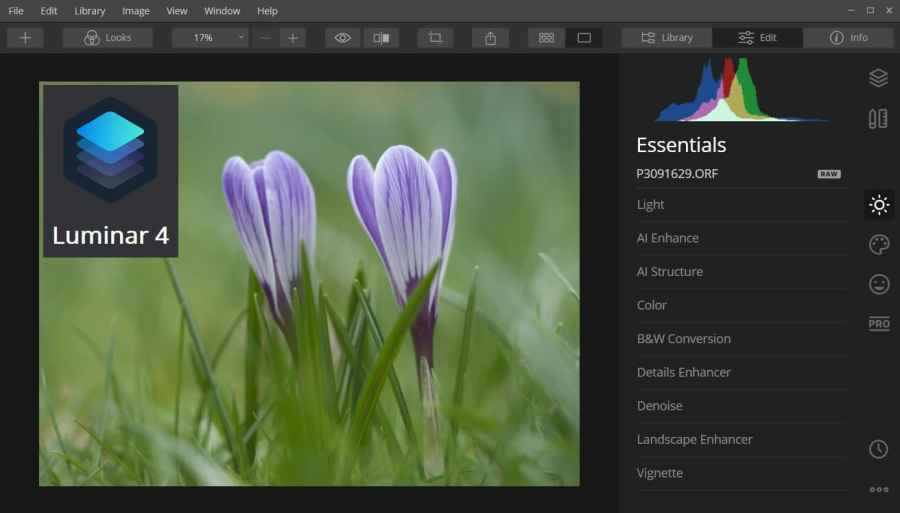
Luminar is a non-destructive raw converter and image editing program for Mac and Windows computers, with some unique AI-driven features
First, though, a note on system requirements. Skylum says Luminar should run on any Mac built from early 2010 onwards, but Windows is a different story, with an Intel Core i5 processor (or better) required. This means you’ll need a mid-range machine by current standards, and it’s unlikely to work perfectly on an old or inexpensive computer. So more than ever, it’s important to fully test the free 7-day trial version before you buy. For this review, I mainly used a high-end Core i9 Windows 10 laptop, but also tried an older Core i3 machine and found the software installed and worked, but ran slowly and with a few more bugs.
What is Luminar?
So what, exactly, does Luminar do? Essentially, it’s a raw developer and image editor for Windows and Apple computers. It can work as either a standalone program, or be used as a plug-in within other imaging software. It’s licensed as a one-off purchase of £69, rather than an ongoing subscription, and each license code allows installation on two machines. Users get free updates until the release of the next major version.
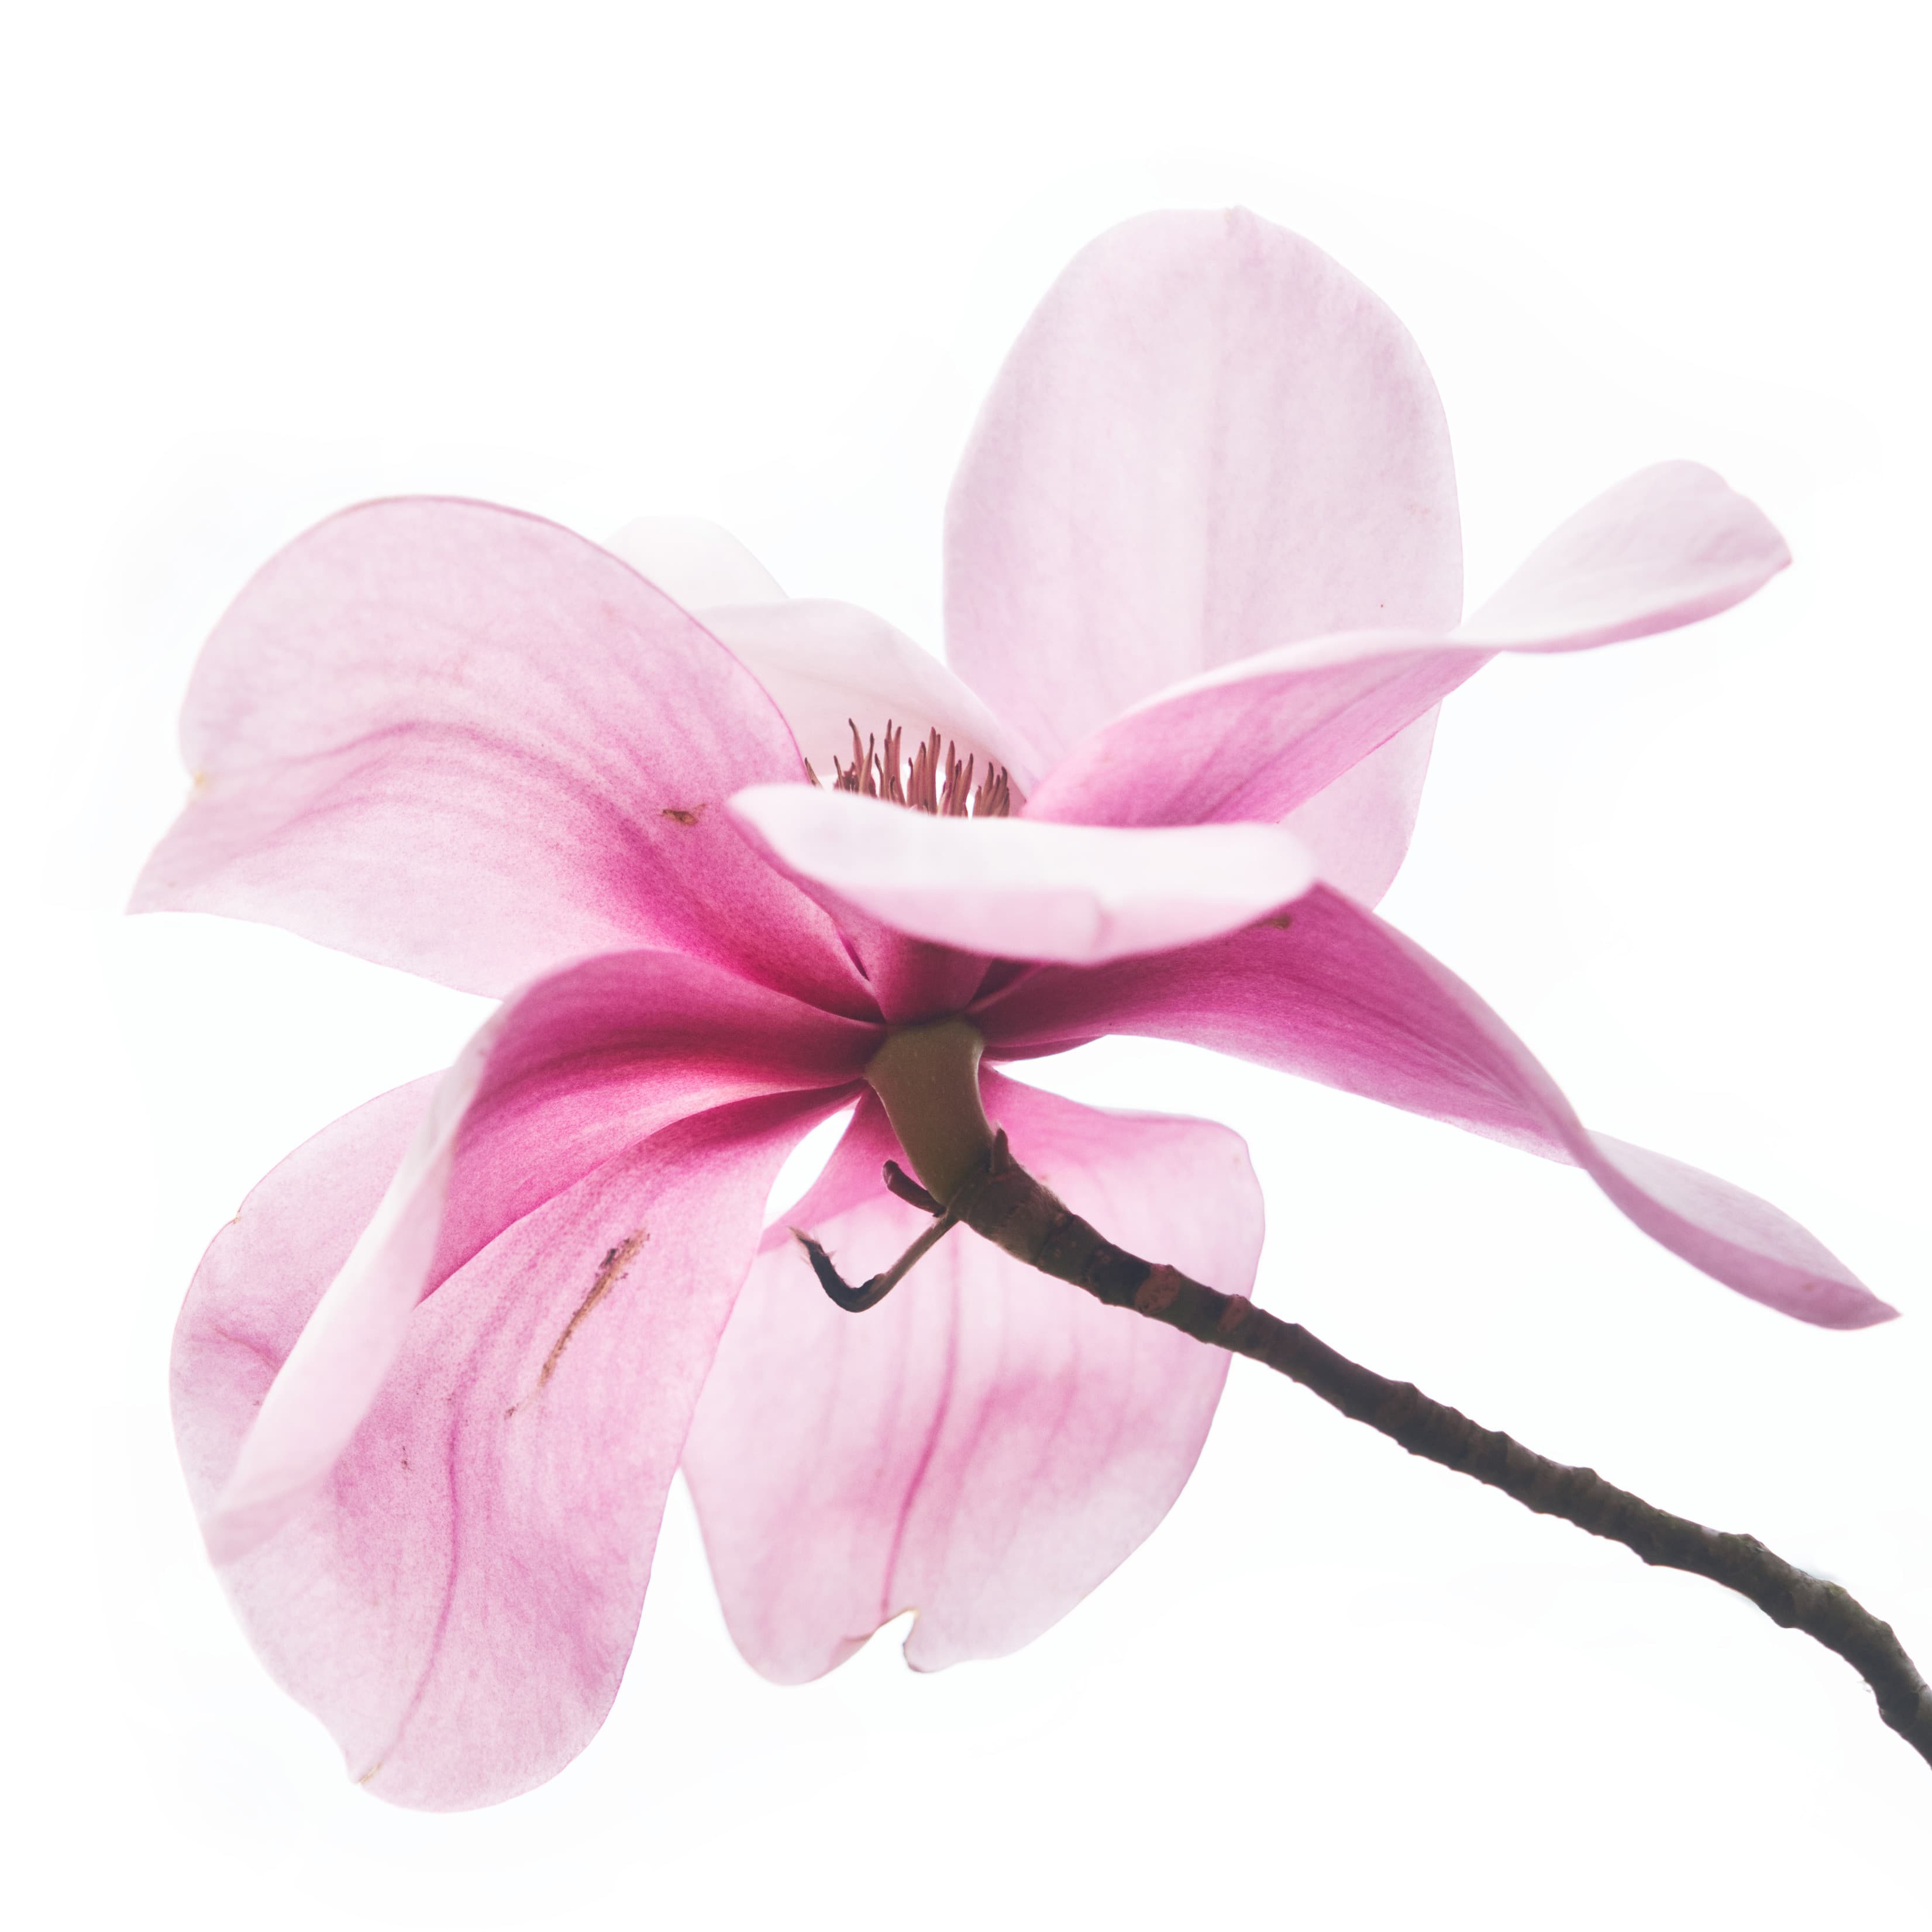
Shot using Olympus OM-D -M5 Mark II, converted with Luminar 4.2
While Luminar will work with any kind of image file, at heart it’s designed to be a non-destructive raw editor. In other words, it allows edits and adjustments to be applied to raw files from your camera, without touching the underlying data. Then when you’re happy with your work, you can output the resulting image in a variety of standard file formats.
Luminar’s Looks provide a great starting point for creative images. This high-key shot started out with the ‘Artistic Portrait’ Look.
Luminar is, however, far beyond being just a slightly more sophisticated version of the basic raw-development software that’s supplied free with cameras. You get pretty much all of the same controls that you’d find in the likes of Lightroom, although often with a clever Skylum twist, but it also includes a wide range of tools for being more creative with your images. There’s an array of one-click ‘Looks’ that are similar to Instagram filters, allowing even novice users to achieve interesting results with ease. In addition, it provides plenty of tools for expert users, including some unique options for popular subjects such as landscapes and portraits.
Using Luminar
When you first open Luminar, you’re given the option of working on either a single file, or a folder of images. Select the latter and the program generates a simple library view, with a grid of thumbnails for you to review and select your favourites.
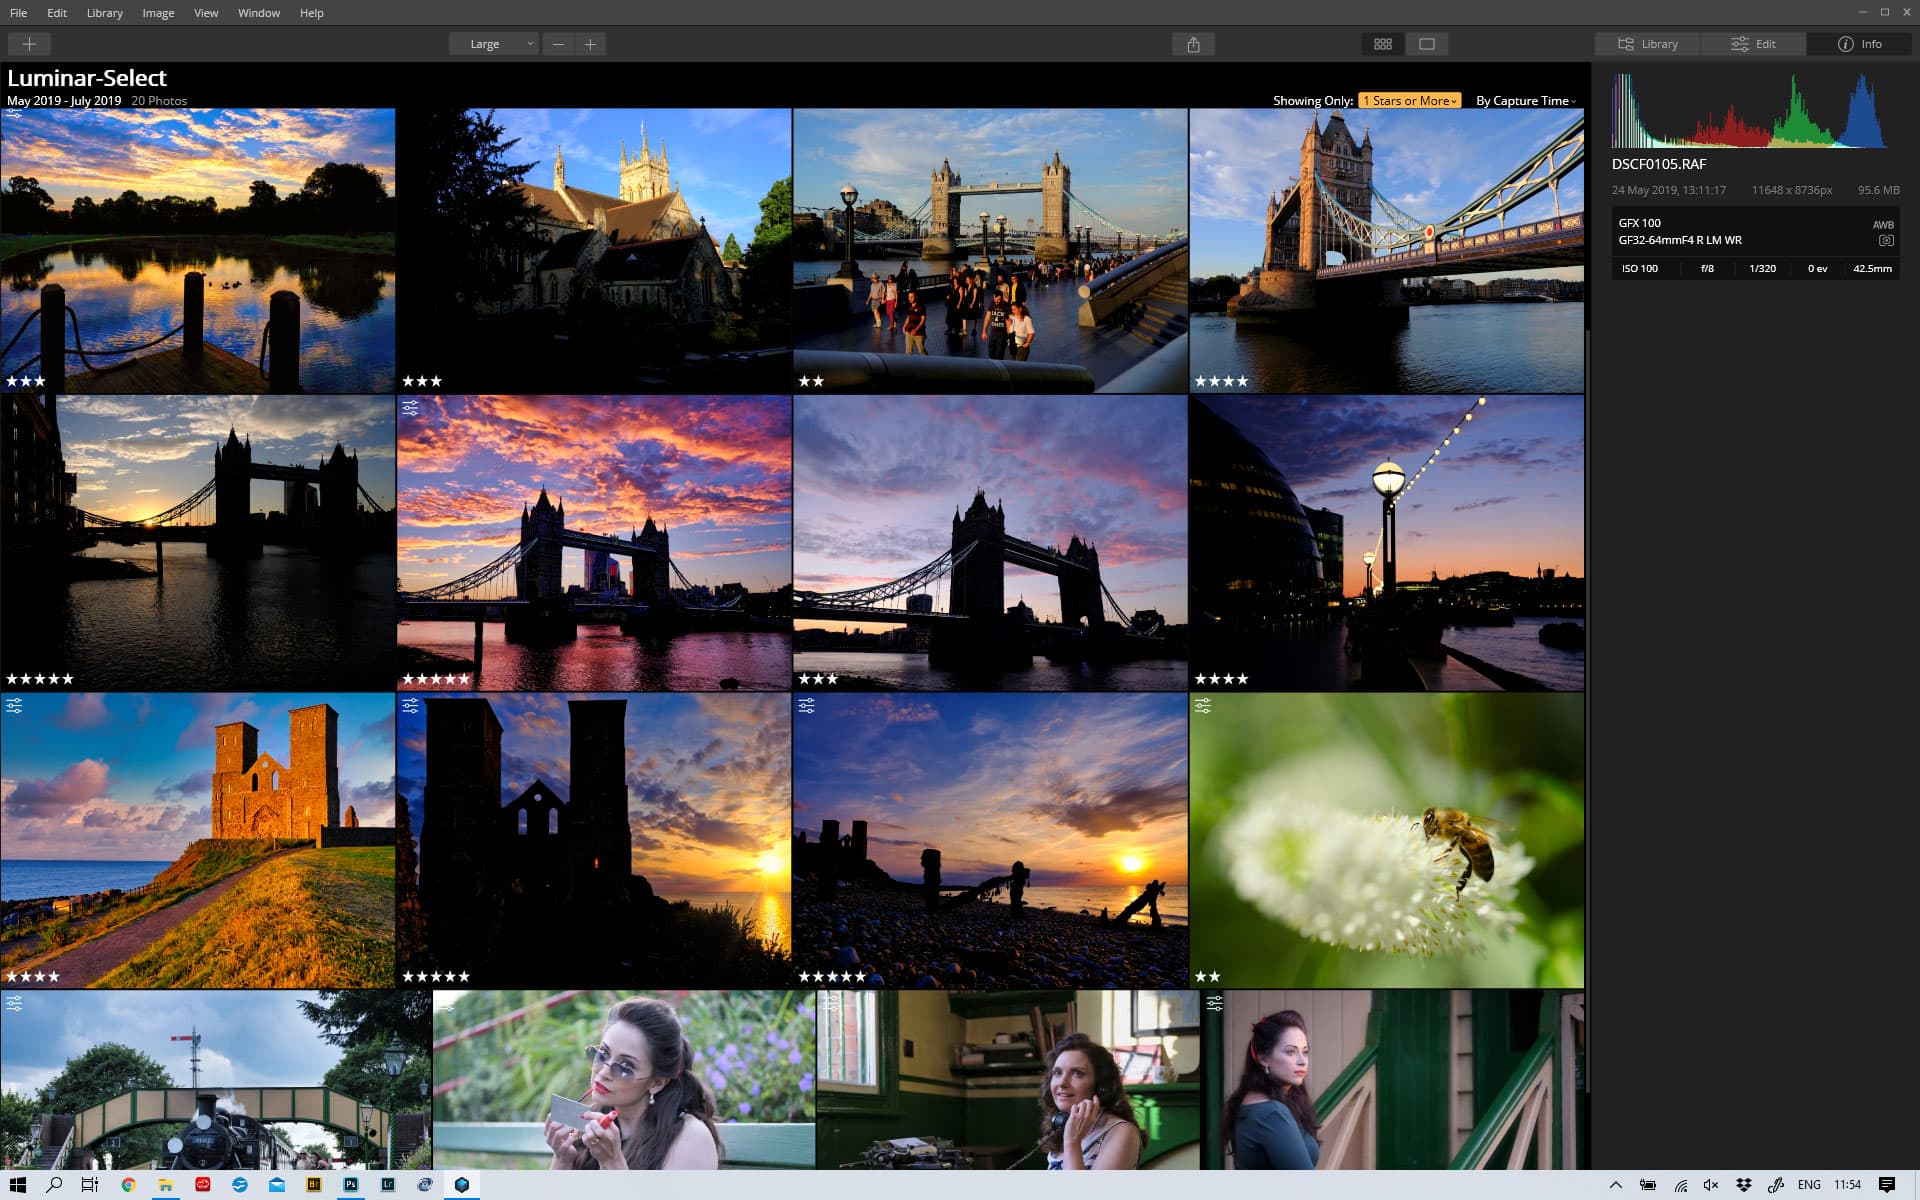
Luminar’s library thumbnail view
From here you can assign images a rating from one to five stars using the corresponding number keys, allocate colour labels, or mark them as favourites. You can then opt to selectively view and work on your images according to these various ratings. At the moment there’s no option to filter images by metadata, or add keywords, but Skylum is promising to add this via a free update during the course of 2020.
Double-click on an image and you enter the main editor view, which has undergone a significant reworking. It looks a little overwhelming at first, but once you get used to it, you should find it’s neatly and logically laid out. A thumbnails strip down the left side displays your selected images, while one along the bottom of the screen previews the various built-in Looks.
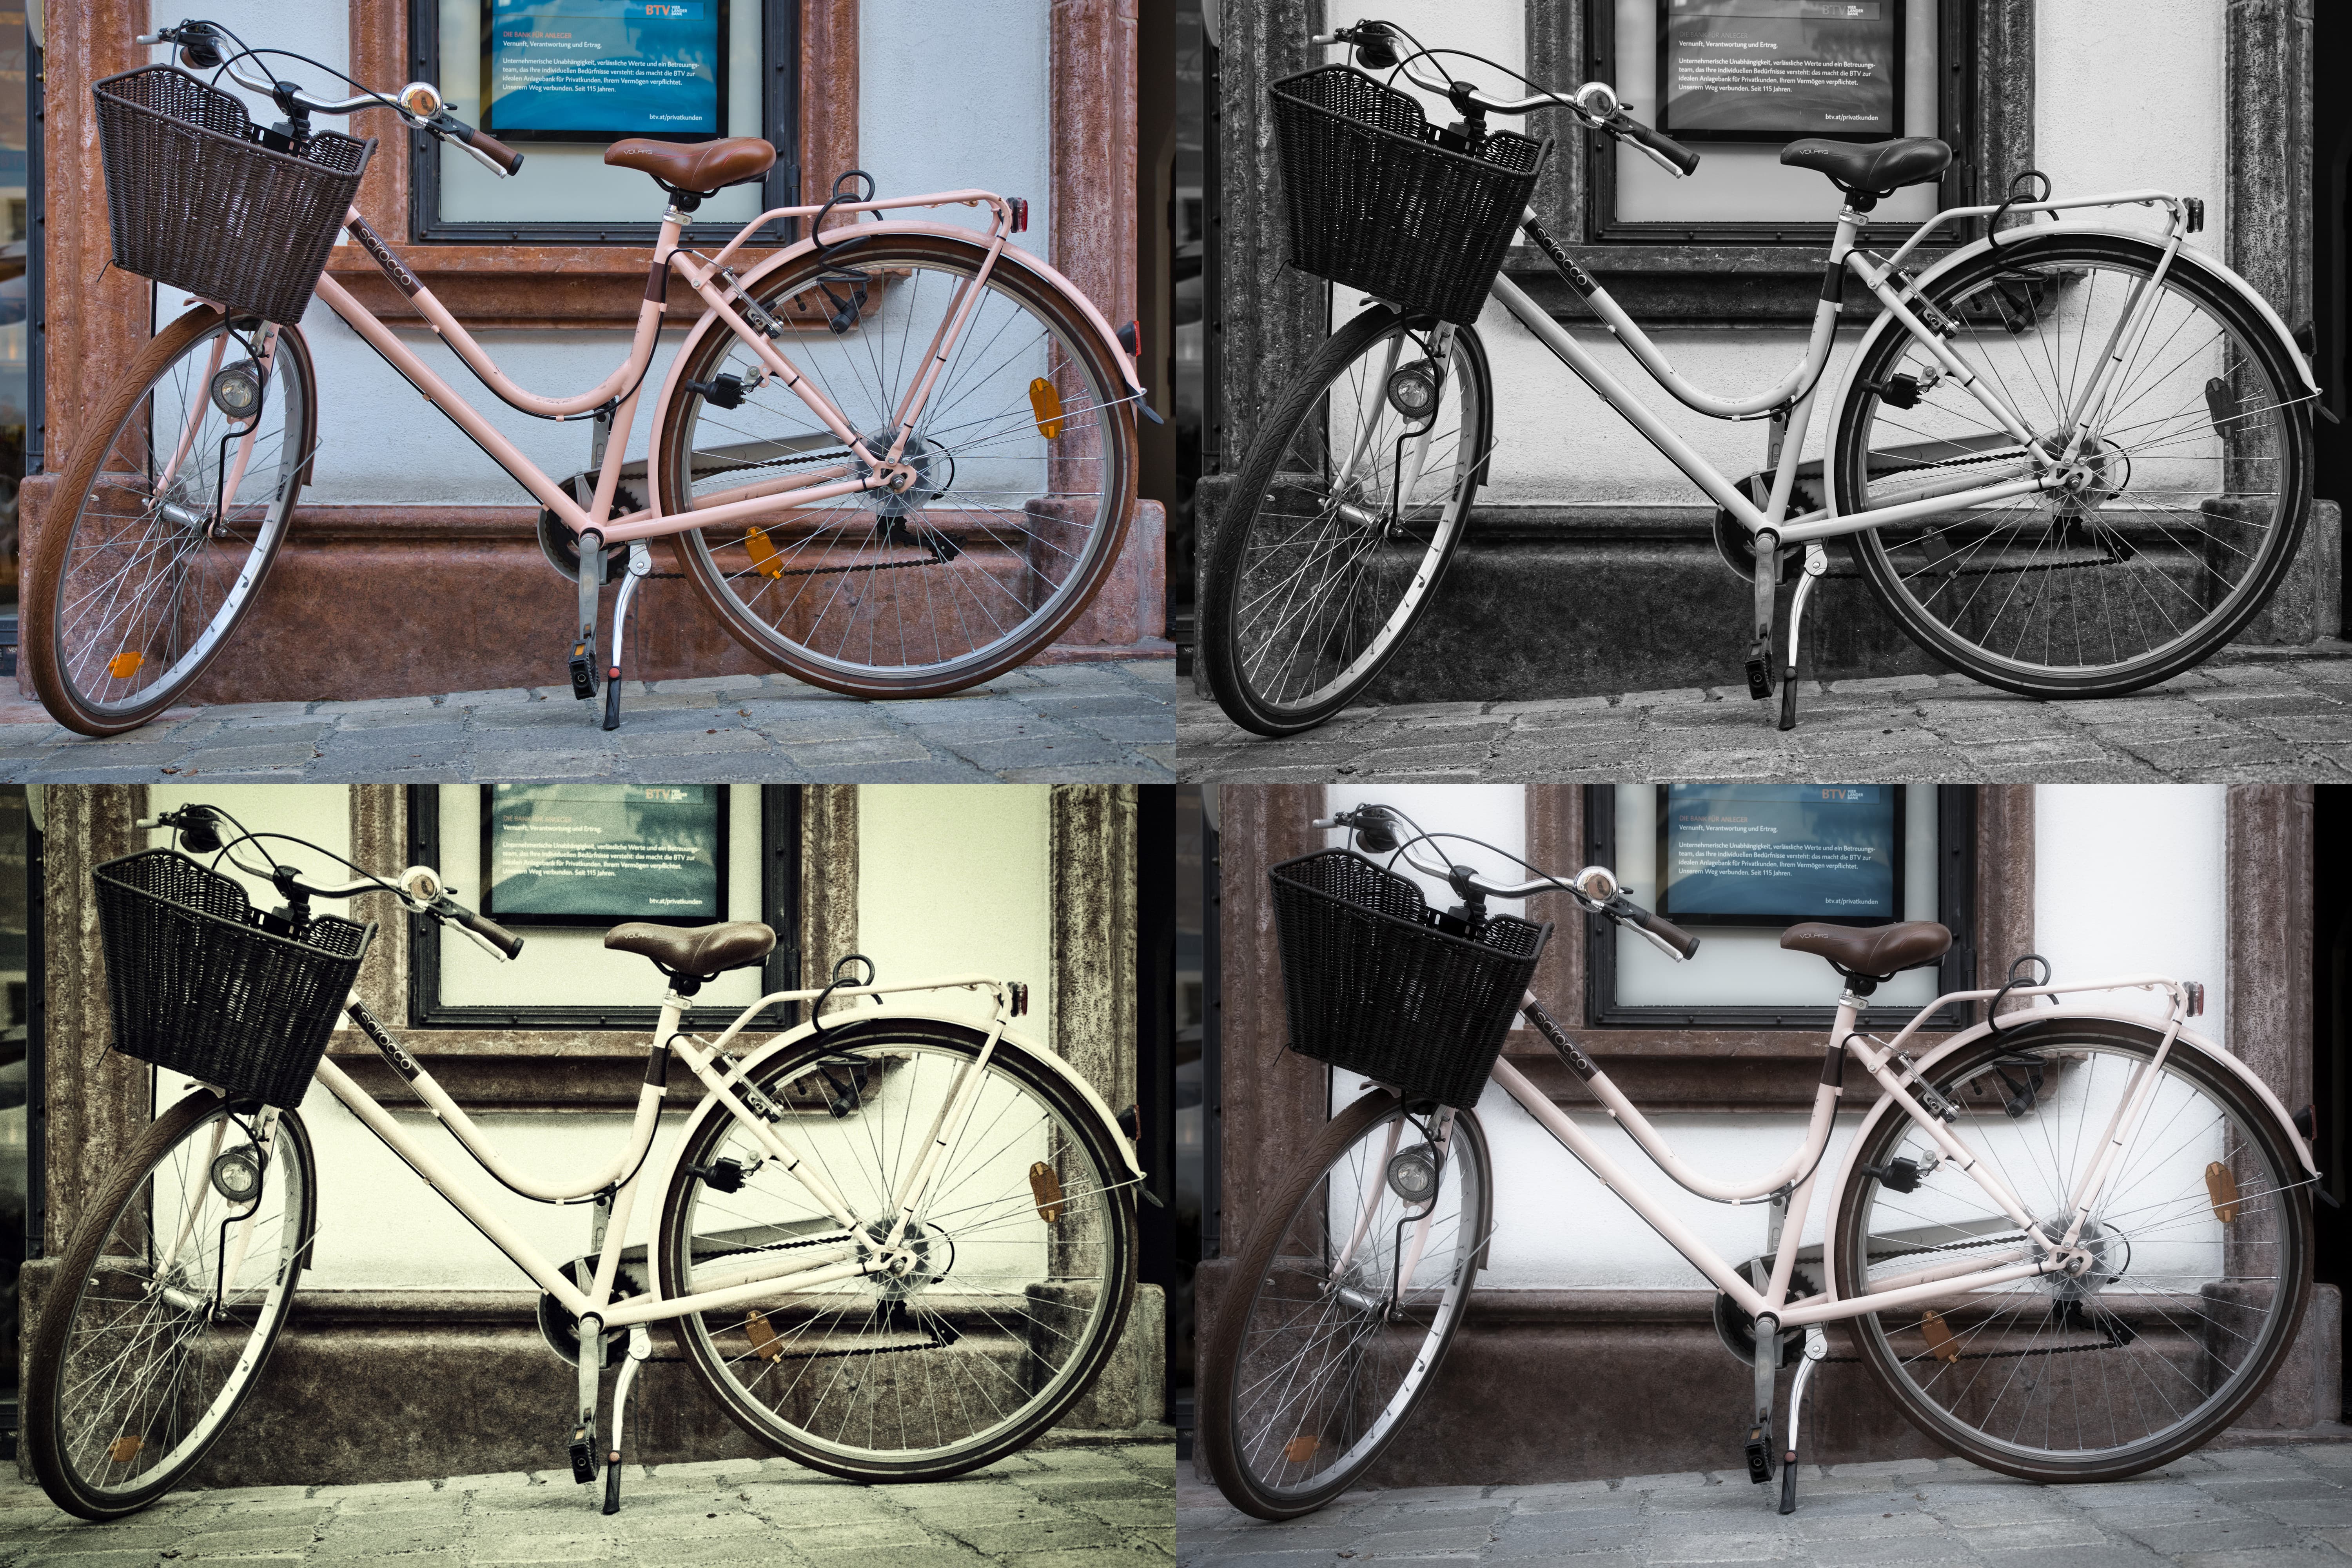
This represents just four of Luminar’s many built-in ‘Looks’, illustrating the range of effects available
However where previous versions were based around a fluid workspace, using ‘Filters’ that could be stacked together in any way you pleased, Luminar 4 has a more static, Lightroom-like appearance. All of the adjustments are now found on the right side of the screen, more-or-less logically grouped across four tabs – Essentials, Creative, Portrait and Professional – the buttons for which are found on the extreme right. Below these is a button to display a history of the changes you’ve made, and roll them back if necessary. There’s also the option of copying all your adjustments and pasting them to multiple other images.

Luminar is a raw converter that makes non-destructive edits to your files
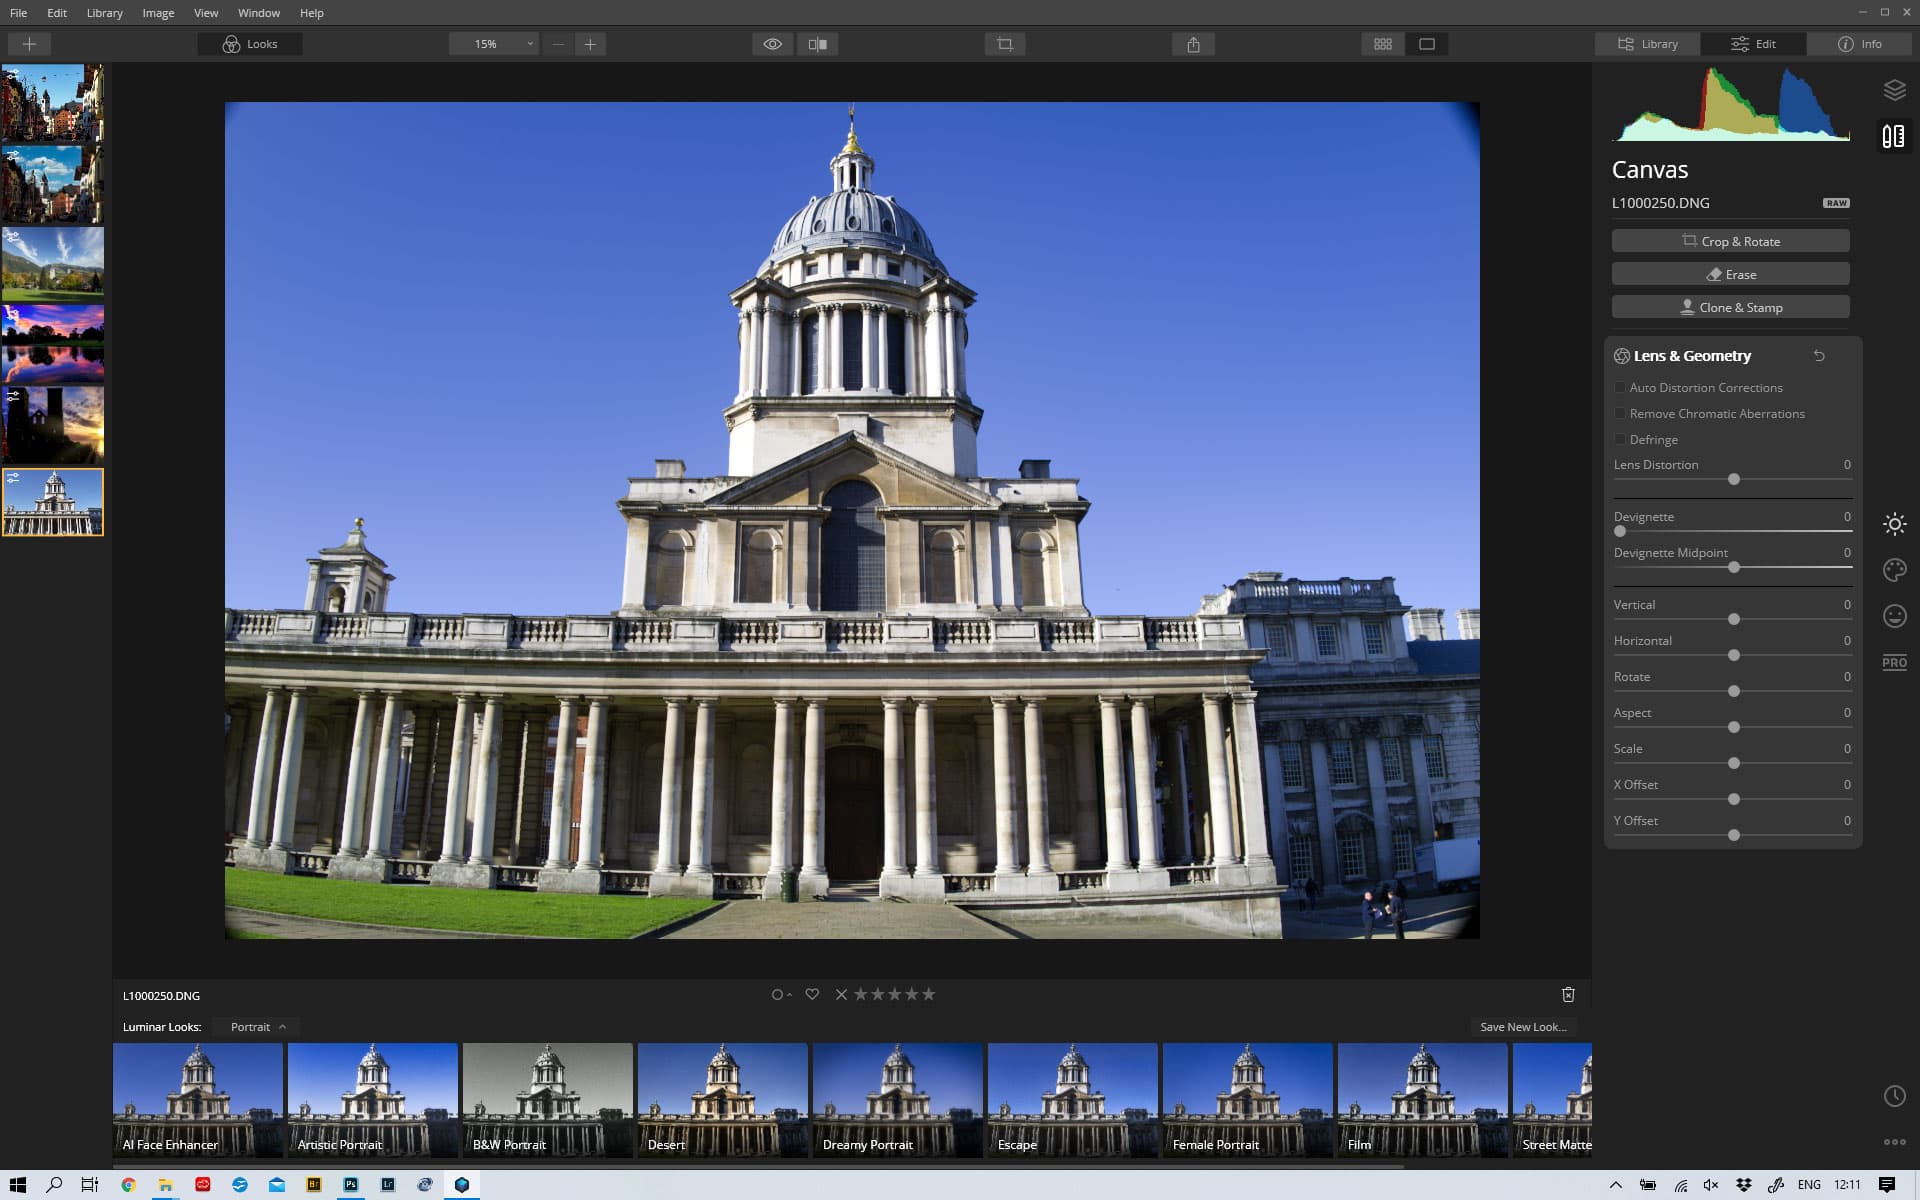
At the top right you’ll find a button for showing layers, which reveals that not only can Luminar handle adjustment layers of any kind, it can also overlay multiple image files to add textures or create composites. Here you’ll also find overall canvas adjustments, including lens corrections, geometry adjustments and cropping. However Skylum doesn’t apply lens distortion correction automatically, even when it’s designed into the camera system with parameters embedded in the raw file. Instead you have to enable it for every image individually, and even then, excess barrel or pincushion distortion may still be visible.
This file, from the Leica Q2, shows bowing of straight lines and dark corners, due to Luminar’s failure to apply the required distortion correction.
Skylum says that this is a matter of philosophy, and that Luminar is a ‘pure’ raw converter that simply reveals what the lens projects onto the sensor. But the problem with this argument is that modern lens design has long moved on from being purely optical, and now often includes an obligatory software element that’s honoured by many other raw editors. Luminar’s contrary approach makes it difficult to recommend for large swathes of photographers who use compact, bridge or mirrorless cameras. (To be fair, though, Luminar’s non-profiled distortion and perspective controls are powerful and work very well, as seen in the corrected version below.)
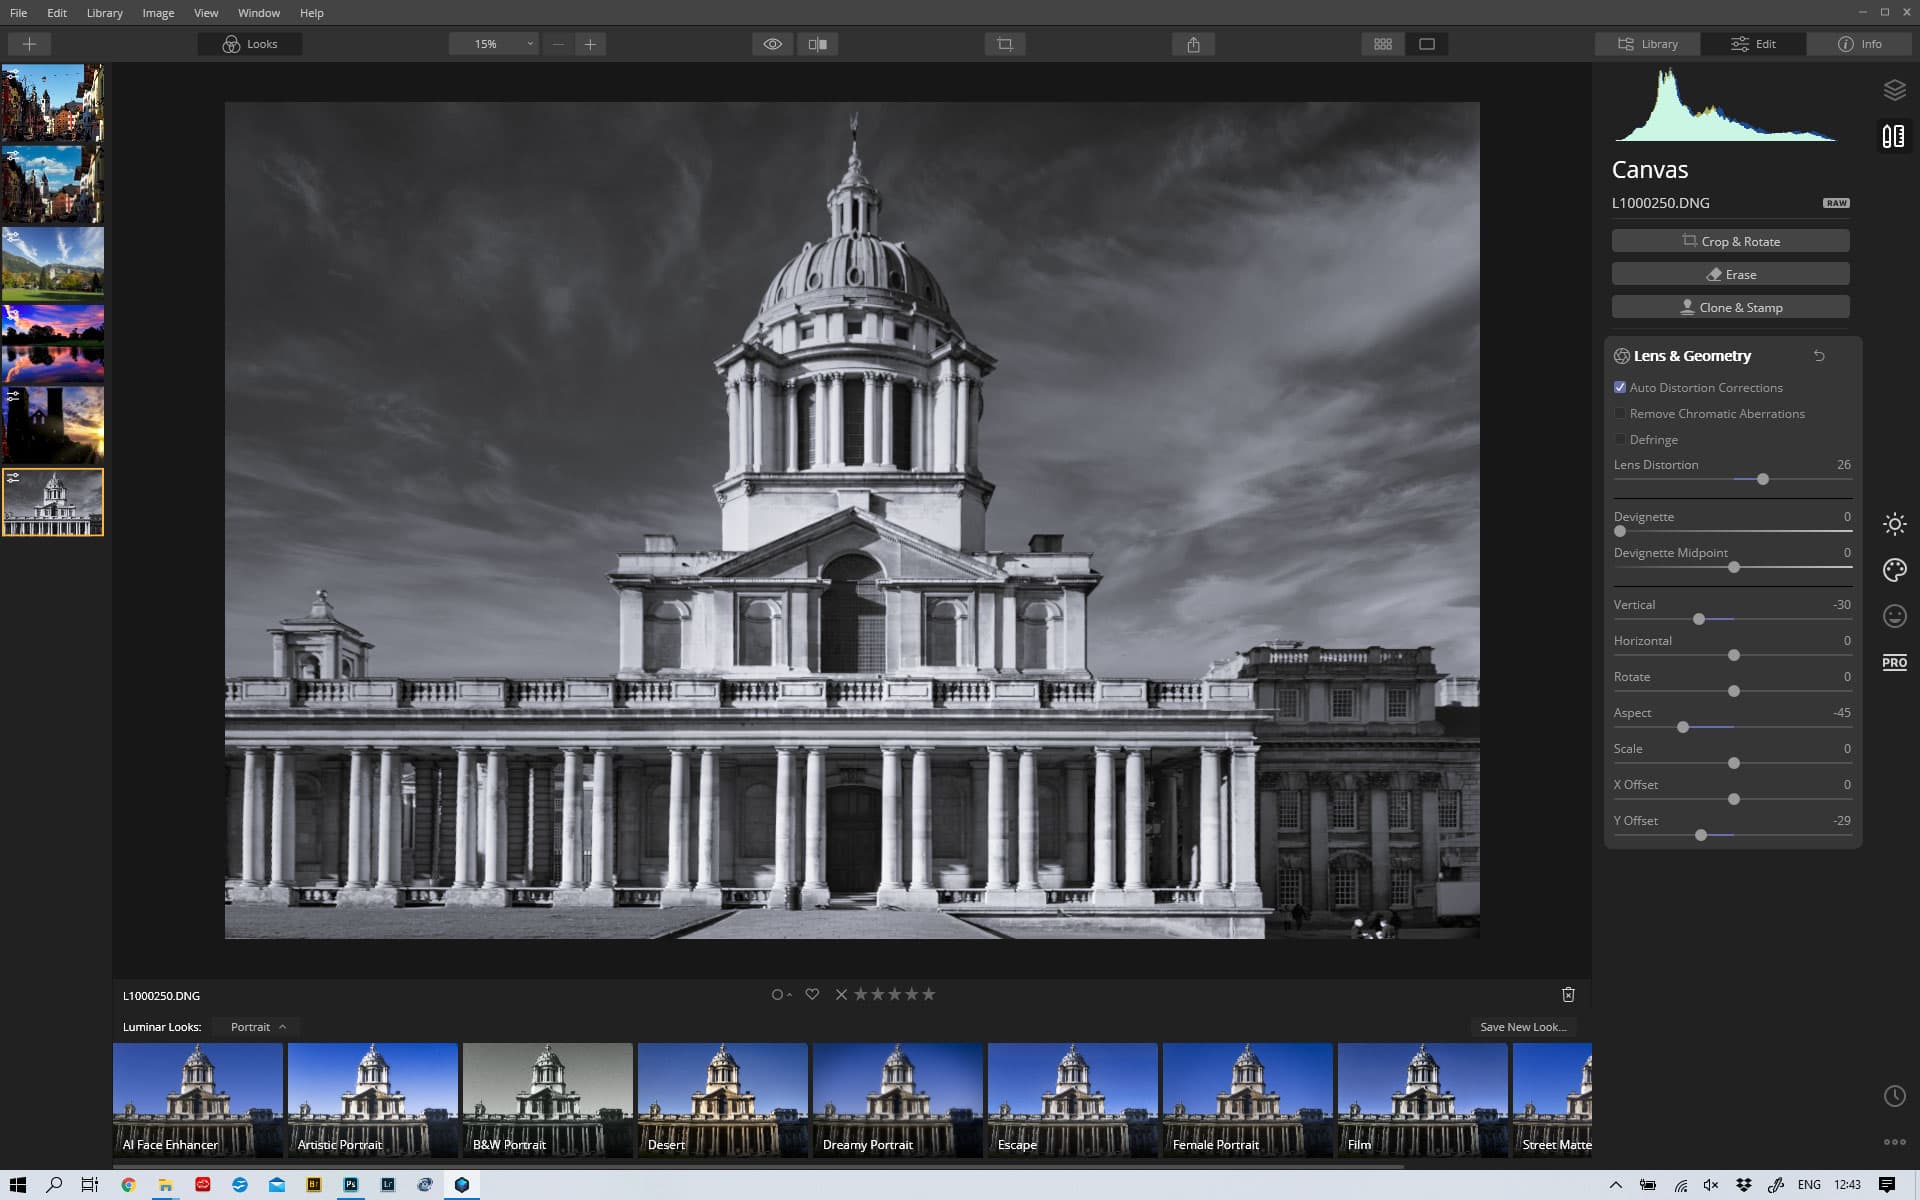
Luminar’s distortion and perspective correction tools can be very powerful
This is a shame, as when you explore its image adjustment options, Luminar really starts to shine. There are lots to get to grips with, with related settings grouped together into panels that expand when you click on them, then collapse again when you move elsewhere, which helps keep the interface relatively uncluttered.
Those panels with active adjustments have their titles picked out in white, which makes it easy to keep track of changes. Skylum has also done a notably fine job of tuning the response of the various sliders, so you can make subtle changes with a high degree of precision.
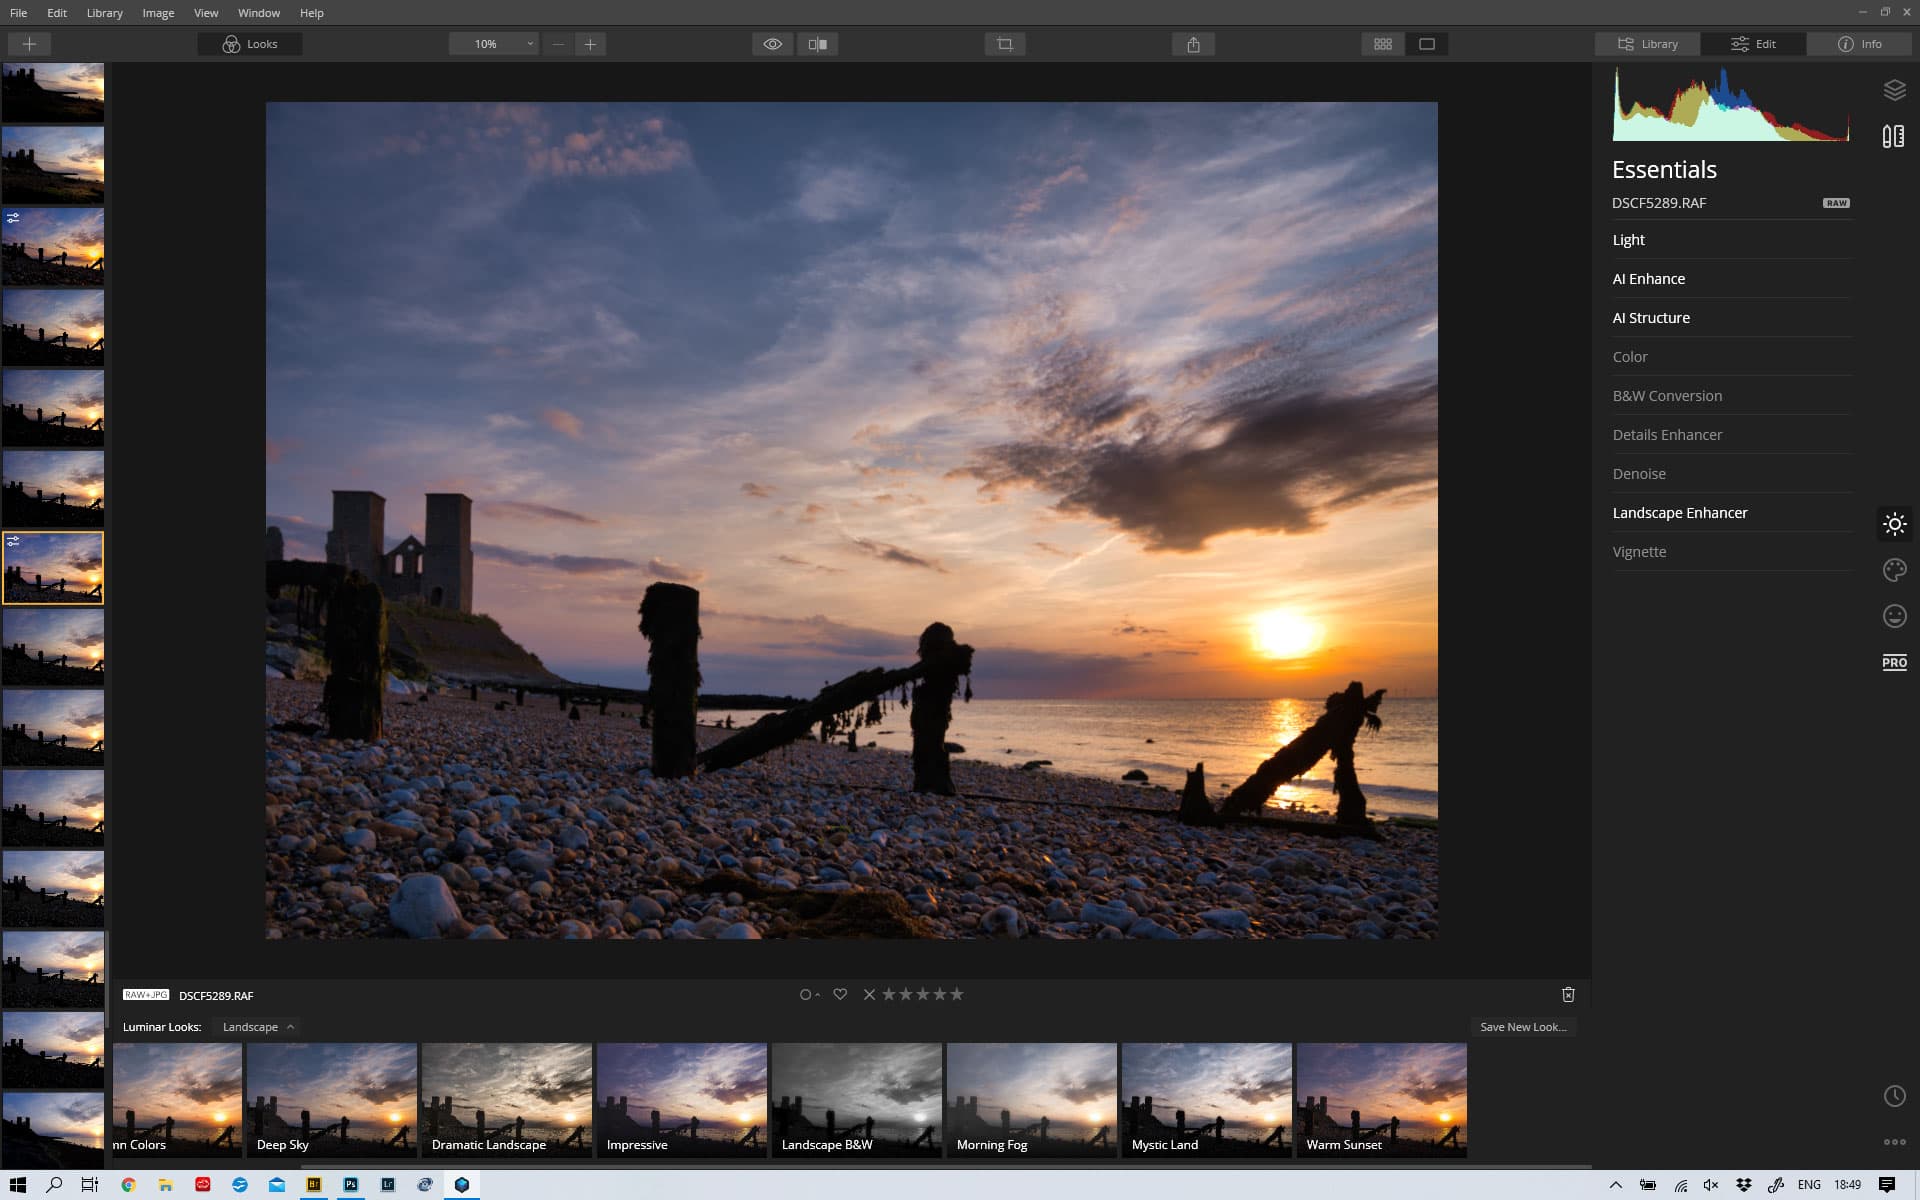
Image adjustments are grouped in collapsible panels on the right side of the screen
As with most raw converters, your first port of call will be brightness and tonal controls, which in Luminar are found at the top of the Essentials tab, labelled Light. Initially you’re presented with rather flat-looking colours, but you’re also given the option of matching your camera’s built-in profiles.
After making basic brightness adjustments, you can often get a long way towards producing a great-looking image using the two panels below, which are called AI Enhance and AI Structure.
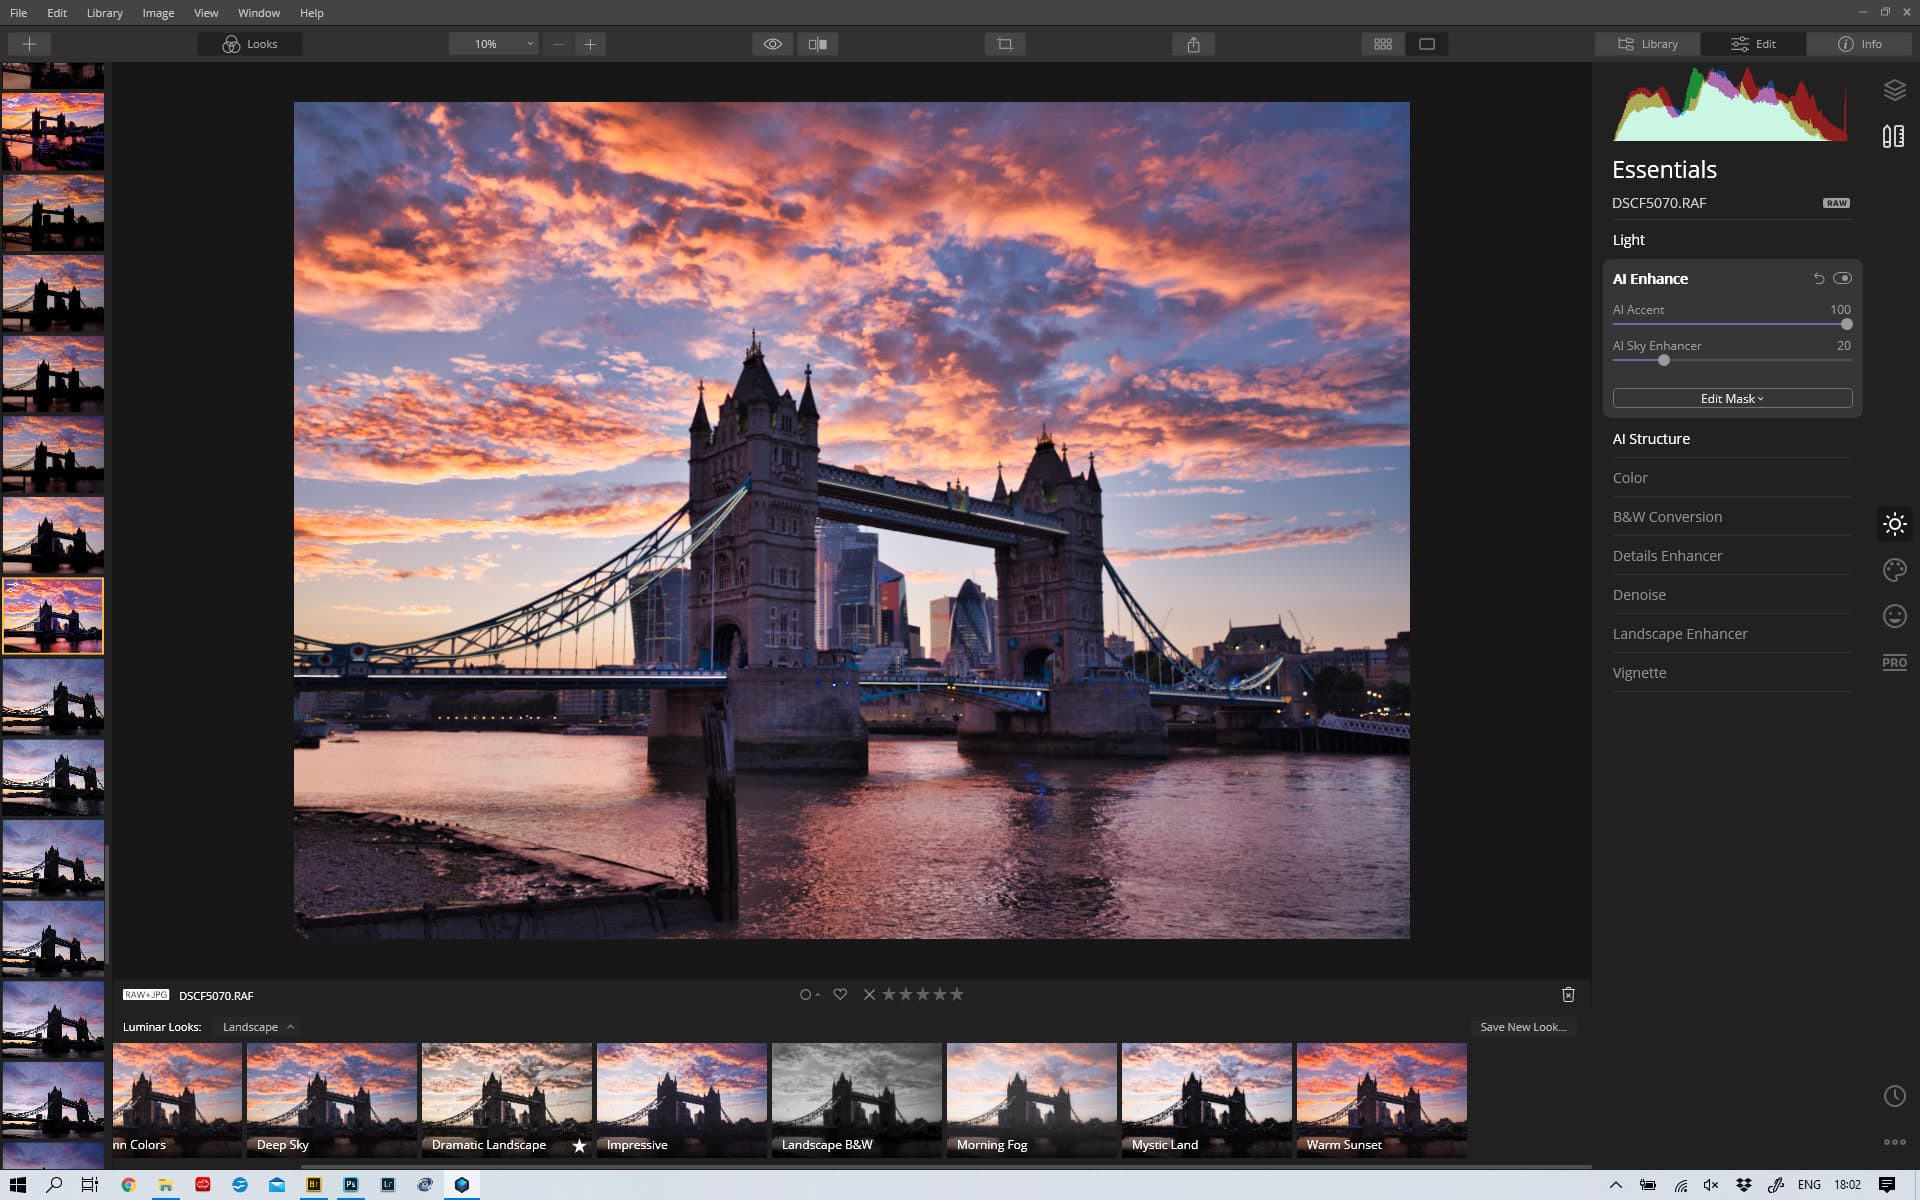
Here the AI Accent filter has done an amazing job of bringing out detail in the bridge and buildings, without looking unnatural
In the first of these you’ll find a slider called AI Accent, which does remarkable things in terms of tonal and colour adjustments. It’s incredibly effective with images that include extremes of light and dark, producing good-looking results that would require a lot more work in other editors. AI Structure, meanwhile, works with tonal balancing across broad areas of the image.
For portraits, you get a wide range of AI-driven enhancements, allowing you to subtly smooth skin, whiten eyes, redden lips and the like. It’s even possible to slim faces and enlarge eyes in a perfectly convincing fashion. Crucially, all of these tweaks are done subtly and tastefully, so you needn’t end up with plastic-looking skin and a face that’s become unrecognisable in the search for beautification.

Luminar’s AI-based tools allow subtle but effective enhancement of portraits
There are plenty of useful non-AI tools, too. For landscapes, a Golden Hour slider adds a lovely warm tone to the scene, without dulling blue skies and water in the way a simple white balance adjustment would. Controls such as Details Enhancer and Advanced Contrast allow you to tune the image with a far greater degree of finesse than you can in Lightroom. Effects such as Fog, Mystical and Glow can all add different kinds of atmosphere to your images.
Luminar’s processing tools make it easy to add impact to your landscape shots
In terms of output quality, there’s really nothing to complain about. Indeed Luminar does a fantastic job of delivering natural-looking results even with extreme sets of adjustments, rendering plenty of detail while also effectively suppressing noise. Probably its biggest drawback is processing speed, particularly when making complex adjustments to high-resolution image files. It’s considerably slower than Adobe software, so again, it’s essential to use the free trial to evaluate whether it’s suitable for your own use.
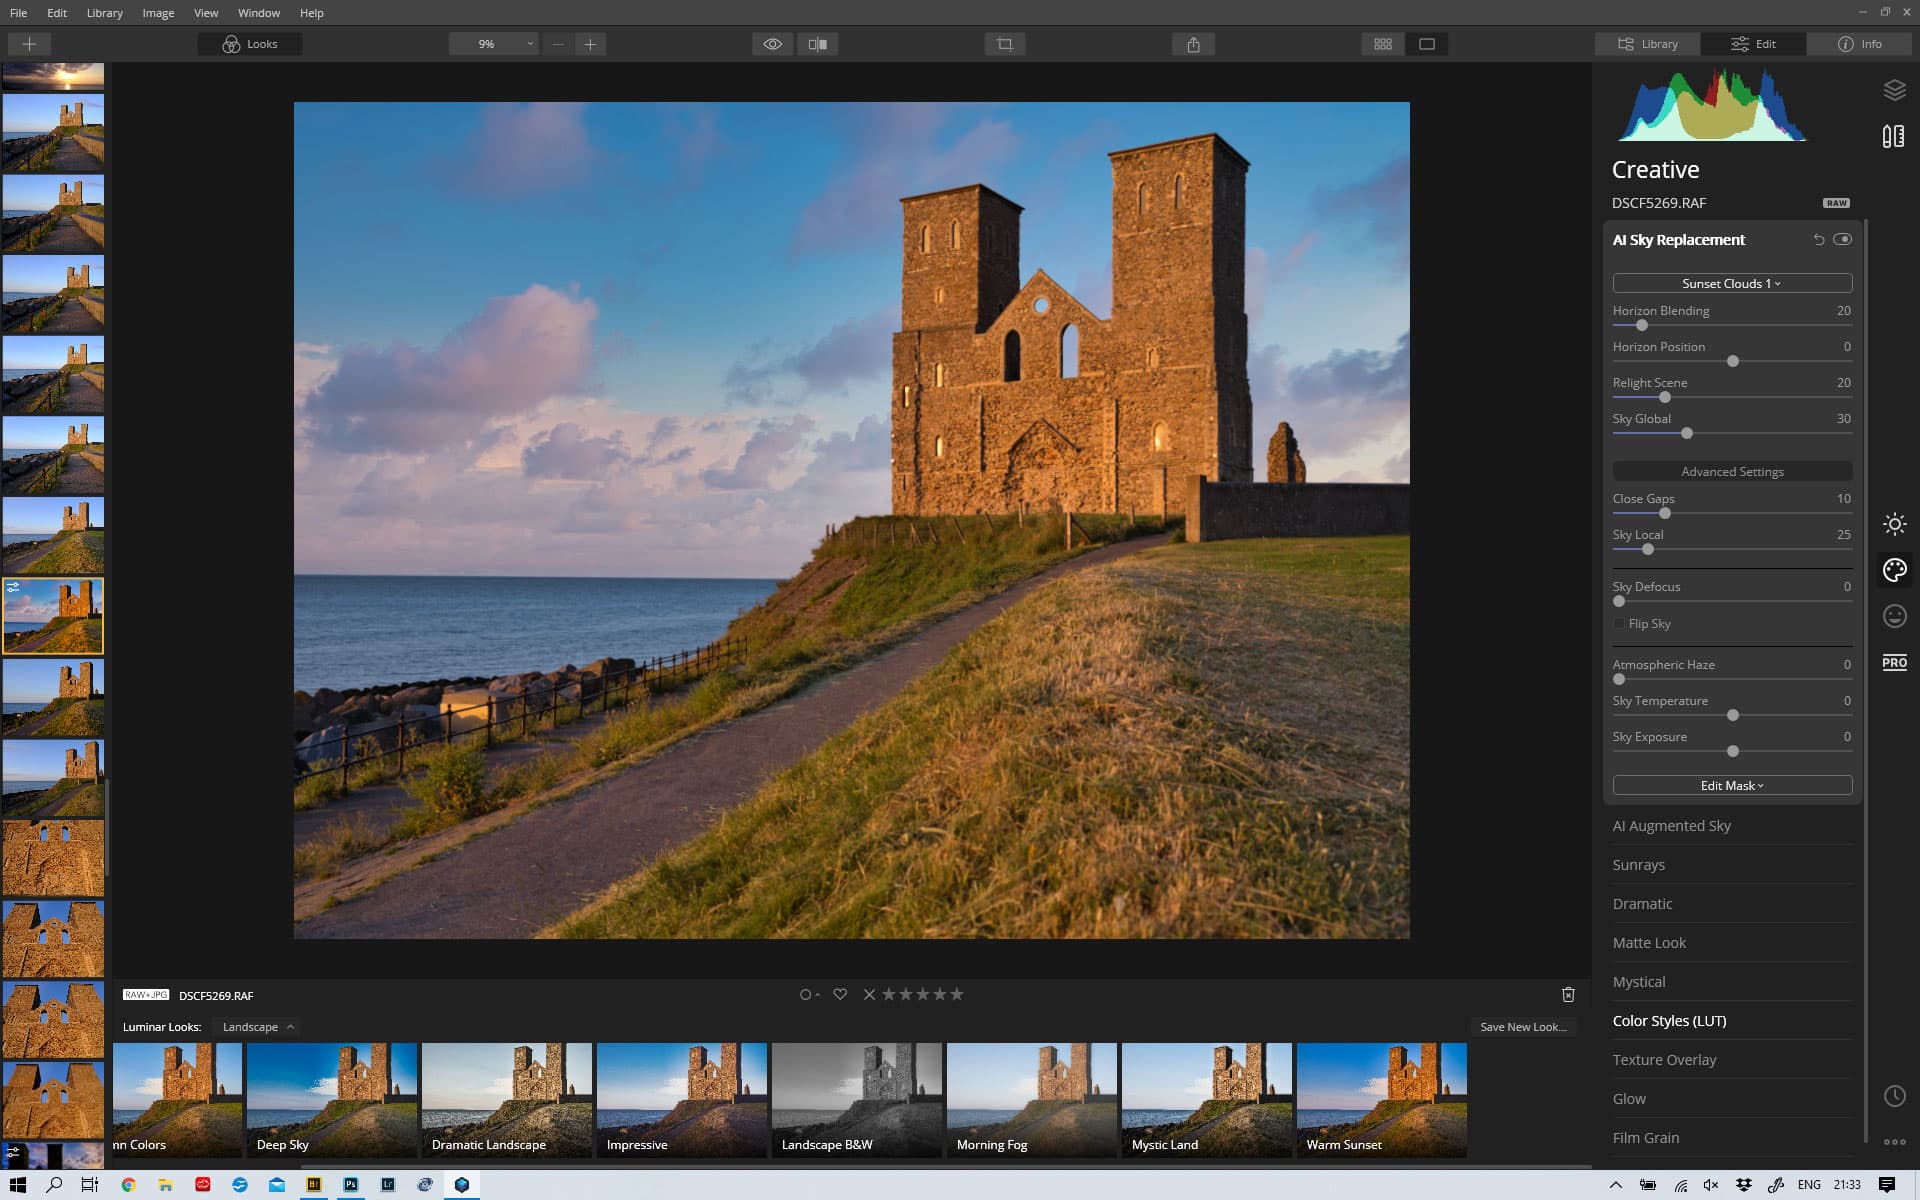
AI Sky Replacement
One of Luminar 4’s standout tools is AI Sky Replacement, which is a one-click option for switching boring skies with something more interesting. There’s a selection of replacements built in, or you can use one of your own images.
Luminar has done a great job of replacing a plain blue sky in this image, although some artefacts can still be seen at the pixel level
It’s remarkable how quickly and accurately Luminar can drop a new sky in place, particularly with images where you’d previously have needed to spend hours making a complex mask. However it’s not perfect, and if you zoom in closely you can still see artefacts around complex shapes, such as bare trees in winter. But most of the time it’s really convincing, and can be a great way of pepping up your landscape shots.
Skylum Luminar 4: Verdict
Luminar 4 is a really impressive raw processor with some unique and frankly astonishing capabilities that you won’t find elsewhere, but also rather daunting levels of complexity for beginners. I’ve tested it using a selection of images from a wide range of cameras, and been really impressed both by the range of the tools on offer, and the quality of the output.
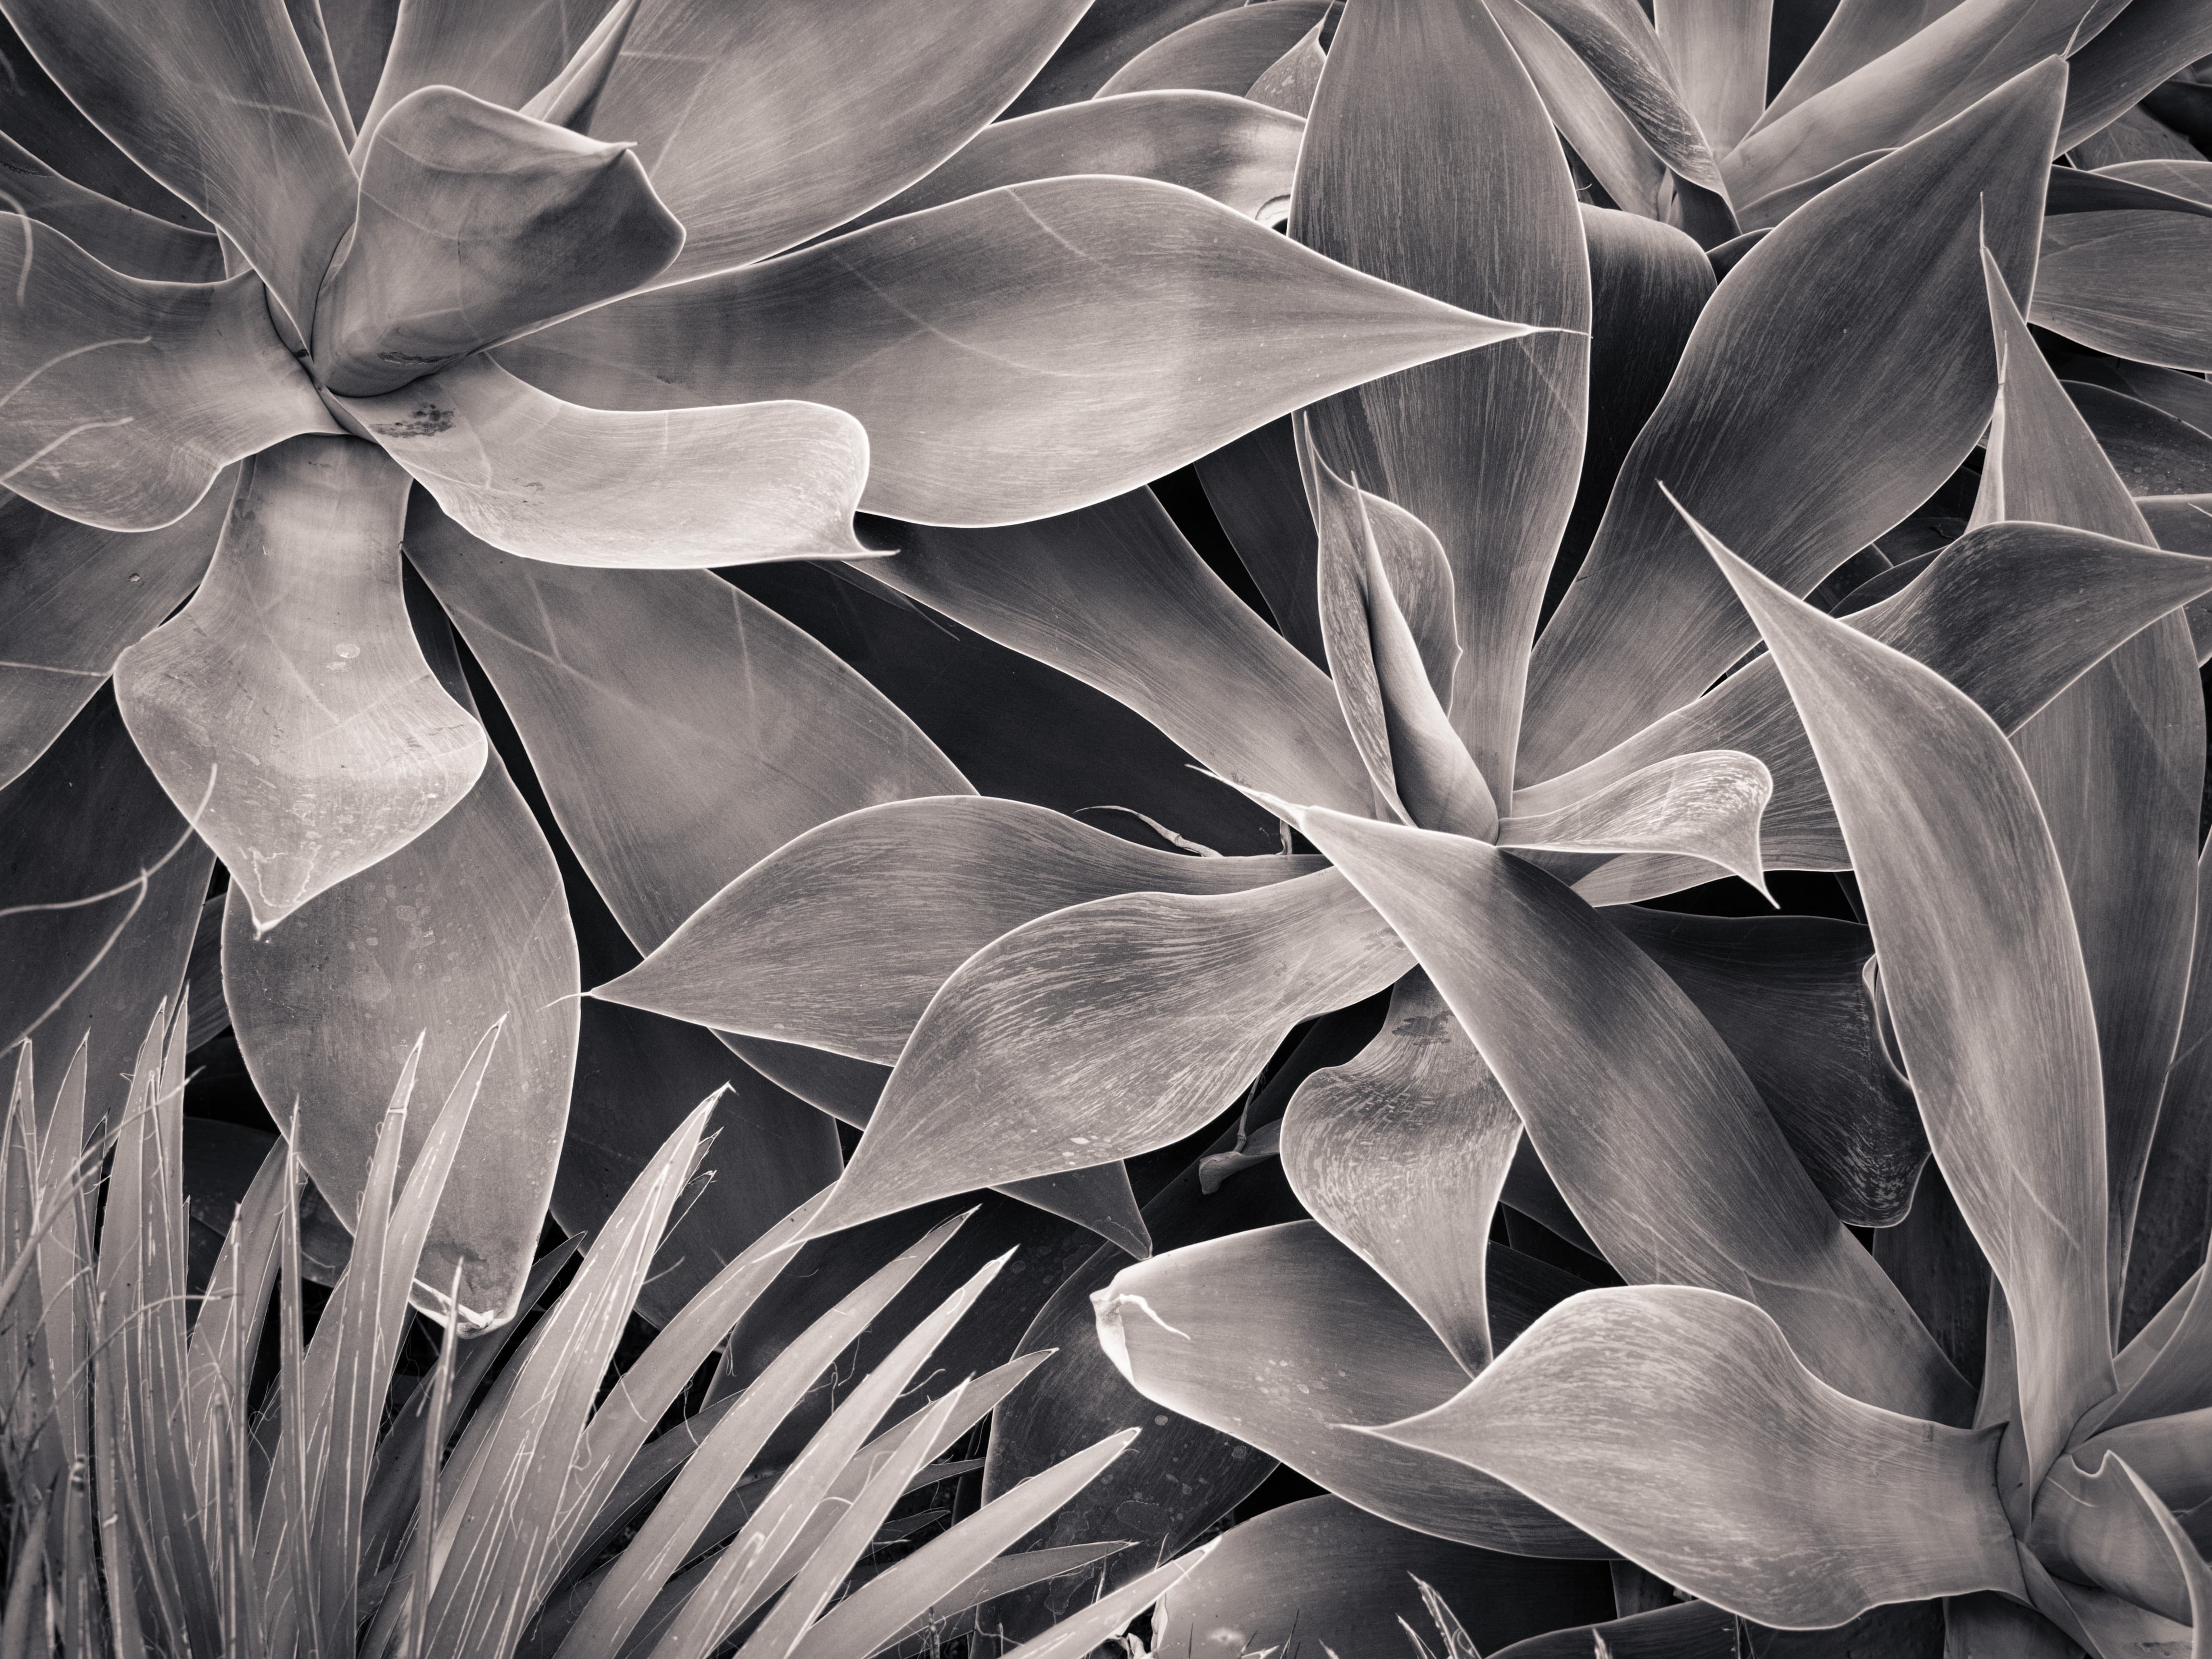
Shot with Olympus OM-D E-M5 Mark III, processed in Luminar 4.2
Luminar is arguably best suited to creatively processing individual images, rather than managing and batch-processing large shoots. However its relatively slow processing might rule it out for some users, as could its flawed approach to automatic distortion correction with mirrorless and compact cameras. It’s certainly not a direct replacement for Lightroom, but it’s a really interesting alternative.