These autofocus tips teach you how to use AF to your advantage
1. Autofocus tips: AF points explained
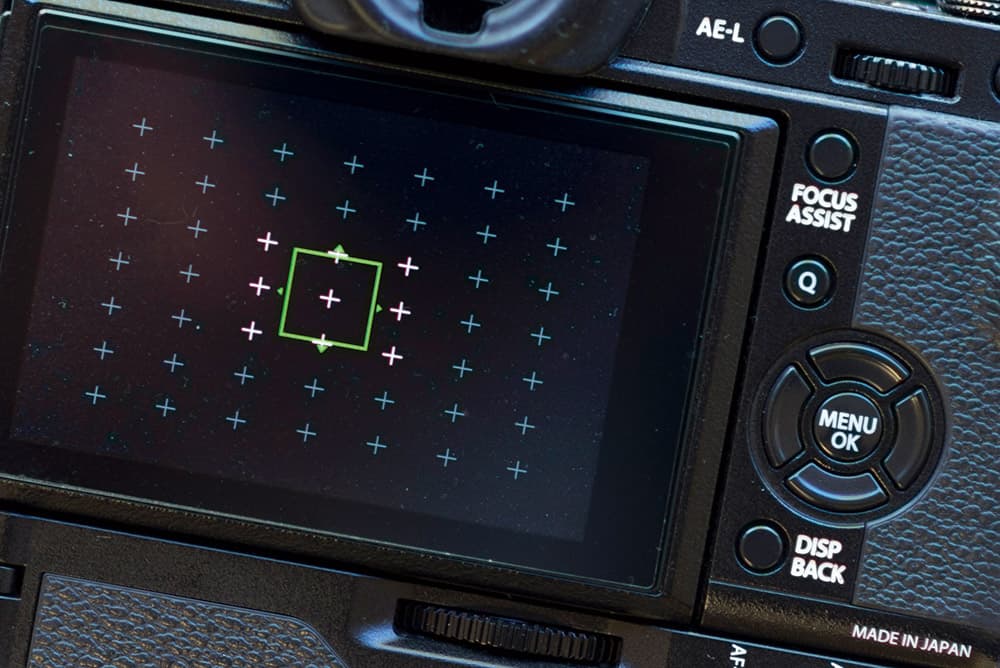
Autofocus points are small points within the viewfinder, or on the LCD screen, that can be activated and used to help you know where your camera is focusing and to direct the focus where you want it to be in the frame. To focus, all you have to do is depress the shutter button halfway and position the active focus point over the subject in the viewfinder or on the LCD screen. The active focus point is visible on the LCD screen and can be repositioned using the d-pad. While cameras with optical viewfinders often have fewer focus points than those with electronic viewfinders, switching to live view with these cameras provides the ability to position the active focus point almost anywhere on the camera sensor.
2. Autofocus tips: Auto vs manual point selection
When shooting with autofocus, there are two options: auto and manual AF point selection. With auto, all autofocus points are active and the camera selects those that it thinks are over the main subject. This method is fast, but sometimes you’ll find the camera doesn’t focus on the correct point.
Manual point selection is where you have a single point active and can decide which one it is using the camera d-pad or scroll wheel. This method is more reliable because you’re in full control, but a little trickier to use.
3. Autofocus tips: AF point expansion for moving subjects
With many DSLRs, you can assign a main single point, with the surrounding four or eight points active to help focus on a moving subject if it moves away from the dominant point in the centre. This feature is particularly useful for wildlife and sports photographers who regularly shoot fast-moving and often unpredictable subjects.

Credit: James Abbott
4. Autofocus tips: Cross-type AF points
A cross-type AF point is simply two standard points crossing each other. This type of AF point can work with both vertical and horizontal light patterns, resulting in faster and more precise focusing. Most cameras have a few cross-type AF points clustered around the centre of the viewfinder, while more expensive professional cameras have more points that cover a wider area.
5. Autofocus tips: How to tell the camera has focused
Once the shutter button has been depressed halfway and the lens has focused, the active point(s) will either flash green or red and then remain illuminated. The exact behaviour depends on your camera. Another way the camera may denote that focus has been achieved is by an audible beep. Once the camera has focused you’ll be able to fully depress the shutter button to take a shot.
6. AF mode: Continuous
Continuous autofocus, or AI Servo on Canon cameras, is designed for use when shooting moving subjects. With this mode, when the shutter button is halfway depressed, the camera will continuously focus on the moving subject. You just have to select the appropriate point before shooting and keep it over the subject when looking through the viewfinder. Fully depress the shutter button to take a shot.
Continues below…
[collection name=”small”]
7. Autofocus tips: Focus beep
There is debate about whether or not you should have your camera’s focus beep switched on. It can be a useful tool for all photographers, professional or amateur. When shooting portraits, for instance, having the beep active means you can keep your attention on the subject rather than looking for the visual reference that the camera has focused. If you’re shooting wildlife, the beep is best turned off so as not to scare the animals. It ultimately comes down to subject and personal preference.
8. Autofocus tips: When to use manual focus
In any situation where autofocus struggles to lock on to a subject or fails completely, manual focus remains the best option for ensuring sharp shots. With some subjects, however, manual focus is the only option worth considering. Take macro photography, for instance. With this type of photography, it’s most common to focus the lens manually to its minimum focusing distance for a 1:1 ratio, then get the subject in focus by gently moving the camera backwards and forwards until it appears sharp. Autofocus is rarely used because it can be difficult to pinpoint precise points at this magnification.
9. AF mode: Single Shot
Single-shot autofocus mode is designed for shooting static or near-static subjects such as portraits. As soon as the shutter button has been depressed halfway, and the camera has focused at the desired point, focus will remain locked at this point until the shutter is red or the button is released and pressed to focus again.

If shooting a portrait, select single-shot AF
10. Autofocus tips: Hybrid AF
Hybrid autofocus systems use a combination of phase and contrast detection for faster focusing across a range of situations, employing both active and passive forms of light analysis to focus the lens. Most cameras feature hybrid AF of some description. This not only enables faster and more reliable autofocus, but also live view focusing with DSLRs.
11. AF mode: Auto
Auto AF mode is supposed to differentiate between a static and moving subject, and then select the appropriate AF mode. While this is certainly convenient on paper, if the camera were to select the incorrect AF mode for the situation, you could end up with a blurred shot. It’s generally best to select single-shot or continuous AF manually to ensure the correct mode is being used, but auto can be great for unpredictable subjects such as children and pets.
12. Autofocus tips: Changing AF point size
With compact system cameras, it’s possible to change the size of AF points so they’re larger for moving subjects and smaller for more precise focusing, for instance. With many DSLRs, you can’t change AF point size, but you can use a feature called AF point expansion or zone focusing, where active points are clustered together.
Credit: James Abbott
13. Autofocus tips: Firmware update
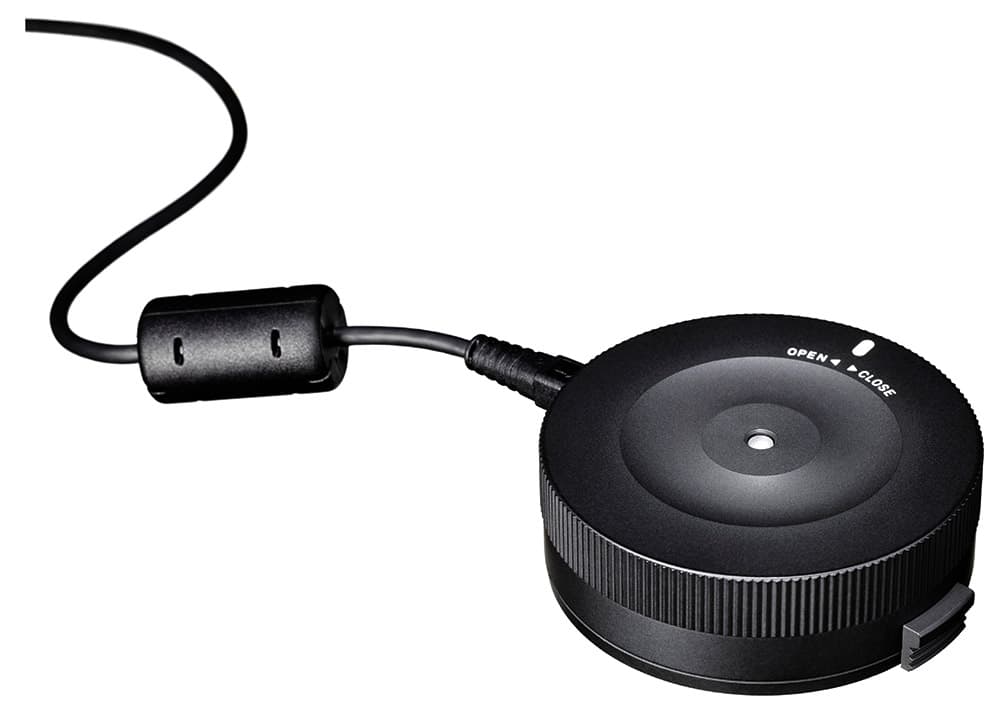
As with your camera, it’s possible to download firmware updates for some lenses to improve functionality, while others have to be sent off to the manufacturer to be updated. When you can update lens firmware yourself, it’s most commonly done by downloading the update to an SD card, inserting it into the camera with the appropriate lens attached, and following a process. Some manufacturers, such as Sigma, allow a USB dock to be used to update firmware and make changes to lens performance.
14. Autofocus tips: Face detection AF
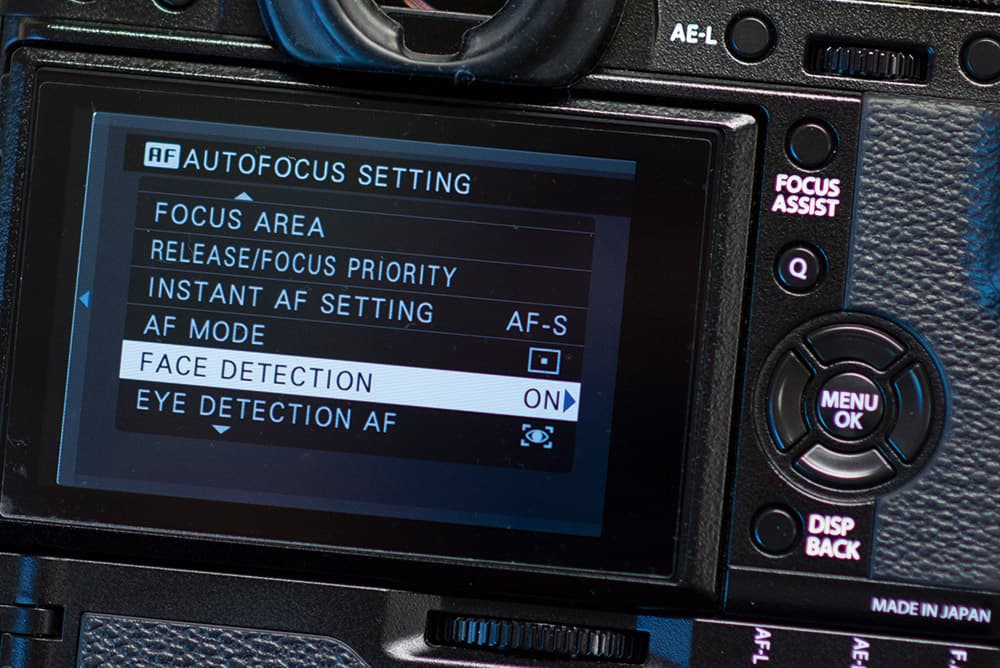
Once exclusive to compact cameras, face detection has made its way to CSCs and some DSLRs. It looks for faces based on the simple pattern of eyes, nose and mouth. Once identified, the camera will focus there. When face detection is active and recognises a face, a white box will appear around it.
Credit: James Abbott
15. Autofocus tips: Phase detection vs contrast detection
Phase-detection AF compares two beams of light and uses a separate AF sensor to bring two images together to assess whether the lens is in focus and drives the AF motor accordingly. The advantage is fast autofocus that’s perfect for moving subjects. This type of AF uses points that can’t be positioned close to the edge of the frame, which is why DSLRs don’t have full AF point coverage in the viewfinder. They do, however, in live view, because in this mode contrast-detect AF is used.
Contrast-detect AF uses the camera sensor to assess contrast in the area of the active focus point. This type of AF can hunt back and forth until the subject is focused or if sufficient contrast isn’t available. It’s more accurate than phase detection but generally slower. Since the sensor is used for assessing focus, points can be positioned practically anywhere on the sensor. And since CSCs predominantly use contrast-detect AF as well as hybrid, focus points are often spread across the entire frame.
16. Autofocus tips: Live View focusing
Live view focusing is a great way to assess image sharpness and the exposure of your images together. If you shoot with a DSLR offering a limited number of focus points, using live view allows you to select practically any point across the sensor, which can be hugely beneficial. You can zoom in to the point of focus to ensure it’s sharp, which is particularly useful when manually focusing using live view.

Credit: James Abbott
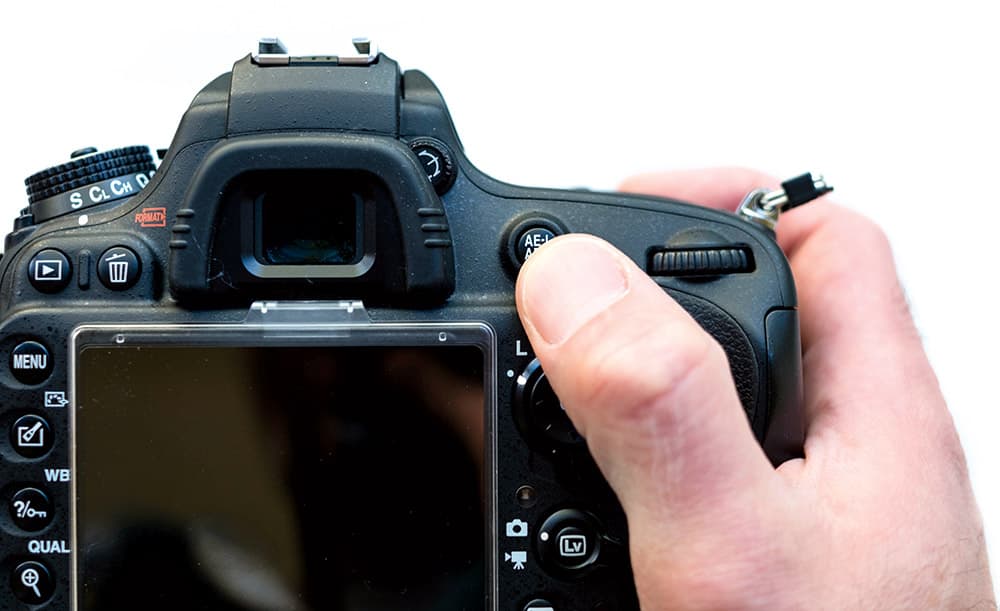
17. Autofocus tips: Back-button focusing
Back-button focusing is where you assign focusing to a button on the back of the camera at the top of the thumb plate. You press this rear button to focus rather than depressing the shutter button halfway. The main advantage of separating focusing from ring the shutter is experienced when shooting moving subjects. With this option selected, you can fire off multiple frames, and the camera will keep the subject in focus when continuous AF is switched on. The traditional shutter button focusing method means each time the camera takes a shot, it has to refocus before the next, allowing more room for error.
Credit: James Abbott
18. Autofocus tips: Focus and recompose
Despite having multiple focus points to choose from, it can sometimes be the case that when the image is composed, the subject is not near any of the focus points. When this occurs, select the AF point closest to the subject and then move the camera so the point sits over your subject in the viewfinder. In single shot mode, depress the shutter button halfway to lock focus, and keep it pressed, before recomposing the shot back to the desired composition and releasing the shutter. Review your image in playback mode to ensure accurate focus has been achieved.
19. Autofocus tips: Using AF in low light conditions
Shooting in low light can be a challenge to AF systems, so in this situation it can be useful to shine a torch on to the subject while the camera focuses. Once in focus, you can switch the lens to manual focus to lock the point of focus for subsequent shots.
This technique works well for non-moving subjects when using a tripod, but not so well if you’re handholding the camera. If you’re shooting portraits, the AF-assist lamp found on some cameras will turn on, but if your camera doesn’t have one of these it may mean it has more sensitive focus points designed for low-light shooting – professional-spec cameras often don’t have an AF-assist lamp.

For landscape scenes, secure your camera on a tripod and enable live view mode. Credit: James Abbott
20. Autofocus tips: What is back and front focusing?
If you’re using autofocus and find that your images are never sharp where they should be, but rather in front or behind the point at which you focused, your lens may be suffering from front or back focusing. If this is the case, your lens will need to be recalibrated to make it focus correctly.
If you suspect this is a problem, take a series of shots of a ruler from a 45-degree angle using a wide aperture and assess the resulting images. If focusing issues are present, you’ll need to send your lens off to the manufacturer to be recalibrated.

James Abbott is a freelance photographer and photography journalist based in Cambridge. He specialises in landscape and portrait photography, but has photographed practically every subject you can think of. www.jamesaphoto.co.uk.