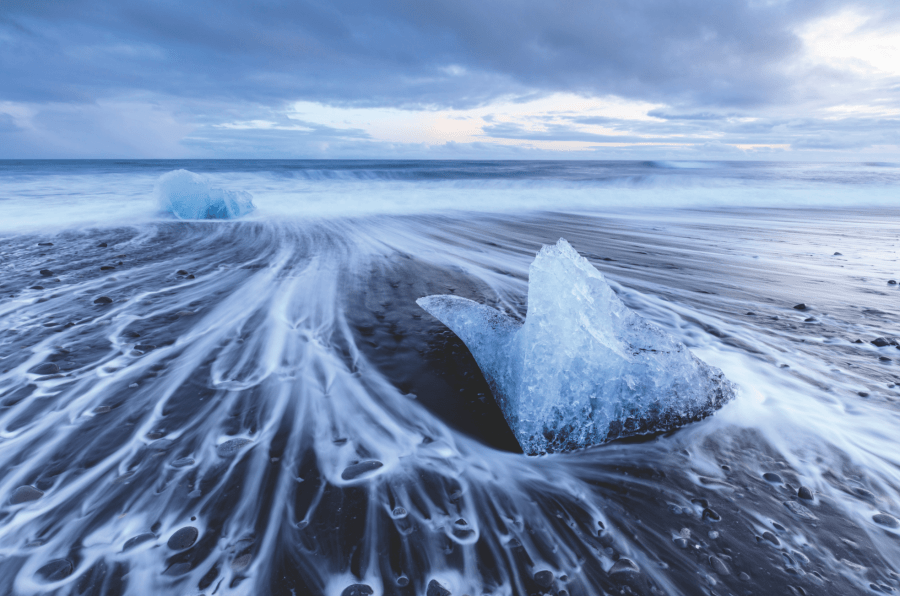
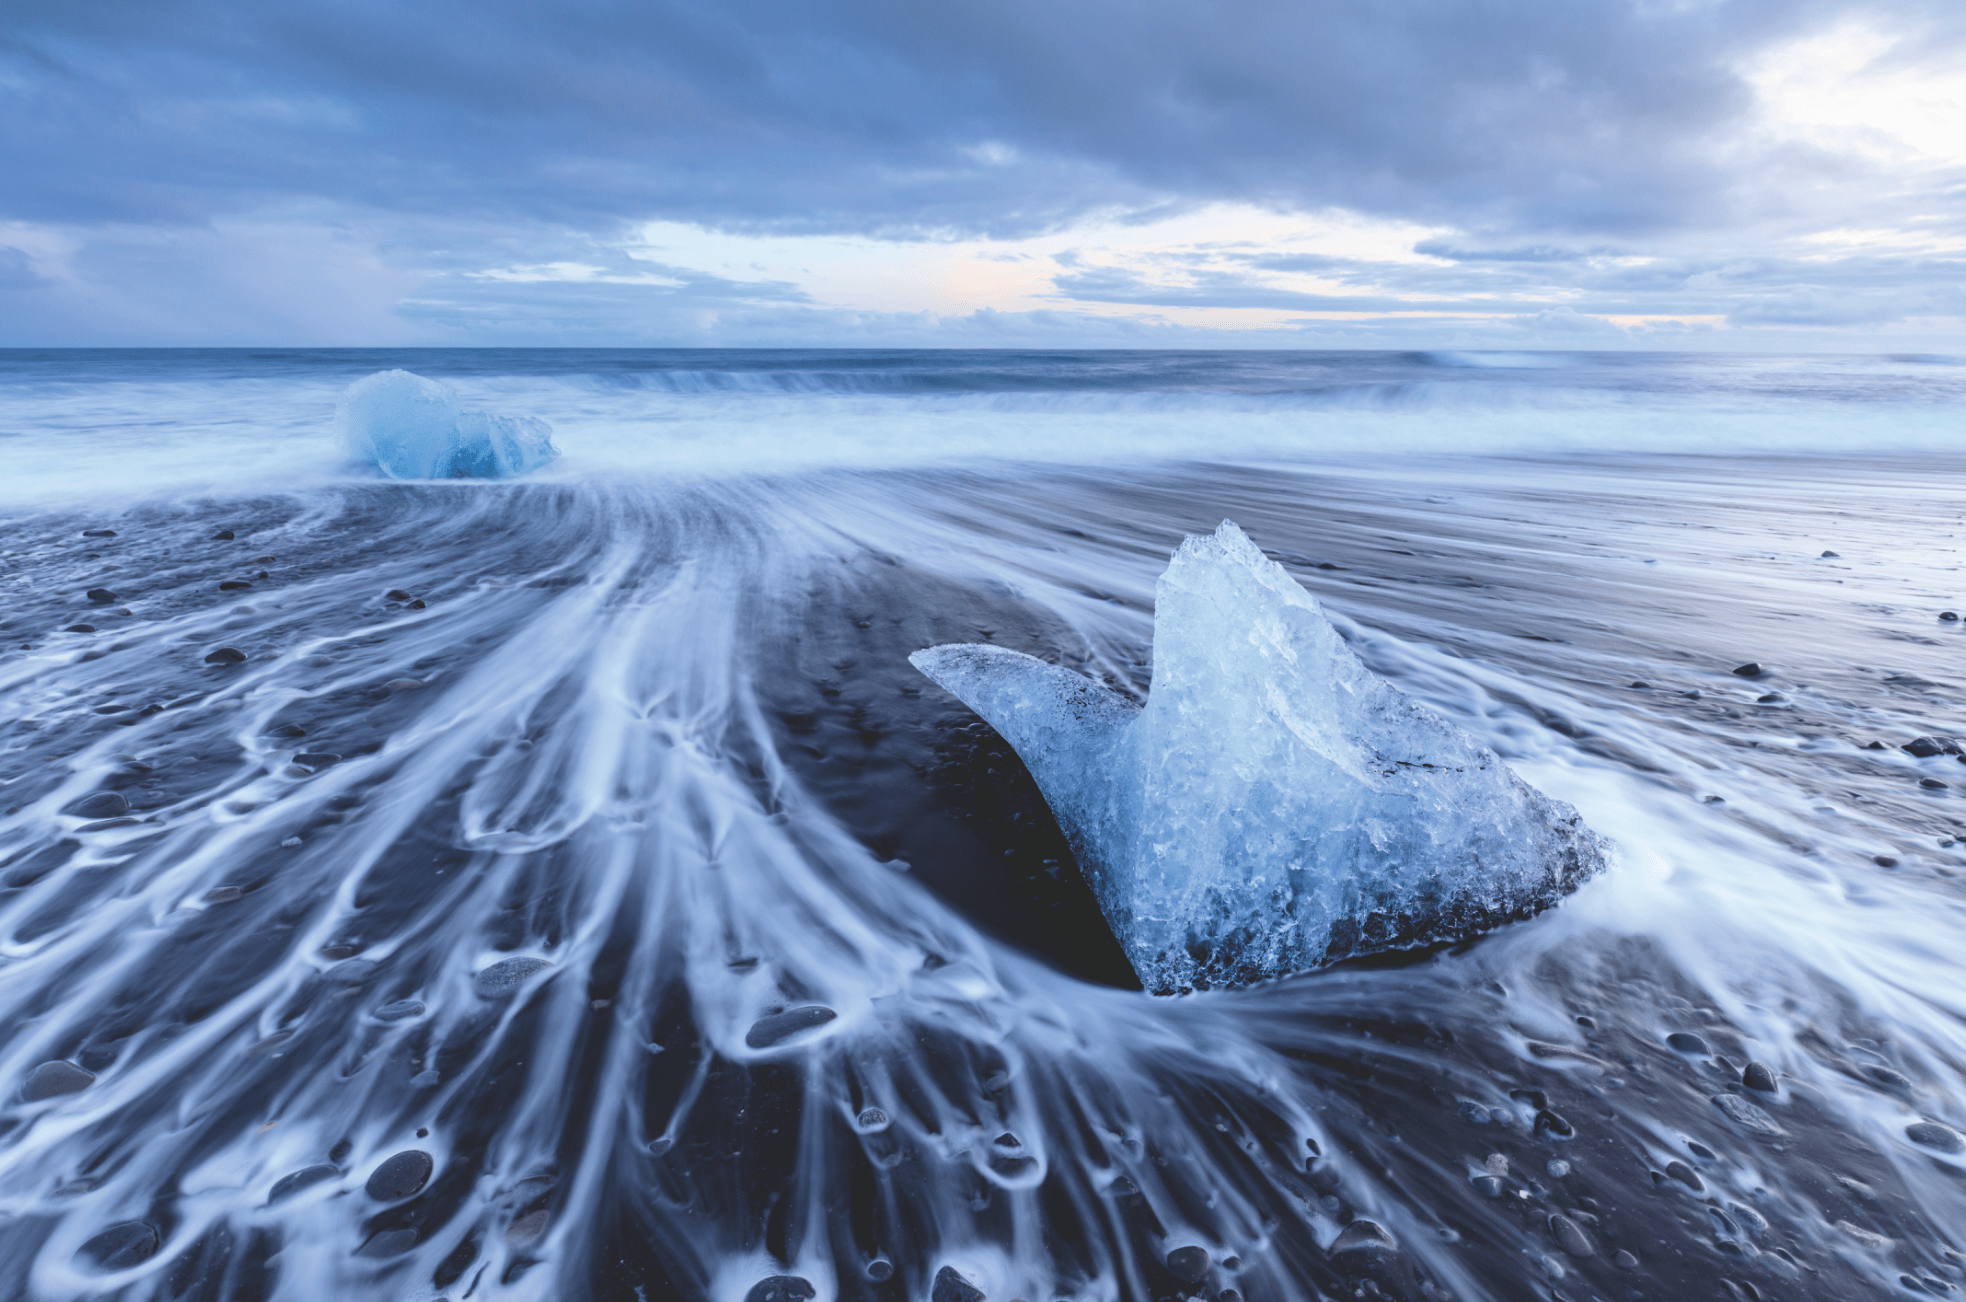
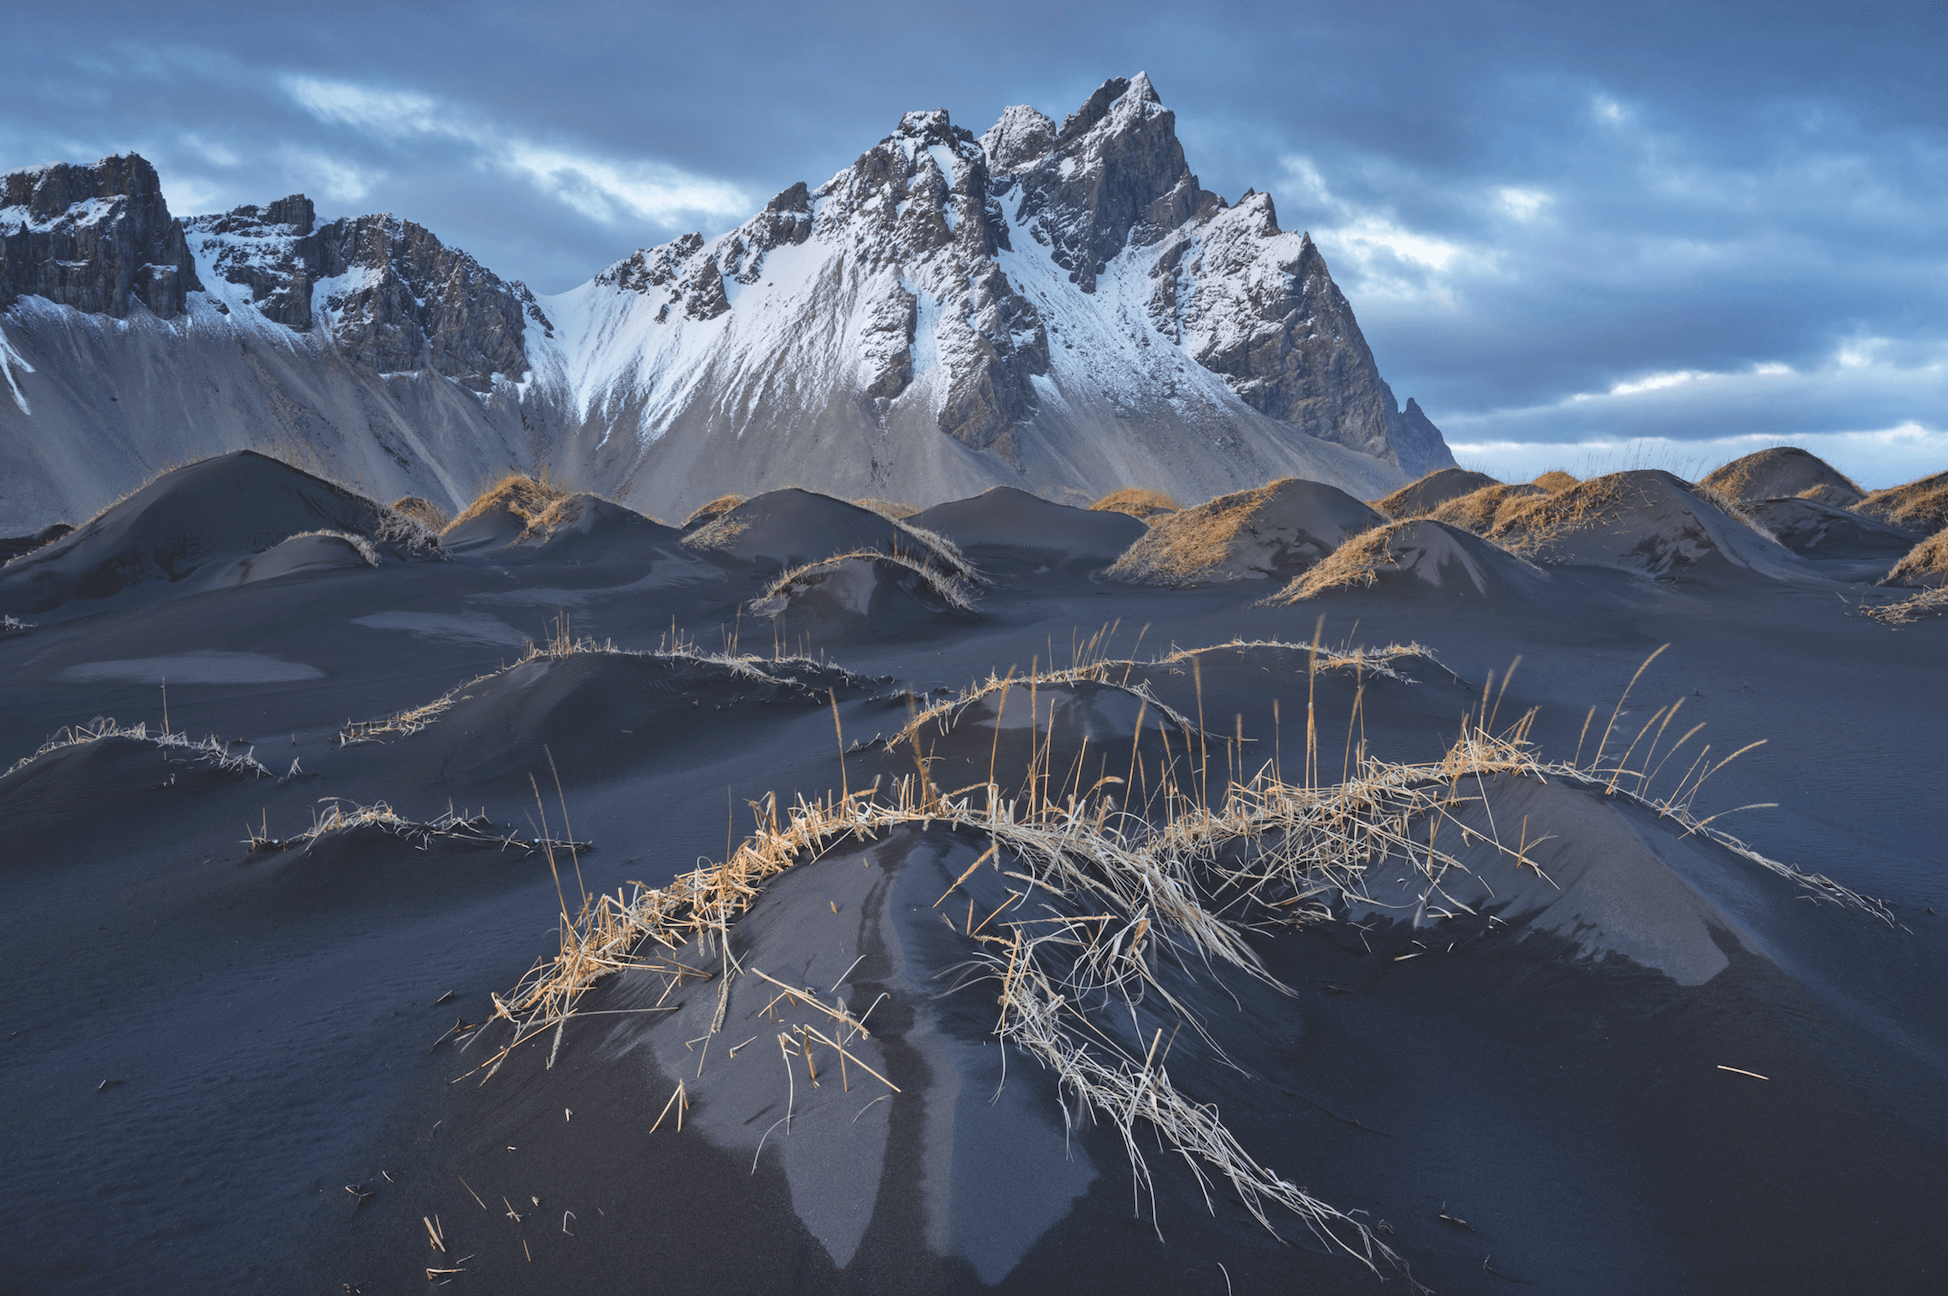
Credit: Jeremy Walker
Unlike Lee Filters’ Stopper and ProGlass IRND filters, which are both made from glass, the company’s graduated neutral-density (or ND grad) filters are made from resin and dipped by hand. That’s because resin allows tight control over the graduation lines during the manufacturing process. Glass filters need to be sprayed, which requires part of the filter to be masked off, and this makes it very hard to create a smooth graduation.
The first step in making a filter is to cast the blanks. These have to be completely flat. Next, the filters are dipped, with the skilled technician carefully building up the density and controlling the transition. It can take an hour to complete the dipping process of one filter.
Finally, the filters are made optically flat, to prevent distortion. It’s essential this is done after the dipping, as the warm dye could affect the flatness of the filter.
The Lee Filters systems
Lee offers several different systems. The most widely used and extensive is the 100mm system. This is suitable for use with mirrorless and DSLR models, and those with Four Thirds, APS-C, full-frame and even some medium-format sensors.
The Seven5 system has been developed with mirrorless cameras in mind, with a smaller size that’s designed to complement the more compact cameras and lenses.
At the other end of the scale is the SW150 system, which is specifically designed for use with ultra-wideangle lenses such as the Canon EF 14mm f/2.8 L II USM, Nikon AF-S Nikkor 14-24mm f/2.8G ED, Samyang 14mm f/2.8 ED AS IF UMC, Sigma 12-24mm f/4.5-5.6 II DG HSM and Tokina AT-X 16-28mm f/2.8 PRO FX.
Gradually does it
ND grad strengths
Lee Filters makes its neutral-density grads in six strengths. The weakest, a 0.3 ND, cuts out one stop or 1EV of light, while the strongest is a 1.2 ND, which has a four-stop rating for dealing with extreme exposure differences.
Because Lee Filters manufactures all its graduated filters by hand, it’s possible to order a bespoke filter if you need one for a particular purpose.
Selecting the graduation
The ND grads have four different graduations: soft, medium, hard and very hard. With a soft graduation, the transition from clear to dark is quite long but with very hard it’s abrupt.
Which one to choose depends on several factors, including the scene you’re photographing. With a landscape that has trees or buildings that break up the horizon, for example, a soft or medium ND grad is usually the best choice, as it will be less visible on the elements that extend into the sky. With a very clean horizon, such as the type you often see with a seascape, a hard or very hard ND grad is ideal.
However, the kit you’re using also plays a part. For example, because of the shallow depth of field, a very hard ND grad is often the best choice with a telephoto lens. It ensures the effect starts where you need it. Also, smaller sensors need a more abrupt transition because the graduation covers a proportionally larger area of the sensor in comparison with a full-frame or medium-format camera.
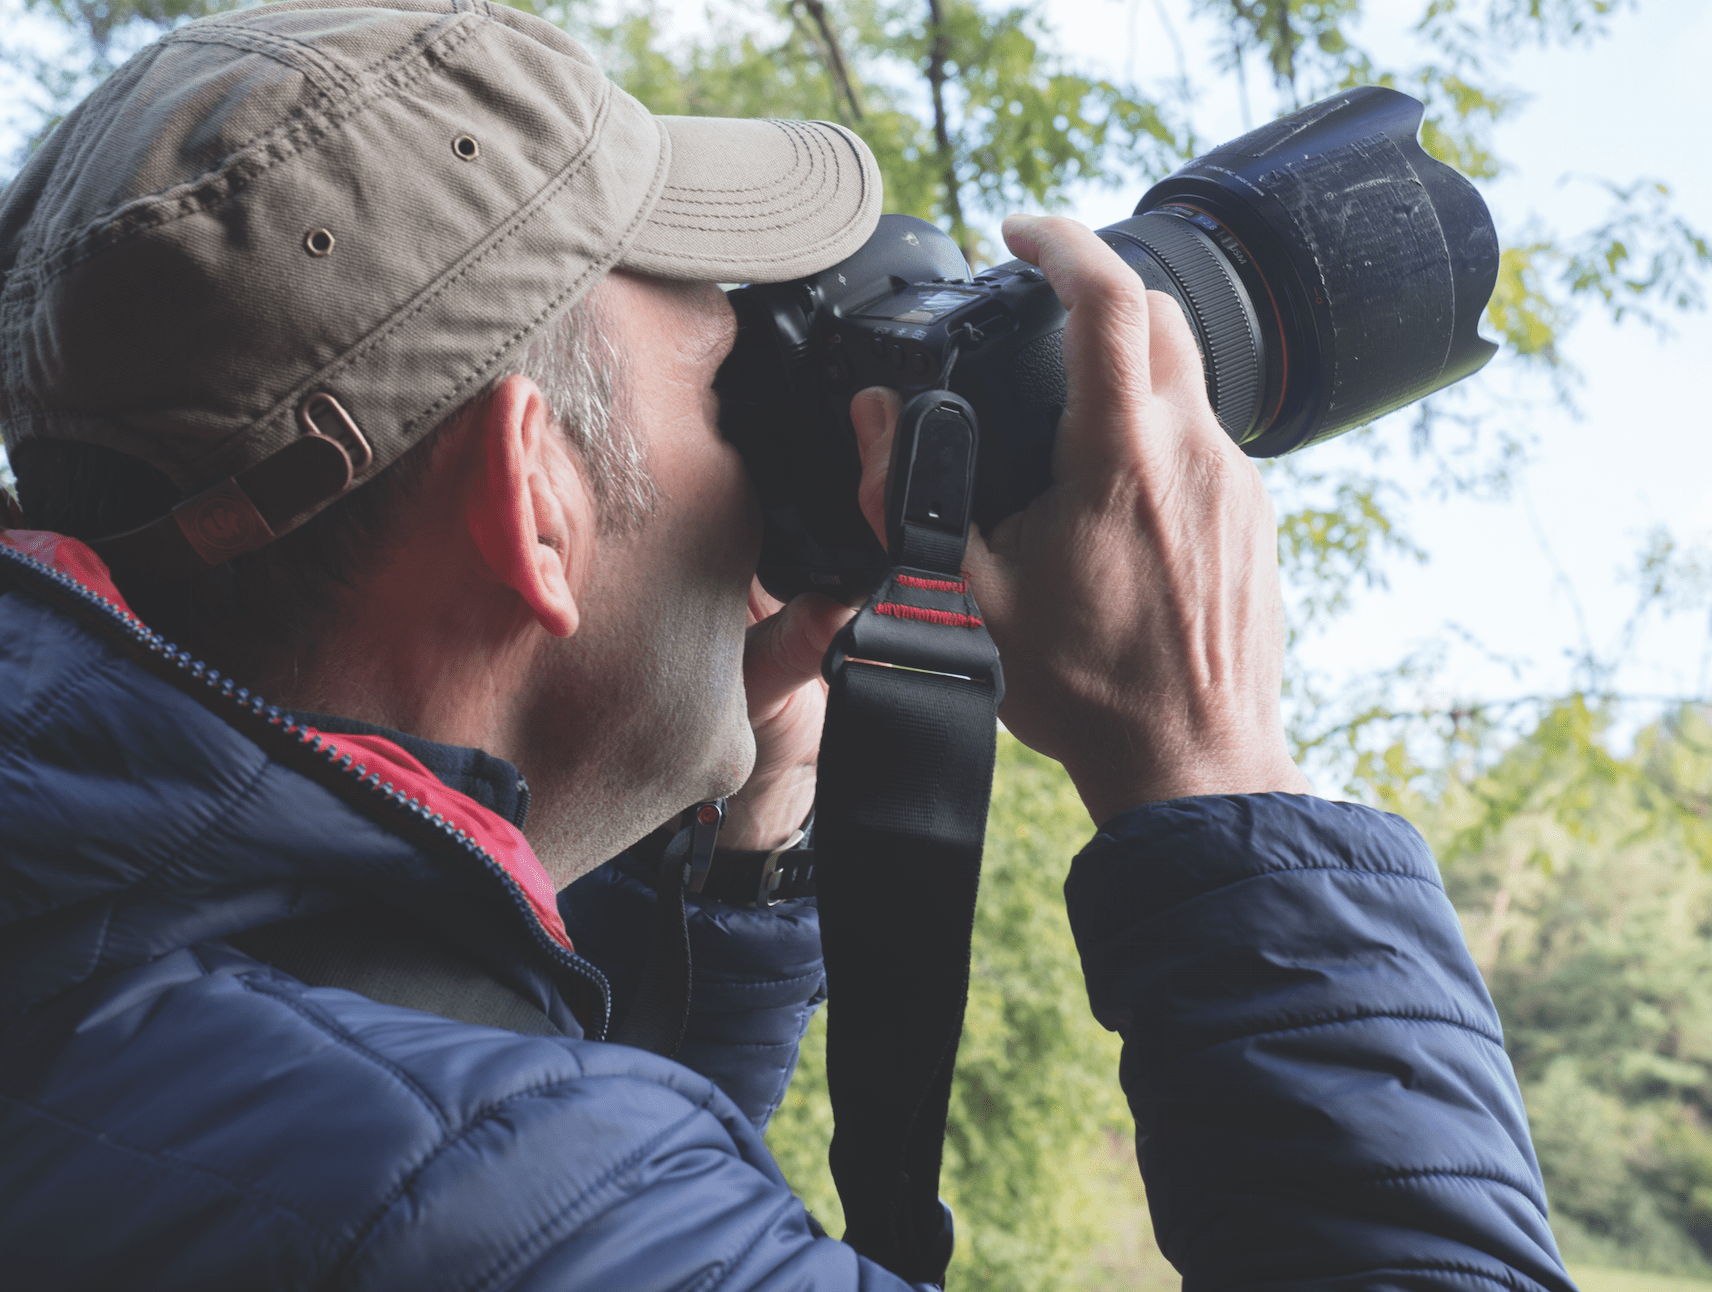
How to use an ND grad
Credit: Joe Cornish
The purpose of an ND grad is to reduce the amount of light that reaches the sensor in one area of the image, making it appear darker than it would otherwise. Typically, it’s used to darken a bright sky so that the exposure it requires comes close to that of the land and is well within the dynamic range of the camera. Let’s take a look at the steps in detail.
Measure the exposure range
With the camera in manual-exposure mode, set the ISO value and select the aperture that gives you the depth of field you need. Then, using your camera’s general-purpose metering (often called Evaluative, Matrix or Multi-zone), measure the exposure required by the land. Then do the same thing for the sky.
Choose strength and type
If the reading for the land is 1/100sec and that for the sky is 1/400sec, for instance, the difference between them is two stops (EV), so you should use a two-stop grad (0.6 ND). A greater difference requires a stronger filter. Also take a look at the horizon and decide what type of graduation to use.
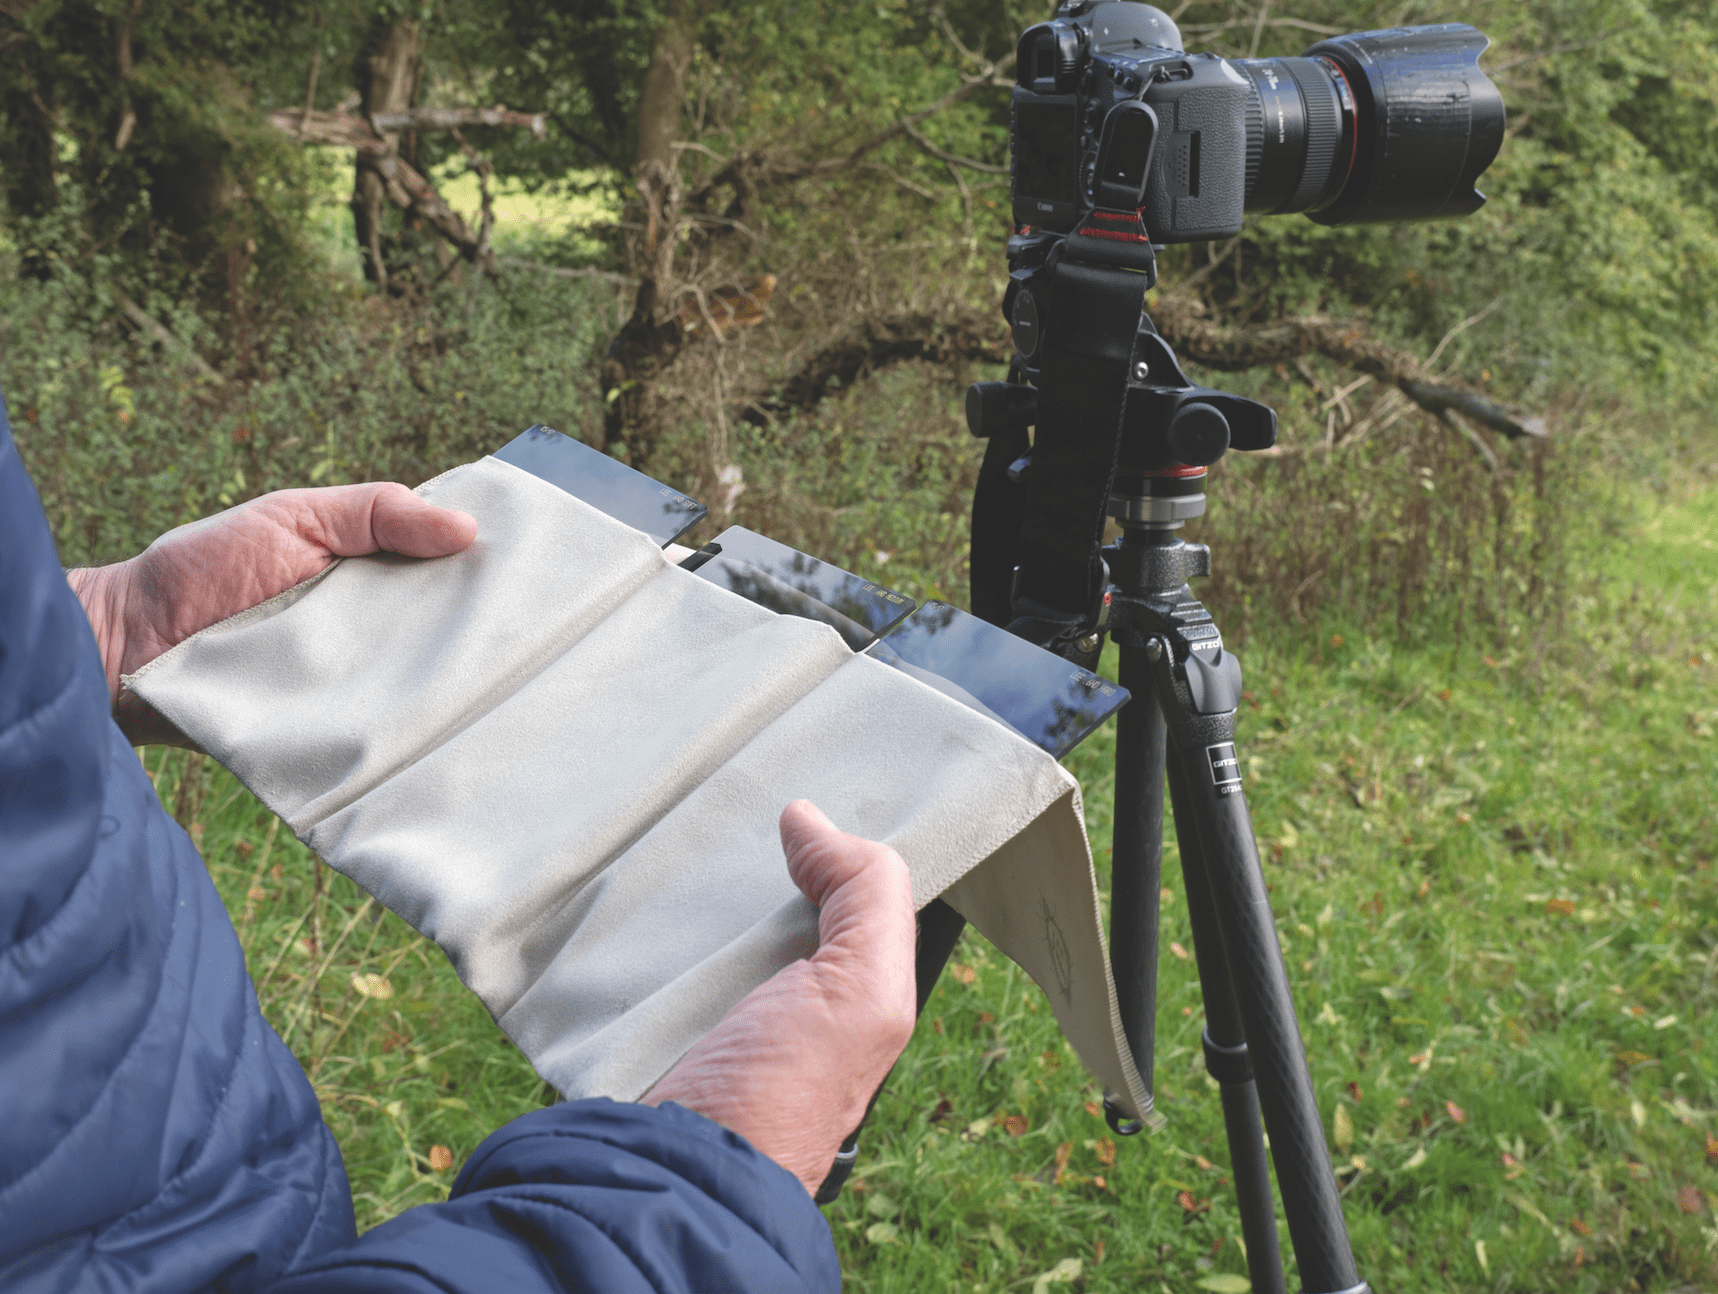
Mount the adapter
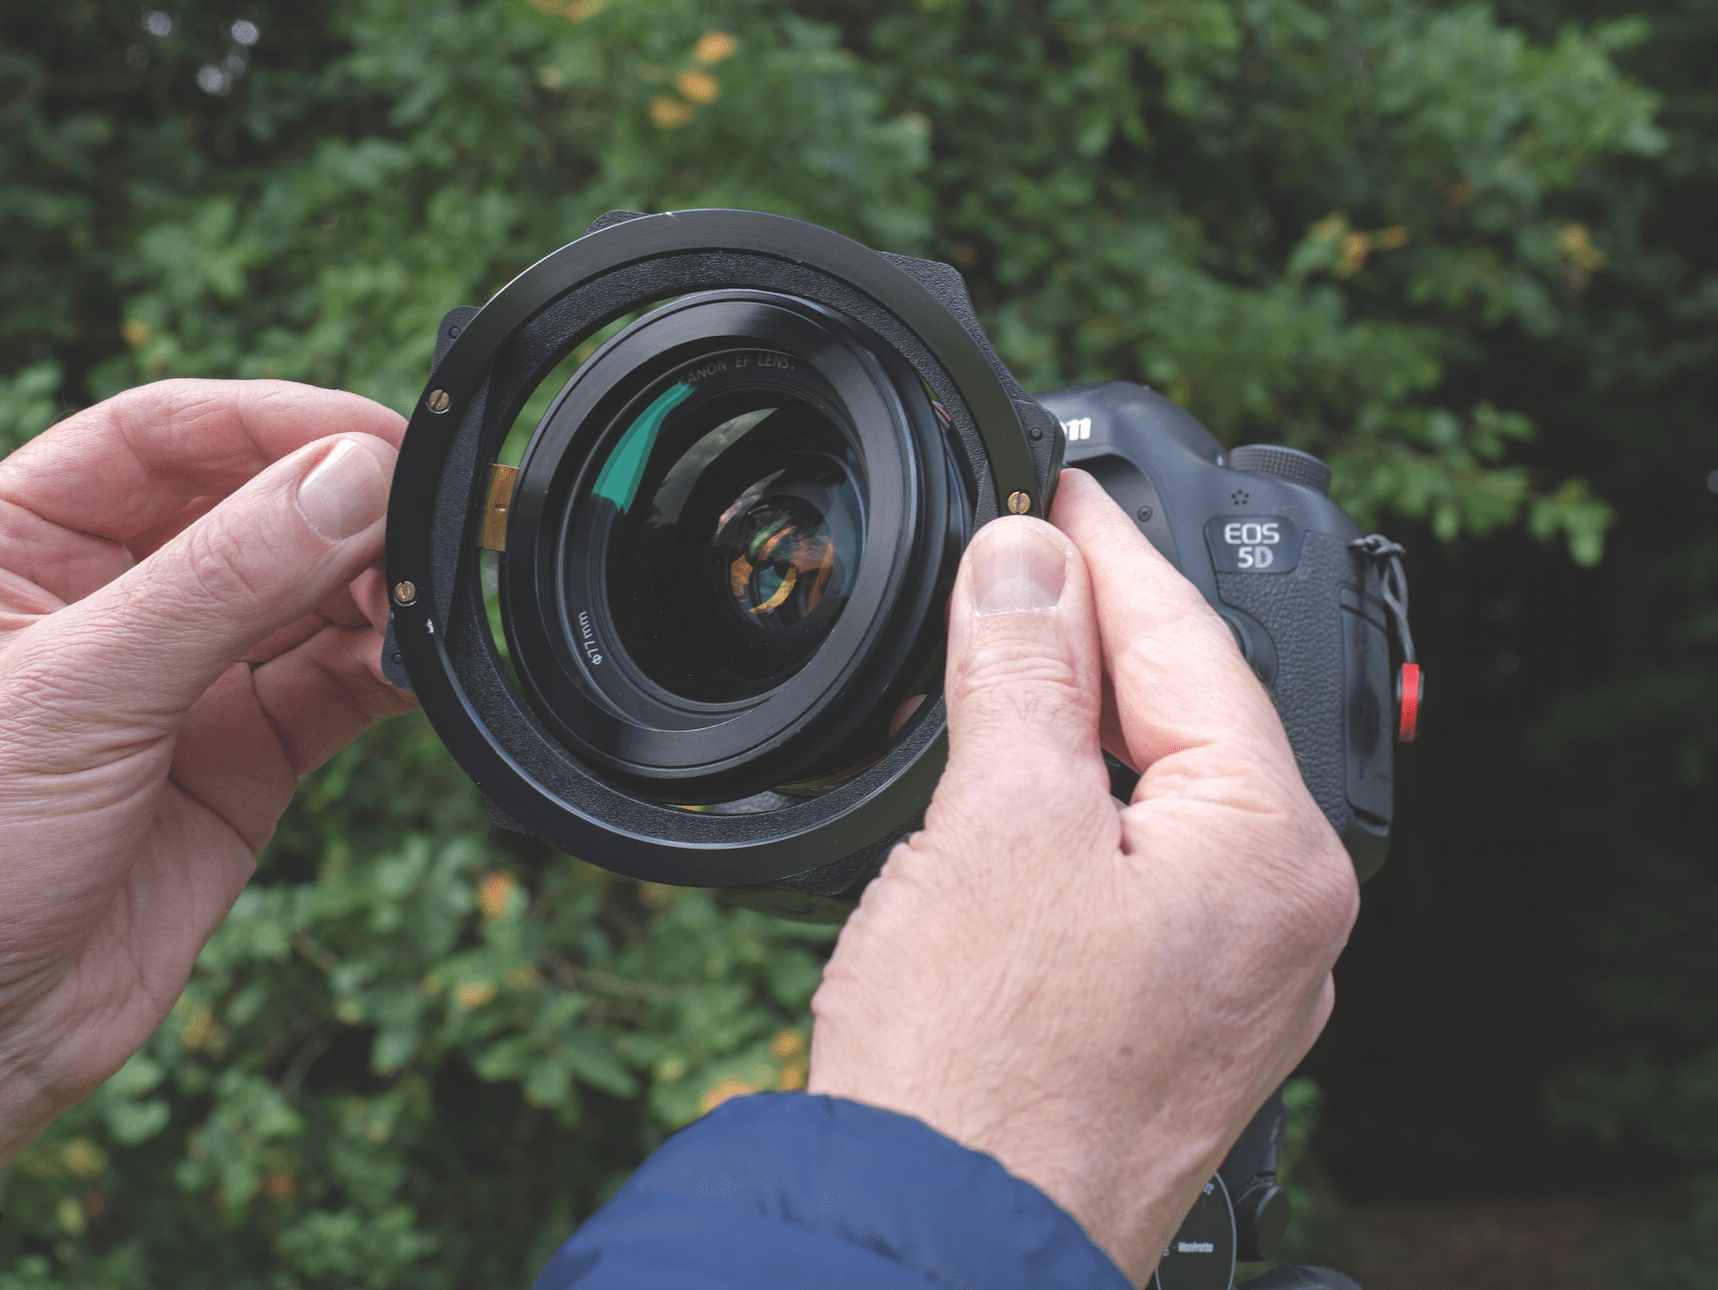
The Lee Filters holder has a universal mount that attaches to a lens via an adapter ring. The first step is to select the correct size adapter ring for your lens (the filter size is usually written inside the lens cap) and screw it on before clipping the holder onto the adapter. The holder can be rotated on the adapter if required.
Position the filter
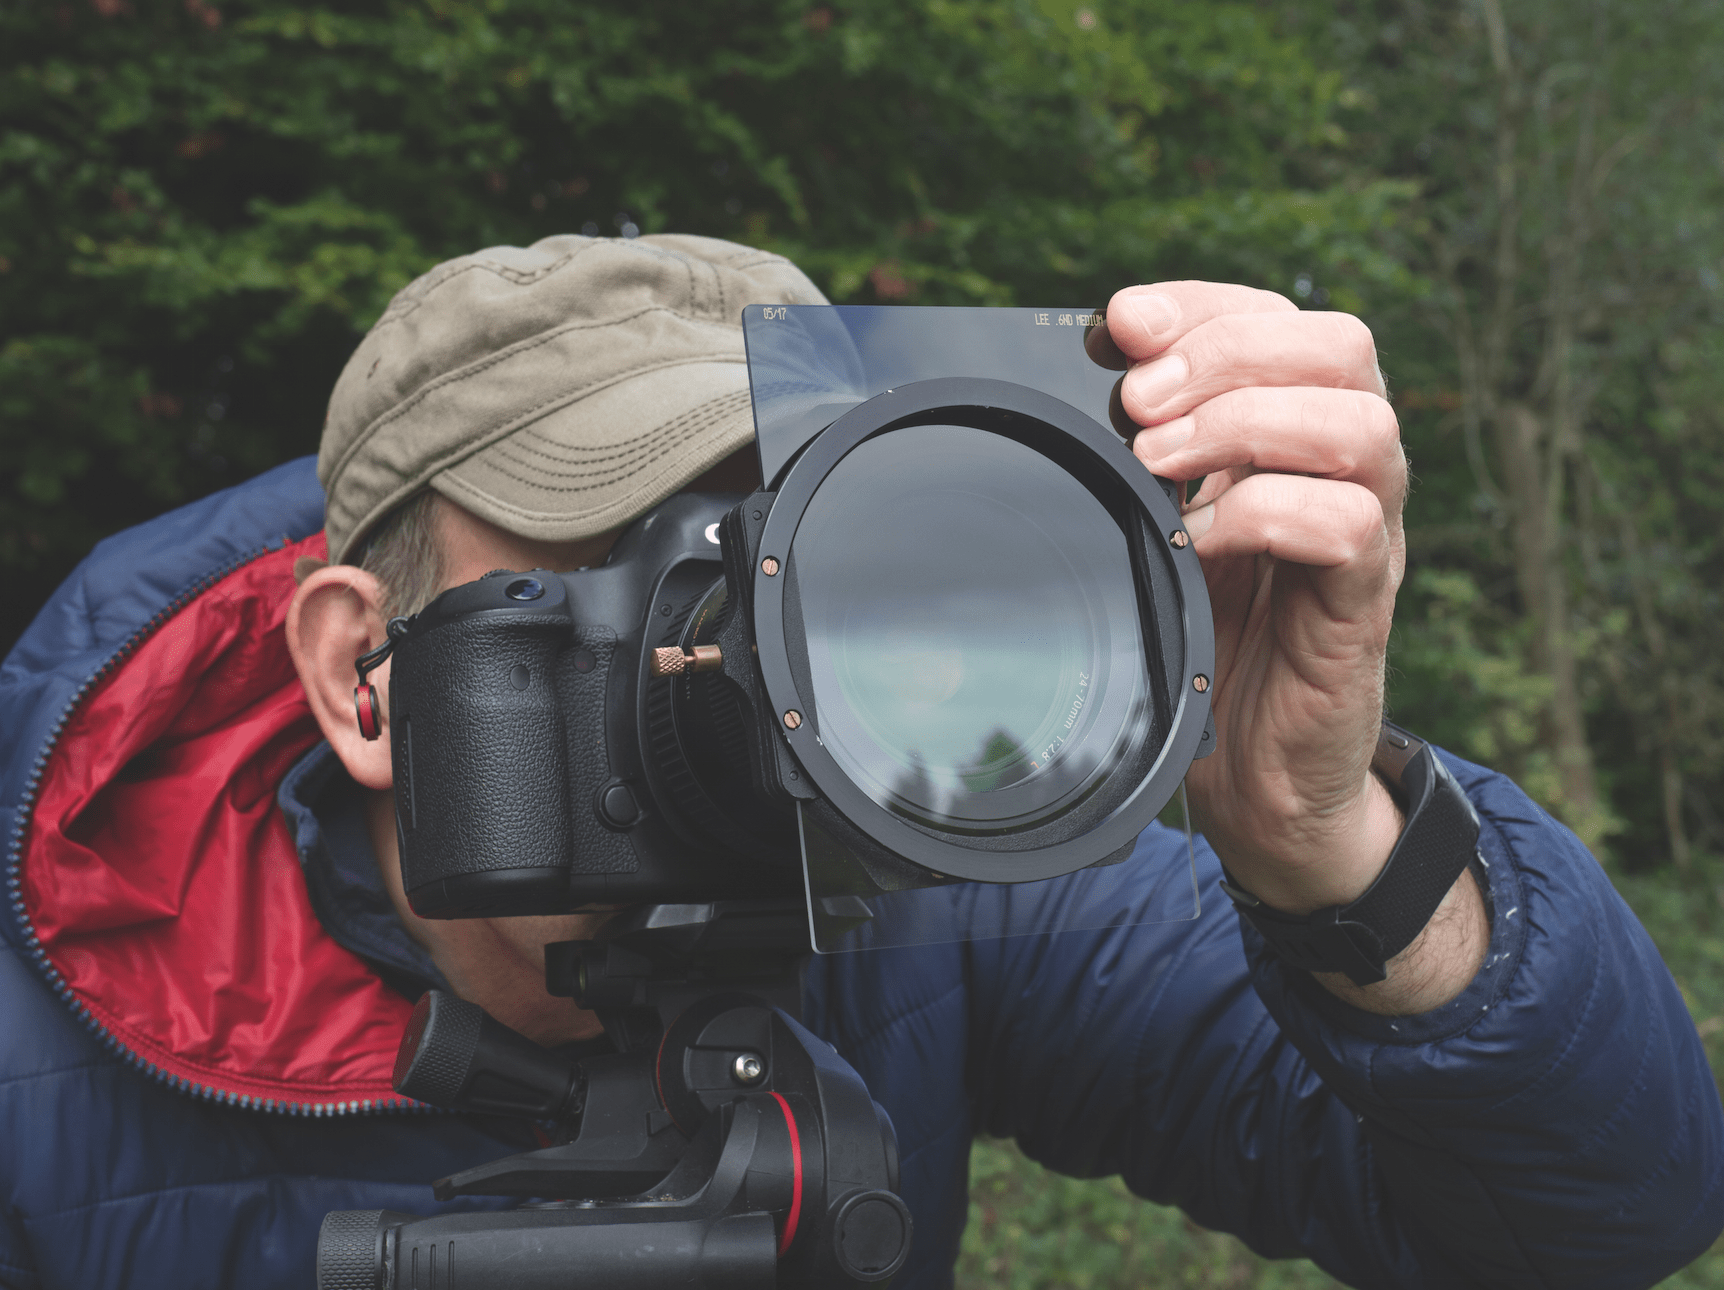
Slide the filter into the holder so that the dark part covers the brightest area of the image – usually the sky. Looking in the viewfinder or on the screen in live view mode, make sure the edge of the graduation lines up with the horizon or wherever the change in brightness occurs. Aim for the transition to be invisible in the image.
Take the shot
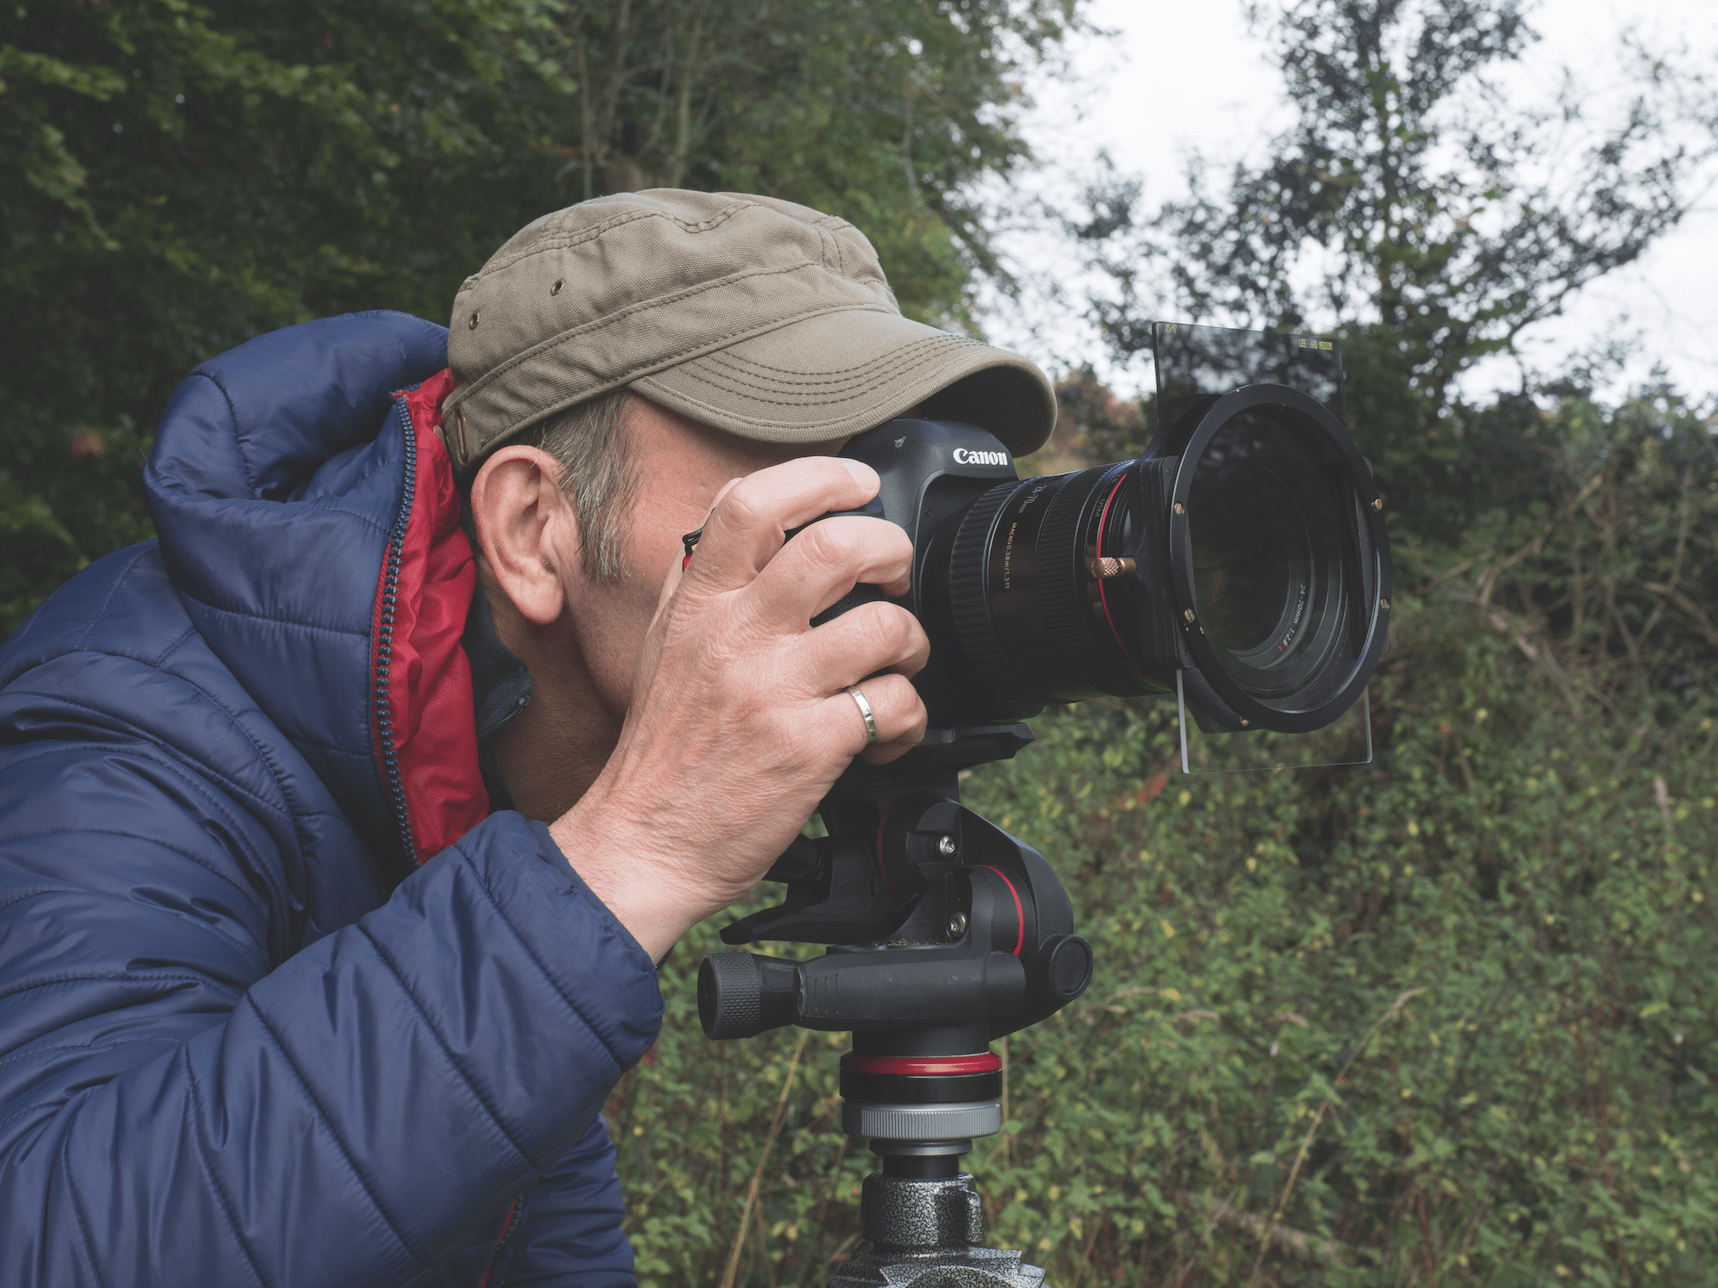
Focus the lens as normal, but check the angle of the graduation doesn’t change. If necessary, focus then switch to manual focus to prevent it adjusting and realigning the graduation. With the exposure set to the value you found for the land in step one, take the shot and assess the result. If necessary, adjust the exposure or filter.