Before (above), after (below). Using a combination of selection, layer masking and tonal controls, it’s easy to create a simple composite in Elements.

When confronted with any program there are usually some things that we need to learn right away in order to get up and running, while other things can be left to explore at a later time. Photoshop Elements might be the ‘lite’ version of Adobe’s image editor, but it still packs a huge array of tools and commands. Whether you’re a beginner, or in need of a refresher, it helps to know about the Elements tools that matter most.
We’ll explore some of the key features that you need in order to get by in Elements. In particular, we’ll take an in-depth look at how a simple composite can be made by using a combination of selection, layer masking and tonal tools. Along the way we’ll also encounter a range of essential commands. Once these are mastered, you’ll be better equipped to explore further and delve deeper into the Elements arsenal of image-editing tools.
1. Get to grips with Layers
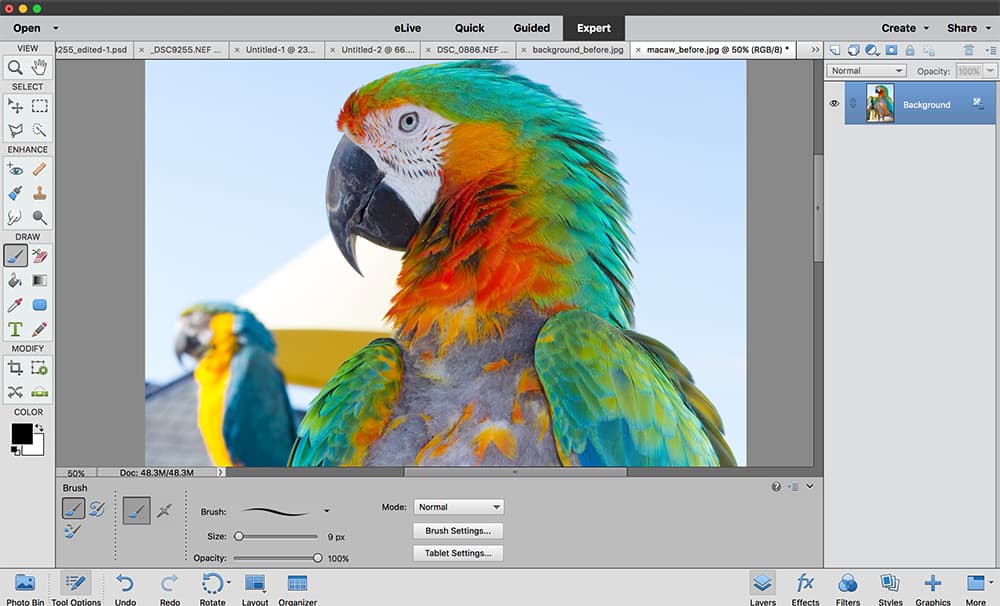
You don’t necessarily need to be an expert to use Elements Expert Mode, but you do need it to access key features that aren’t available in other modes. Most significant is Layers. A layer can be anything from an image to a line of text, a tonal adjustment or graphic. Think of them as layers of tracing paper placed on top of one another.
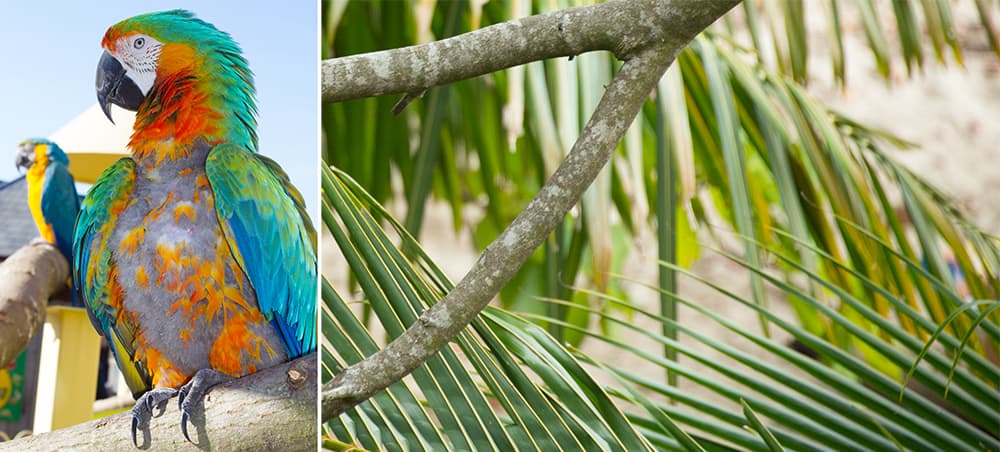
Layers keep the elements in your image separate. The benefit is being able to edit each element individually – here we can adjust the position and size of the macaw, as well as the colour and opacity. It’s this control that makes editing in Photoshop such a refined experience. It gives you the creative freedom to combine photos in any way you like.
The Layers Panel is the control centre for your layers. Their place in the stack is important, as those on top will show above those underneath. In our simple composite, the background foliage is the image on the bottom layer, while the macaw – cut out from its original backdrop using selection tools – occupies the layer above.
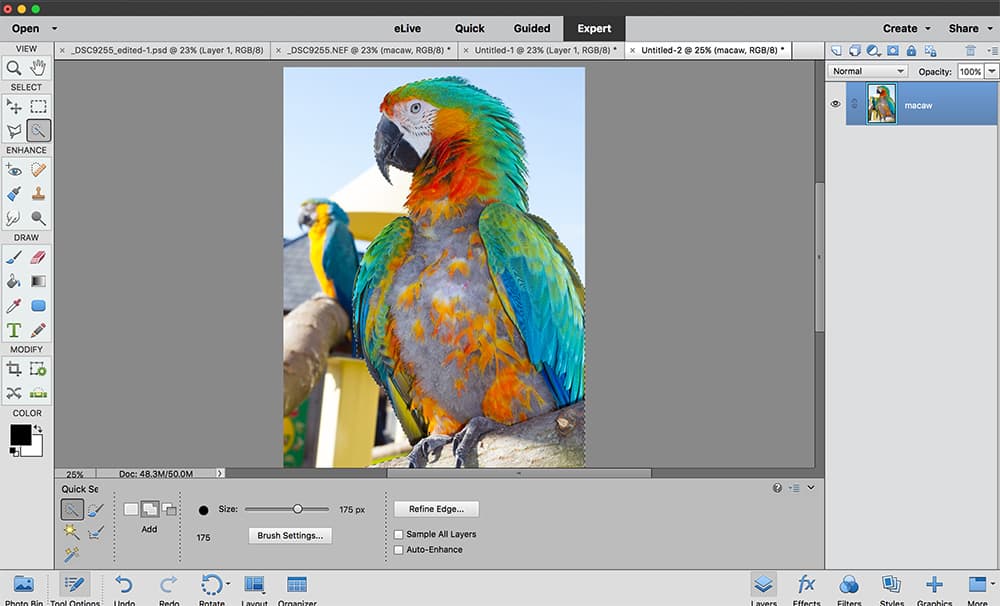
2. Making selections
PS Elements’ selection tools let you isolate part of an image, perhaps to cut it out, change its colour or alter it in another way. Here we can kick off our project with a selection. The aim is to select the macaw in order to remove its original backdrop, so we can drop in a new one. There are several useful selection tools in Elements, but our go-to tool for making complex selections like this is usually the Quick Selection tool. Found in the toolbar alongside the equally useful Magic Wand, it’s simple to use but very effective.
We paint over the area that we want to select, and the tool will seek out the edges of the object by detecting similar colours and contrast. Its success depends on the image – if the object is clearly defined against a plain backdrop then selecting is a cinch, but if the backdrop is similar in colour to the subject then it can be more tricky. If the tool does go wrong, just hold down the Alt button and paint to subtract areas from the initial selection. It’s an intelligent tool, so as we paint and subtract it actually learns by forming a stronger idea of the pixels that we want to target.
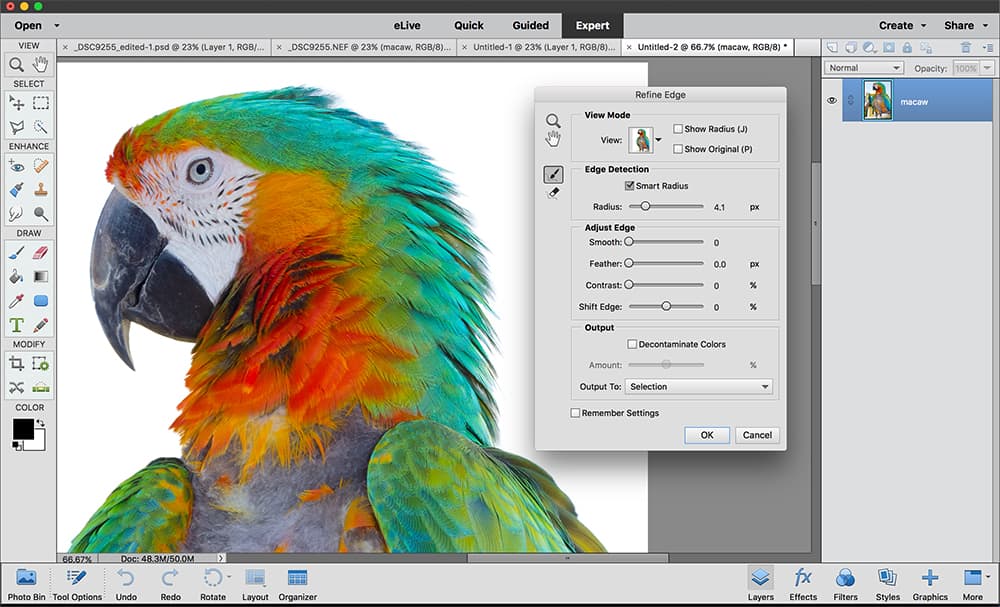
3. Perfect cut-outs
After making a selection we’ll see a marching ants outline around the object, but this edge is initially very jagged and abrupt. With real-world objects like the macaw here the edges are usually much softer and more fuzzy. So we need to improve the edge to make our cut-out more precise. This is where the Refine Edge command (Select>Refine Edge) comes in. When we run our selection through the command, it comes out infinitely better. The key setting in Refine Edge is the Radius. By increasing this we push the area of refinement outwards from the edge, forcing the command to look further afield for similar pixels to include or exclude. We can also paint with the Refine Radius tool (found at the side of the dialog box) to manually increase the radius in especially tricky parts of the edge like the feathers here.

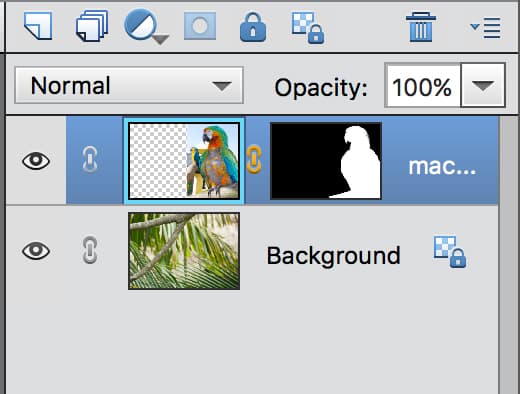
4. The power of masks
After making a selection of our subject and adding it into another photo, we need to use Layer Masks to fine-tune the composite. A Layer Mask works by hiding parts of a layer and revealing others. If – as here – we have an active selection we can simply click the Add Mask icon in the Layers panel to transform the selection into a Layer Mask. Everything outside the selection will be hidden (note that there is also an option to output as a layer mask when using the Refine Edge command).
When we add a mask a new thumbnail will appear on the layer, showing the visible areas in white and the hidden areas in black. As long as this thumbnail is highlighted we’re able to further edit the mask, by painting with the brush tool over the image to either reveal (with white) or hide (with black) areas on the layer (we can also Alt-click the thumbnail to toggle on a mask view like this). With cut-outs we can zoom in to the edge and paint with white or black to tidy up. To resize the brush tip, use the ] and [ keys.
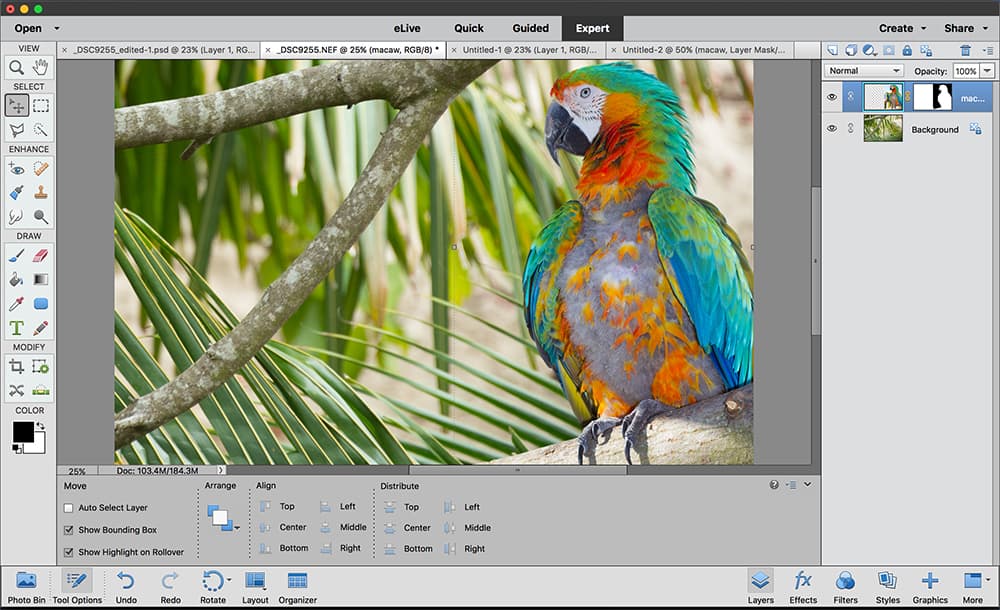
5. Moving into position
The Move tool might seem like one of the simpler tools to use in Elements, but it’s still hugely useful, especially for positioning images or other parts of a design, not just around a frame, but also between different photos. In our example here we can use the Move tool to drag the cut-out macaw over to a new photo, then accurately position the macaw neatly within its new surroundings.
When we choose any tool a set of context-sensitive tool options appears along the bottom of the screen. With the Move tool we have a handy option to ‘Show Bounding Box’. This reveals a box around the currently selected layer. If we click on the box we switch to transform mode. We can then drag the box to resize or rotate the layer – this is an essential command when positioning separate elements into a composite like this.
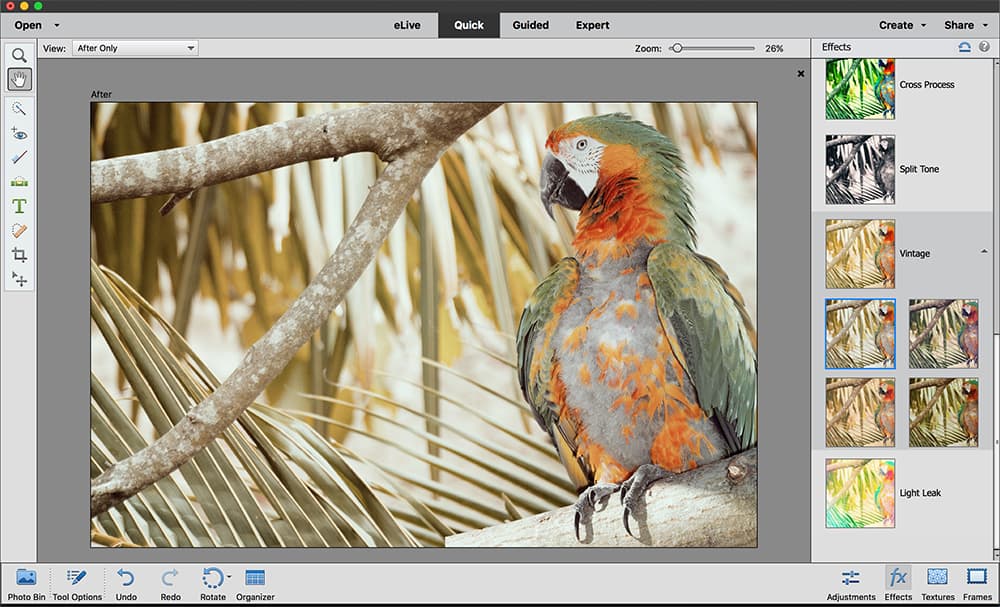
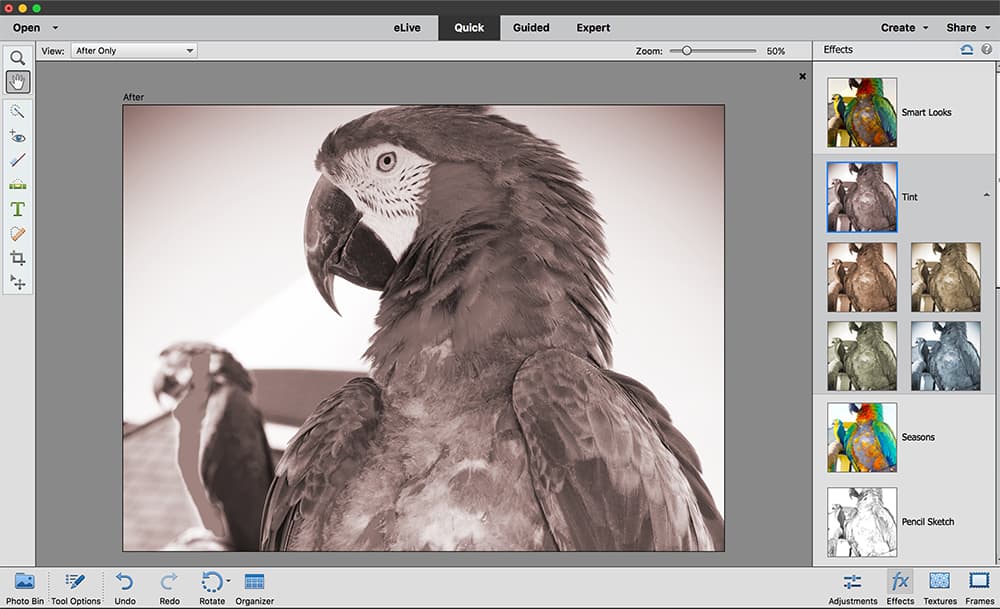
6. Quick Tonal Effects
Elements offers several powerful tools for adjusting tones. One of the most fun is found in the Quick Editing mode. To the right is the Effects panel, which houses a range of one-click tonal effects. It includes the Smart Looks option, which generates a range of suggested ‘looks’ based on analysis of the image. It’s worth noting you’re able to switch between editing modes to try out these effects. For instance, you can go from Expert mode to Quick to add a tonal effect, then when you switch back to Expert the new tonal treatment will appear on a new separate layer. This is handy, as you can tone down the effect by lowering the layer opacity if you choose.
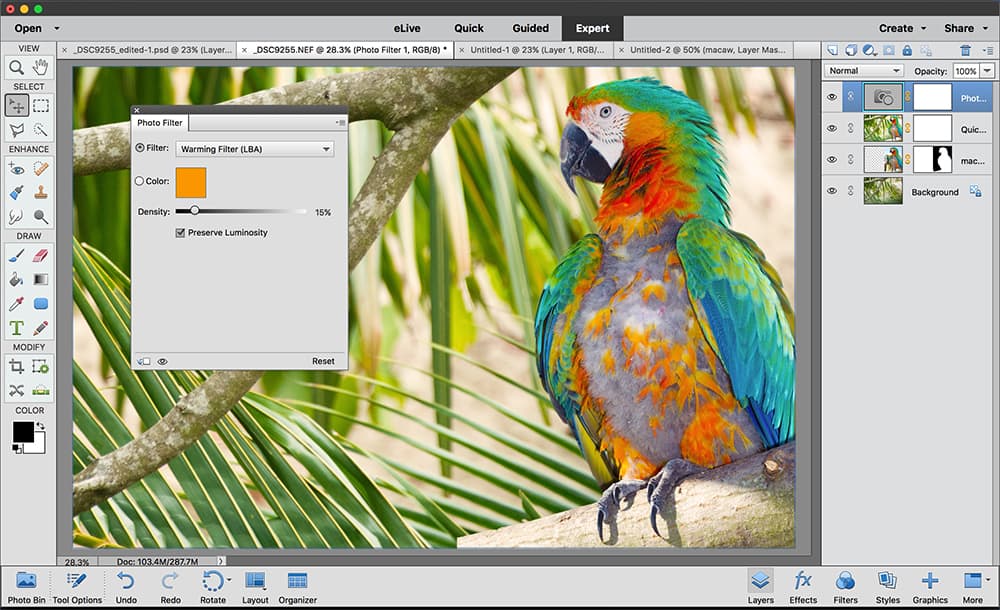
7. Adjustment Layers
You can add these by clicking the Create Adjustment Layer icon in the Layers panel. Choose from options like Levels, Hue/Saturation and Photo Filters. Each adjustment will appear as a separate layer and affect all the layers underneath. This is useful in multi-layer documents and with composites as adding a tonal change helps the different elements to gel together. Making the effect on a separate layer brings several other benefits too. The adjustment remains endlessly editable (double-click the thumbnail to re-enter the settings) and we can adjust the opacity to change its strength, choose a different blend mode, or paint a layer mask to make the tonal effect work selectively over specific parts of the image.
Choose from four Elements workspaces
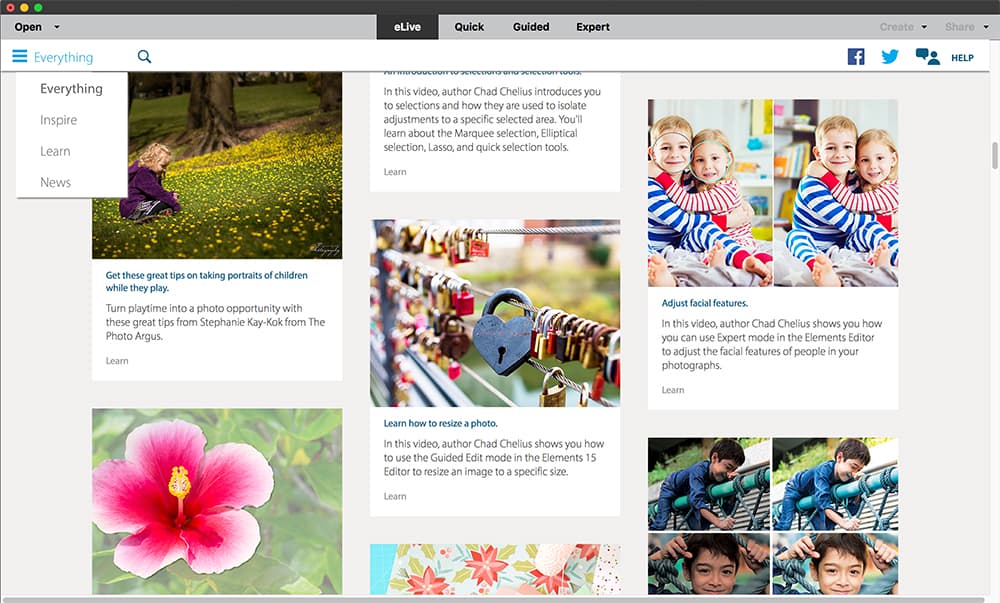
eLive
The different modes in Elements can be accessed via buttons at the top. eLive is a web portal to Adobe curated content, including tutorials and inspiration.
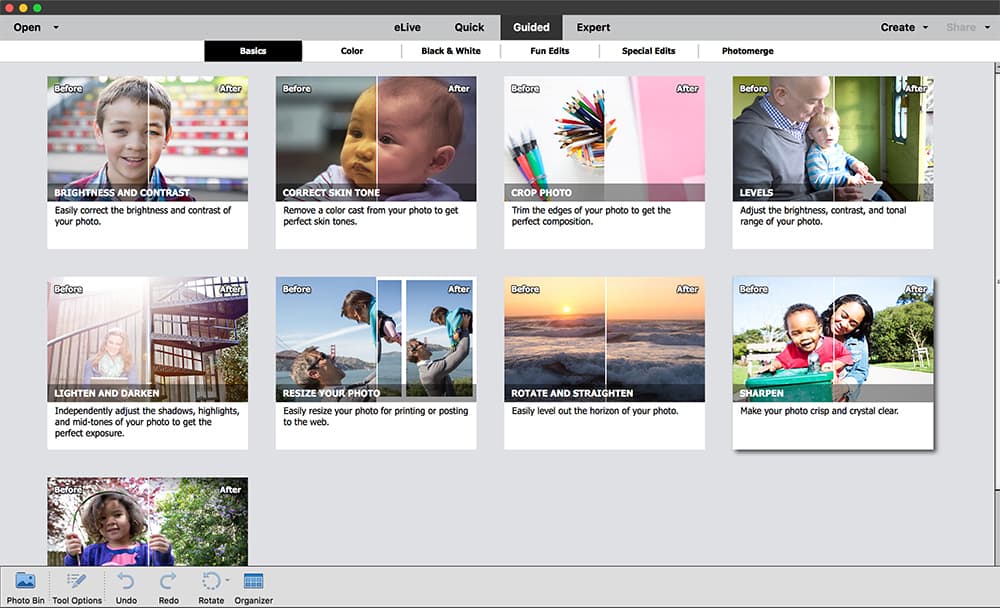
Guided Mode
This offers a range of walkthroughs that guide you through the process of making common edits or visual effects.
Quick Mode
Here the number of tools and settings are restricted. There’s an emphasis on one-click effects and simple techniques.
Expert Mode
This gives you access to all of the tools, panels and controls available in Elements. It’s the hardest to master, but offers the greatest potential.
Top retouching tools in Elements
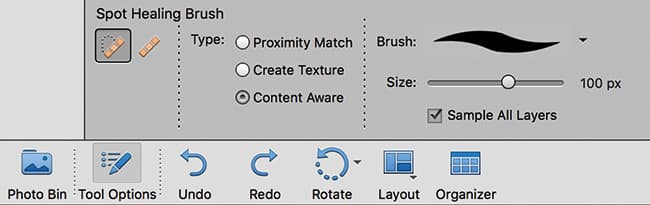
Spot Healing Brush
Simply paint over problem areas with this brush and Photoshop will replace the area with content based on the surrounding pixels. It’s very effective at removing small marks and spots or annoying patches such as a distracting bright spot that was on the branch.
Content-Aware Fill
This will automatically fill areas for you by analysing the rest of the image. Draw a rough selection with the Lasso tool then go to Edit>Fill Selection, set ‘Use: Content-Aware’ and hit OK. You’ll find content- aware technology at work in other tools like the Spot Healing Brush.

Healing Brush
This is a cross between the Spot Healing brush and Clone tools. As with the Clone tool, we Alt-click to sample a clean area nearby then paint to remove the problem patch. It’s the ideal tool to use if you find that the Spot Healing tool doesn’t give you the results you want.
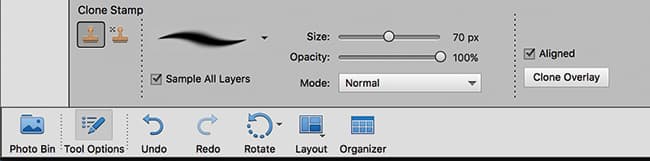
Clone Stamp tool
The other tools here are clever, but, as with all semi-automated tools, sometimes they can go wrong. This is where the Clone tool comes in. Use it to clean up any messy patches or missing details. Alt-click to sample a clean source area, then paint to remove unwanted details.
For more on Adobe Photoshop Elements, have a look at our beginners guide to Photoshop Elements.