Welcome to our new series of articles where we focus on camera features and extras that one particular maker delivers especially well. We’re starting with film simulation modes/in-camera colour and our first ‘Nobody Does it Better’ accolade goes to… Fujifilm.
Even if you shoot raw images and love processing files on a computer, it’s very rewarding to capture an image that’s close to your ultimate goal in-camera. It also enables you to ensure that you’ve got all the tones and detail where they’re needed, for further finessing on the computer.
All cameras apply some interpretation to images, but you can tailor their look using on-board settings that are called things like ‘Picture Control’, ‘Picture Style’ or ‘Film Simulation’ mode, depending upon the camera manufacturer.
However, thanks to its experience of manufacturing film and its in-depth understanding of colour science Fujifilm really leads the pack for delivering great colour in-camera with its Film Simulation modes.
These modes govern the colour, saturation and contrast of the images, giving them a particular look or style.
The film-simulation modes: what you get
Cameras like the Fujifilm X-T4, X-S10 and X-E4 have a total of 18 Film Simulation modes which means there’s something to suit most tastes and situations. The list includes:
Provia/Standard
Velvia/Vivid
ASTIA/Soft
Classic Chrome
Pro Neg.Hi
Pro Neg.Std
Classic Neg
Eterna/Cinema
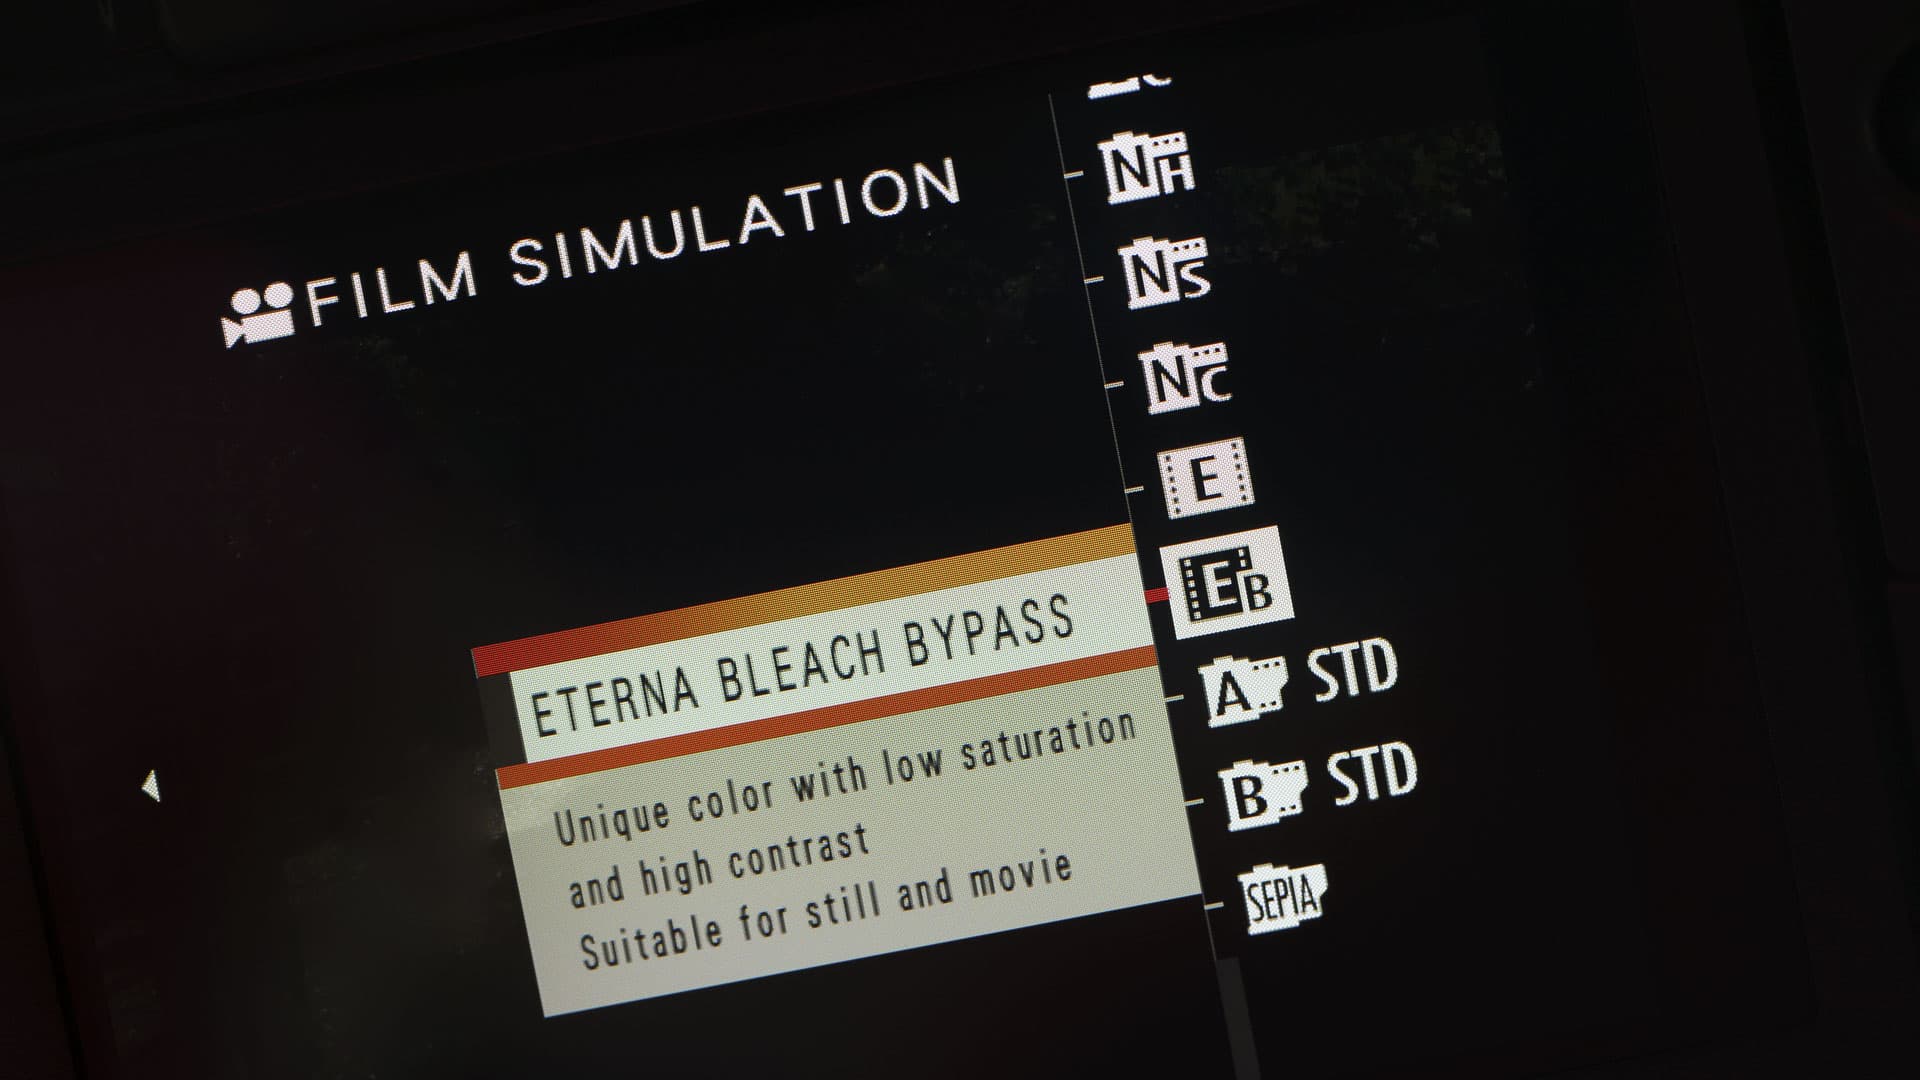
Eterna Bleach Bypass
Black&White
Black&White+Ye Filter,
Black&White+R Filter
Black&White+G filter
Sepia
Acros
Acros +Ye Filter
Acros +R Filter
Acros +G Filter
Fujifilm Acros
The new GFX100S introduces a 19th mode called Nostalgic Negative.
Many of those names will be familiar to avid film photographers, and Fujifilm’s aim with its Film Simulation modes was to replicate the appearance of its analogue film stocks.
With Fujifilm Provia
Provia/Standard, for example, which is the default setting, is named after a transparency (slide) film which is still available today and has been popular for a wide range of photography including landscape, portrait, still life, nature and fashion.

With Fujifilm Velvia
Velvia/Vivid is named after the Velvia transparency film which is known for its high colour saturation which made it very popular for landscape photography.
Everyone has their favourite Film Simulation mode(s), but it’s well worth experimenting with them to see what impact they have on the mood of your images.
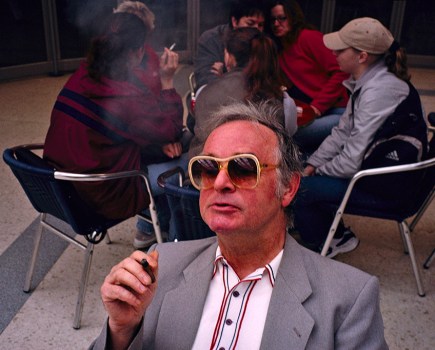
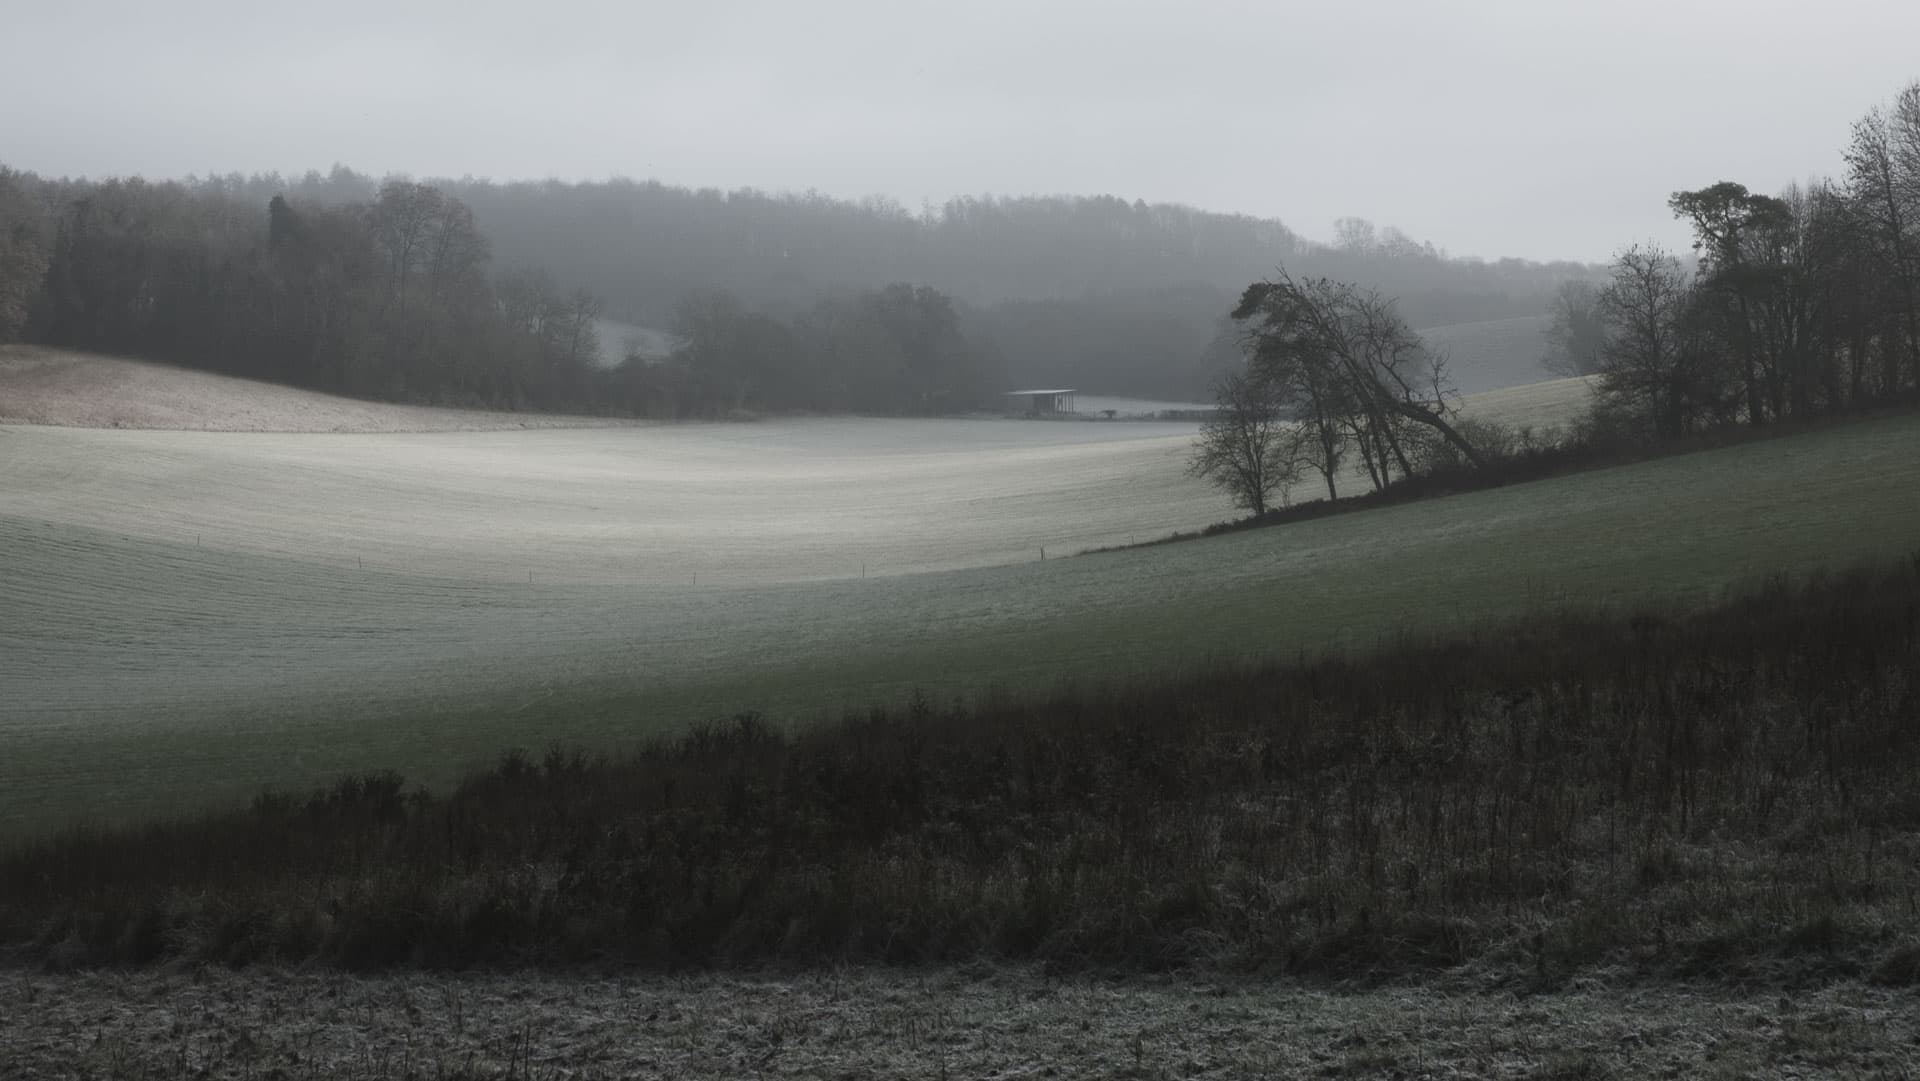
The muted colours, earth tones and hard tonal gradations of Classic Chrome for example, don’t suit every scene but it can work well for documentary photography and some moody landscapes.
Of course one of the benefits of digital photography is that although you can use these Film Simulation modes to replicate the colour and contrast of the original film emulations, you’re not limited to using their low speeds, you can use the settings at any digital ISO value. You can also adjust other parameters such as the Grain Effect, Highlight Tone, Shadow Tone, Color (saturation) and Sharpness to create a bespoke style.

Acros with red filter
How to set the Film Simulation mode
By default, the quickest way to set the Film Simulation mode is via the Quick Menu. Just press the Q button, tap the Film Simulation icon (by default it will say ‘Std’) and then select the option that you want.
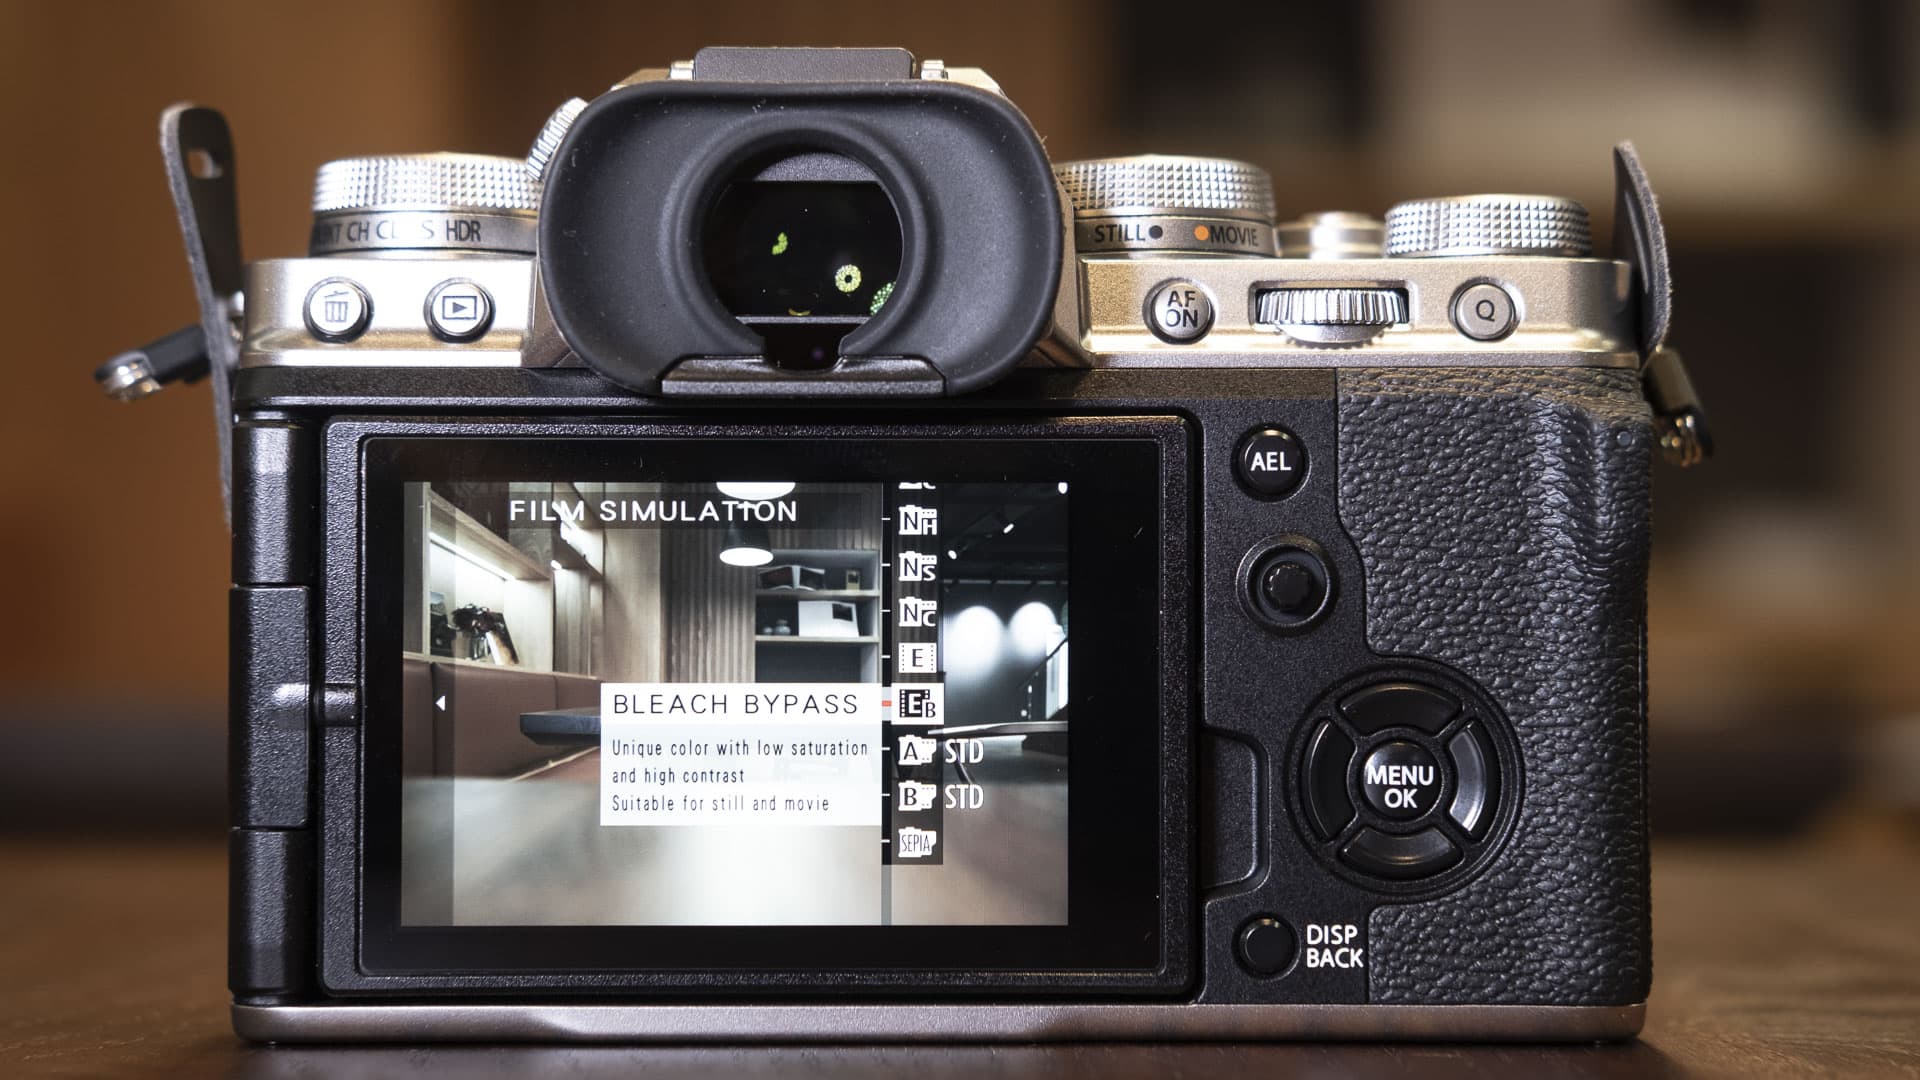
The options can also be access via the first page of the main menu. This can be a better option because more of the scene is visible on the screen or in the viewfinder and, as you scroll through options, the image changes to reflect the selected mode.
Also, with some recent cameras like the X-S10, if you press the Q button while browsing the Film Simulation options in the main menu, you’ll see a description of the impact of the selected mode and the type of photography that it’s generally used for.
Of course, there’s no right or wrong with the Film Simulation modes, it’s a question of picking the one that you like best for a particular scene or situation.
If you’re still not sure which mode to use, go to Film Simulation BKT in the Shooting Settings section of the menu and pick three Film Simulation modes to use. Then access the drive mode options and select ‘Film Simulation BKT’ to shoot in batches of three images with a different mode applied to each.
Using the Film Simulation modes with raw files
The Film Simulation mode effects are applied to both raw and Jpeg images, but they’re ‘baked in’ with Jpegs. That means that although you can make some adjustments using your preferred image-editing software, you can’t swap between different modes and you’ll come up against the usual constraints of Jpeg file adjustment.
It’s very different with files, however. As you’d expect, with Fujifilm’s own software, Fujifilm Raw Studio, you can apply different Film Simulation modes to your raw files as you process them. Helpfully, you can also do so in Adobe Camera Raw (supplied with Adobe Photoshop) and Adobe Lightroom.
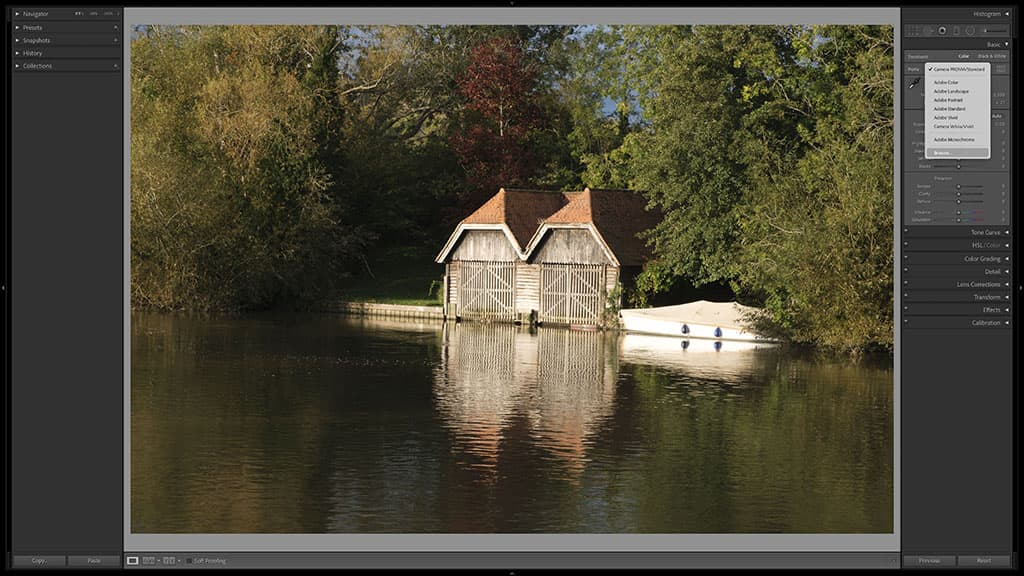
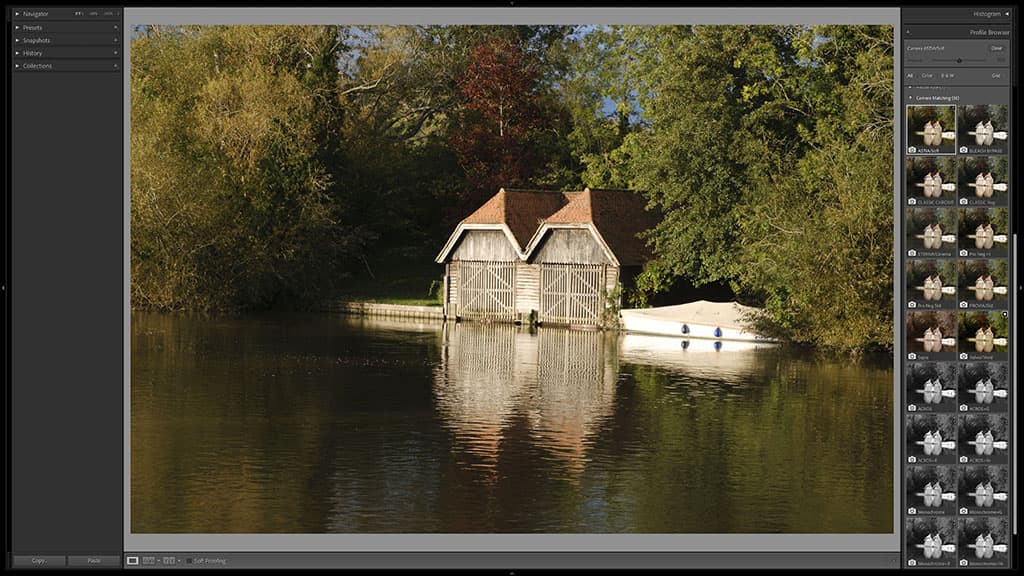
Locating the Film Simulation modes in Lightroom
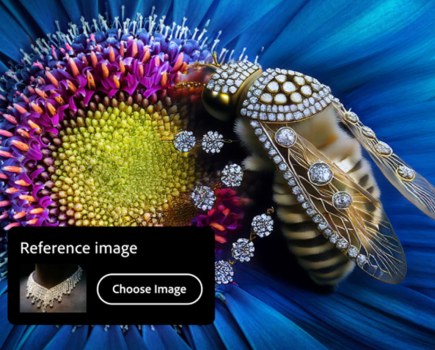
With a Fujifilm raw file open in Adobe Camera Raw, click on the dropdown icon to the right of the Profile box in the top ‘Edit’ tab and select ‘Browse’, followed by ‘Camera Matching’ if necessary.
This reveals all the Film Simulation modes available for selection. Simply hover over the thumbnails to preview the impact on your image and click on the one you most like the look of to apply it.
Using Astia mode in Lightroom
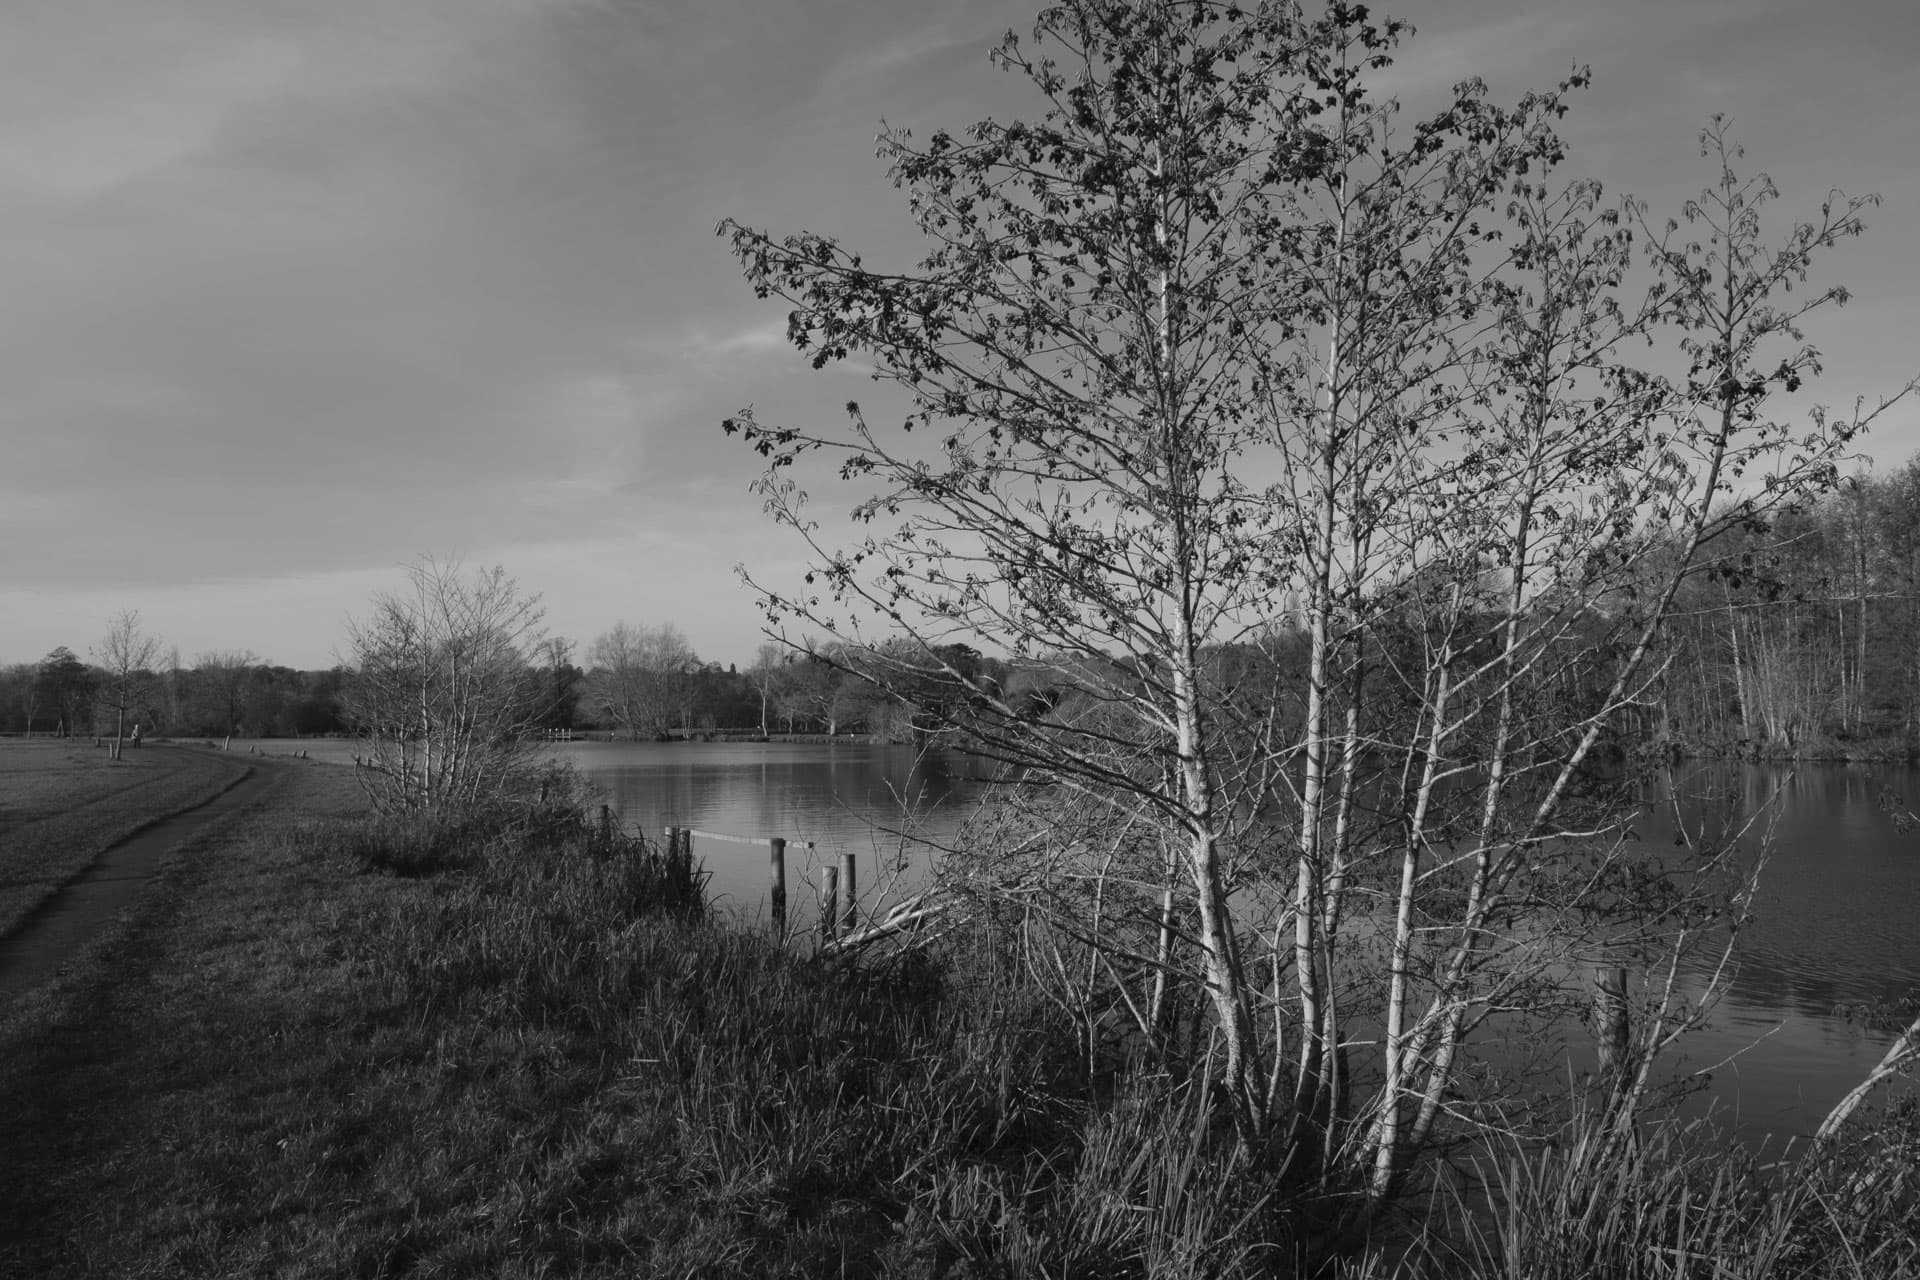
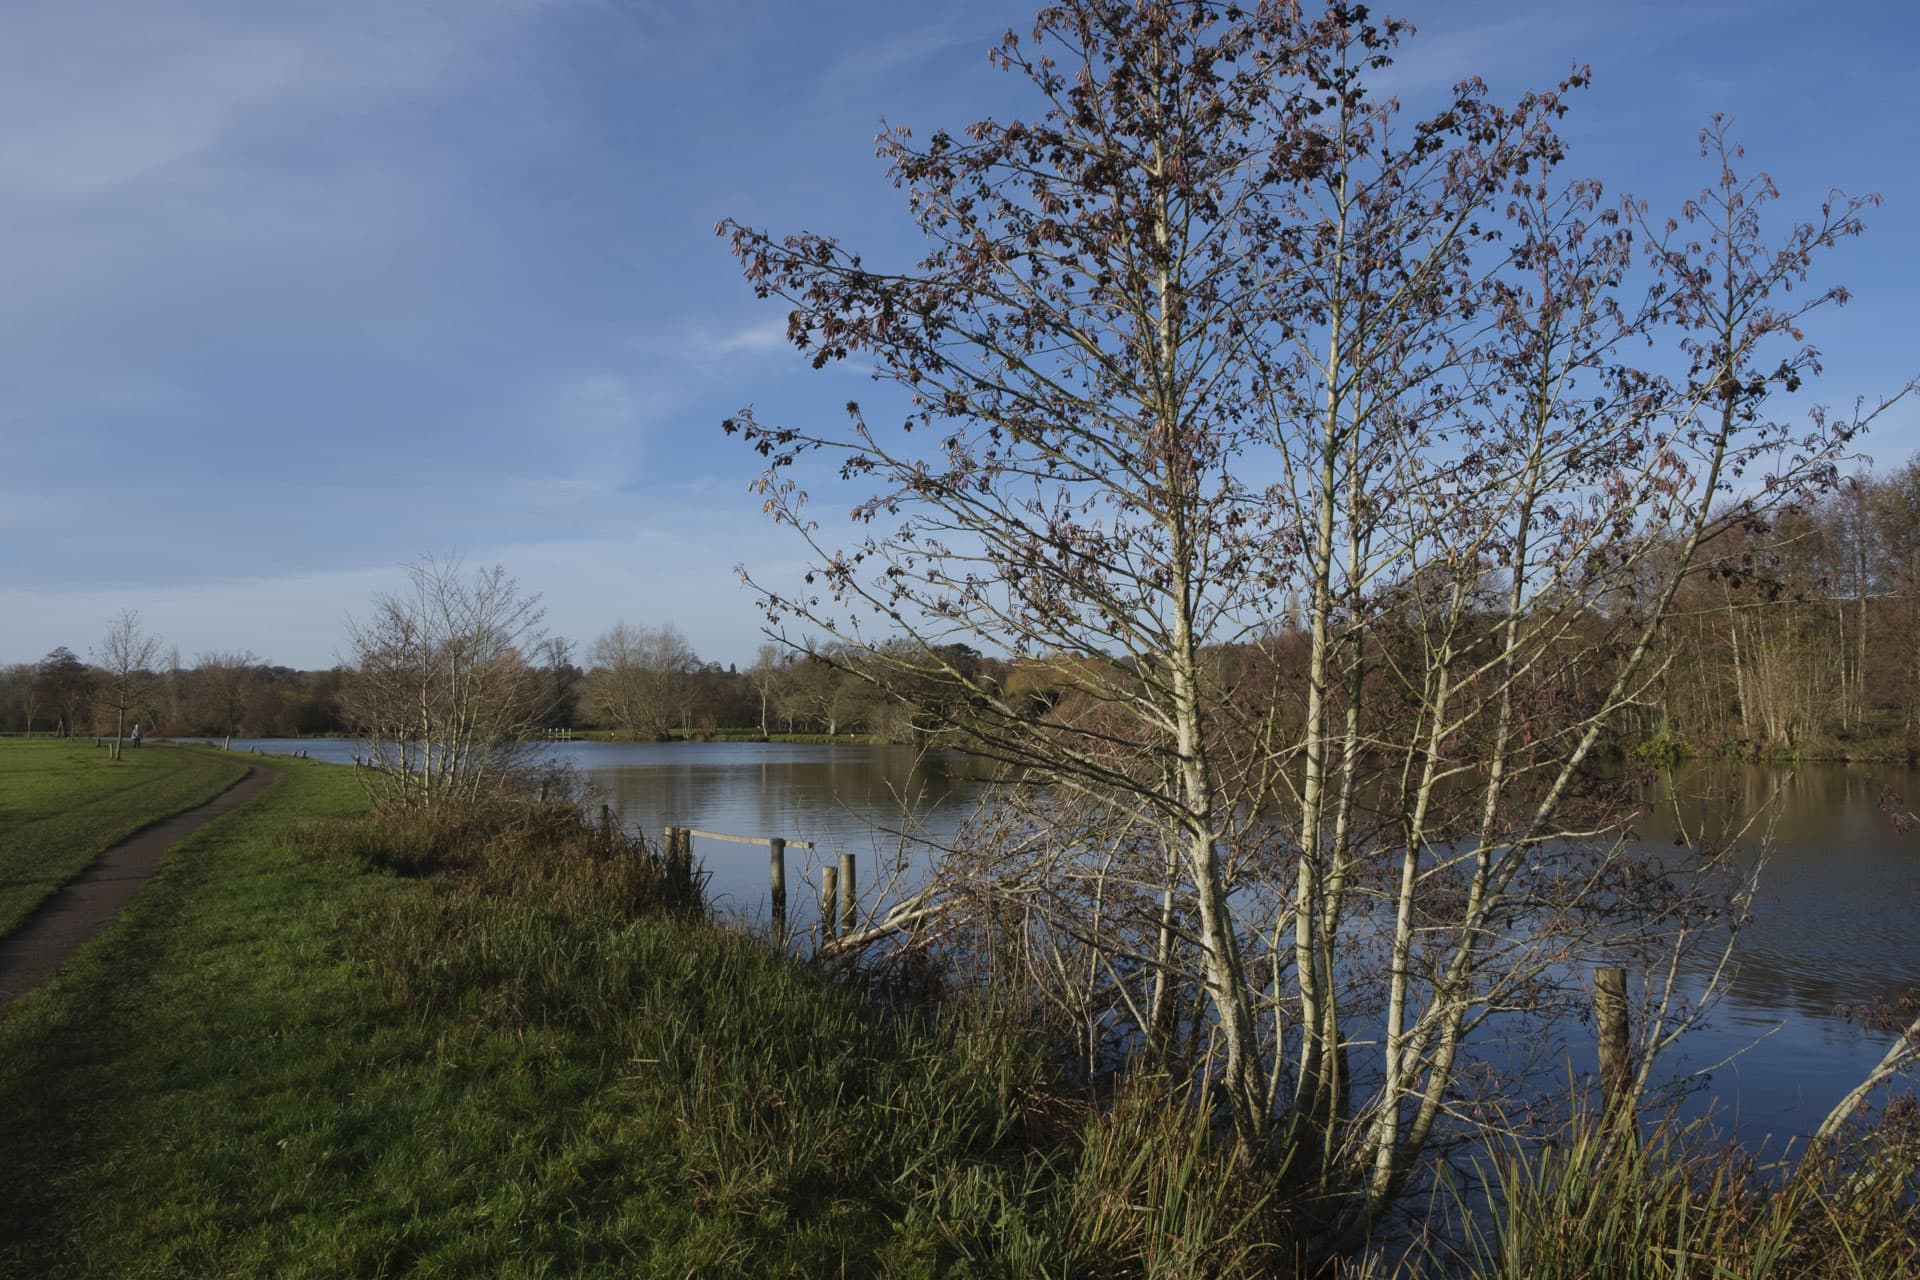
Even if you shot your image using a black and white Film Simulation mode like Acros, you can still swap to a colour mode like Velvia or Eterna Bleach Bypass.
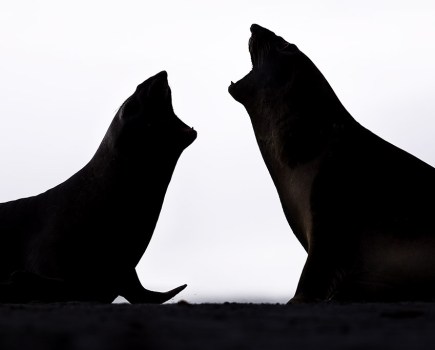
Eterna Bleach Bypass
Naturally, you don’t have to stop there. You can continue to edit your file as you would normally.
It’s just as easy to apply the Film Simulation modes to Fujifilm raw files in Lightroom. This time, select the file in the Library and then open the Develop module. Then, click on the up/down arrows next to the profile and again select ‘Browse’ followed by ‘Camera Matching’ if you don’t see the Fujifilm Film Simulation options straight away. Again, you can access the impact of each mode by hovering over the thumbnail and then a poly it with a click.
Watch out for our next ‘Nobody Does it Better’ next month, on advanced autofocus options
Further reading
Get the classic black and white film look with digital cameras