In partnership with MPB
The Close-up round of APOY is now open and we are really looking to forward your best images – be they plants, animals, objects or anything else that fits the creative brief.
While macro has been very popular during the lockdown, it’s fine to enter images taken before Covid-19 too. To give you every chance of doing well in the competition, we’ve put together some practical tips below. Best of luck in APOY!

Understand the difference between macro and close-up
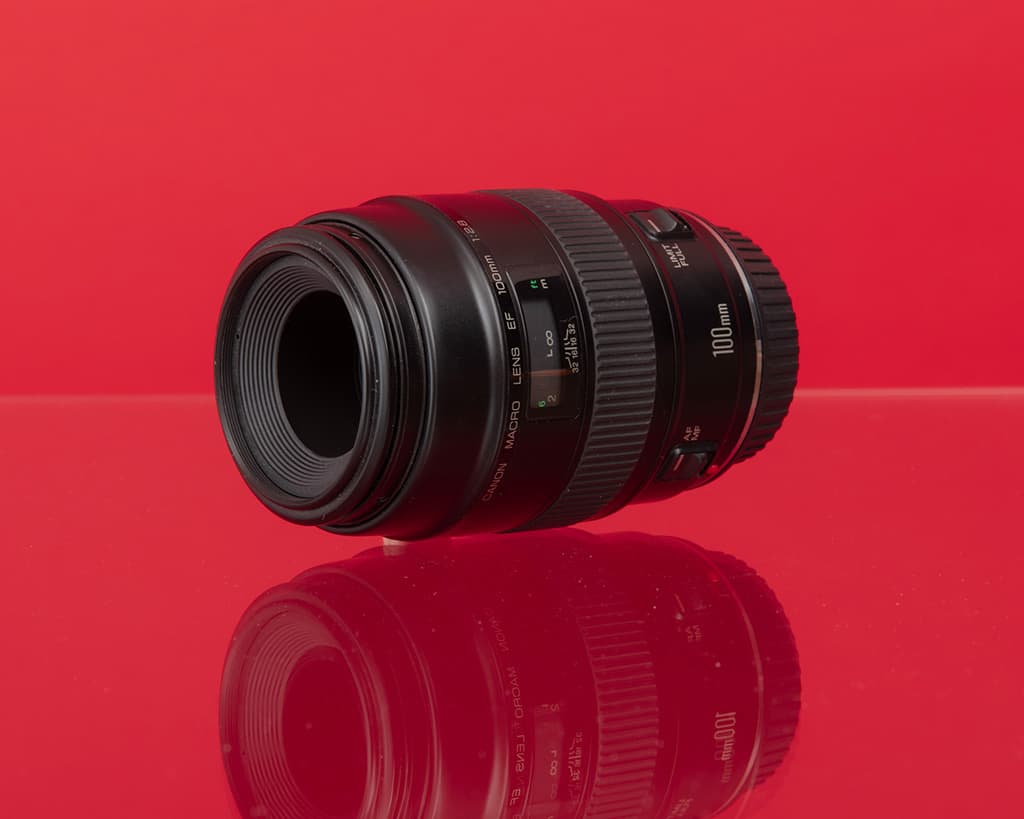
Although the terms close-up and macro photography are often used interchangeably, in reality only a reproduction ratio of 1:1, or a magnification of 1x (life-size), can be classed as macro; anything less than that is close-up. For the most part, this distinction is inconsequential, but when it comes to buying a lens it’s important to note that some manufacturers describe their lenses as ‘macro’ when, in fact, they are incapable of achieving 1:1 magnification and should really be described as ‘close-up’. MPB sells a wide range of high quality used macro lenses.
Use a longer macro lens for very shy small creatures
They can be expensive, but the benefits of longer focal length lenses will allow you to stand back from your subject—while still magnifying plenty of detail. It’s still possible to shoot macro wildlife using shorter lenses, but your hit rate will suffer if your proximity is disturbing creatures in their natural habitat. To achieve a narrow depth of field for that all-important subject-background separation, macro lenses’ extra magnification means you don’t have to be fully open.
Equally, unlike with standard lenses, large apertures might create too little depth – so stopping down might make it easier to focus, especially if you’re using manual-focus lenses (manual focusing is sometimes easier with macro).
Pick your time
To find the perfect time to shoot your chosen subjects, you need patience and a little research. If shooting insects or other animals is your thing, try to research when they’re most active—both seasonally and at a given time of day. This will allow you to better plan your shoot. This goes for weather conditions.

Keep the context
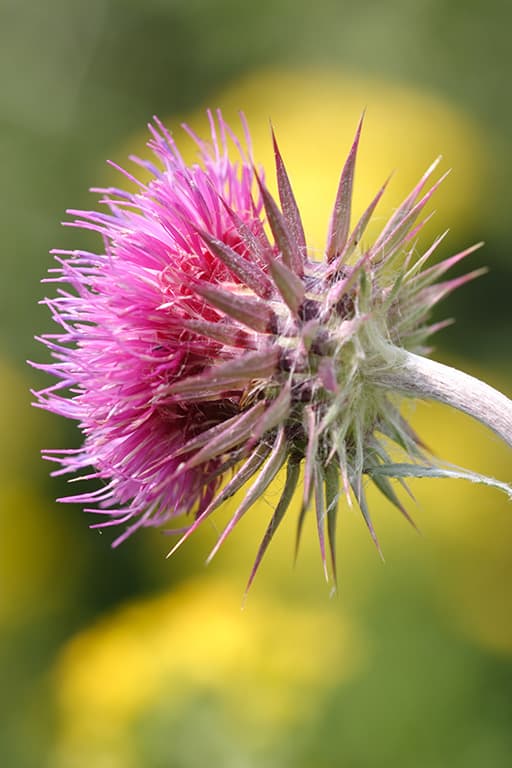
Sometimes photographing a fly on a sheet of Perspex or a flower against a paper backdrop can lead to striking pictures, but only when the juxtaposition is intentional. Simply plonking a subject onto a background is unlikely to lead to memorable work. Where possible, try to shoot natural subjects in their natural environment – because including vegetation, rocks, wildlife etc can provide valuable information about the life of your subject.
Consider extension tubes
To get into macro without forking out for an expensive lens, try using an extension tube. They simply move the lens away from the imaging plane. While you may lose infinity focus, it will allow you to focus at a closer distance—with lenses you already own.
Don’t forget about the composition
With macro, the subject is often the most important variable in the shot—but there are ways to accentuate your subject. Using negative space can make the subject pop. Points of interest surrounding the subjects—texture, colour, aperture—will have a drastic effect on the overall composition of the image. Make sure you control as much of the shot as you can.
If there’s something you don’t want in the frame, try to move around so it’s no longer in your composition. It may sound obvious, but a big part of photography is knowing what to shoot and what not to shoot.
 Mastering minimum focusing distance
If you’ve ever tried focusing on a subject close to the lens, but no matter what you try you just can’t get it sharp, then check the specifications to see what the minimum focus distance of the lens is. This distance is measured from the focal plane (sensor/film) to the subject, not from the front of the lens to the subject, which is a common misconception (this is actually the working distance).
Don’t forget the background
When you’re shooting macro wildlife, it usually isn’t possible to move your subjects. So, if you want to make your shot more dynamic, try studying the area around the subject. Find angles to shoot from that maximise interesting backgrounds—incorporate colour, light and texture. To maximise depth of field, keep the camera parallel to the subject, stop down the aperture (bearing in mind the above), position the camera further away from the subject or try focus stacking.
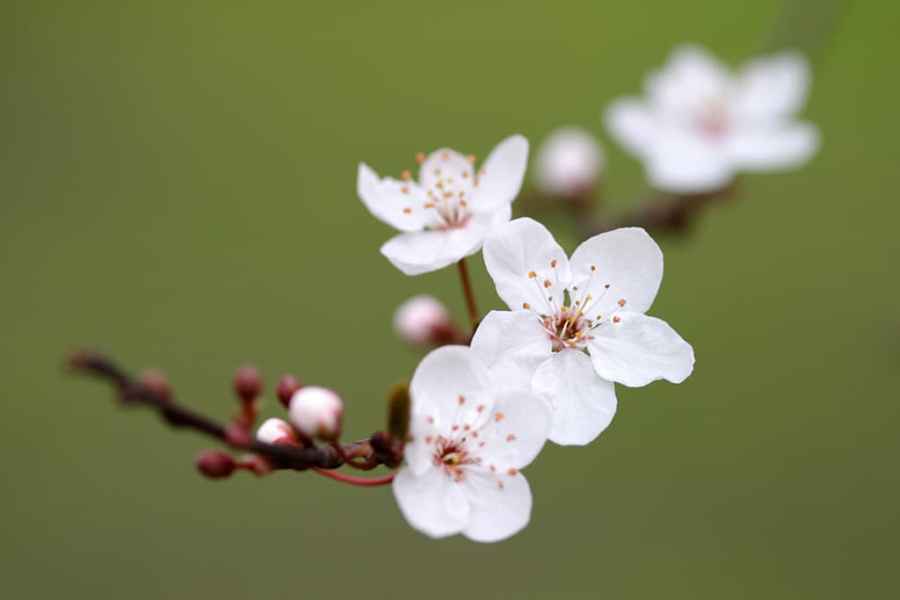
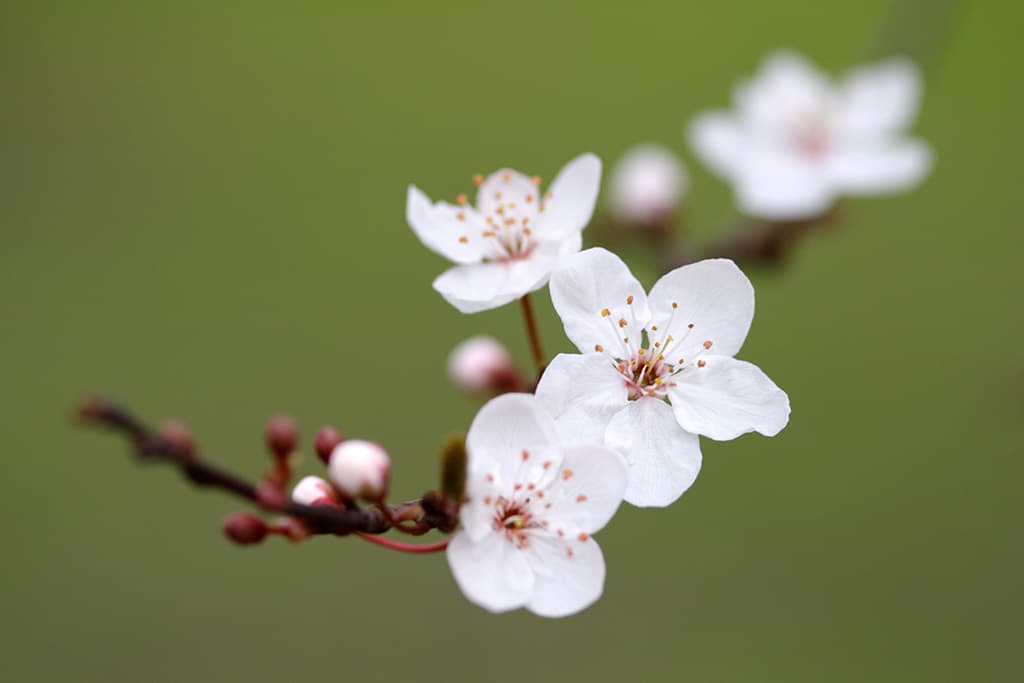
Keep plants steady
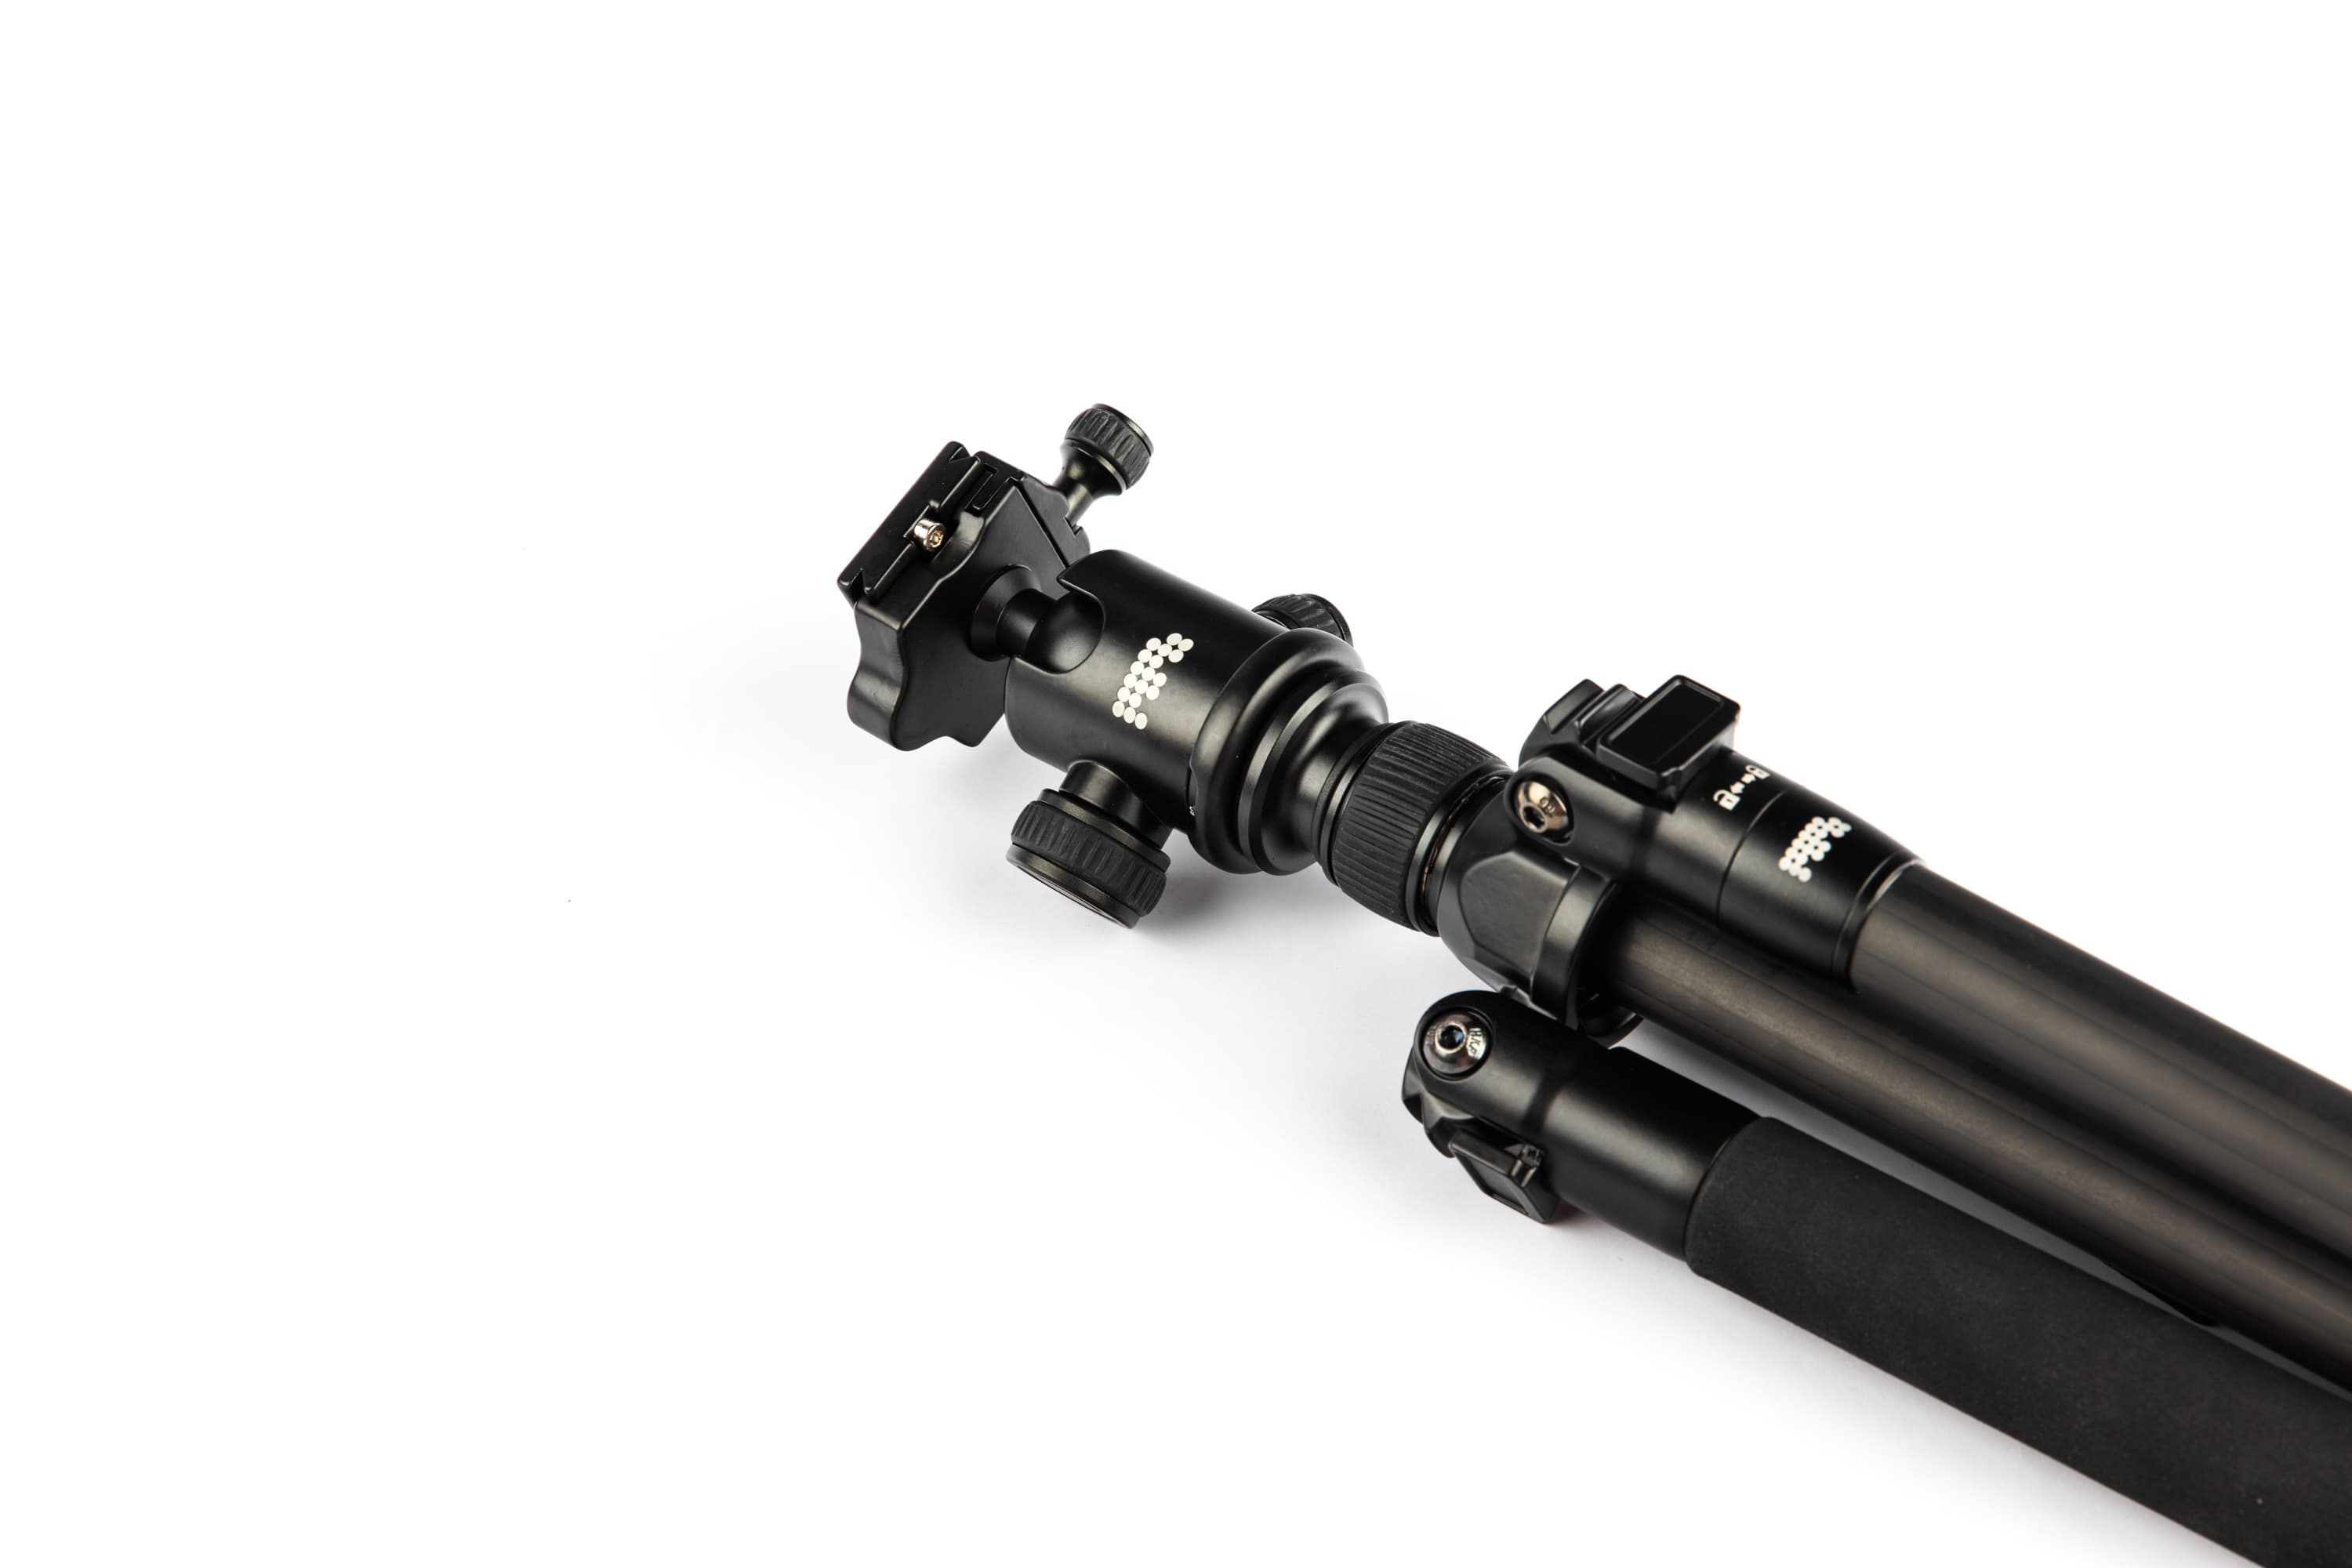
When wind speed rises above 5mph, plants seem to move about the frame at an alarming rate. In such instances, it’s best to let things die down. Failing that, look for plants with thicker stems or use a Wimberley Plamp (or other support) to steady your subject. But don’t be put off by ‘bad’ weather – overcast conditions are great for reducing contrast, and mist, snow and frost can add atmosphere. What’s more, plants look great after a shower of rain. As a wider tip, extreme magnifications can lead to shake when hand-holding, so consider also taking along a tripod.
Master lighting
Natural light is arguably better; use a reflector to bounce it back into shadow areas, or a diffuser to soften harsh sunlight. Another alternative is a portable LED light, which can be great for illuminating flowers and fungi
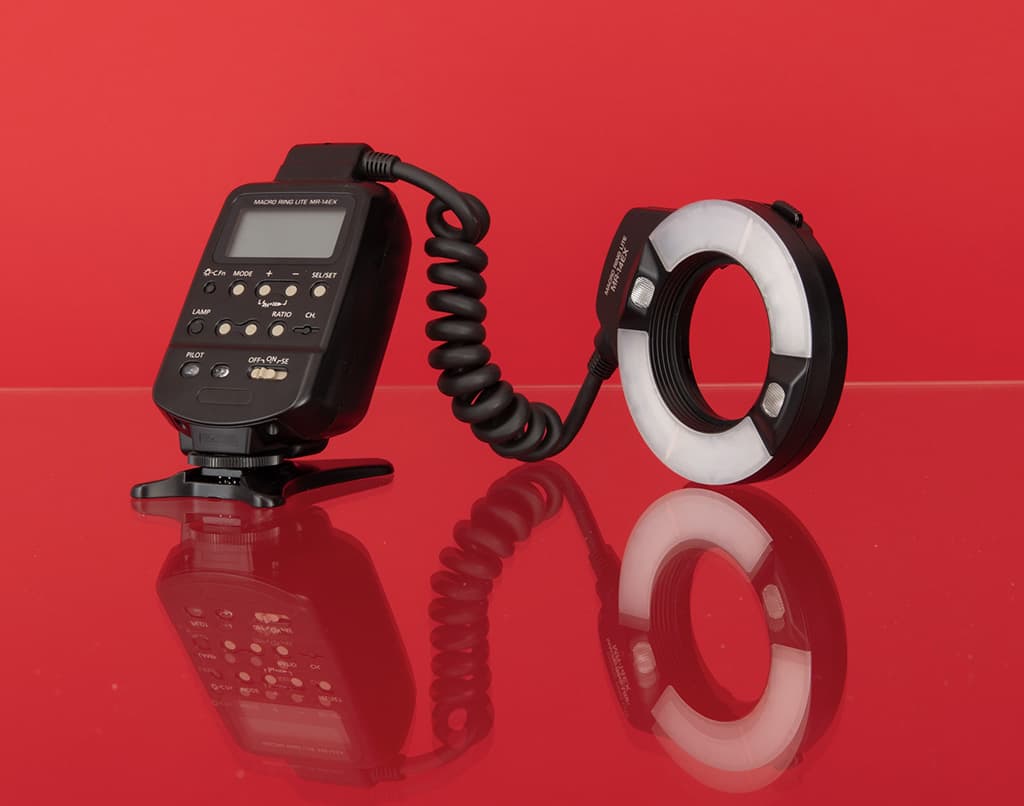
Adding light from a flash can also help you better control your scene. Experiment using your pop-up flash, if you have one, then move on to off camera flash—or ring flash, depending on your needs. To add a certain softness to your shot, try diffusing or bouncing light so it isn’t harsh on your subject. Experiment with shutter speed and ISO to darken or brighten backgrounds to add drama to your shots.
For more great close-up tips, see MPB’s blog article here.