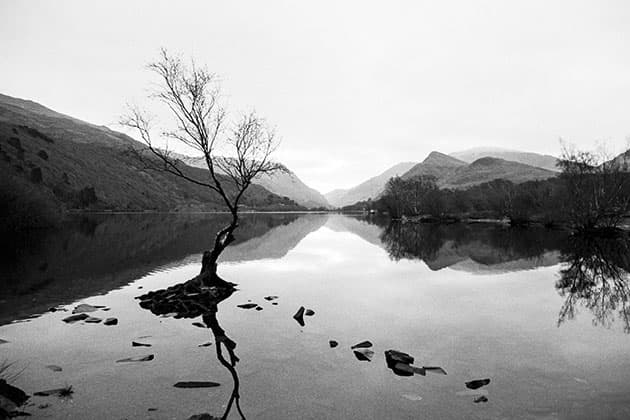
A fine grain developer such as Ilford Ilfotec DD-X is perfect for fine grain films such as Ilford Delta 400. Llyn Padarn, North Wales. Canon EOS 3000v. Credit: Matt Parry
If you grew up with film photography then you will no doubt remember the plethora of processing labs in supermarkets, high street chemists and photo retailers. These labs were geared towards processing and printing the large volume of colour film that was being shot.
Despite evolving into online or mini-lab services catering primarily to digital prints, there are still many colour facilities on the high street, whereas the options for black & white film have always remained relatively limited. This is mainly because black & white film requires different chemicals and high street lab equipment was rarely configured for this process – justifiable given the once significant market share of colour film. While colour films would be processed in store, a black & white film would typically be outsourced to a specialist lab, or in larger chains sent to a central-processing facility. This often meant that the swift turnaround you could expect from your local lab was just not possible with black & white film.

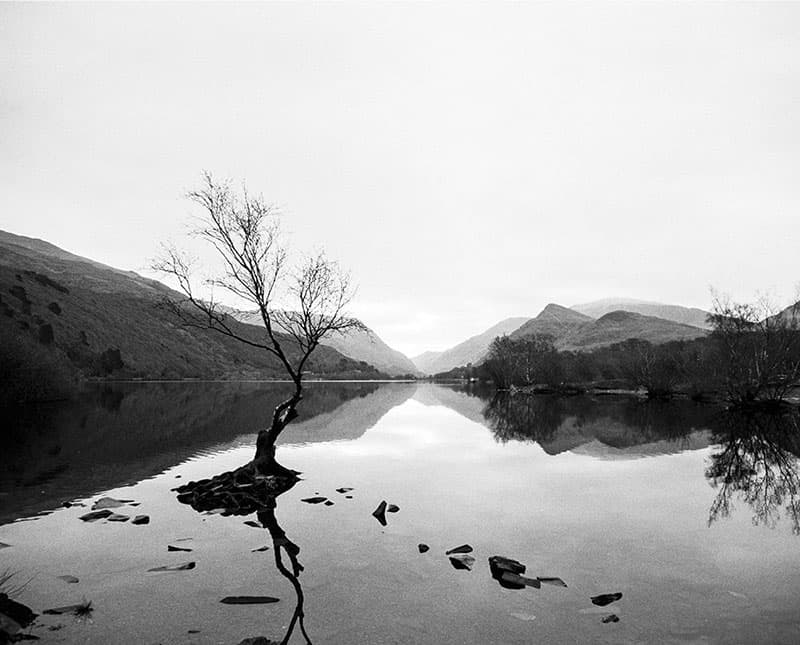
Ilford Ilfotec DD-X brings out the full range of tones. Ilford HP5 Plus, Canon EOS 3000v. Credit: Matt Parry
Black & white labs
While you may not find dedicated black & white labs on the high street, there are some excellent options that offer processing, prints, scanning and enlargement services. Some, such as harmanlab.com or metroimaging.co.uk, also offer true black & white prints from digital files, thus avoiding metamerism: colour shifts under different lighting caused when printing a black & white image using colour.
You may wonder why, in an article about processing your own film, I have started by talking about labs. Well, I have started this way because, typically, this is the path that most photographers take. It is therefore important to understand the options available as well as the context and merits of each. While the number of black & white labs is still fewer than colour ones, it is far easier to process a black & white film at home than it is to process a colour film. This makes home processing an excellent choice that all black & white film photographers should try.
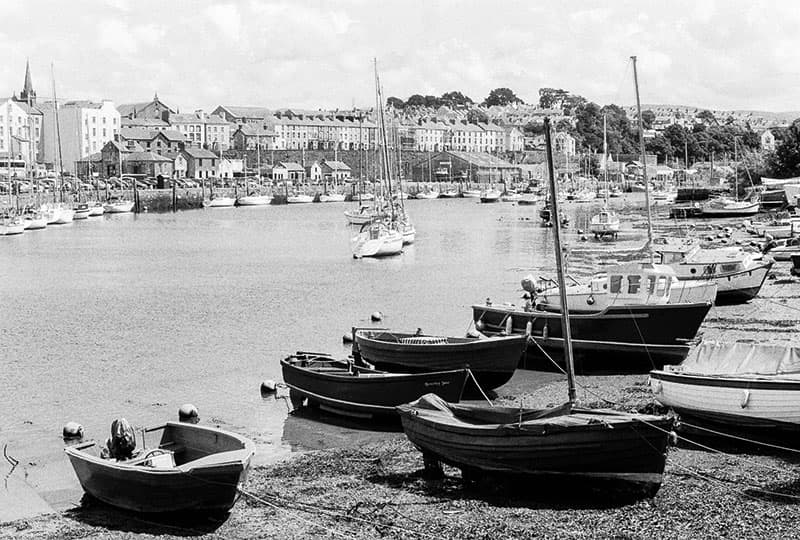
A liquid developer is easy to use, ideal for novices. Boats in Caernarfon harbour, Wales. Ilford HP5 Plus, Olympus OM-1. Credit: Matt Parry
When to retain control
As photographers we know that capturing the image is only part of the process. That final image is rarely concluded in-camera, and in both film and digital photography we have further options and control over how that image will look.
While people are generally familiar with the concept of darkroom printing as the precursor to certain Photoshop techniques, many don’t appreciate that when processing your film, the choice of chemicals and development times can also affect the final look of the negatives (and therefore your images).
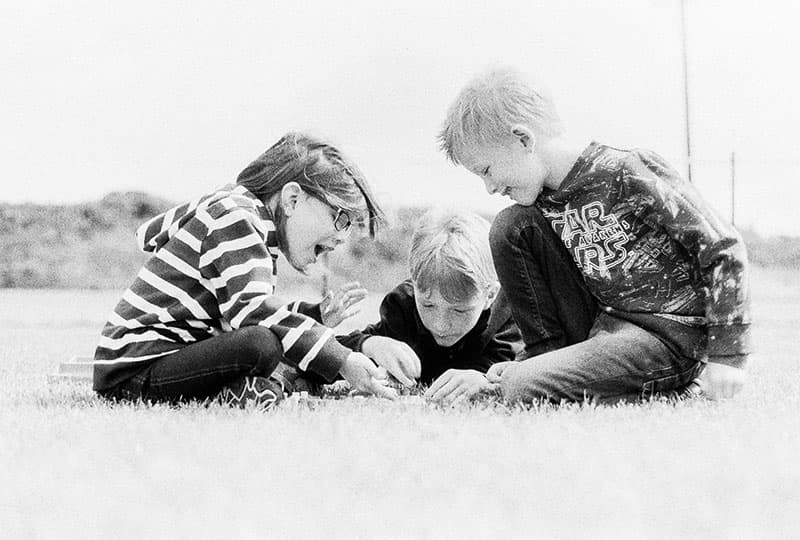
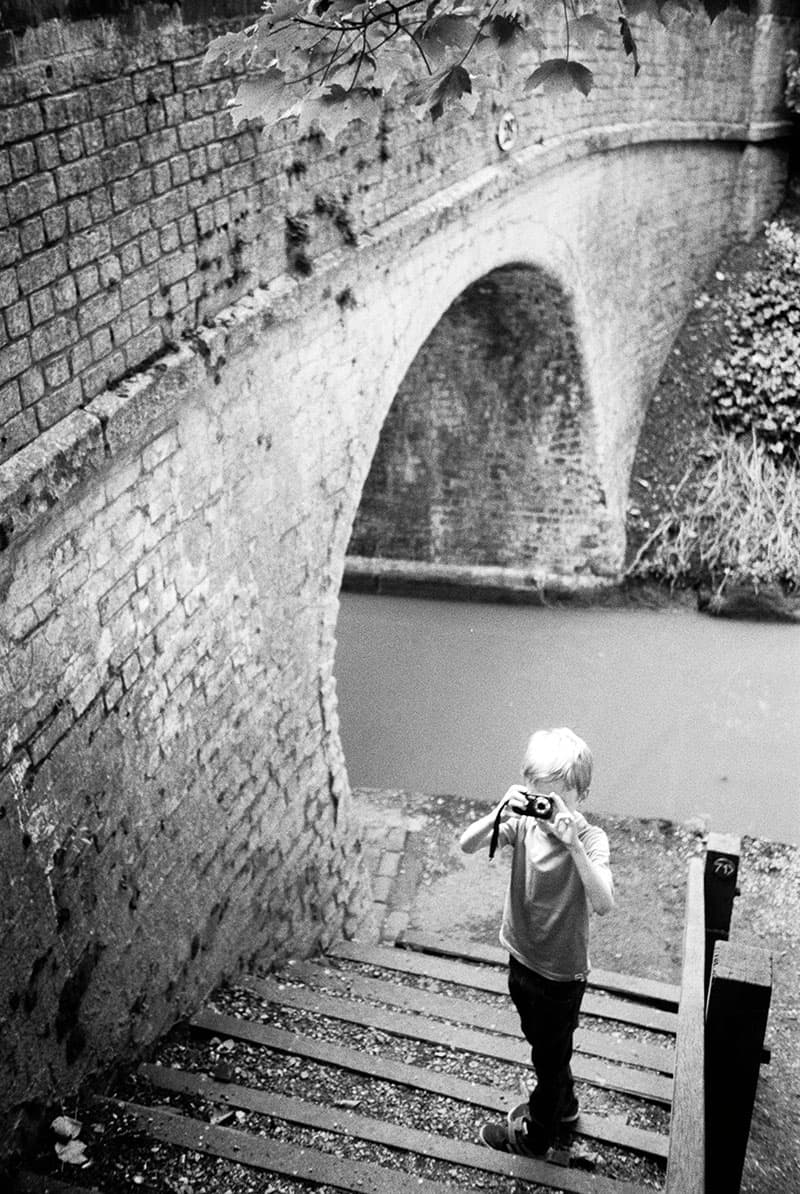
Capturing candid moments on film. Abersoch, North Wales. Ilford HP5 Plus, Olympus OM-1. Credit: Matt Parry
Labs will typically use the same chemicals regardless of the film stock (with processing time adjusted to the film speed and any push/pull instructions from the photographer). While this achieves a consistent and balanced output and removes any risk of processing error, you may like the way a certain chemical works with your preferred film stock, that is, exploiting the film’s speed or reducing its grain structure. Processing your own film retains that option.
Sending a film off to a lab is certainly easy and the wait to get your negatives is not excessive. However, for those who need quick access to the negs (driven by deadlines, impatience or just eagerness), then home processing definitely wins out.
The kit required to process your own film is simple and affordable. This makes the DIY route a very cost-effective method. The standard kit comprises a few specialist pieces of equipment plus a number of regular household items, which can be upgraded as needed. The only true ongoing costs are the chemicals.
Working safely with chemicals
Photo-chemicals are not hazardous; however it is always worth taking sensible precautions, such as wearing goggles or rubber gloves, to avoid skin irritations or splashes.
It is common to get drips when agitating or pouring chemicals, so clean your work surfaces thoroughly. If you use household containers to mix chemicals please do not use them again for preparing food (even after washing).
If you have any doubts or concerns when working with chemicals, check the labels on the bottles/boxes as these should contain all the necessary health and safety details as well as information on the safe handling and disposal of the chemicals. These should also be available on the manufacturer’s website in a ‘Material Safety Data Sheet’.
What can go wrong
Processing your own film is not without a degree of risk, but like anything else the more you practise, the better and more confident you will become. With that in mind I would never advise jumping into home-processing for the first time with an important roll of film.
While the process is certainly straightforward enough, and there are plenty of resources online for you to watch and learn from others doing it, understanding what can go wrong is the first step to avoiding it happening to you. There are a number of things to watch out for. Perhaps the most common problem is uneven development. This can occur for a number of reasons: the film isn’t loaded to the spiral correctly, there’s not enough chemical solution in the tank, or the tank hasn’t been agitated properly. To ensure you don’t get bubbles on the negatives, tap the tank on your work service after each set of agitations to dislodge them. Scratches are also an issue. They can be caused by dirt in changing bags, an old squeegee, or retrieving the film from the cassette.
Despite the above, if you are well prepared and follow the process carefully you can easily avoid these mistakes. If this article has piqued your interest enough to give it a go, read the step-by-step guide and watch the new ‘how-to’ video guide I have produced for Ilford Photo’s YouTube channel: https://youtu.be/aPQ7OPy8T2w.
Matt’s top five tips
Credit: Matt Parry
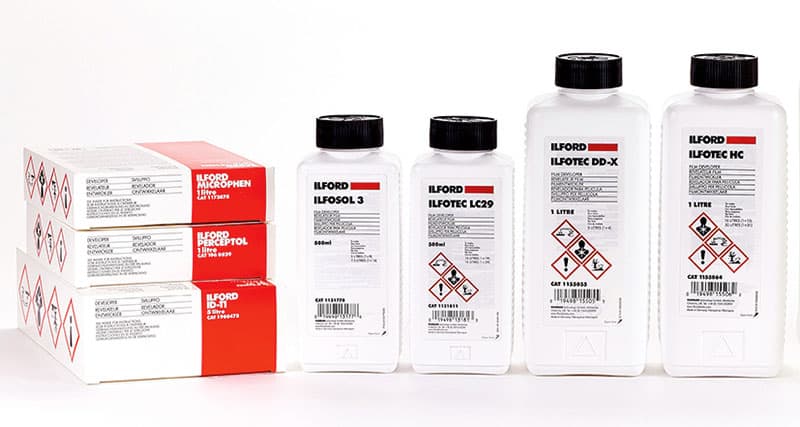
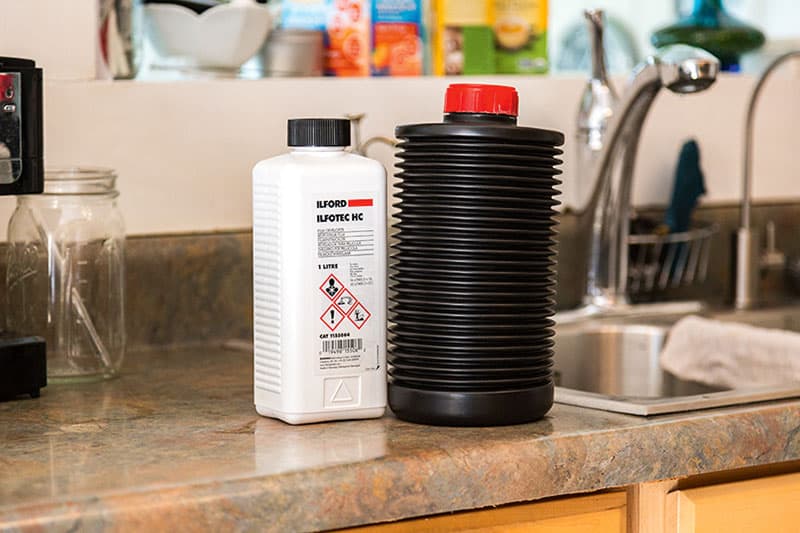
1. Liquid or powder developers
Film developers come in liquid and powder form. For first-time users I would recommend a liquid developer, as they are very easy to mix and use. Powder developers are typically more economical to use and are perfect for more confident or experienced users.
Credit: Matt Parry
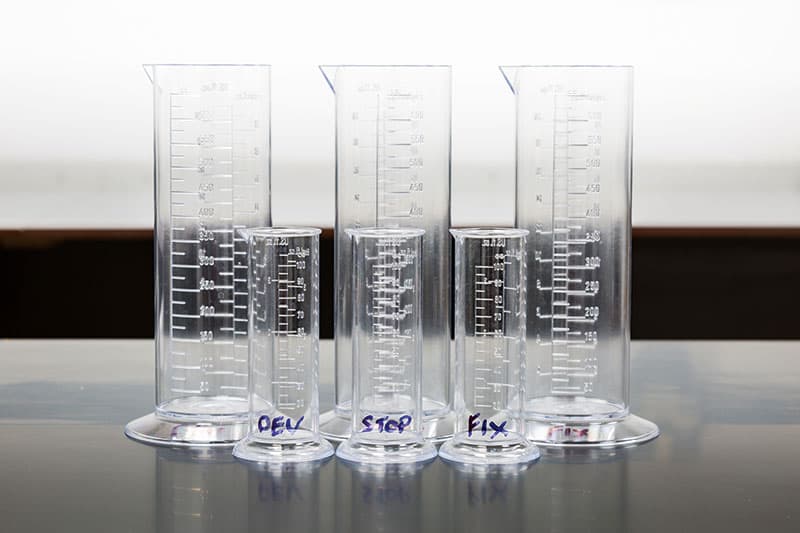
2. Label the cylinders
It is best to prepare all your chemicals in advance for efficient processing. It is worth investing in three sets of measuring cylinders and label them ‘Dev’, ‘Stop’ and ‘Fix’ to avoid contamination. If you have to reuse the same cylinder, wash it thoroughly between chemicals.
Credit: Matt Parry
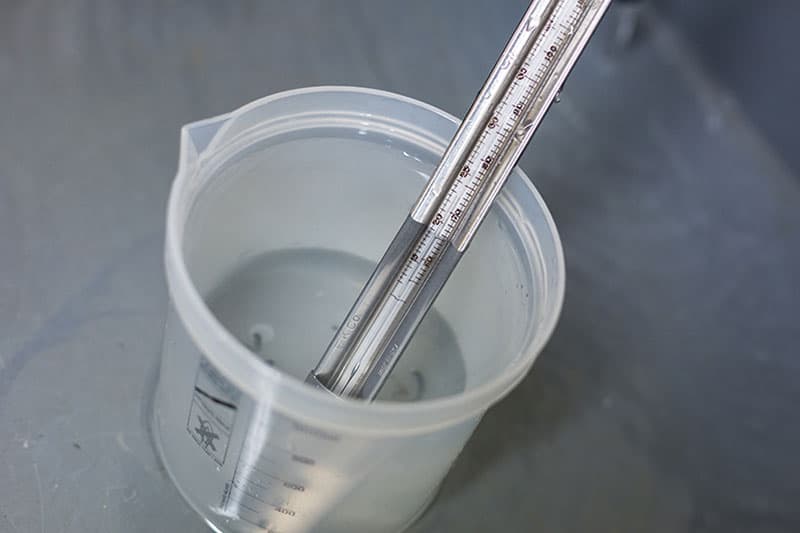
3. Correct temperature
If you are working in a cold area then you will need to keep your prepared solutions at the correct temperature until you need to use them. To do this you can stand them in a tray or bowl of water that is a couple of degrees warmer than your working temperature.
Credit: Matt Parry
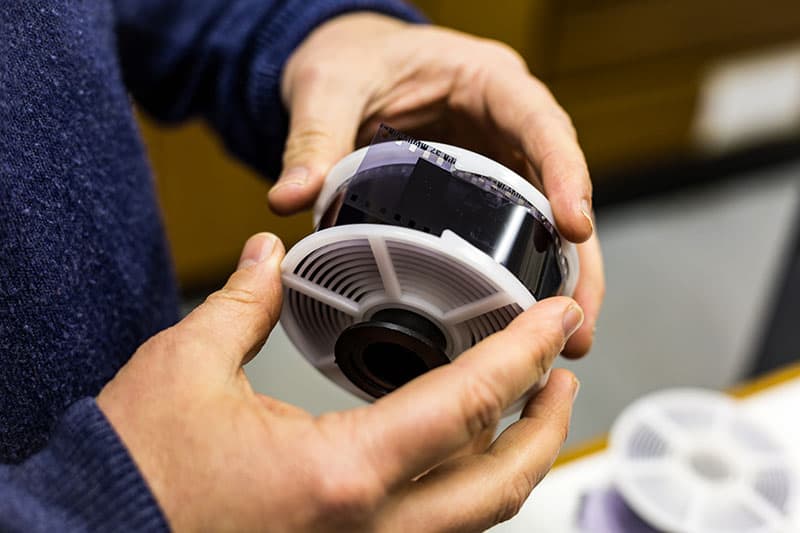
4. Loading the film
The trickiest part of processing film is loading it onto the spiral in complete darkness. Practise doing this in the light with old or wasted film. Once you have mastered this, then try doing it with your eyes closed before attempting it in the dark with real film.
Credit: Matt Parry
5. Reusing chemicals
Some chemicals can be reused – please check the manufacturer’s guidelines on this. You will need suitable storage containers, and of course, like all chemicals these will need to be kept out of reach of young children. Ensure you label your containers too for future use.
10 steps for processing film
Beginners’ guide for processing black and white film at home
1. Before you start (in light)
Until the film is developed it cannot be exposed to light. Make your workspace light tight or use a changing bag (beginners may find these slightly awkward to use at first).
2. Preparation (in light)
Processing a film requires several steps, so get your equipment and work space prepared and organised – especially for the parts that take place in darkness.
3. Mixing your chemicals (in light)
Find the required volumes and temperature (normally 20°C), and then mix your developer, stop bath and fixer solutions into labelled containers.
4. Opening the cassette (in darkness)
In a light-sealed room (or in a changing bag) open the film cassette with your end cap remover (or film retriever) and find and cut the film’s leader.
5. Loading the spiral (in darkness)
Locate the lugs on the spiral and holding the end of the film, pull it onto the spiral between the lugs. Hold one side of the spiral while rotating the other back and forth until the film is loaded.

Processing your own film is a rewarding alternative to lab development. Abersoch, North Wales. Ilford HP5 Plus, Olympus XA3. Credit: Matt Parry
6. Load the development tank (in darkness)
Cut the film from the spool and give the spiral a couple more twists to ensure it is fully loaded. Place the spiral into the developer tank and screw on the top.
7. Development (in light)
Pour your prepared developer solution into the tank and invert/agitate following the recommended times and guidelines provided by the film manufacturer.
8. Stop bath and fixer (in light)
Empty the developer solution and repeat the process with the prepared stop bath and, finally, with the fixer. You now need to wash and remove the residual chemicals.
9. Wash (in light)
For an economical wash fill the tank with clean water (at 20°C) and do five inversions. Repeat x10 inversions, repeat x20, and finally x5 (adding a drop of wetting agent for the final set).
10. Rinse and prepare for drying (in light)
Open the tank and remove the film from the spiral. Hang with your pegs at either end and remove excess water with a squeegee. Leave it to dry somewhere clean and dust-free.[/breakout]
Kit list
- Cassette end cap remover: These are moulded to the top of a 35mm cassette and allow you to quickly remove the end cap. A bottle opener can work just as well. An alternative is a film retriever to pull the film back through the felt opening.
- Household items: A number of household items will come in useful, including scissors to cut the film from the spool and pegs/clips to hang the film. Specially made film clips include a hook. You will need two clips/pegs per filmstrip.
- Developing tank and spiral: This is a light-tight container that allows you to develop film in daylight (once the film has been loaded into it in the dark). The tanks come in a variety of sizes to fit single or multiple film rolls (including 120 rolls).
- Measuring cylinders: Use a smaller cylinder to measure the chemical and a larger cylinder to hold the diluted solution. Use individual cylinders for developer, stop bath and fixer. A jug will also come in handy for the wash cycle.
- Accessories: You will also need a timer, a thermometer to ensure the mixed solution/water is at the right temperature, a squeegee to remove residual liquid from the film, something to stir the chemicals, and a pipette to add a few drops of wetting agent.
- Photo chemicals: A developer is required to make the images appear on the film; a stop bath stops the development; a fixer makes the developed image permanent; and a wetting agent helps the film dry quickly and evenly.
A fast film is perfect for sunny days. Middlewich, Cheshire. Ilford FP4 Plus, Olympus XA3. Credit: Matt Parry
Matt Parry is an award-winning travel photographer and a regular contributor to magazines and blogs. He is also the marketing manager for Harman Technology (ILFORD Photo), a role that has reignited his love for film photography. See www.mattparryphotography.com.