Still life photography leaves nothing to chance. Tim Clinch explains how to maximise the potential of this classical and underused genre of photography with his top tips for better still life shots…
What is still life photography? ‘The depiction of inanimate subject matter, typically a small group of objects.’ This encompasses several photographic disciplines, but sums it up pretty well. The true skill lies in the ability to take something mundane and everyday out of its normal habitat and transform it into something of beauty by using our skills as photographers.
So what is it about still life that I like so much? First of all, obviously, it’s the pictures. Some of my all-time favourite images are still lifes.
Edward Weston’s photographs of peppers; the wonderful imagery by my photographic hero, Irving Penn; Tina Modotti’s beautiful peaceful pictures; and the quite perfect images shot by Charles Jones in the late 1890’s (who was not a photographer at all, but a gardener!) come to mind. But above all, it’s the discipline involved that gives me such satisfaction.
This genre of photography is 100% down to you – your eye and your skill as a photographer. It takes no prisoners. You choose the subjects, background and lighting. You set it up, and you shoot it. Unlike say, landscape photography, no spectacular sunset is going to miraculously happen to save your bacon. Or in ‘street’ photography, for instance, no punk rocker with a scarlet mohican is going to wander into your shot to enliven an otherwise dull image. It is all about you, your eye and your skill.
Tim’s top 10 tips for better still life shooting
1. Keep it simple
For me, especially in still life, the acronym KISS – Keep It Simple Stupid – is all-important. It is most often the answer to most photographic conundrums! Be brave and don’t be afraid to keep it simple. Take an everyday object and transform it into something extraordinary, like the corkscrew in this picture. This is not normally something you would notice, but here is a lovely, strong image.
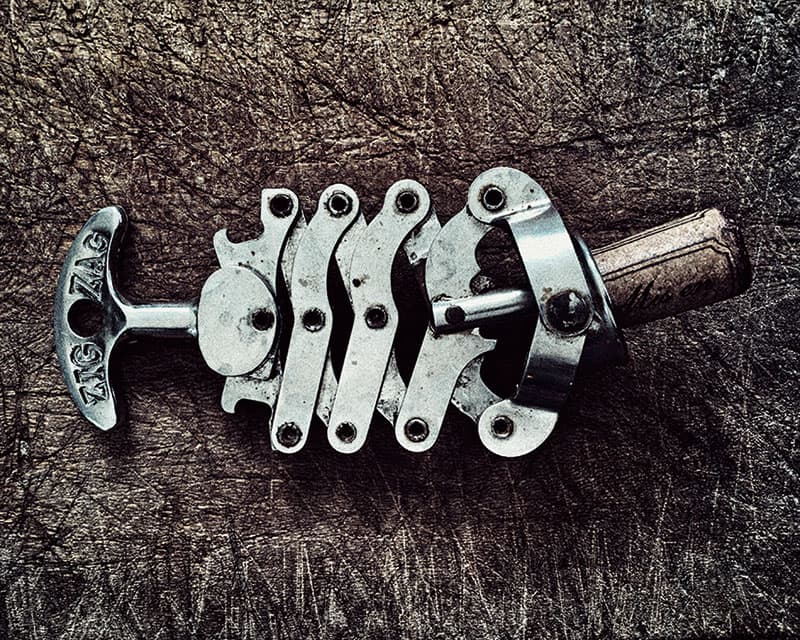
This still life cork screw is rich in detail and texture
2. Draw inspiration from the greats
As a discipline, still life has an amazing history. It is all about composition, and for inspiration we must not only look at photographers, but also at some of the great painters. For me the king of them all is the Spanish painter Luis Meléndez (1716-1780). Even though his work received little recognition when he was alive, he is considered the greatest Spanish still-life painter of the 18th century. His mastery of composition and light and remarkable ability to convey the volume and texture of individual objects enabled him to transform the most mundane of kitchen fare into powerful images. We can incorporate a lot of his influence into our photography. The composition of a still-life image is a discipline and has rules, so study the greats and aim high. The rich and varied history of still life as a genre should inspire you.

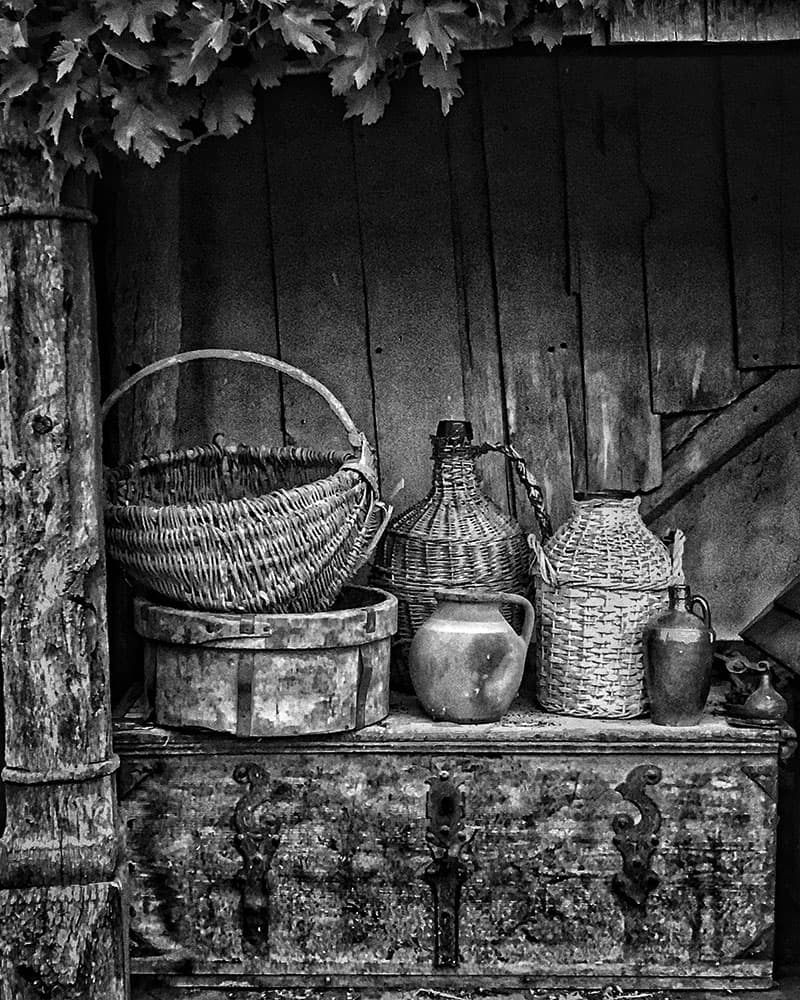
I found these bottles in my cellar. I shoot a lot of still lifes at home in Bulgaria, it’s like therapy for me. Canon EOS 5D Mark III, 24-105mm, 1/100sec at f/4, ISO 100. Credit: Tim Clinch
3. Consider your background and lighting
All still life pictures require a background of some sort. This can be as simple as a plain piece of cloth or a battered old table. Choose carefully and don’t let the background take over the image. Make sure it complements the objects placed on it, or in front of it, but that it’s the last thing you notice in the picture. Always ask yourself what is the ‘star’ of a picture and make sure that your eye goes to that object/person first.
As for lighting, again, simple is best. What did the great 18th-century painters do? Put things next to a window, and, if necessary draped a sheet over it to soften the light. This is exactly what I do. There is no fancy lighting set-up. Just a big, soft sidelight, if needed a diffuser, and normally some sort of reflector to lift the shadows slightly. You really can make it as complicated as you want but, quite frankly, if it worked for Rembrandt, it’ll work for me.

Taken during a hotel shoot in Buenos Aires, Argentina. The client wanted to use lots of colours and details. Canon EOS 5D Mark II, 24-70mm, 1/40sec at f/4, ISO 200. Credit: Tim Clinch
4. Natural versus staged
If we agree with the description of ‘still life’ in the introduction, there are two types of images we can come up with. The first is a group of objects that already exist. These are ones that we notice along the way or that are already in a setting, which we then photograph. The second type of image is something that we set-up from scratch. That is, we use objects that we have chosen, put them on a background or in a situation of our choosing, and move them around until the composition looks pleasing to our eye.
There is nothing wrong with either set-up, but the important thing to remember is that nothing is perfect. So feel free to move things around a little to get exactly the image you want (unless you are somewhere like the British Museum when I would seriously advise against it!).

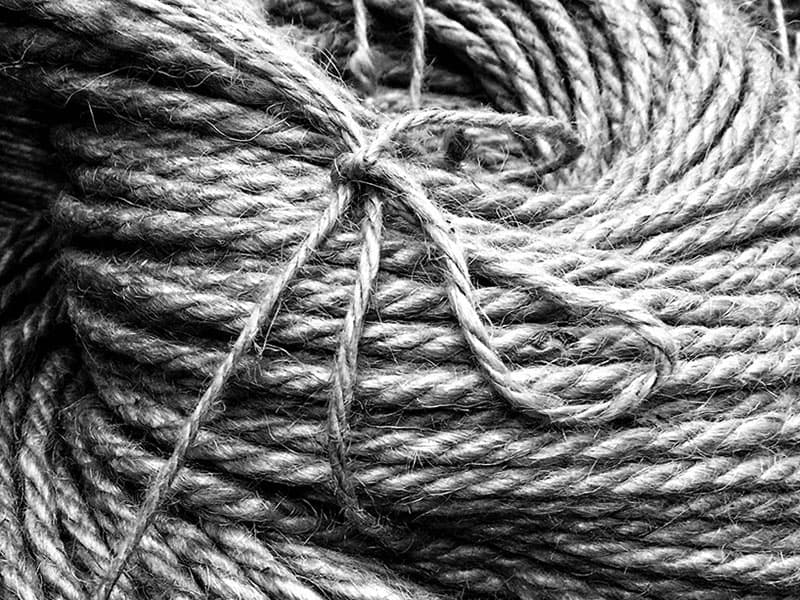
String from my favourite shop in Sofia, Bulgaria. Canon EOS 5D Mark II, EF 24-70mm, 1/640sec at f/5.6, ISO 400. Credit: Tim Clinch
5. Food photography
Where does still-life photography end and food photography begin? This is impossible to answer. Several of my images in this article have been featured in food-photography competitions, but they also fit the criteria for still-life photography. I’m often asked about this and my response is always the same. Does it matter? Not really.
So, to sum up my approach to still-life photography, I believe that simple, strong, uncomplicated images always work best. Don’t over-worry about ‘styling’, and go for impact. My rule about whether you should add another element to your picture is ‘if in doubt, leave it out.’ Be bold. Once you start looking for things to photograph you’ll surprise yourself about where you find beauty.
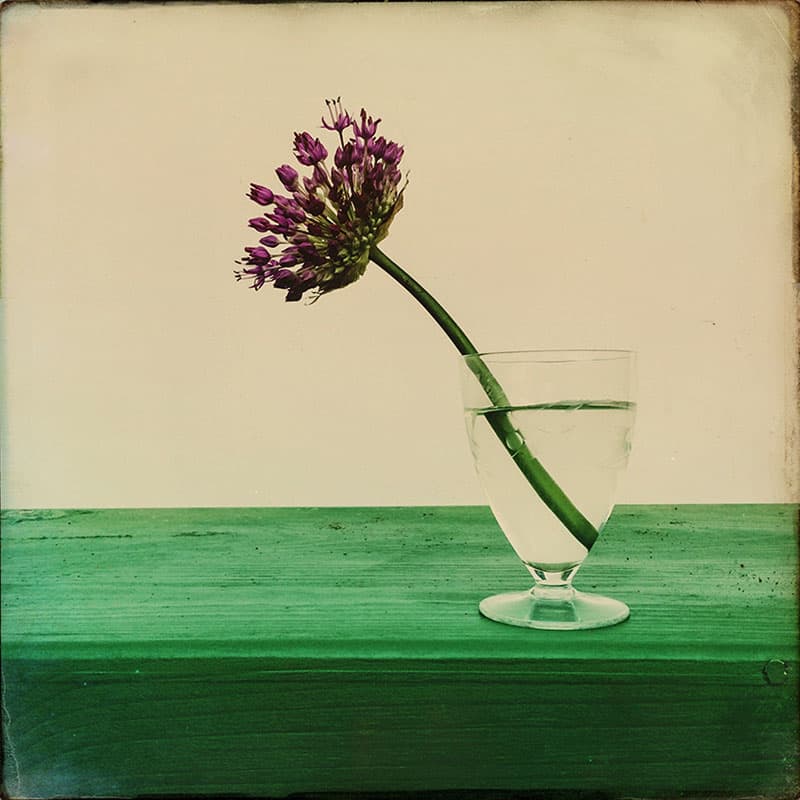
6. Use a horizon line
This is a classic still-life tool. A horizon line anchors an image on to something by taking our eye straight to the object of our picture, thus introducing an element of stability to the scene in front of us.
7. Get in close
Think about the details that normally go unnoticed. Strip it back and concentrate on form and texture. This is, after all, a study of the object or collection of objects in front of you. Finally, remember to print big to reveal it all.
8. Odd numbers
When arranging your still-life scene use odd numbers rather than even. Three objects invariably work better than two or four. I genuinely have no idea why, but it’s true. Try it for yourself.

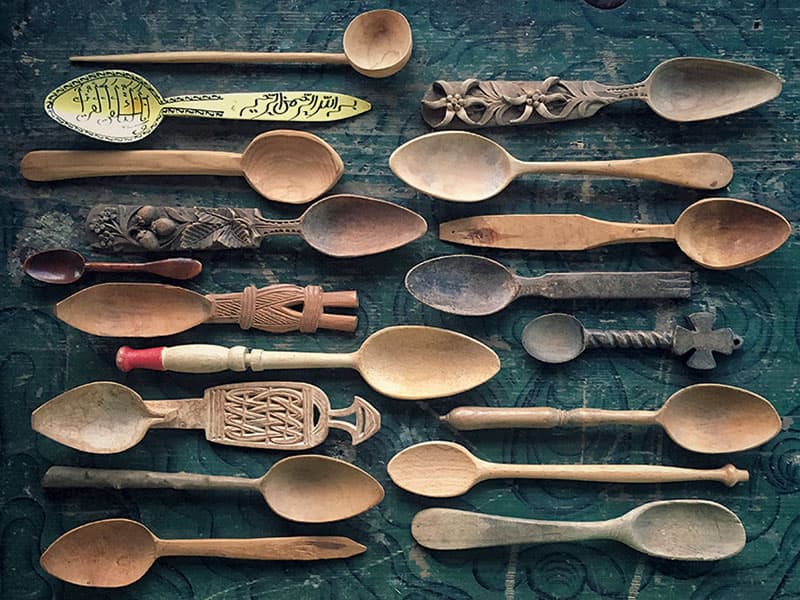
9. Attention to detail
Large groups of similar objects, or collections, can make a great picture. But remember that the more elements you have, the more scope for mistakes there is, so check and check again before breaking the set-up.
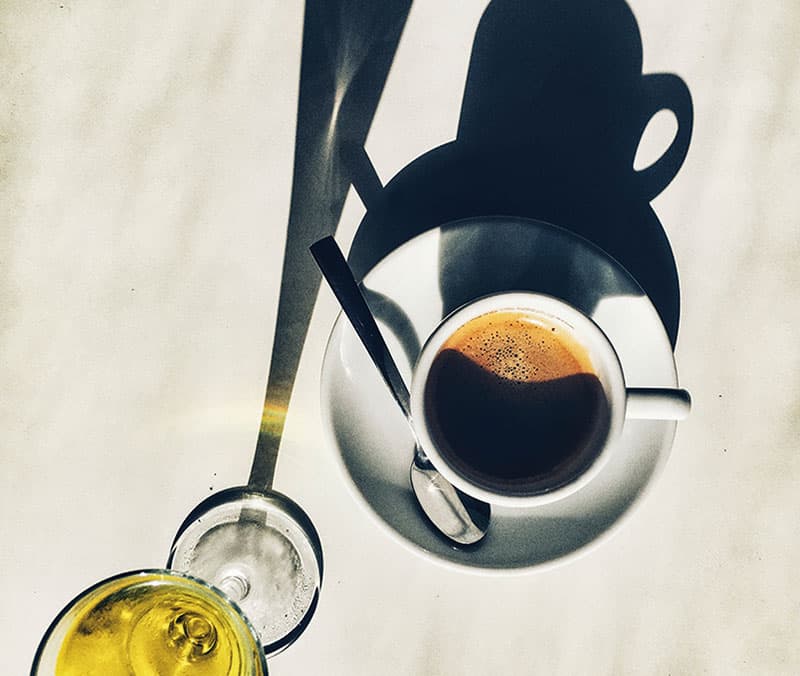
10. Break the rules
Lovely soft light is wonderful stuff, but as with all aspects of photography, rules are there to be broken – so don’t be afraid to try shooting in harsh, direct sunlight from time to time and playing with those lovely hard shadows.
Better still life: Why this photo works
I have a very simple rule when shooting still-life images that works every time and determines whether the picture is successful or not. I ask myself if I could live with it framed on a wall in my house?
This image on the left is one of my favourite pictures, and I am sitting in my office typing this article while looking at a framed print of it on my office wall – so this one definitely passed the test. For me this picture encompasses many of the criteria I have explained about successful still-life photography.
Five rusty old knives found in a friend’s French kitchen and placed on an old workbench in a barn with an open door. Everyday objects that are not particularly beautiful or precious in themselves, taken out of their ‘comfort zone’ and made beautiful. This is a simple image, but as I said earlier, the act of displaying the objects like this makes them much more than the sum of their parts, and somehow elevates them to things of beauty and interest. It was taken during a break while shooting a cookbook and probably took me about five minutes. There is nothing fancy about the lighting or the set-up, but somehow, it works.
I cannot encourage you enough to get your work printed, and this is particularly important for still lifes. They can look absolutely stunning and make a good subject for a conversation.

Credit: Tim Clinch
10 simple steps for better still life photos
- The most important piece of advice I can give is to slow down and take your time. When shooting still life you need to spend more time looking at the details and light.
- Make lots of small adjustments. Moving an element just a centimetre can make all the difference in the world to the finished picture. The closer you are, the more critical this becomes.
- Using a tripod not only helps with composition and slowing you down, it also stops camera shake to help you achieve beautifully sharp images.
- Despite my last point, I also recommend experimenting by taking your camera off the tripod. You never know what that little extra bit of freedom might add to your picture.
- Vary your angle. Whether shooting on or off a tripod, look at the difference a slight bend of the knees or a half step to the right or left can make.
- Don’t forget your mobile phone. I have got into the habit of covering pretty much everything I shoot with a camera on my iPhone. The results can be subtly, yet effectively, different.
- Similarly don’t forget black & white. Still life is a very classical medium and lends itself well to monochrome.
- Don’t worry too much about being innovative or different. Still life is a classical genre and should be treated as such.
- Depth of field can transform a still-life image, so try bracketing and see what difference it can make. The difference between f/2 and f/16 can completely change how you view an image.
- Capture texture in your images. Try to take your eye further into your subject than it would normally go.
Another still life at home, this is a collection of objects I had around the house. iPhone 7 Plus, 3.9-6.6mm 1/11sec at f/1.8, ISO 100. Credit: Tim Clinch
Kit list for better still life photos
Tripod
A good, sturdy tripod stops your camera wobbling and aids your concentration. Keeping your camera in a fixed position will give you time to work on the set-up in front of you to make any necessary changes.
Reflector/diffuser
I use two or three of these on almost every shoot I do. The best are the ones with a removable cover with gold/silver/white and black, and inside is the all-important diffuser, which gives you so much control over the light.
Light source
If it’s a window (my favourite) try to leave your set-up in place so that you can see what happens as the light changes throughout the day. An alternative is a small LEDGO light put through a diffuser to achieve the same result.
Standard or medium telephoto lens
A 50mm or 85mm lens should enable you to shoot without distortion and keep uprights ‘upright’. Wide-angle lenses are not particularly suited to still-life photography.
Spare pair of hands
An assistant can move things while you concentrate on the camera. They are also useful for holding reflectors and/or backgrounds and bringing cups of tea when the creative urges get too much!
Tim Clinch is an award-winning professional photographer with over 40 years’ experience. He has worked in most areas of the profession, with his work appearing in magazines worldwide. He has also published more than 30 books featuring subjects as varied as interiors, travel, food and portraits. To find out more about his work, visit www.timclinchphotography.com.
Featured image: Mollie Wetta on Unsplash
Check out these guides for further advice on achieving better still life photos:
- Get better still-life shots with continuous lighting
- Our best-ever landscape, portrait and still life photography tips
- Still-life photography tips
- Top tips for how to shoot floral still-lifes