If you’re struggling to shoot a striking portrait, then it’s perhaps time to deconstruct how you set up and capture the shot as there are a number of elements that combine to make a successful portrait image. By following and understanding our ten commandments of portrait photography (and also knowing when you break them), you can pin-point weaknesses and areas to improve your technique.
To help, we’ve called on a range of portrait experts to offer guidance and insight. With the advice from editorial and commercial photographer Jason Alden, beauty and commercial photographer Jamie Harrison, travel photographer David Lazar, and beauty and lighting guru Damien Lovegrove, you can ensure that the next portrait you take will be your best yet.
The Panel
Jason Alden
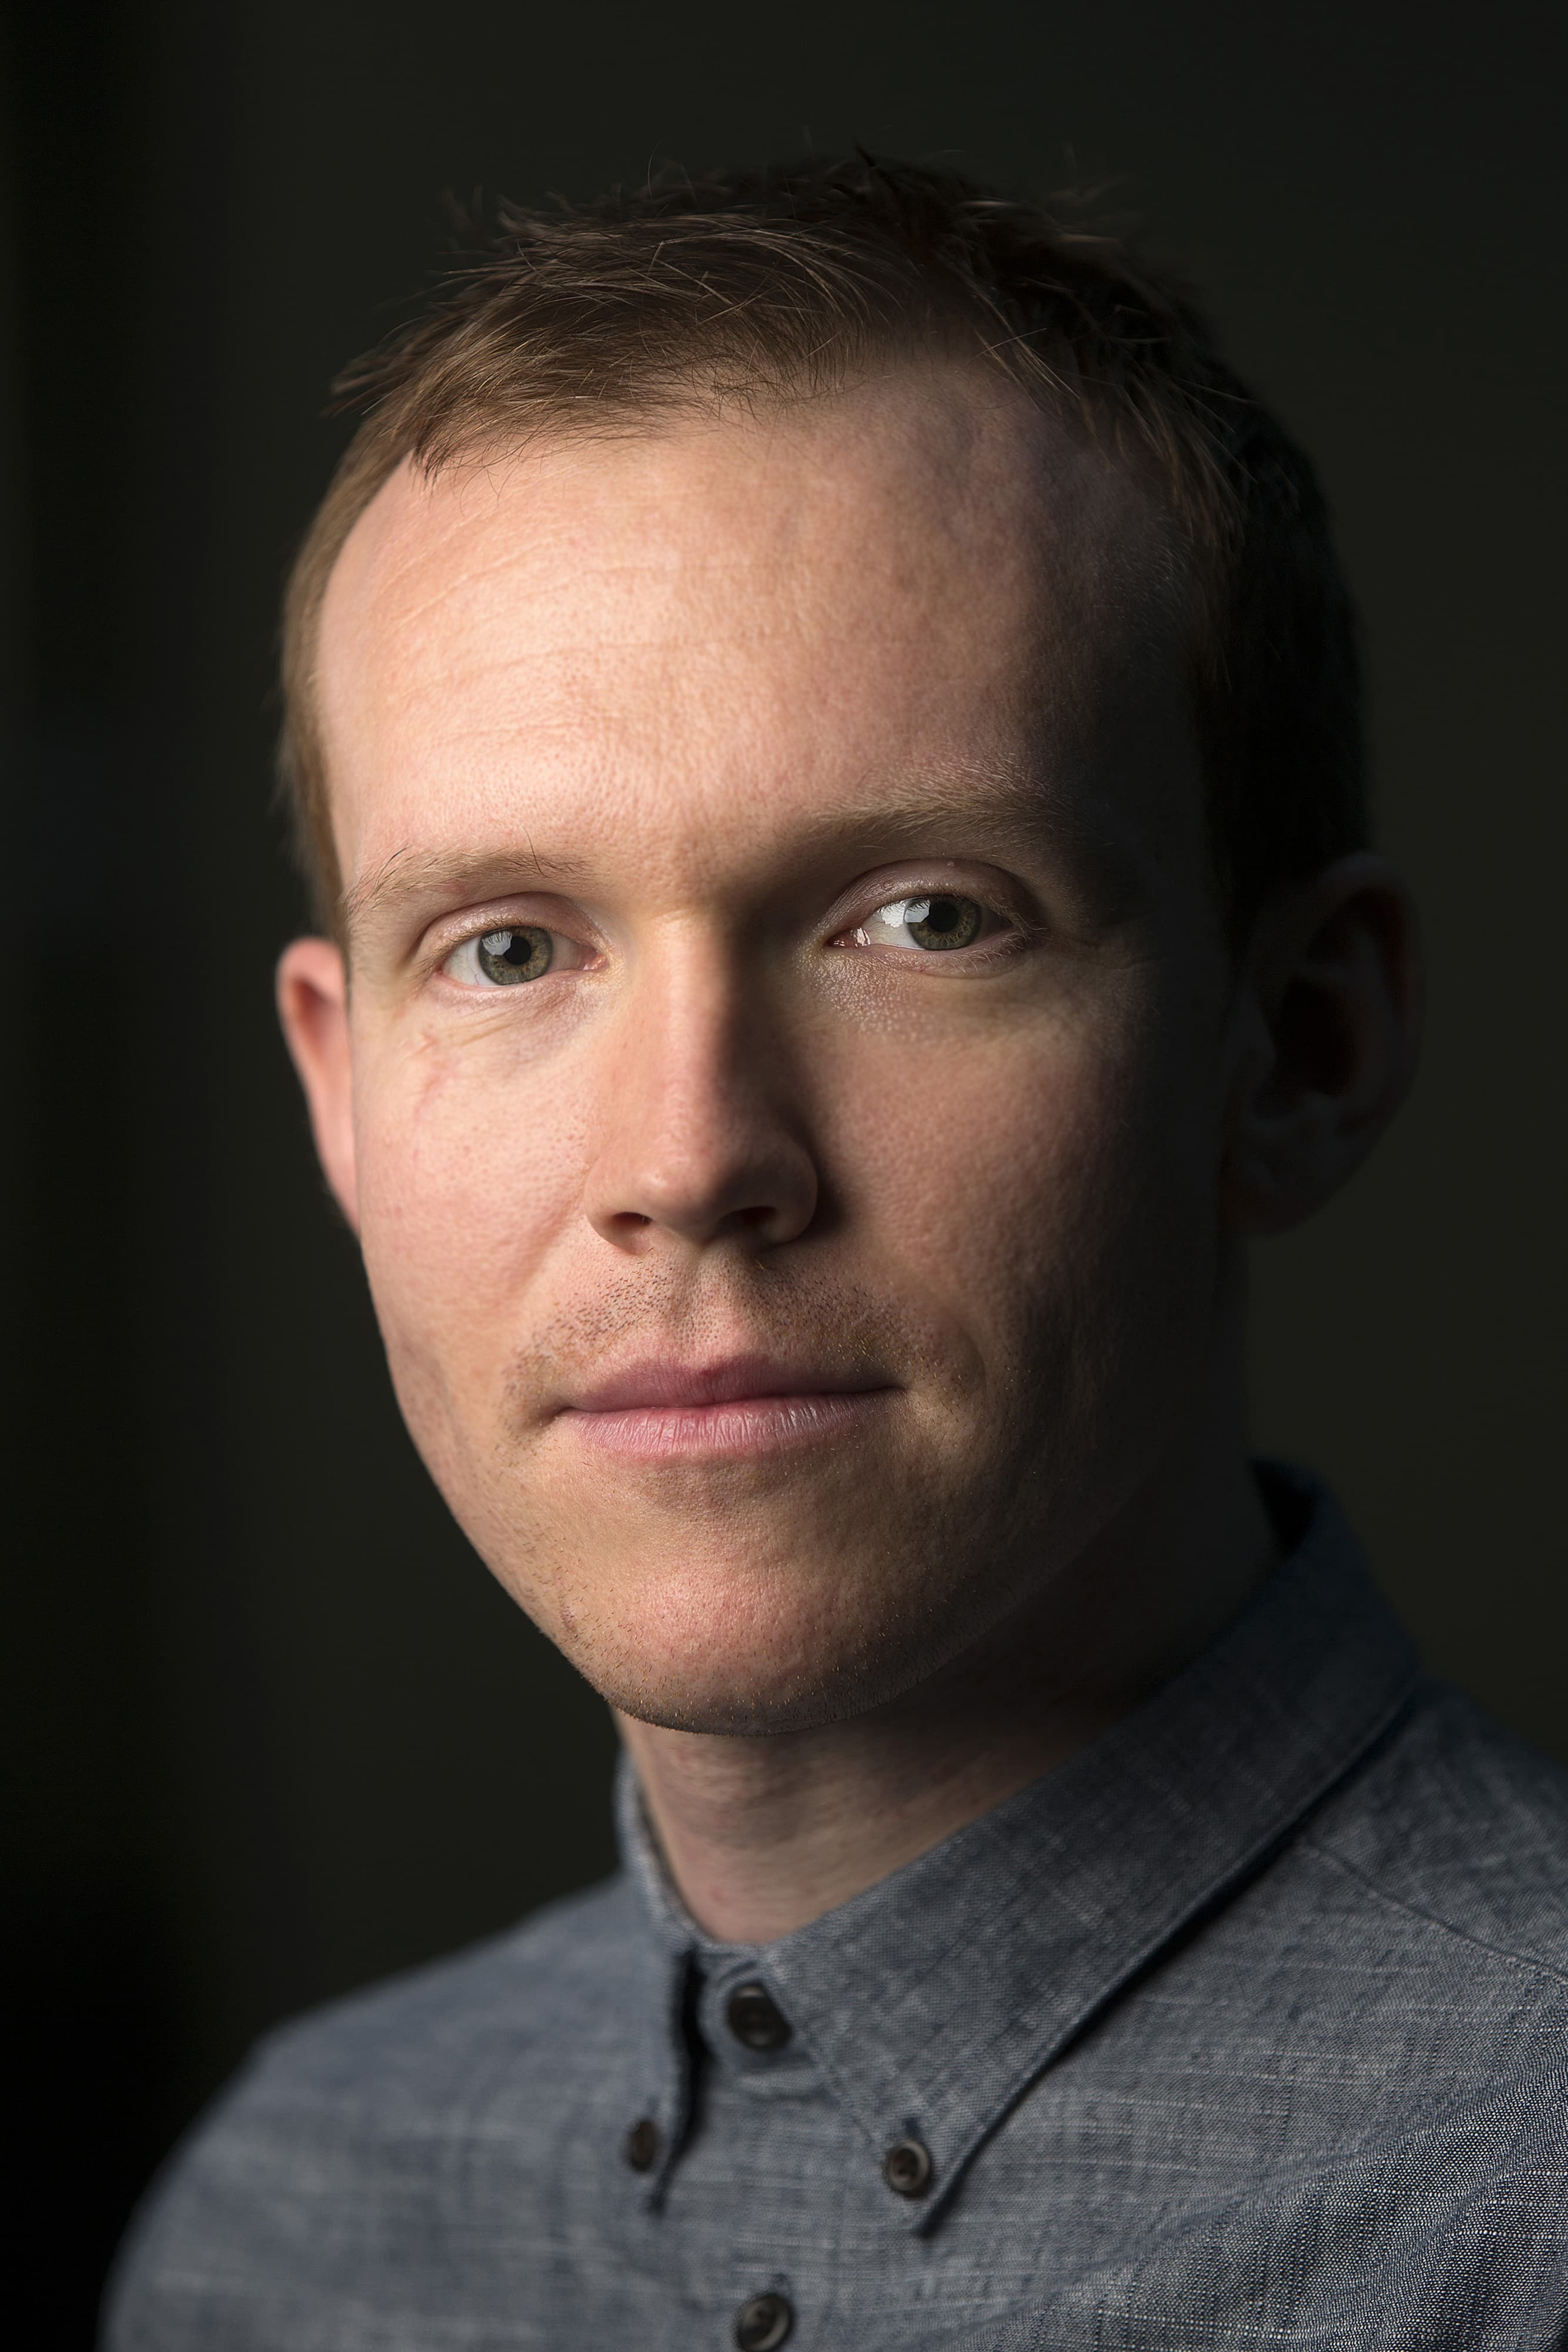
Jason Alden
Jason has twice been awarded the Business Photographer of the Year Award at the UK Picture Editors’ Guild. After graduating, he built his reputation in editorial photography, first at picture agency Newscast and then as chief photographer at daily business paper City A.M. He primarily shoots editorial portraiture for The Independent, The Wall Street Journal and Bloomberg, while using his interest and focus on lighting techniques for corporate clients that has taken him to every continent in the world. www.jasonalden.com
Jamie Harrison
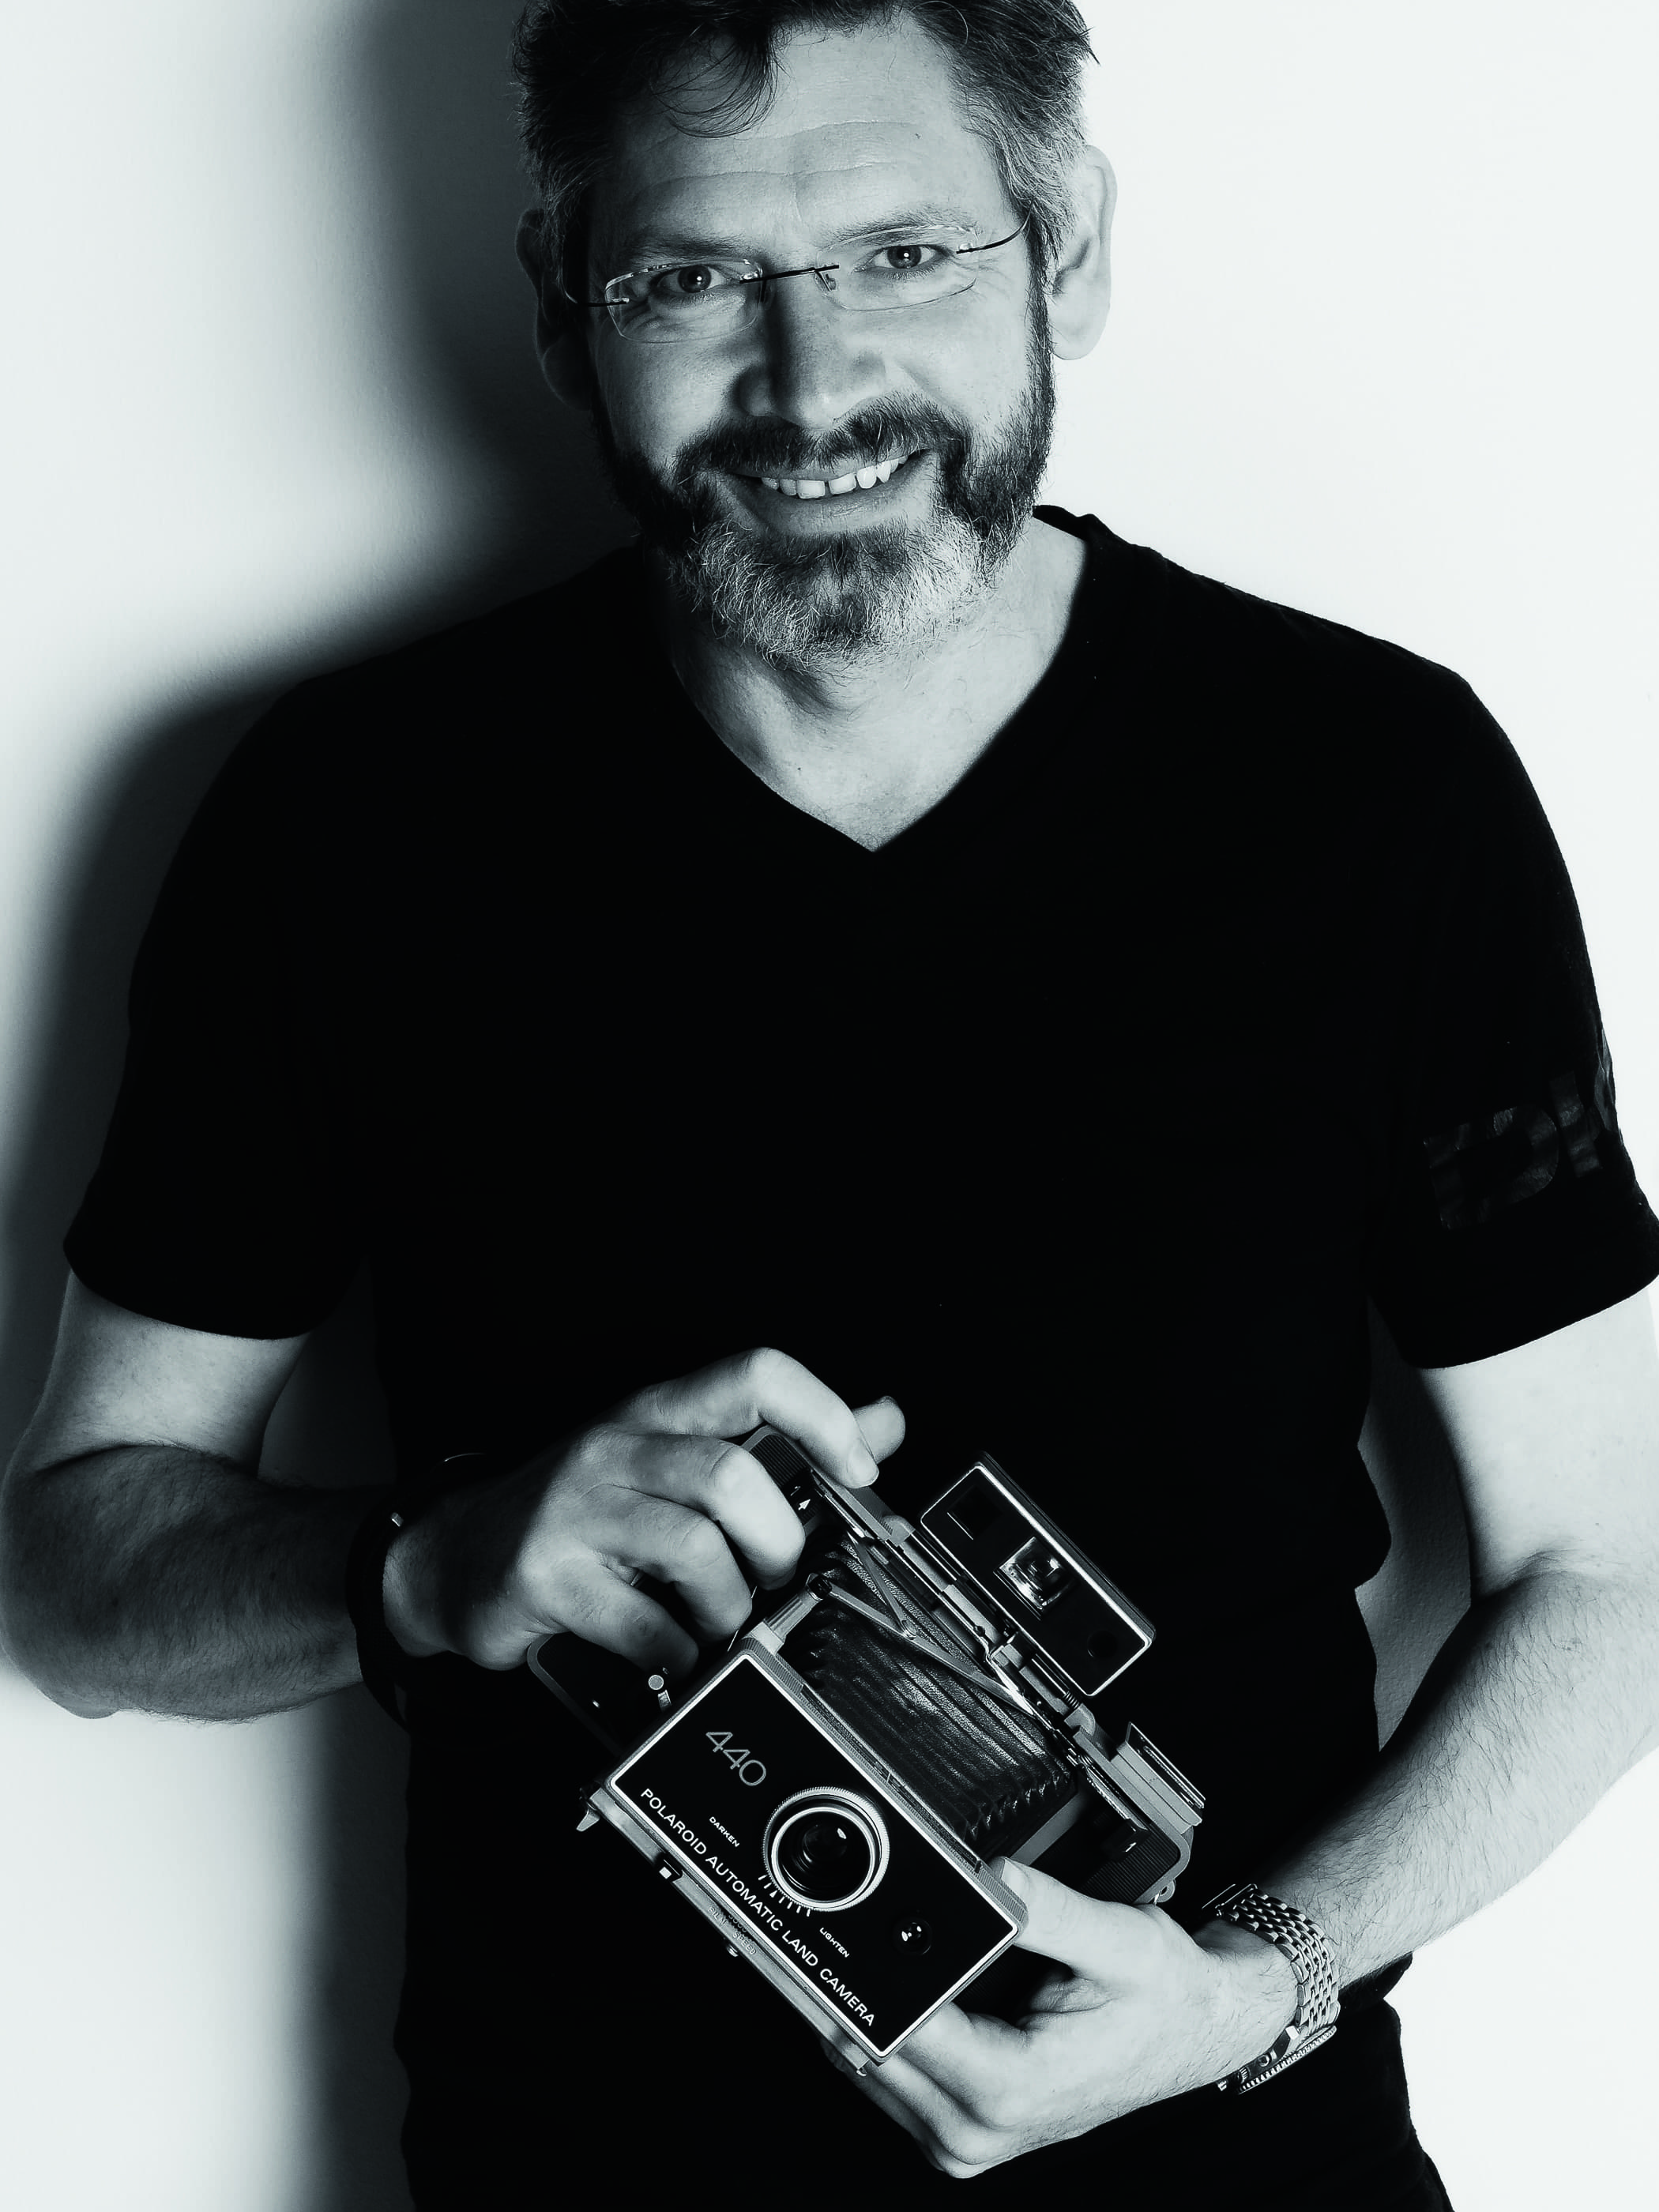
Jamie Harrison
Jamie is a professional photographer and photography journalist, specialising in beauty, commercial portfolios and portraiture. With almost 30 years’ experience, he has written for several magazines in the UK and has had photographs published extensively in magazines and websites worldwide, including a number of front covers. He regularly works with model agencies testing new models and building portfolios for more established models. www.jamieharrison.net
David Lazar

David Lazar
David is a travel photographer from Brisbane, Australia, who captures moments of life, beauty and culture in his photography. His portraits and landscapes from around the world have been published in National Geographic, Lonely Planet and various travel magazines. www.davidlazarphoto.com
Damien Lovegrove
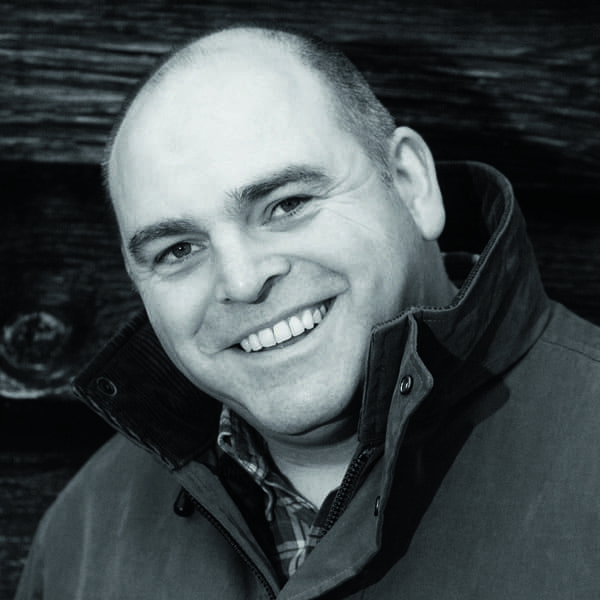
Damien Lovegrove
You can view more of Damien’s work on his website, www.lovegrovephotography.com, where there are more than 2,000 images arranged in 23 galleries. Or you can join him on a photographic adventure. Visit www.passionphotographyexperience.com for more information.
Read on as Jason, Jamie, David and Damien present to you the 10 commandments of portraiture.
1. Plan and Prepare
Damien Lovegrove: Think things through and understand the mood you want to portray in the image. Use this vision to choose your location and lighting strategy.
I work with either complementary environments, such as a client wearing an evening dress in a sumptuous hotel, or contrasting environments, like a guy in a dinner suit in a back alley in the rain.
I use lighting to match the look – the softer the light the more beautiful and absorbing the picture, and the harder the light the more dramatic and intense the portrait.
For some subjects, a complementary environment works best. Image © Damien Lovegrove
2. Pick the right location
Jamie Harrison: Placing the subject in a different location or environment can produce striking results. The reason you see so many pictures of people on beaches, in fields or around ruined buildings is because they work!
Dress the subject in appropriate clothes that either stand out or harmonise with the location for great shots.

Let your subject either stand out or harmonise with your location. Image © Jamie Harrison
3. Think about the background
David Lazar: When I travel, I sometimes see the background or scene I want to use before I even find a person to photograph in it. A good background can make all the difference between a snapshot-style photo and an artistic photo with a strong visual impact.

A good background should be simple, but can complement a subject in form, pattern or colour. Image © David Lazar
The background should be clear of distractions, such as unnecessary objects, patches of light in darker areas, or anything that clutters up the frame and therefore takes attention away from your subject. In a close-up portrait, you are usually shooting a face that is characterful, beautiful, emotional or interesting, and it’s important to capture this face and nothing else that is erroneous and distracting.
4. Connect with your subject

Think creatively about building rapport – adding a prop can create a sense of playfulness that relaxes the subject. Image © Jamie Harrison
Damien: Connect with the client before reaching for your camera. Perhaps the most essential part of the portrait process is building up good rapport. Get all the technical preparation out of the way before the shoot so you can give the sitter your undivided attention.
Be relaxed and exude confidence. The trust and respect you develop before the shoot over a coffee will allow a higher level of openness in your portrait. Brides, families, children, actors and models all respond well to some pre-shoot banter. I use the rapport process to quell any fears and build the excitement.
Jamie: For particularly nervous or self-conscious sitters, I’ll ask them to pull faces, wink, stick their tongue out or puff their cheeks. They think I’m mad, but over the following few frames they’re inevitably smiling more naturally. And if they’re not, at least I’ve got some fun shots.
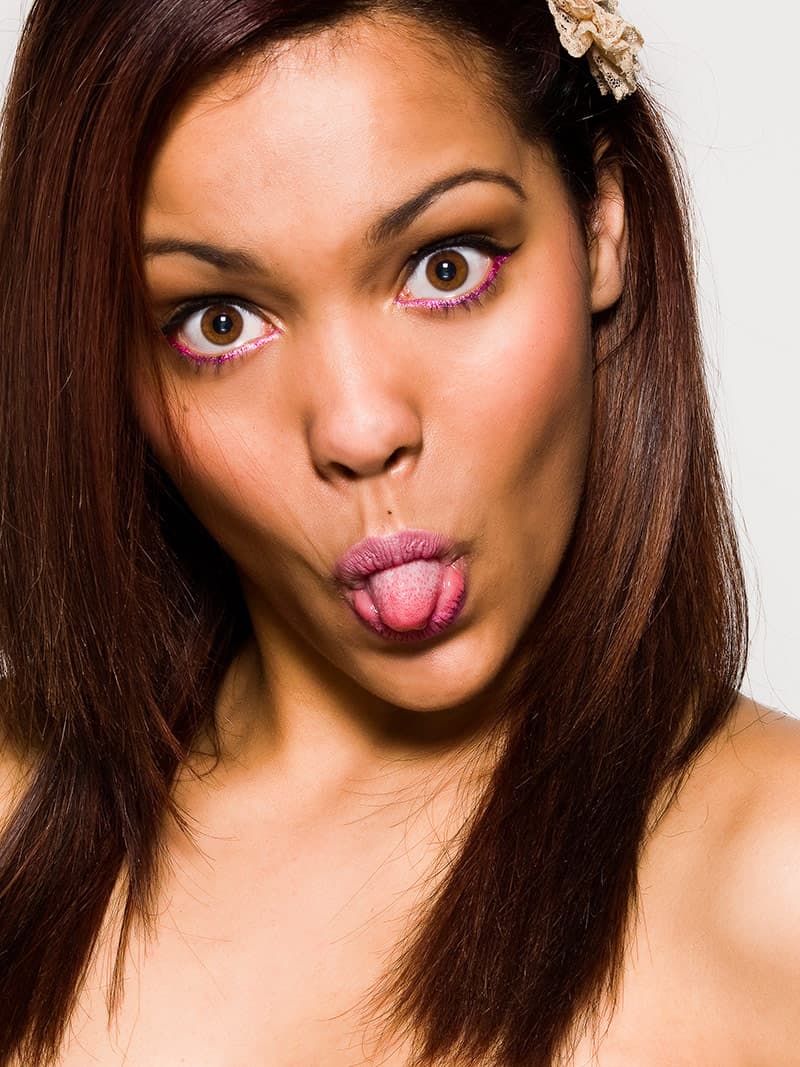
Jamie helps a subject relax and eases them into the session by having them pull faces. Image © Jamie Harrison
5. Know your lighting
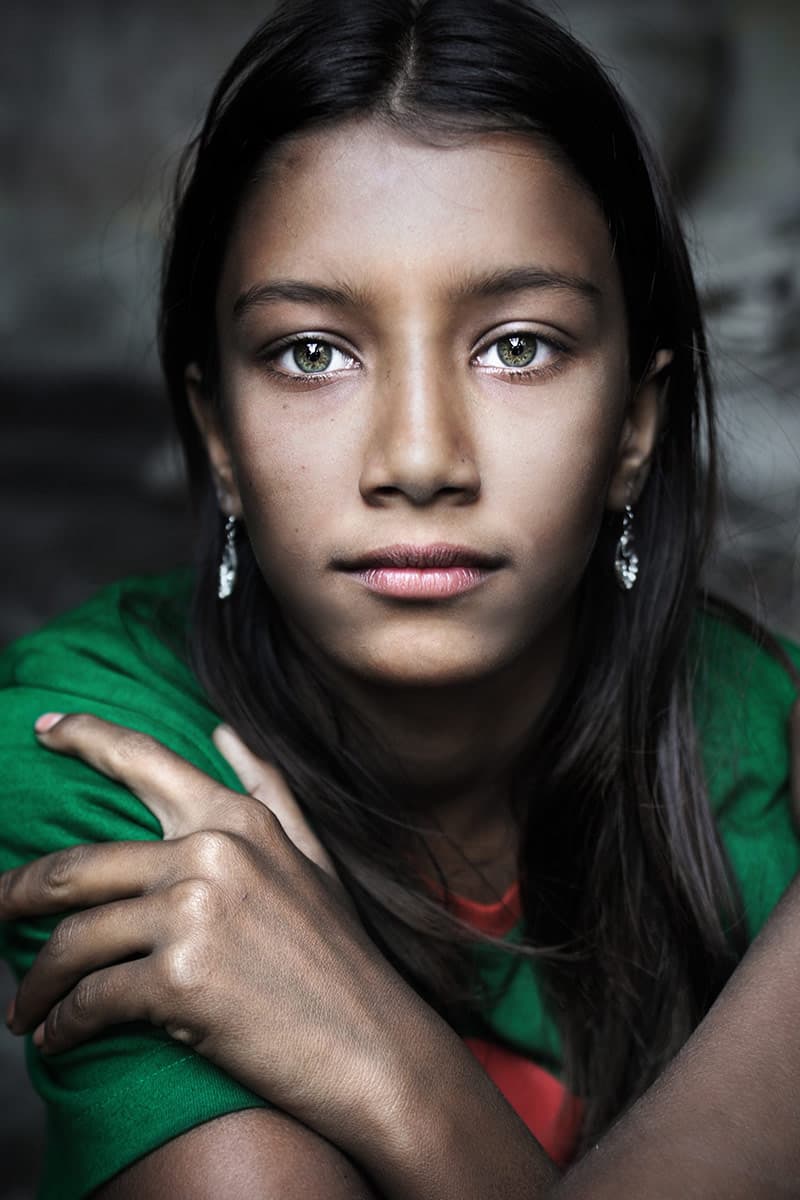
Shoot in shaded areas for striking catchlights in the eyes. Image © David Lazar
David: As a general rule, it is best not to photograph people’s faces in strong sunlight to avoid the hard black shadows that occur on the skin and eyes that are not relaxed.
By positioning your subject in the shade and under cover, with no direct sunlight hitting surfaces anywhere in the photo that would result in blown-out distractions, you can create nice lighting on the face if the surrounding indirect light is bright enough.
For example, shoot outside under an awning, where there is plenty of light coming in from reflections from the ground or sky, but no direct sunlight on the skin. This can also create very dynamic and engaging catchlights in the subject’s eyes, as you can see the sky, your silhouette and other objects reflected in the eyes, which make for ‘sparkling’ eyes in a photo.
Jamie: If you’re stuck indoors and don’t have strobes, you can still make use of the light outside. Window light is a fantastic free resource that changes by the hour.
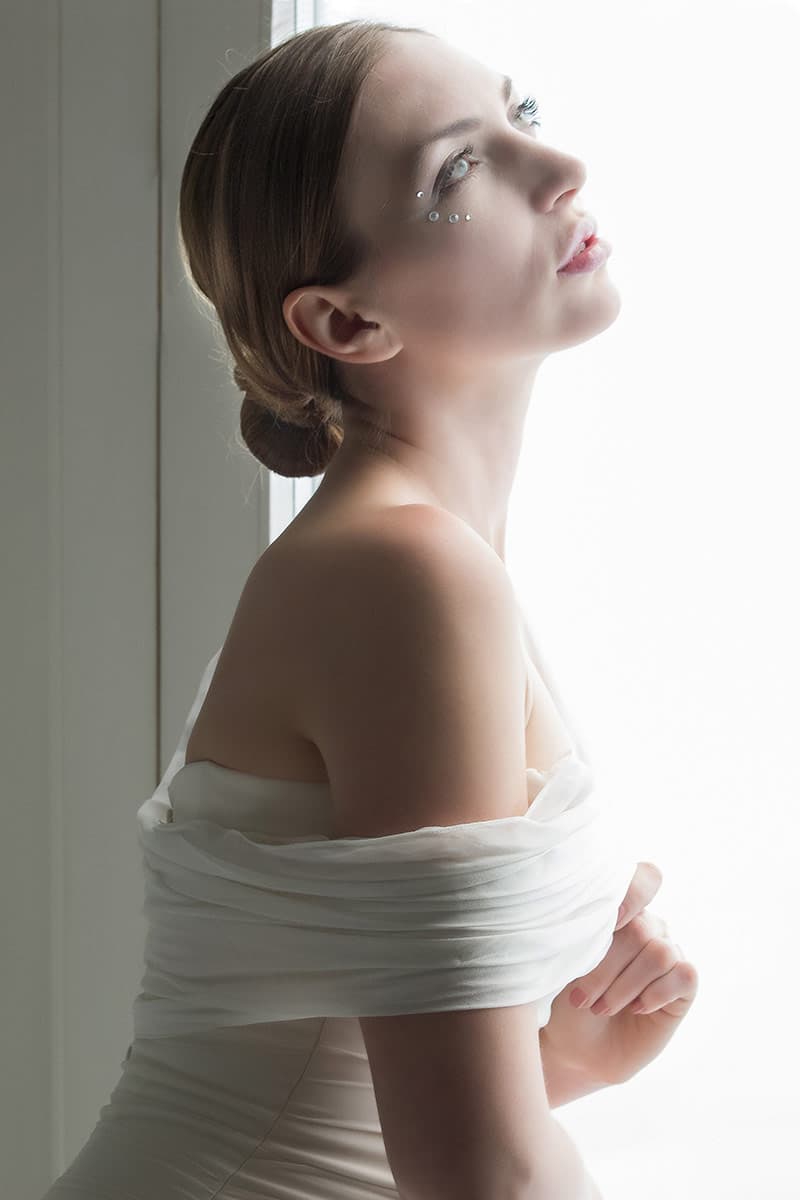
No need for expensive equipment, window light is a great free resource. Image © Jamie Harrison
South-facing windows are best, but so long as the light is bright enough you can get results from most directions in the summer. Opaque windows will diffuse the light for a softer look, and reflectors can be used to bounce light back onto the subject.
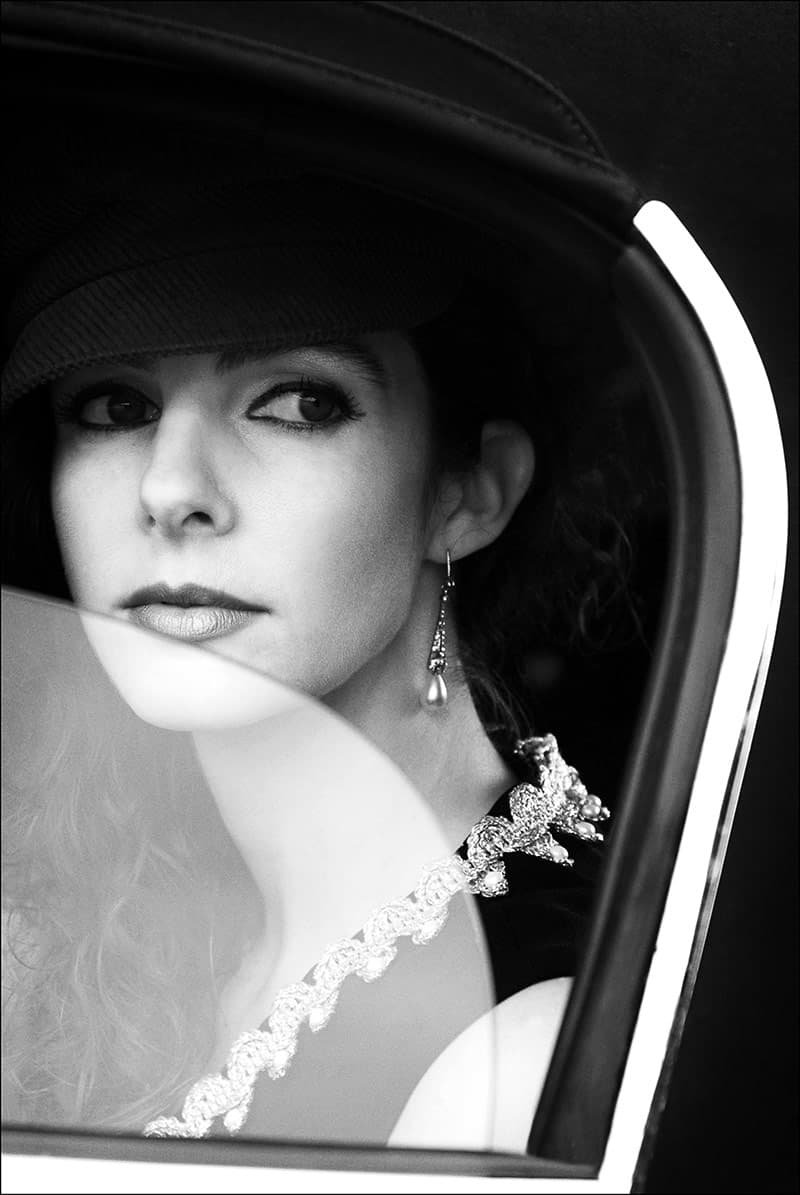
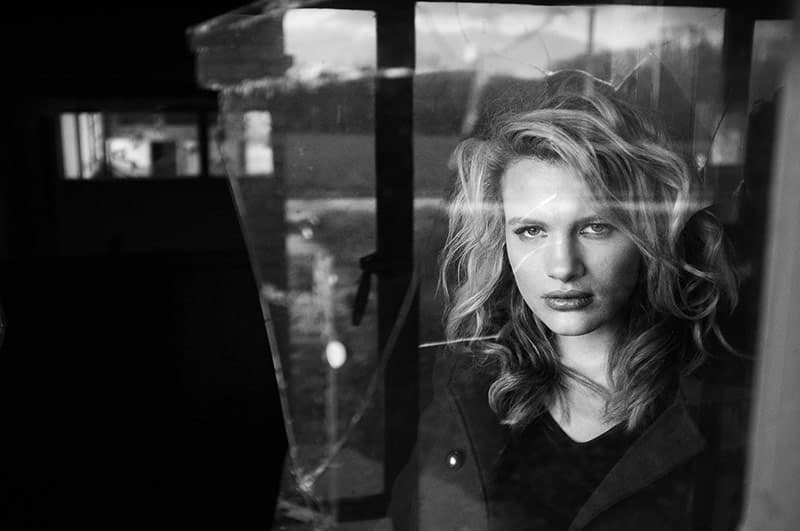
Combine a single directional light with a diffuser on one side and a black reflector on the other to produce a moody portrait of the subject half in shadow. Add to the atmosphere with a dark background, convert to mono and increase the contrast to enhance the effect.
6. Direct your subject

Have a good range of posing ideas ready – subjects like to be directed. Image © David Lazar
David: It’s a good idea to have a library of posing ideas in your mind, so when it comes to the shoot you can react instantly and direct your subject more confidently and efficiently. People being photographed like direction. They trust that you are making them look good and will happily oblige what you ask of them to make their photo better.
By analysing other portrait photos and observing people’s posture in real life, you can start to notice and remember a few poses that you can implement later on your subject. Some posing ideas that I regularly call upon include having the subject leaning on a surface, such as a table or the upper part of their legs, while seated to make their posture appear more engaging and personal. Another is to have the subject interact with something, for example by touching or holding an object, or connecting with another person to convey a story of friendship and care. I also like to try having an object near the subject’s face, to draw attention to their eyes, such as fabric around the face, a hand, a wall or a toy.
If you are photographing more than one person, try to imagine a shape or a pattern that you can arrange your subjects into, for interesting and creative compositions. This will result in a more artistic photo that is pleasing to the eye.
Creating a line of people in your scene can work well, including the use of three-dimensional space with people positioned back into the image. Consider your angle, and perhaps you can make a pattern looking down on your subjects from a bird’s-eye perspective.
7. Think about colour and balance
Jamie: Make the most of complementary or opposing colours with the subject’s clothes and the background. Colour clashes from opposite colours can add drama to an image, while complementing colours can combine the elements for harmony and cohesion. A colour wheel demonstrates the opposite and complementary colours.
Jason Alden: Remember those nasty yellow backgrounds when you were using your flash in the church or at the party? The problem is you are mixing two colour temperatures, flash is 6000K and tungsten light is around 3000K.
The trick is to match the two temperatures. You can do that by covering your flash with a gel. A CTO gel (colour temperature orange) is a sheet of semi-transparent orange plastic that will convert your flash into a tungsten value.
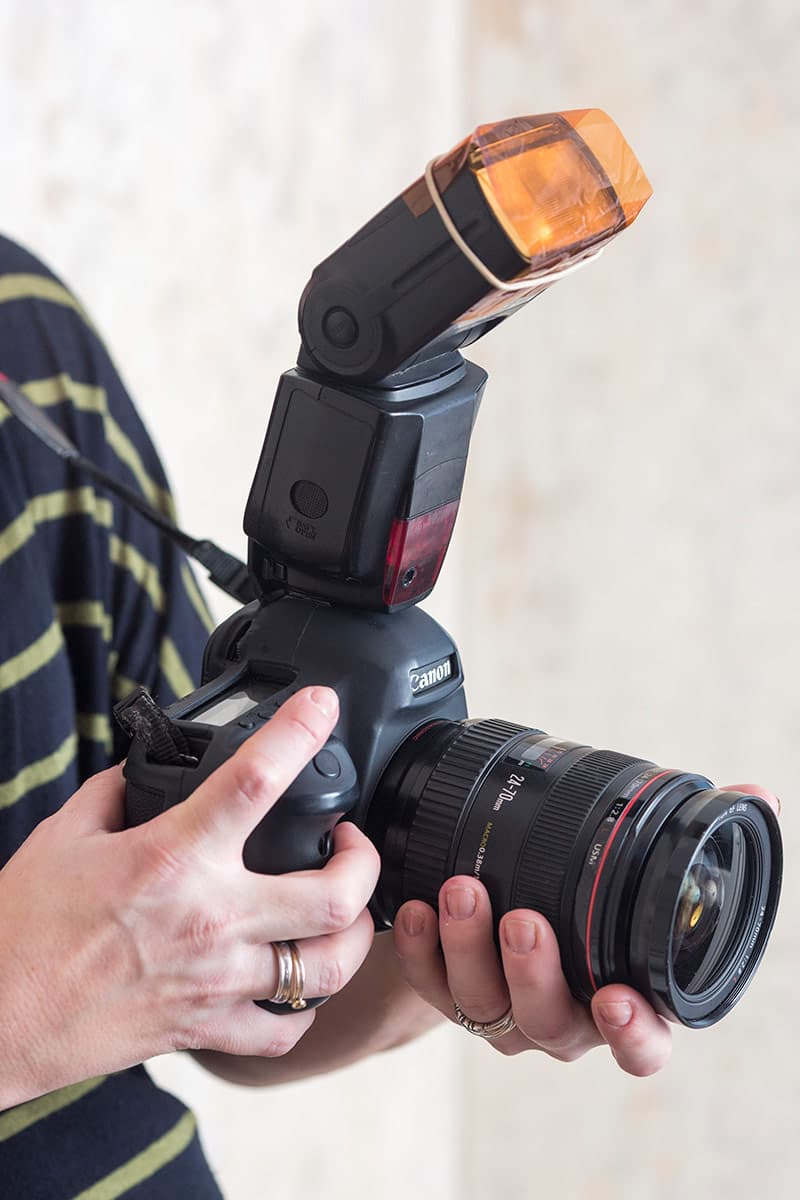
A flashgun equipped with a balancing CTO gel
After that, all you need to do is switch your camera’s white balance to tungsten and you’ll have nice consistent colour right through your scene. When using Speedlites, I generally attach gels with an elastic band but crocodile clips are great if you are using studio strobes.
You can buy small packs of gels in different colours to fit speed lights, but I find it cheaper to buy larger sheets of CTO gels from shops like Calumet and just cut them to size.
8. Capture the narrative
Have an idea you want to convey and work together with your subject. Image © Damien Lovegrove
Damien: They say that a photograph is worth a thousand words and if your portrait is worthy of the front cover of a novel or one that a writer could use as inspiration for a poem, then you have ticked that box.
If the moment is a natural one unfolding in front of you, such as children playing in the garden, use reportage techniques. Let the action flow as if you are not there, and then capture decisive moments. This technique can also work well during certain parts of a wedding.
If there is no moment to capture, you’ll be required to create one. The trick is to have an idea, convey that idea to your sitter and get them to act out the emotions in much the same way as a film director works with an actor. For pictures with eye contact, start without the camera as it can act as a barrier and alienate the sitter.
Work together on building depth in the expression and get the sitter comfortable with that level of intimacy and intensity. Then introduce the camera, create the moment and capture it.
9. Know the tricks of the trade
Jason: I often find myself photographing businesspeople and those who aren’t experienced at being in front of the camera, let alone going near make-up. However, the last thing I want to do is spend hours retouching a shiny bald head when I get home.
A friend of mine who is a make-up artist told me about oil-absorbing sheets, which instantly remove excess oil from the skin to leave it shine-free. They are available from Boots for a few pounds and I now make sure I always have them in my bag. I generally offer the pack to my subject. The sheets contain a very small amount of powder to help reduce the shine, but they don’t know that so it won’t make them feel awkward.
I love to get my lights in nice and close to my subject. It doesn’t matter what modifier you’re using, the closer you get your light to your subject the softer it will get. The trouble is, it’s likely that your lights won’t dial down low enough to enable you to shoot with a wide aperture, even if your camera is right down at ISO 50.
There is a way round this, though, and it’s one that professionals rely on all the time – use ND filters. If you pick up a 4x ND, you’ll be able to go down to f/1.8 or even f/1.4 and still light your subject dramatically.
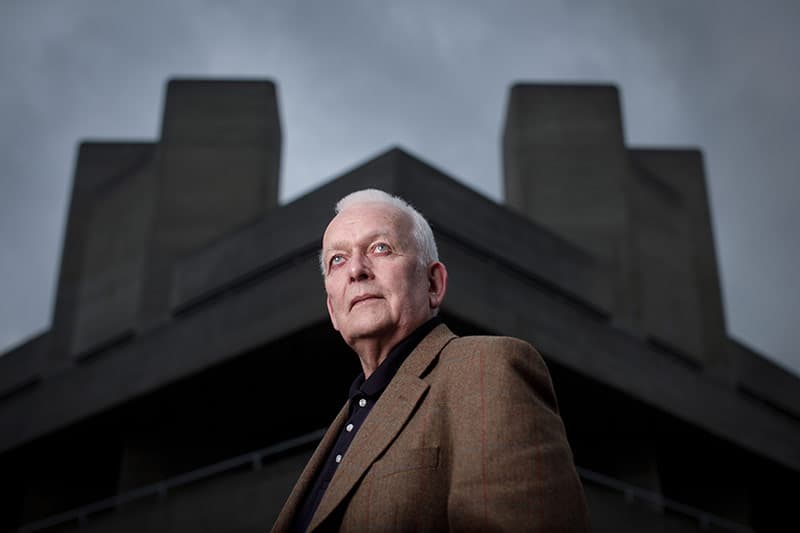
Use an ND filter to add drama and allow you to shoot with a shallow depth of field. Image © Jason Alden
This technique extends to shooting with lights outside, too, if you want a moody, dark background while maintaining that sexy differential focus at f/2.8 and below. Use your shallow depth of field and pop on an ND to underexpose a bright scene slightly. Then use your lights/Speedlites to fill in and illuminate the dark subject.
Have you ever taken a tripod or light stand outside and struggled with the wind? It can ruin a shoot and, even worse, your kit! You can buy sandbags, but then you have to carry extra weight that could be avoided.
I’ve found lots of uses for climbing kit. I have a collection of slings (loops of high-quality woven fabric) that I use for lashing bags or power packs to light stands that then act as ballast.
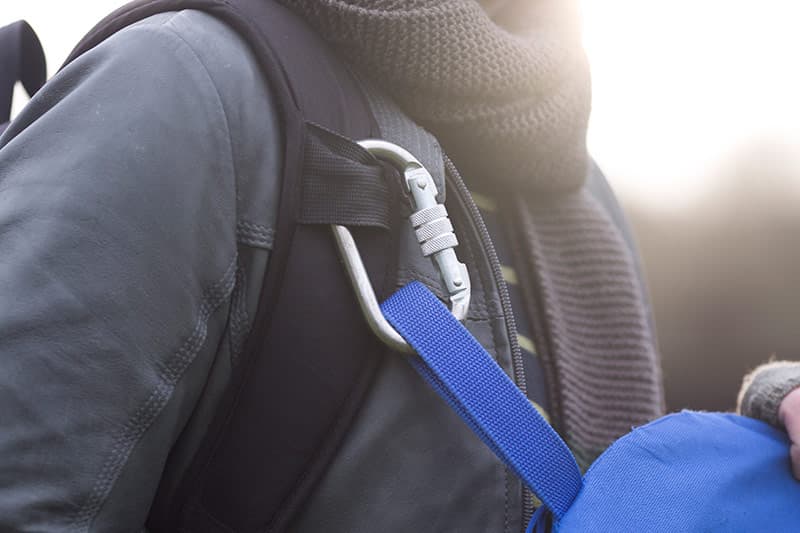
Jason finds climbing kit to be a reliabel and cost-effective way of securing his kit.
Karabiners are also great for attaching awkward objects or even just for securing equipment to a handle on your bag during transit
People who wear big, thick-rimmed glasses that are so popular with hipsters these days can be a real pain for photographers who like to use flash.
If you are picky like me, then you’ll hate seeing your lights reflecting in the glasses and end up rearranging your set-up at the expense of lighting the subject nicely. You could ask your subject to take them off, but if they always wear glasses the portrait simply won’t represent them.

Tilt glasses to avoid reflections. Image © Jason Alden
Ask your subject to lift the arms of their specs just a centimetre off the top of their ears. They will undoubtedly find this a strange request and look at you like you’ve lost your mind, but from the front you will never notice the difference and those nasty reflections will just vanish. It’s very simple, but very effective.
10. Edit responsibly
David: If you shoot in natural light, you should be able to bring out the catchlights (reflections in the eye) by using the Dodge brush. Zoom in on the eyes and using the Dodge brush at the size of the catchlights repeatedly click on the catchlights until they become brighter and make the eyes ‘sparkle’.
Another tip is to smooth the skin tone in places where there is a bright reflection or dark shadow on the face. This can also work for wrinkles. Create a new layer (it will be empty) and select the Brush tool. Set its Hardness to 0 and Opacity to about 60%. Then hit the Alt key (or Option key for Mac users) on the desired skin tone next to the problem area to take a colour sample. Next, paint over the problem area with this brush.
Keep taking new colour samples as the skin tone changes, and resize the brush as need be. When you have covered the problem area with a skin tone, you can turn the Opacity of the new layer down to blend with the original skin, perhaps at around 65%, and that should look natural and result in a nicer quality of skin.
Jason: Sharpening tools are really powerful, but the big drawback is that they will generally sharpen the whole image and can make skin incredibly unflattering. A great trick in Lightroom is to make use of Masking in the Sharpening Panel. Generally, I drag the sharpening up to about 50, as I find that digital images never look super crisp when viewed at 100%.
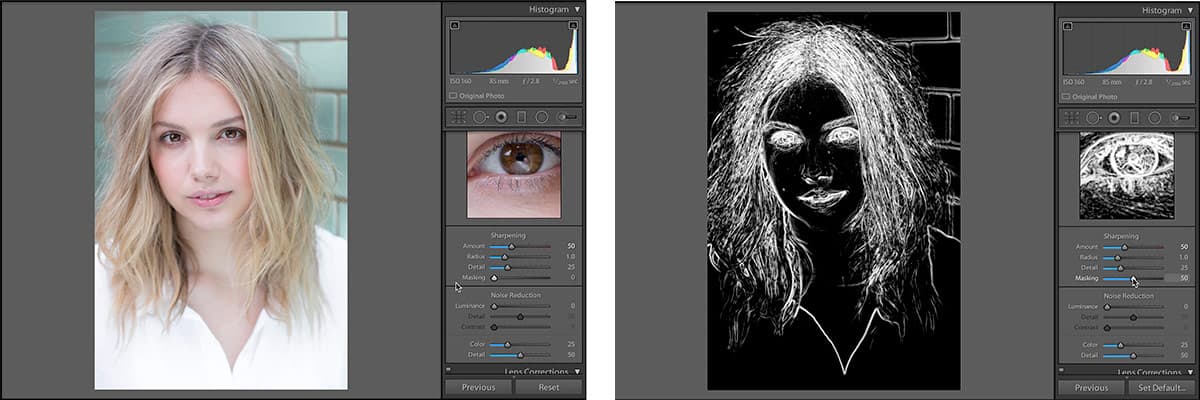
Sharpening the eyes saves skin tones from looking unflattering. Image © Jason Alden
Then below sharpening there is a magical second slider called Masking. Hold down the Alt key (or Option key if using a Mac) and the screen will turn white, telling you that the whole image is being sharpened. Then, with your finger still on the Option key, drag the masking slider to the right. It will highlight the areas you are sharpening. Generally, with a portrait I want to focus on the hair and the eyes, so I might drag this up as high as 90%.
Jamie: Split toning was a darkroom technique to add different tones to the highlights and shadows of black white prints using chemicals such as selenium or copper. It’s much easier and less dangerous to do this digitally in Lightroom or Photoshop, and far more controllable.
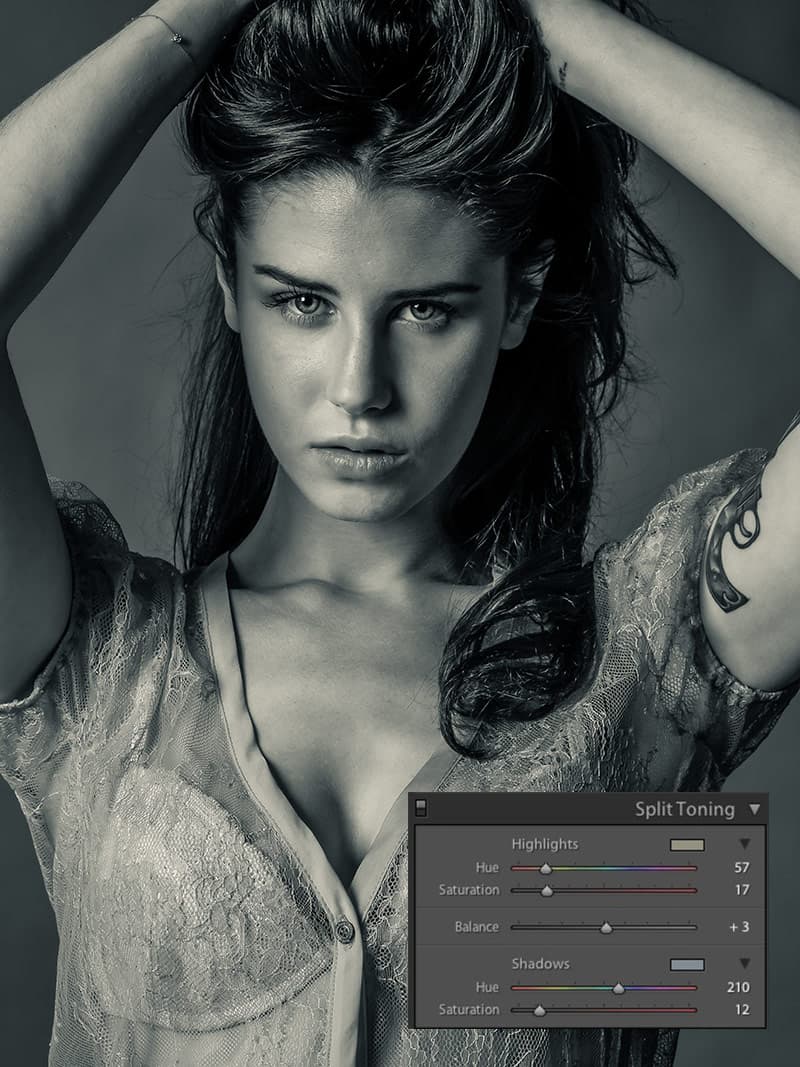
Split-toning is a great way to add a creative twist to your shots. Image © Jamie Harrison