1. Build Previews
You can instruct Lightroom to disregard duplicate files when importing
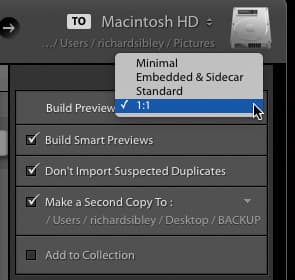
There are a few different Build Preview options and each has its benefits and downsides. Depending on which you pick, it can affect the size of your Lightroom Catalog file, the time it takes to import, the quality of the Preview and the time it takes to view an image at 100%.
Using Minimal Preview creates the thumbnails you see when the images are tiled on screen. This means that images are imported quickly, but you may lose time once you start working on them as the larger previews will still have to be created. Embedded & Sidecar use the JPEG preview image embedded in the raw file. This is the same as the image you see on the rear of your camera and, again, can save time when importing. However, as with Minimal, it can slow you down when you work on images.
Standard generates a preview that is the standard full-screen size, but if you want to zoom in on the image you’ll still need a 1:1 preview. Generating the 1:1 preview as you import can add a lot of time to the import process. It also means that your Lightroom Catalog file can get very large, very quickly. However, it does mean that as you jump from editing image to image, there should be no real lag and, as no preview has to be generated, you can begin working immediately.
We recommend setting the 1:1 preview on import.
2. Build Smart Previews
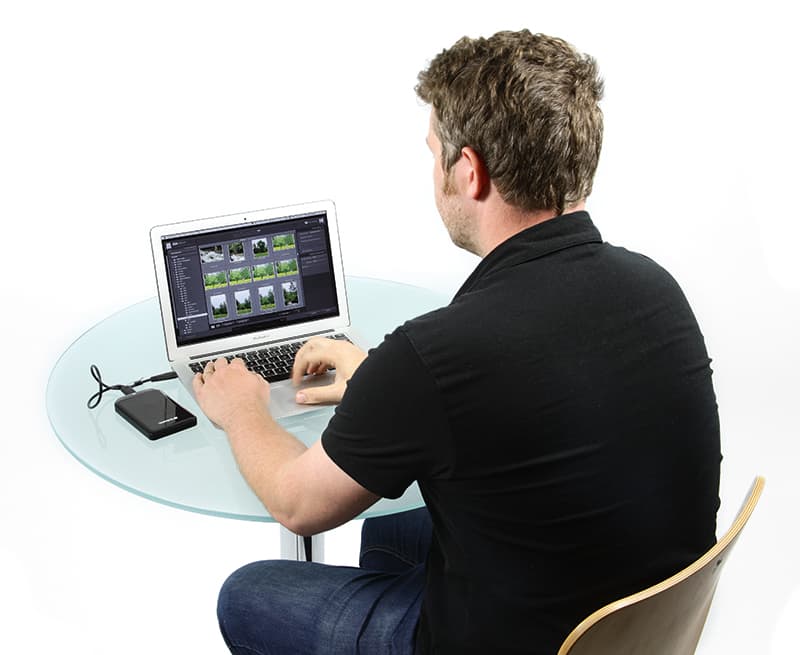
Many photographers save all their images to external hard disk drives. Previously, Lightroom required that the disk drive be connected to allow you to work on an image – which, when working on a laptop, isn’t always possible. Smart Previews get around this by creating a Smart Preview of the image in your Catalog – basically a very compressed DNG file. This means that you can edit the image even if the original isn’t available to Lightroom, as it’s on an unconnected drive.
If you have images you may wish to edit on the go, then it’s worth creating a Smart Preview. However, it’s probably best to do this ad hoc, as setting this on Import can create a huge Catalog file and take up significant hard disk space.
3. Make a Second Copy To
This is a great time-saving feature. As you import the images, regardless of whether you have selected Copy, Add or Move, Lightroom will also make a second copy in the location of your choice. This is great for making sure you have a back-up version.
4. Presets
Again, selecting a Preset can save time by allowing all the import settings to be decided with a simple click. For example, if you’re working on a particular project, you may want a copy of the images made to a location, a certain effect applied and a specific list of keywords added. Save these settings as a Preset and the next time you import images for this project you can select the relevant Preset.
5. Copy as DNG
When importing, the Copy, Move and Add options are fairly straightforward. Copy is usually used when transferring images from a memory card – copying them to a new location on a hard drive while importing. Move, somewhat obviously, moves images from one location to another during the import, and is useful when organising an archive of existing images. Finally, Add keeps the image files in an existing location and imports them to the Catalog. Add is generally best used when you have already copied images from a memory card to hard disk.
However, Copy as DNG can be more confusing. Transferring your raw images from proprietary raw files to DNG can certainly have its advantages. DNG files are generally smaller, so they tend to take up less space, and Lightroom can also load these images faster. However, it can also make the import process significantly slower. There is much debate among photographers about whether to use Copy as DNG, but we don’t feel the advantages of choosing this option outweigh its drawbacks.
6. Apply During Import
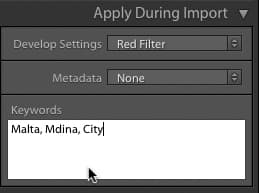
You can add keywords as files are imported
Another way to save time is to apply your favoured settings to images as they are being imported. For example, if you tend to process all your documentary images in black & white, you can apply your own black & white Preset to all your images when importing. Remember, Lightroom is non-destructive, so applying a style at import doesn’t mean you’re stuck with it as you can always adjust the raw processing as usual.
Also useful is the ability to add basic keywords at this early stage. Add the location, theme, subject or any other important keywords now and it can help you find images later – saving much time in the process. More complex keywords, if required, can then be added to the individual photos in the Library module later.
Martin Evening’s expert tip
Your Catalog, which stores all your edits in Lightroom, remains intact when you use the Creative Cloud version of Lightroom
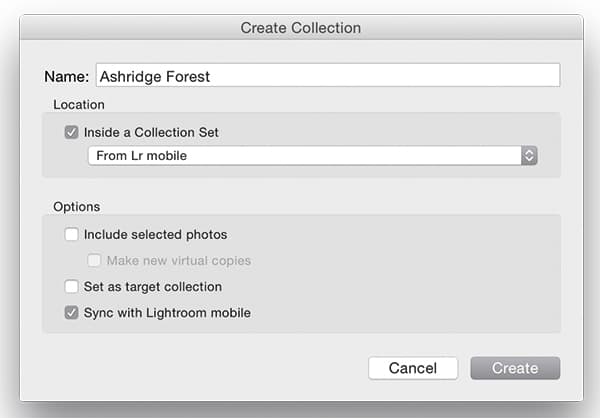
As you import photographs into Lightroom, those who subscribe to the Creative Cloud and are using the Lightroom CC version can choose to automatically add files to a collection as they are imported. At the same time, the collection you set as the target can be enabled to sync with Lightroom Mobile. This means that as you import files into the main Lightroom Catalog these will be automatically synced with your Lightroom Mobile account on any compatible device.
When shooting tethered, you can also choose to sync to a collection that will synchronise with a Lightroom Mobile account and be updated as soon as you shoot each new shot.


