
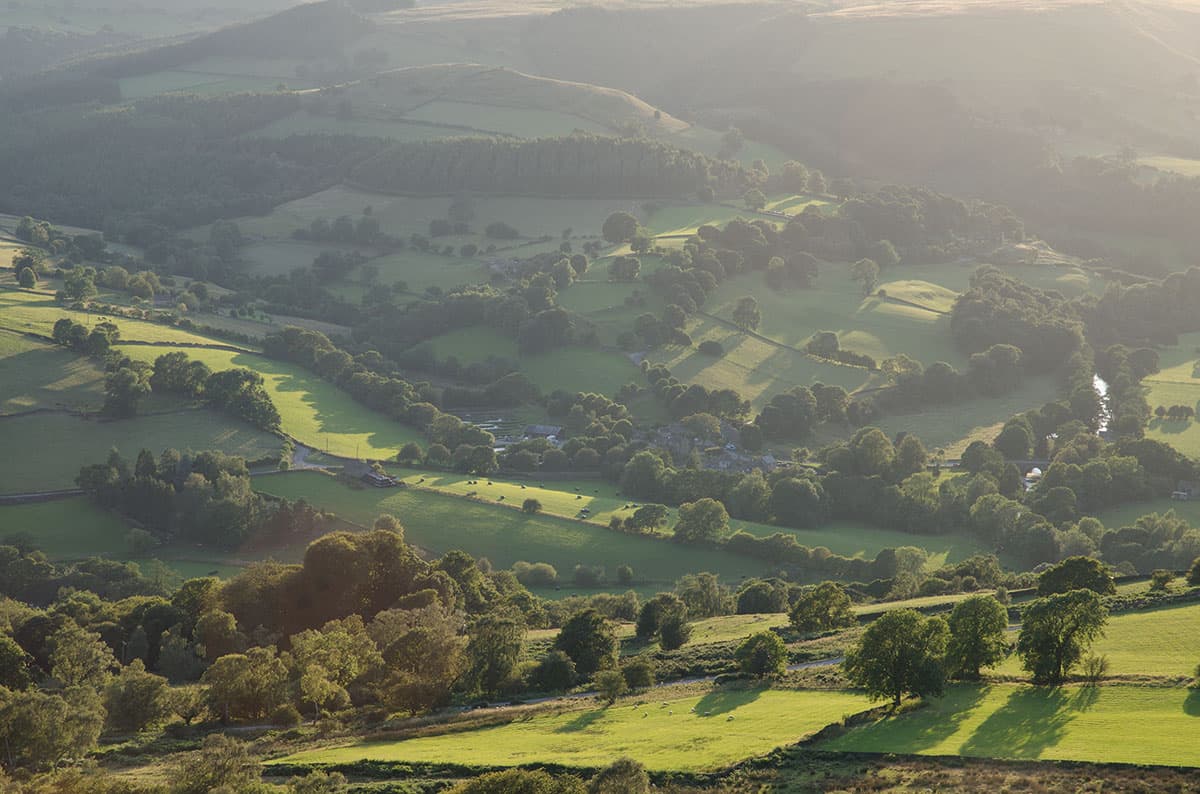
Before
I love the composition in this landscape photograph by reader, MB. The view looking down into the river valley captures the landscape in a beautiful late evening light. Photographing into the sun has picked up the rich colour contrast in the light and shade. As a consequence of this, the backlighting has emphasised the atmospheric haze, and introduced some lens flare artefacts. The following steps show how I was able to apply Camera Raw and Photoshop adjustments to correct for these.
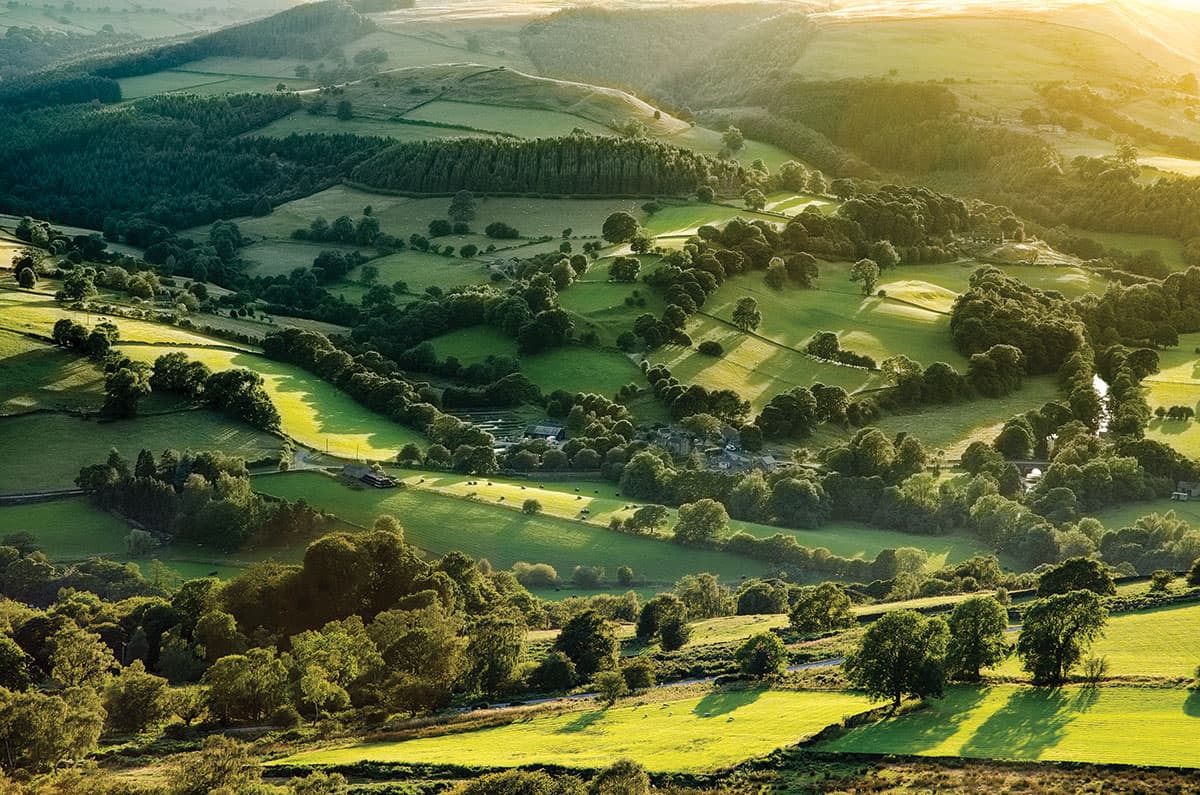
After
1. Apply Basic panel adjustments
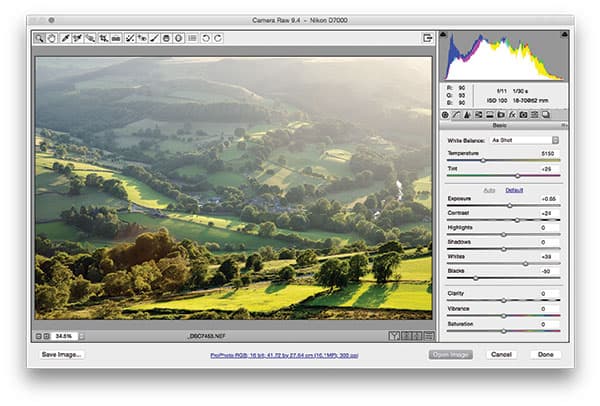
The first step was to open the raw image in Camera Raw. I selected the Basic panel and clicked on the Auto button to apply the settings shown here. This lightened the Exposure, added more Contrast and fine tuned the Whites and Blacks adjustments to add extra tone contrast.
2. Add a Graduated Filter adjustment
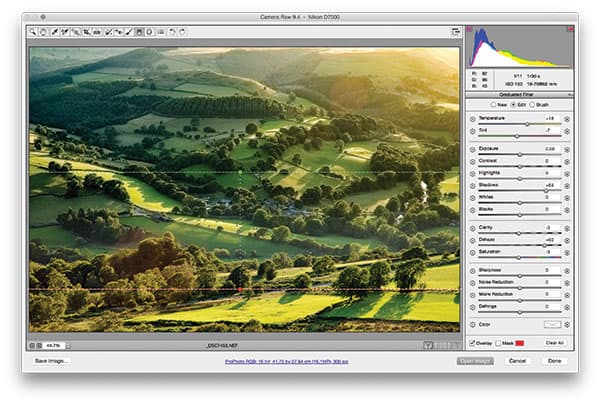
To remove the atmospheric haze, I chose to apply a localised Graduated Filter adjustment to the top half of the photo. Here, I set the Dehaze slider to +80. As a consequence of setting this, I also needed to lighten the Shadows in order to preserve more detail in the darker areas.
3. Remove the lens flare artefacts
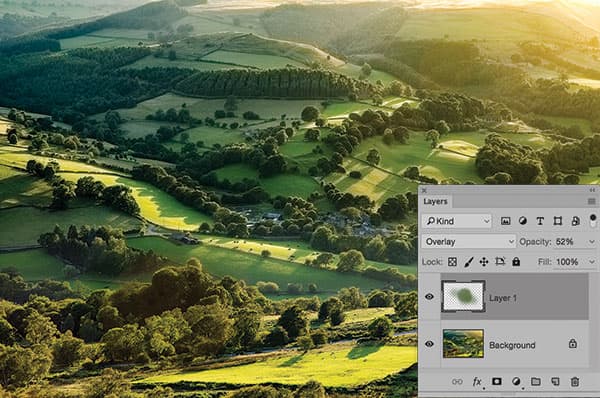
The Dehaze adjustment ended up emphasising the lens flare. To address this, I opened the image in Photoshop, where I added a new empty layer set to Overlay mode at 52% opacity. I then sampled a local green colour using the eyedropper tool, and then painted over the flared areas using the Brush tool.


