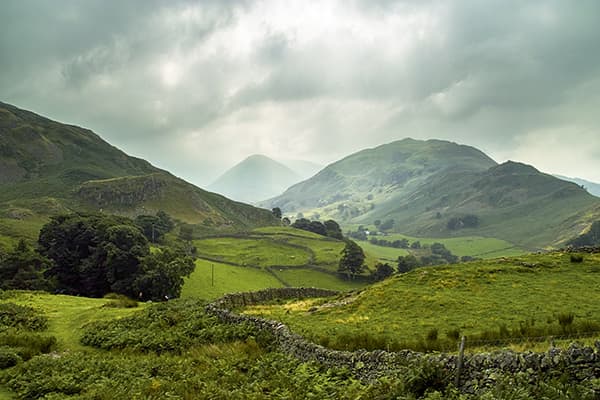
I like this classic composition from Carla Maue. Note how the stone wall leads the eye in from the left and meanders through the valley, with the flow continued by a line of trees stretching further into the distance. Obviously it was necessary to remove the sensor marks that can be seen here. However, I also needed to lighten the foreground without overexposing the sky.
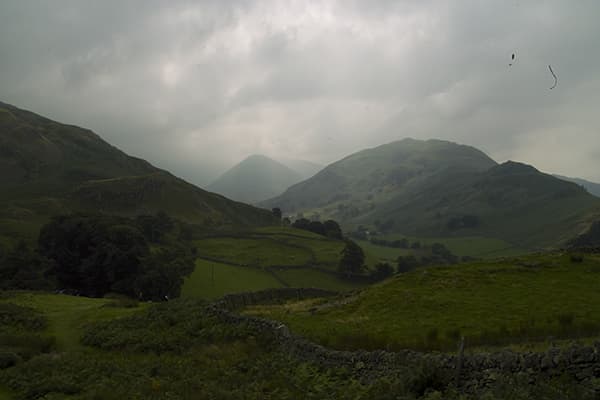
Before.
This is where graduated filter adjustments come into use. Most landscape images will benefit from these because, while our eyes interpret a scene by compensating for the difference in brightness between the ground and the sky, the camera records everything as it is. A soft-edged darkening vignette can help balance out this difference without it appearing unnatural.

After.
1. Camera Raw spotting
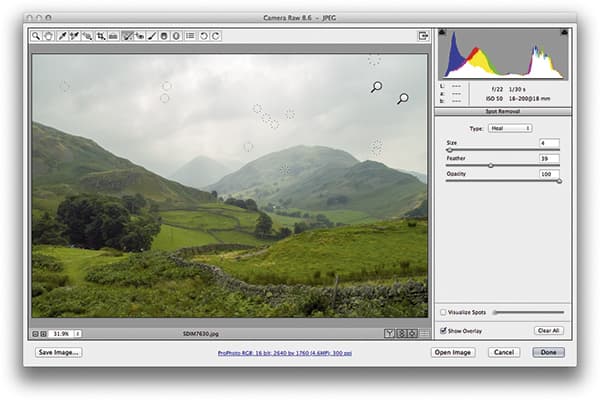 I began by lightening the image, but I also noticed that the sensor was quite dirty and there were a couple of hairs that needed removing. To do this, I selected the Spot Removal tool, then clicked and dragged to remove the hairs and just clicked repeatedly to remove the smaller spots.
2. Add a darkening gradient
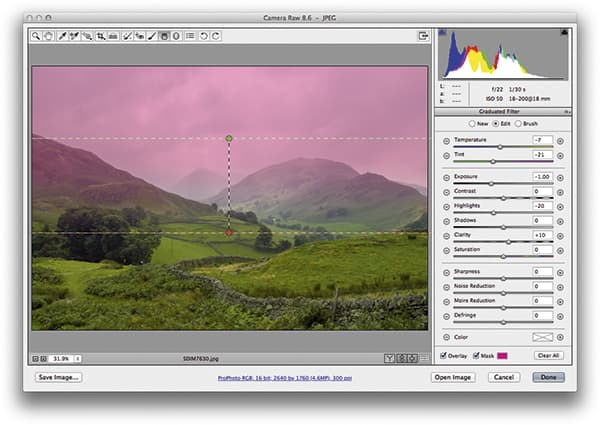 Next, I added a graduated filter adjustment to the sky and set the Exposure to -1.00 and the Highlights to -20, which darkened the clouds in the sky. I also adjusted the Temperature and Tint sliders to make the sky a little less magenta and slightly cooler in colour.
3. Add more contrast
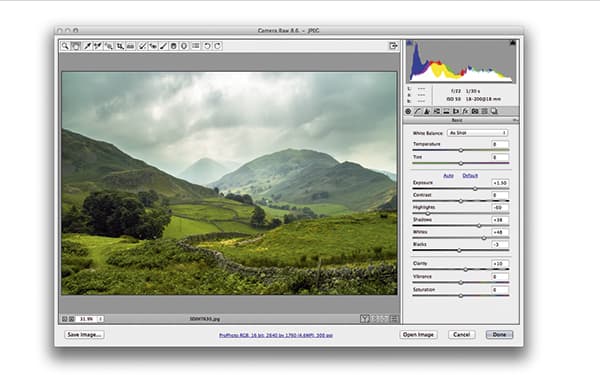 Finally, I went to the Basic panel where I refined the tone adjustments. I reduced the Highlights to bring out more detail in the clouds and boosted the Shadows slider to bring our more shadow detail. I also fine-tuned the Whites and Blacks sliders to optimise the tone contrast.


