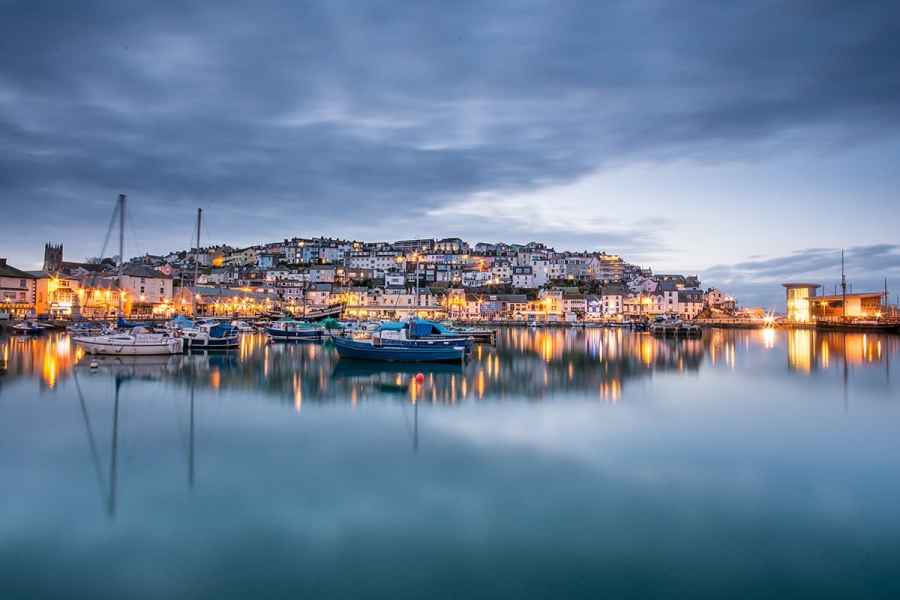
Before
Christian Schoter took this photograph in Brixham, Devon. The low light meant he had to use a tripod for the 25-second exposure at f/22 and ISO 100. Taking into account the wideangle lens, there was no need to use f/22. An aperture of f/8 would have given adequate depth of field and better optical sharpness. A shorter exposure and a higher ISO would also have ensured less movement of the boats. That said, this is a terrific shot that simply needed a couple of Graduated Filter adjustments to balance sky and sea brightness.
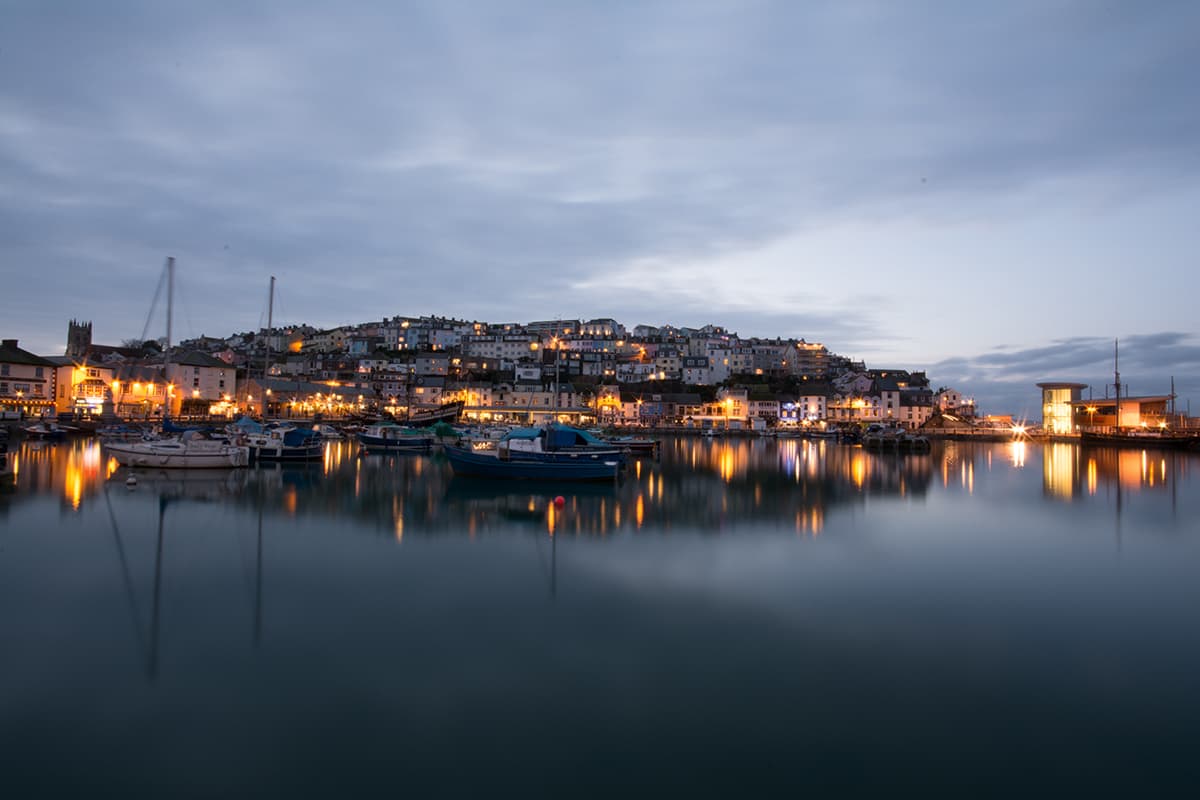
After
1. Straighten the horizon
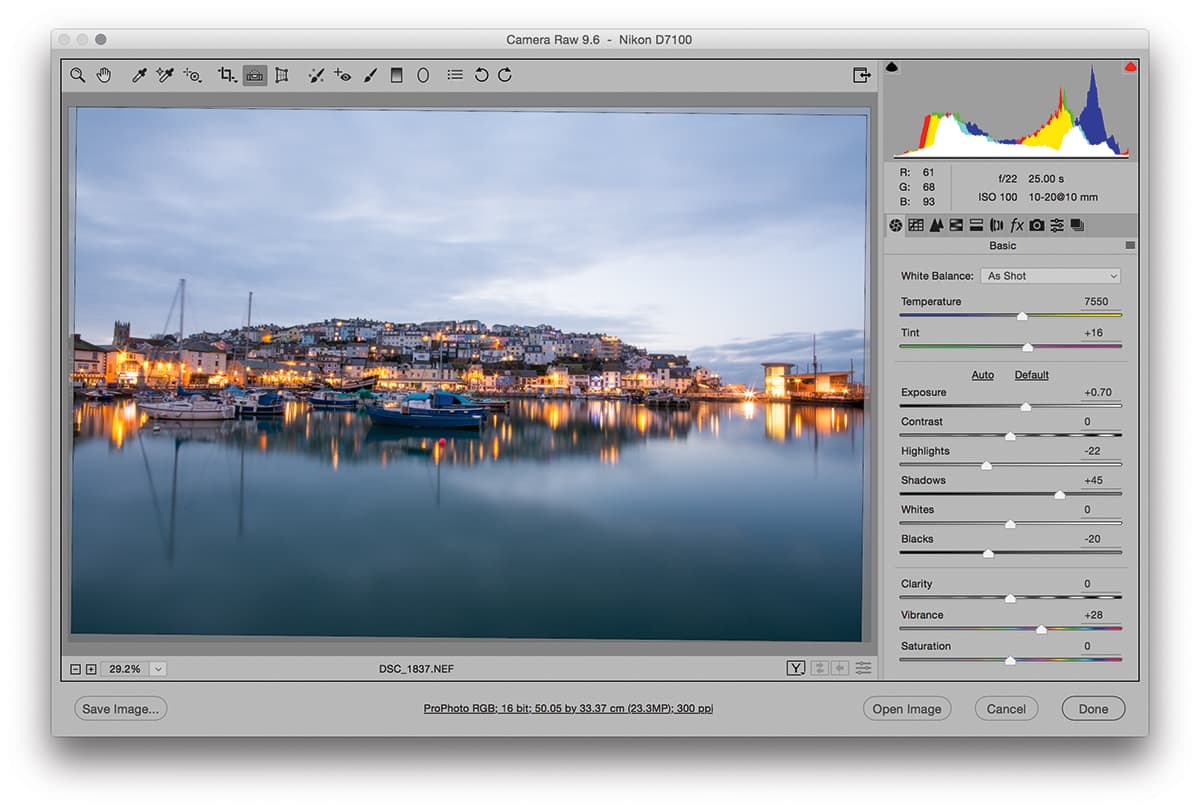
The horizon in this photograph was at a slight angle, so I selected the Straighten tool and dragged across the horizon line to level it. In the Basic panel, I adjusted the tone sliders to lighten the image and bring out more detail in the Highlights and Shadows, and increased the Vibrance.
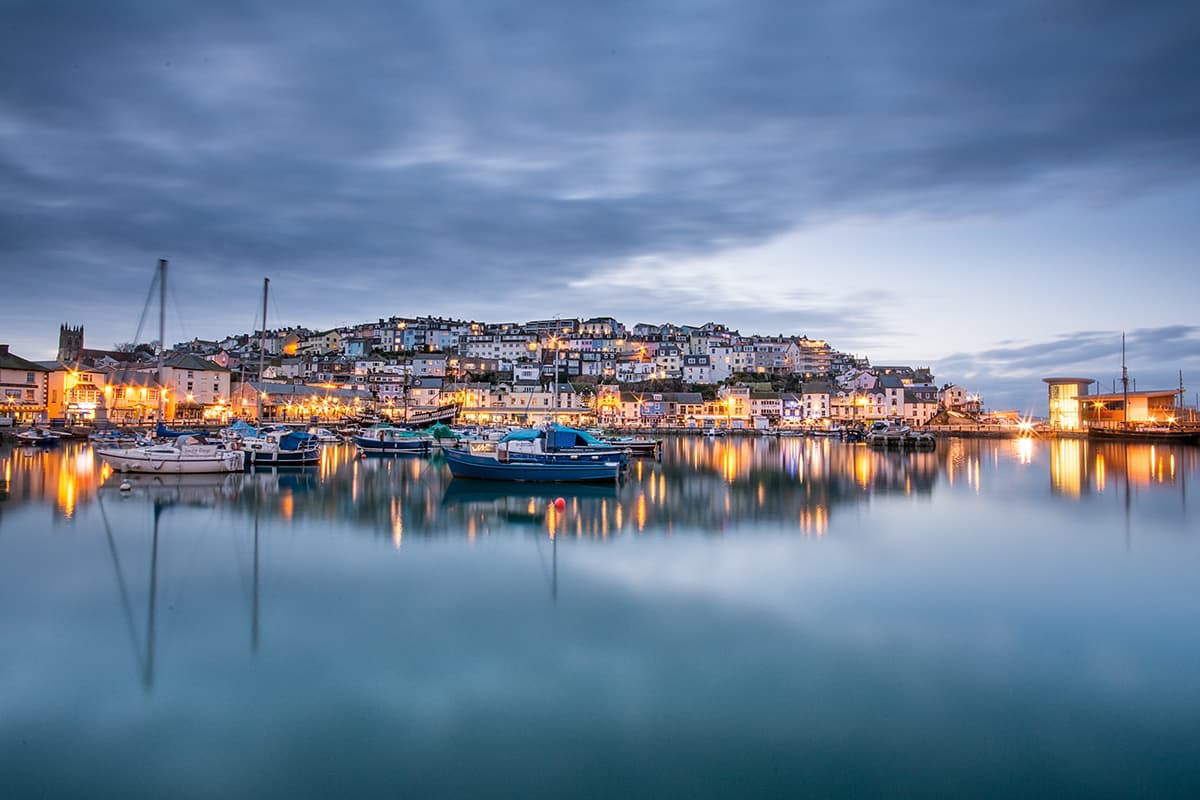
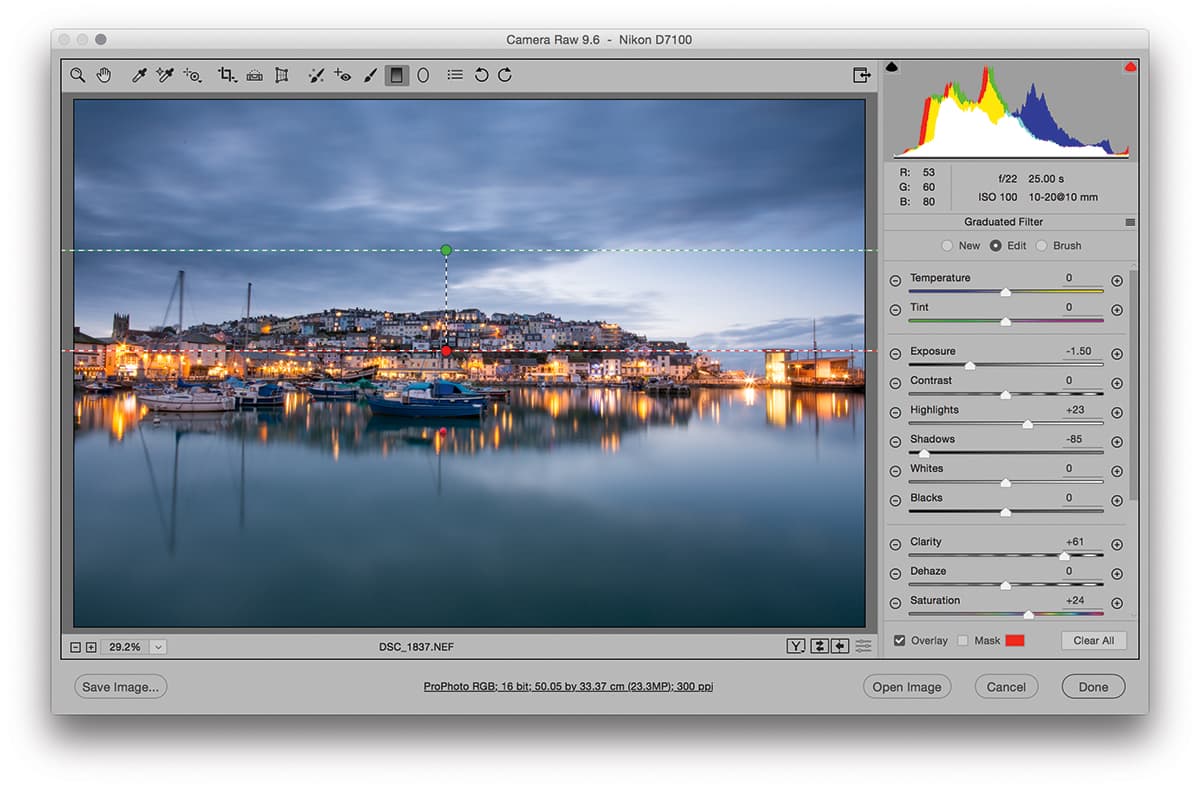
2. Darken the sky
I then selected the Graduated Filter tool and dragged from the top to the horizon to add a filter adjustment the sky. I then adjusted the Exposure slider to darken. I added more Clarity to increase contrast in the clouds, which I further enhanced by darkening the Shadows and lightening the Highlights sliders.
3. Lighten the sky
After that, I added a second Graduated Filter effect to lighten the sea. Lastly, I selected the Radial Filter and added an adjustment to the middle section, where I increased the Shadows to lighten the darker areas in this selected area, and also boosted the Clarity to give the illuminated buildings more sparkle.


