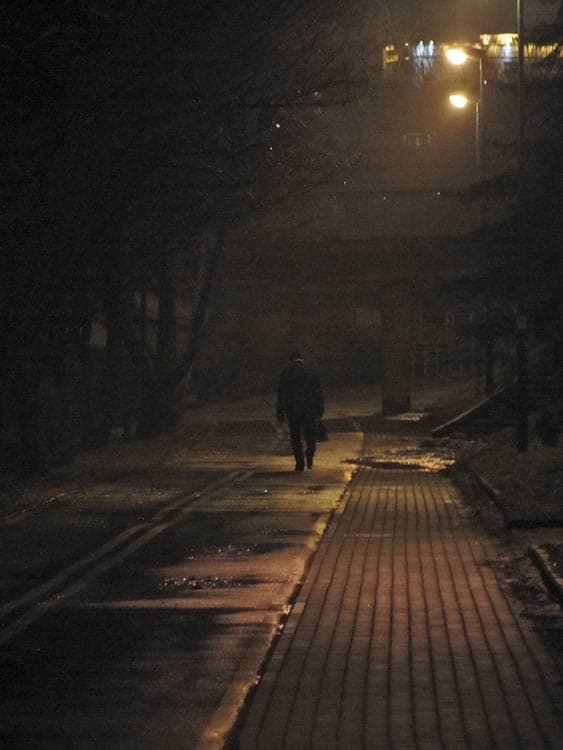
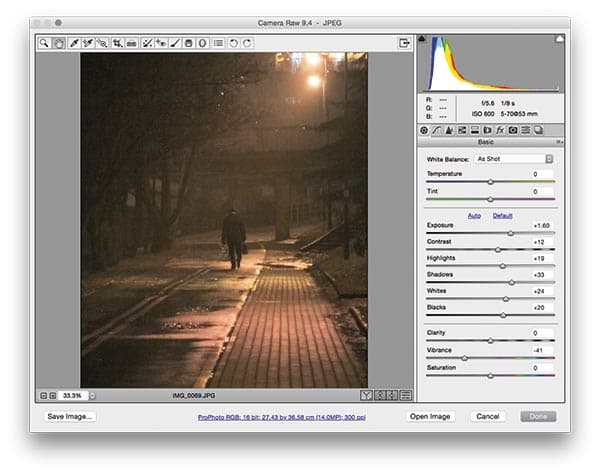
Before
This photograph by Andrey Poletilo was taken in very low-light conditions and shot in auto mode, which resulted in a photo where the exposure time was 1/8sec at ISO 800. I think this is the highest ISO setting on the Canon PowerShot SX210 IS he was using. It looks as if the camera deliberately allowed the exposure to go dark because, at a lighter exposure of, say, 1⁄4sec or 1⁄2sec, the photograph would definitely have suffered from camera shake. So, the objective here was to lighten the image to reveal the hidden shadow detail. In this instance, a Graduated Filter adjustment was used to add a shaft of light and the combined adjustments outlined helped to create a lovely atmospheric mood.
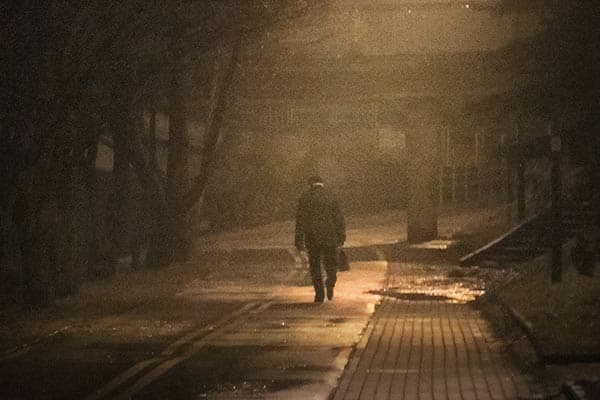
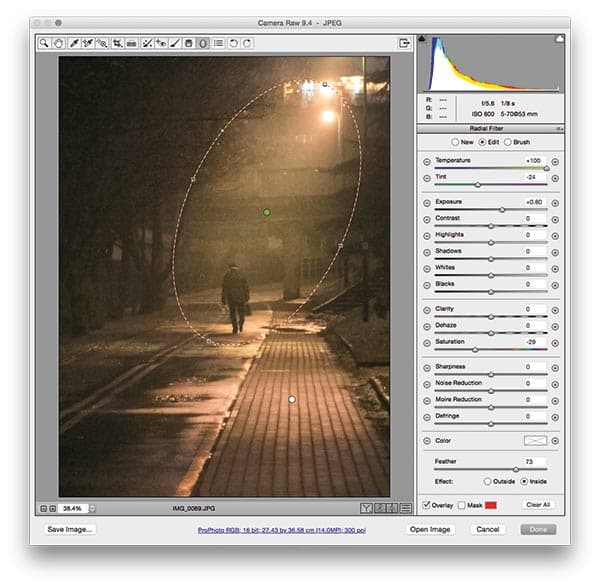
After
1. Lighten the exposure
I lightened the image by going to the Basic panel and adjusting the Exposure slider, setting it to +1.60. At the same time I fine-tuned the other tone sliders, making sure I retained some of the dark mood of the original scene. I also set the Vibrance slider to -41 to reduce the colour saturation.
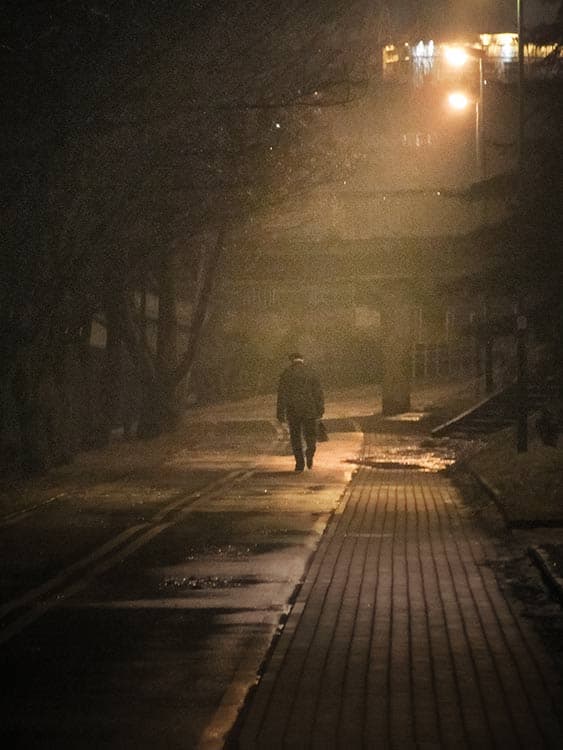
2. Radial Filter adjustments
I then selected the Radial Filter tool and added an elliptical-shaped adjustment. I clicked outside the overlay to reveal the rotate cursor, so I could click and drag the Radial Filter to apply the angle shown here. This adjustment was used to lighten the Exposure setting to add a strong shaft of light to the photograph.
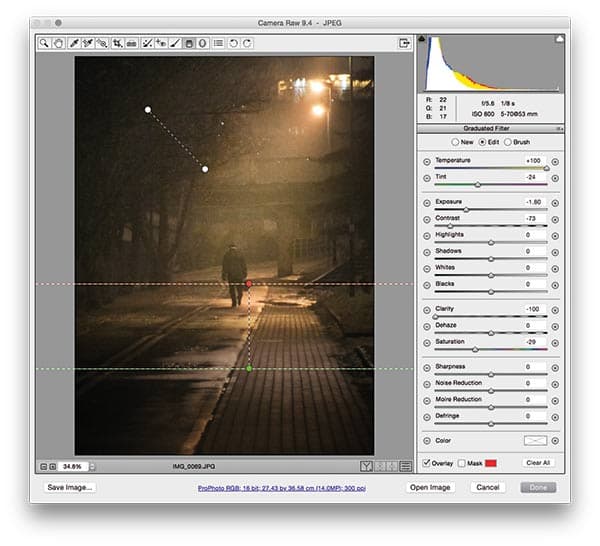
3. Graduated Filter adjustments
Using the Graduated Filter tool I added an exposure-darkening adjustment to the foreground and a negative Clarity figure to make the foreground appear in soft focus. A second Graduated Filter was added to the top left to lighten the tree. I then applied a darkening vignette via the Effects panel.