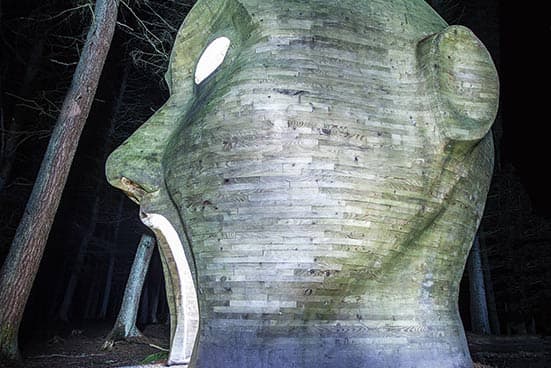
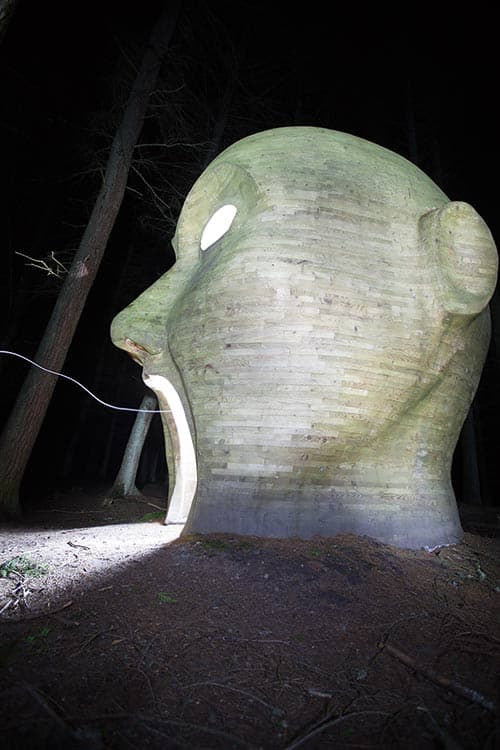
Before
I am intrigued to know where Andy Meyers took this photograph. It looks like it was created as a nighttime exhibit, which was nicely illuminated to provide an ideal photographic subject. The original was captured using a 40sec exposure, and this allowed a trace of light to be recorded entering (or maybe exiting) the mouth. It was a nice idea, but judging from the version Andy sent I can see he changed his mind and felt the photograph would look better with this removed. I agree. The main task here was to add more space to the right-hand side so the final image had an improved balance to the composition.
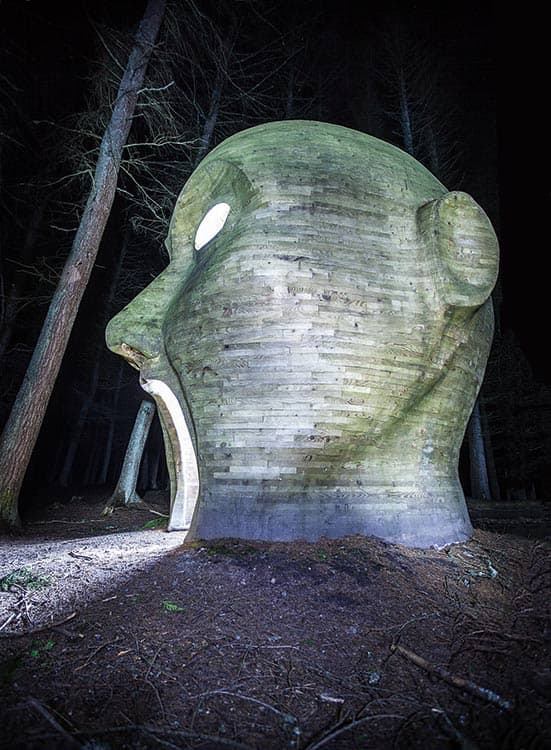
After
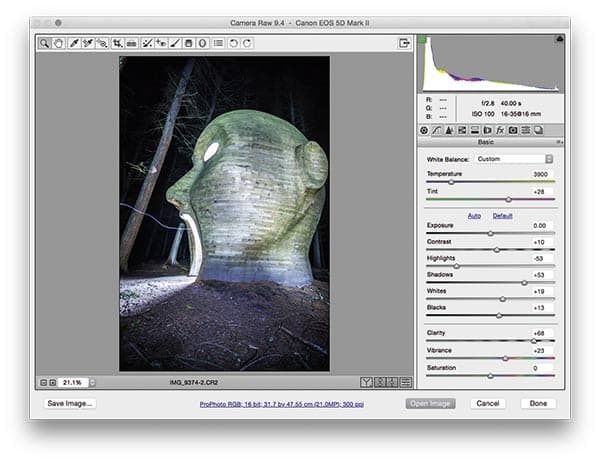
1. Apply Basic panel adjustments
I optimised the tones by opening the raw image in Camera Raw and went to the Basic panel. I darkened the Highlights and lightened the Shadows to bring out more tone detail in this high-contrast subject. I added a +68 Clarity figure to bring out the detail in the texture of the sculpture.
2. Extend the canvas
I then opened the image in Photoshop, where I used the Crop tool to extend the canvas size to the right. I added a new layer below the image layer and filled it with black. I added a Merged Stamped Visible layer at the top of the layer stack and used the Clone Stamp and Healing tools to fill the bottom-right section.
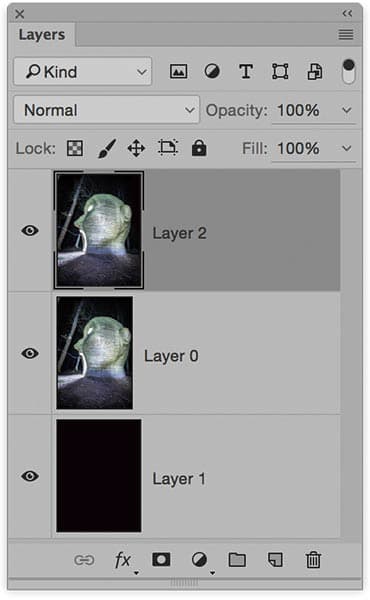
3. Retouching layers added
I added an empty new layer and used the Spot Healing Brush to remove the light trace on the left. I added another empty layer (set to Darken mode) and painted with sampled dark colours to subdue a few of the brightly lit branches. I then selected the Crop tool to apply a rotated crop that straightened the image.


