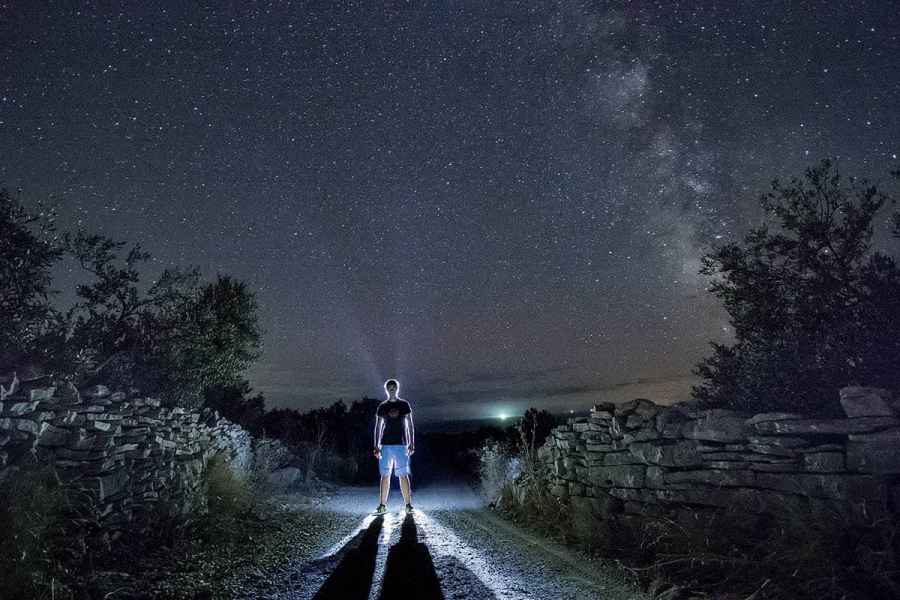
Before
You can tell that Ivan Galic has put a lot of thought into the preparation for this photograph. By combining a high-ISO setting with a long exposure, Ivan was able to capture more detail in the starry sky than one would see normally, and the Milky Way is clearly visible on the right.
More than that, however, he has included a lot of interesting detail in the foreground, which really makes this photograph stand out. He has chosen a great location to shoot from and the young man in the foreground adds a human dimension to the scene.
The backlighting adds drama, too, but when I looked at the photo close-up I could see the feet of the person who was holding the light in the background. I removed them using the Spot Removal tool in Camera Raw.
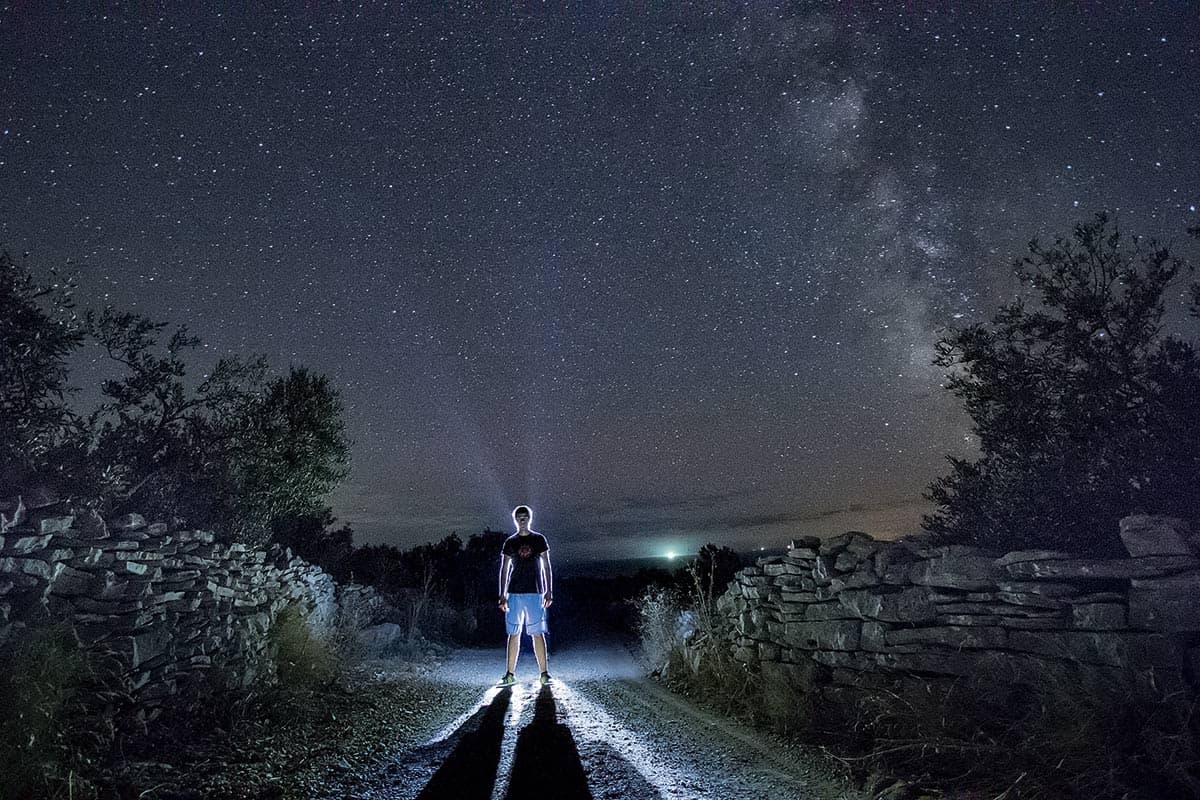
After
1. Lighten the sky
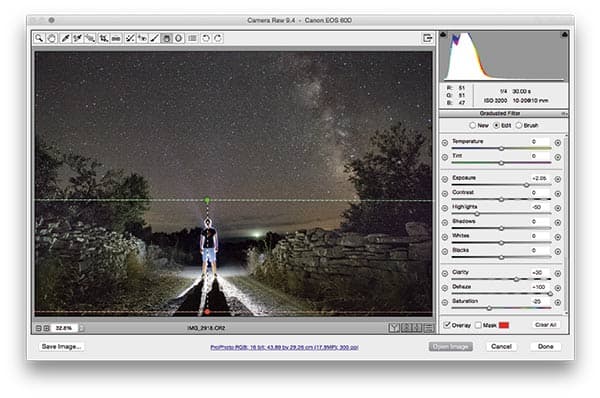
I selected the Graduated Filter tool and added a graduated adjustment to the top half of the photograph. Here, I lightened the Exposure, reduced the Highlights and Vibrance, and boosted the Clarity to add more definition to the stars and reveal more detail in the Milky Way. I then added a +100 Dehaze adjustment to further increase the contrast.
2. Detail panel settings
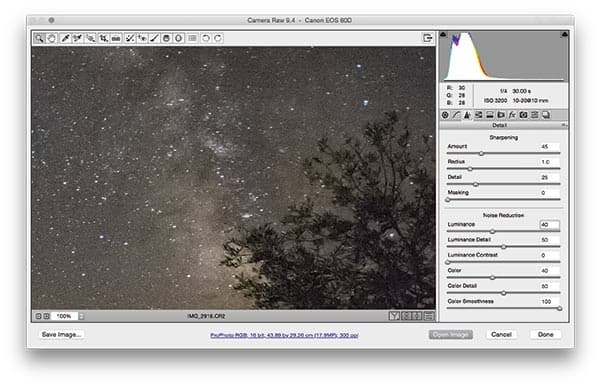
The Graduated Filter lightening adjustment also emphasised the noise. This photo was shot at ISO 3,200, so some noise was to be expected. To reduce this, I enlarged the photo to a 100% view and, on the Detail panel, set the Luminance noise reduction slider to +40, the Color slider to +40 and the Color Smoothness slider to +100.
3. Tone and colour adjustments
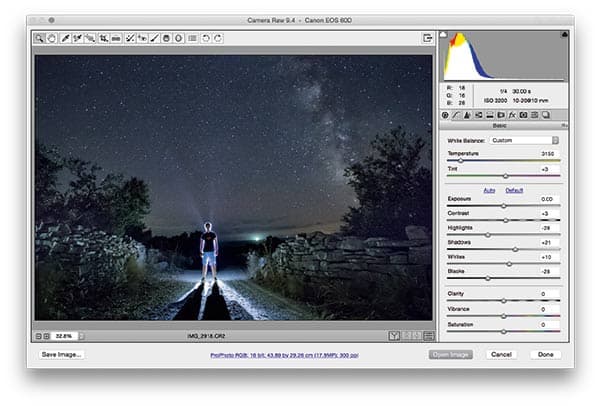
Finally, I went to the Basic panel where I applied a custom white balance to make the image appear bluer. The Highlights and Shadows slider adjustments helped balance the tones better, while the Whites and Blacks slider adjustments were altered to add more global contrast.


