The Photomerge feature in Photoshop can be used to create panorama stitches from a selection of photographs. The key is to rotate the camera carefully around the lens axis as you shoot the sequence of photographs you wish to merge together.
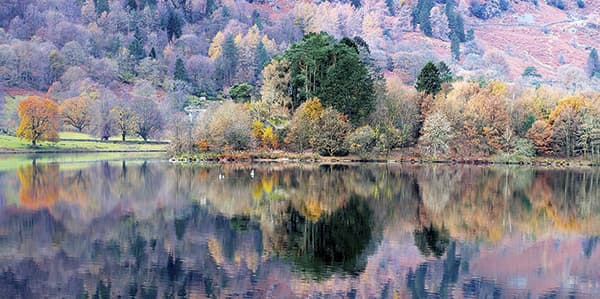
Before 1.
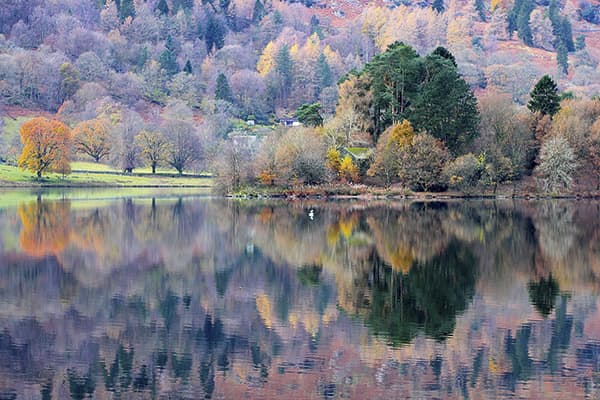
Before 2.
In the example shown here, you can even do this using just two photographs – these were taken by Andrew Clayborough. You can carry out a Photomerge in a single step via the Bridge Tools in the Photoshop menu, but I find it’s usually better to break the process down into distinct steps so that you open the photos as layers in Photoshop first, then auto-align them and, lastly, apply an auto-blend. It can be a slow process when processing large, multiple-source images. By breaking it down into steps you can undo the auto-align step and experiment with different projection settings without having to undo everything and reload the files as layers again.

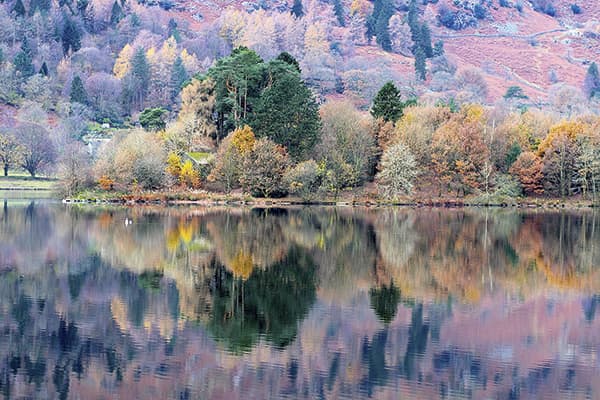
After.
1. Load files as layers
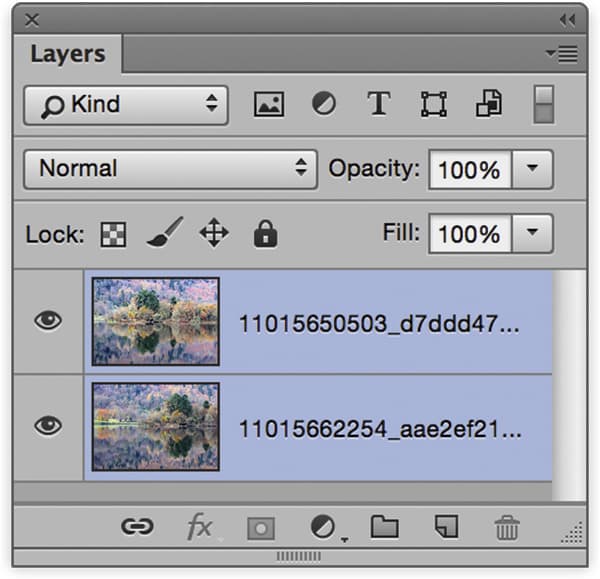
I selected the two ‘before’ shots in Adobe Bridge. I then went to the Tools menu and selected Photoshop>Load Files into Photoshop Layers. This opened the two files in Photoshop as layers one on top of the other. In the Layers panel I made sure both layers were selected.
2. Auto-align the layers
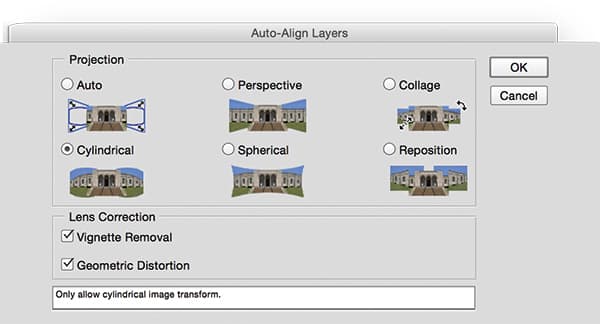
In Photoshop I went to the Edit menu and selected Auto-align Layers. This opened the dialog shown here, where there were several projection options from which to choose. Usually it’s best to select the Cylindrical option when aligning a single row of images, but if in doubt you can always select Auto.
3. Auto-blend the layers
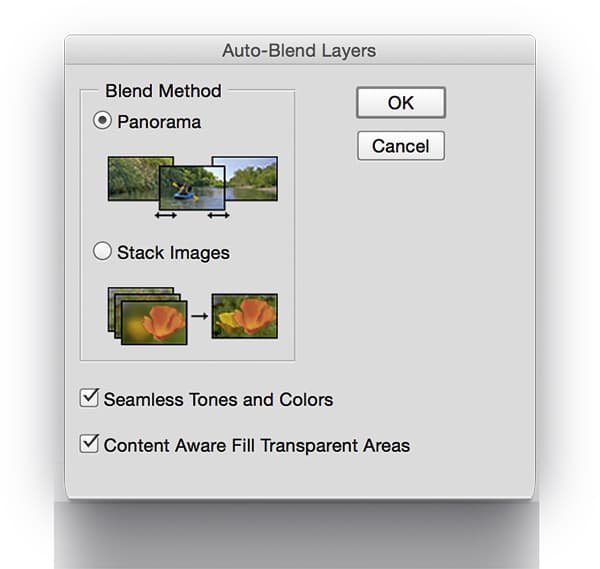
The Auto-align step simply aligned the photos. The next step was to blend the layers by going to the Edit menu again and selecting Auto-blend Layers. I then selected the Panorama option and checked the ‘Seamless Tones and Colors’ and the ‘Content Aware Fill transparent Areas’ options to produce the finished version.


