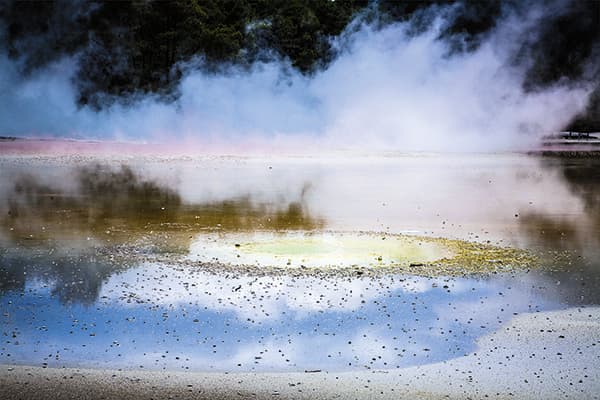
The strange-looking colours and steam coming off the water lead me to assume that this is a photograph of a volcanic spring. I noticed that June Morrissey got the exposure spot on, and she may well have set the exposure manually. If she had used an auto setting, the meter would have been fooled into underexposing this scene.
Before.
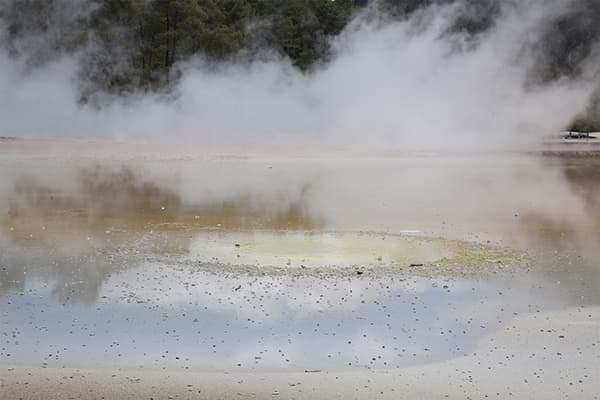
There are some intriguing unnatural-looking colours here, so I thought it would be interesting to see what would happen if I boosted both the tone and colour contrast. The aim was to produce a more abstract interpretation. Although I deliberately chose to apply extreme settings to show just how different the image could look, overall I think the step 2 version strikes the best balance between the before and after images.

After.
1. Camera Raw Filter
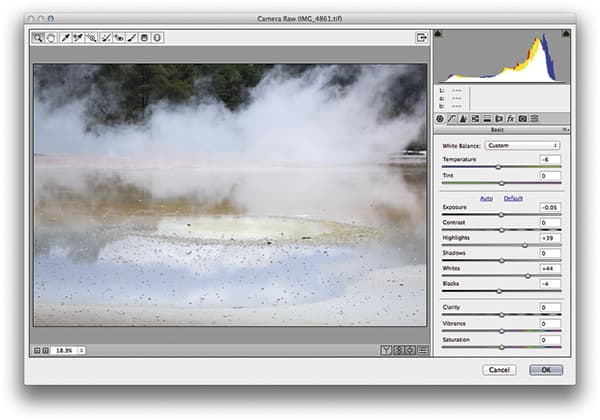 Opening this image in Photoshop, I went to the Filter menu and chose Convert to Smart Filter. Having done that, I selected Filter>Camera Raw Filter. This opened the Camera Raw Filter dialog shown here, where I applied a number of Basic panel adjustments to boost the tone contrast.
2. Boost Clarity
 To really bring out the definition of the steam coming off the lake, I dragged the Clarity slider all the way up to the maximum +100 setting. I find that increasing the Clarity globally, or via a localised adjustment, is always good for bringing out detail such as this. To emphasise the colours, I raised the Vibrance to +38.
3. Contrast control
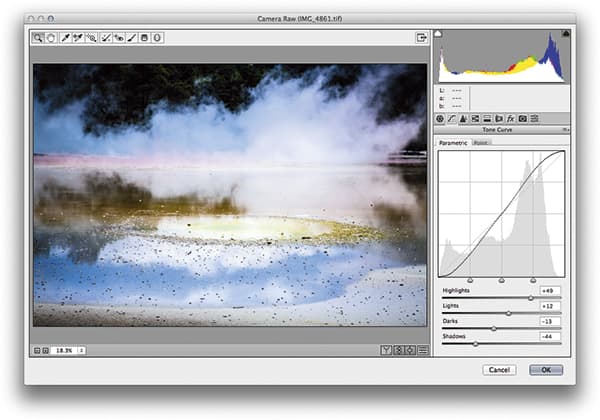 Next, I applied a slight darkening vignette via the Effects panel and then went to the Tone Curve panel, where I applied a contrast-inducing ‘S’-shape curve. This increased the scene’s contrast and had the effect of further boosting the colour saturation.


