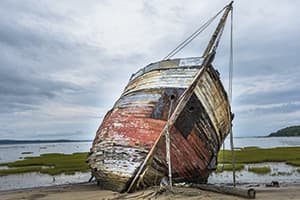
Gregory Emery, who took this picture, informs me this is a photograph of the L’Accalmie boat, taken near Baie-St-Paul, Québec, Canada. It’s a lovely subject, but I do think the photograph was perhaps cropped a little too tightly in-camera.
Before.
As it has been shot, the cropping works well, but I reckon it would have helped if Gregory had zoomed out slightly (this was shot at 27mm using an 18-140mm lens). This would have provided more options to apply an alternative crop at the image-editing stage.

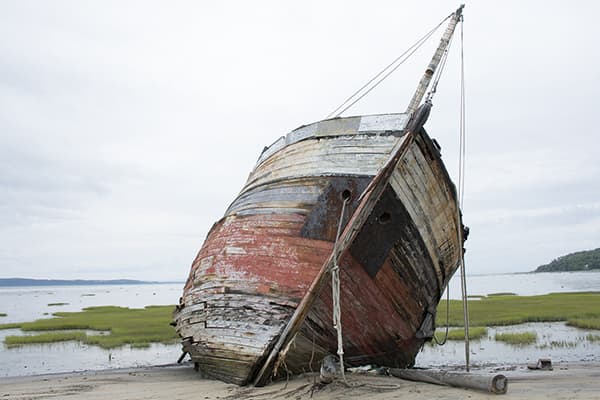
After.
The following steps show how I edited the master raw image and used a Radial Filter adjustment to selectively lighten the hull of the boat.
1. Add a Radial Filter
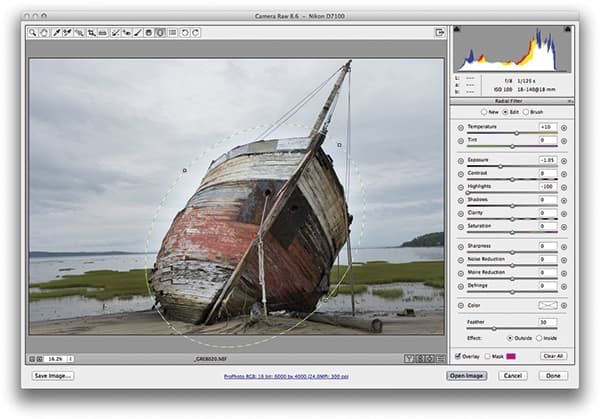 I began by adding a Radial Filter. I did this because it seemed to make sense to balance out the tones by adding an adjustment in which I darkened everything but the boat first to bring out more delicate detail in the sky. Here, I applied -1.05 Exposure and I hardened the Feather slider setting.
2. Apply tone adjustments
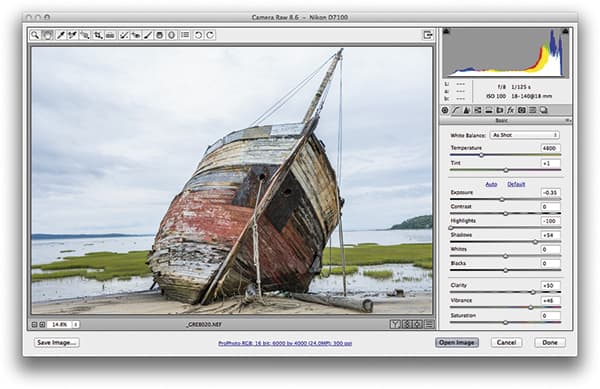 I then went to the Basic panel and applied some tone adjustments. In this step I set the Highlights slider to -100 in order to preserve as much highlight detail in the clouds as possible, and raised the Shadows slider to +54, which lightened the darker shadow areas. I also set the Clarity to +50 to add more punch to the midtones and boosted the Vibrance setting to +46.
3. Apply the curve shape
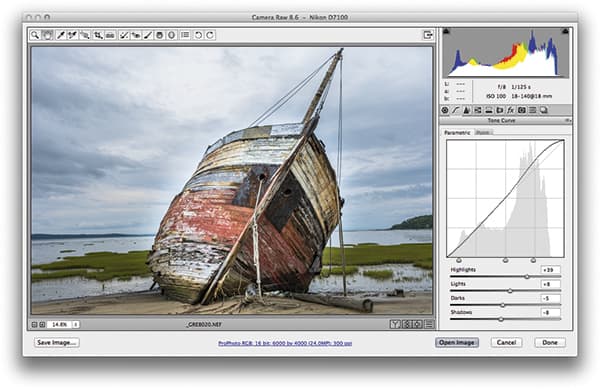 After that, I went to the Tone Curve panel and applied the curve shape shown here, where the intention was to darken the midtones to shadow areas slightly, add a kick to the midtone to highlight areas and add more overall contrast to the photograph. I also corrected the chromatic aberration (see chromatic aberration lens corrections on page 46).
Chromatic aberration lens corrections
A close-up view of the L’Accalmie photograph reveals there was noticeable chromatic aberration that could be seen on the mast of the boat. This was a problem to do with the way the lens managed to focus the green and purple colours, which led to the colour fringing you can see here.
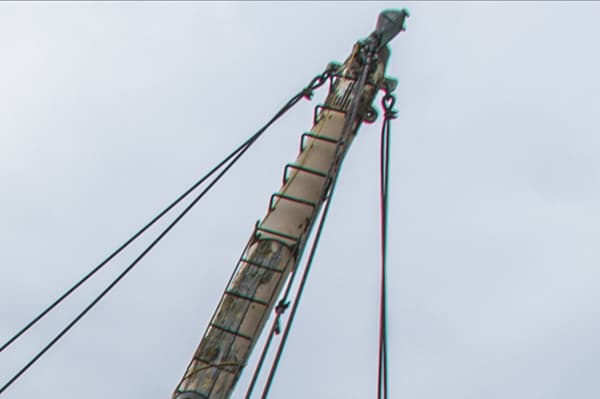
Lens corrections before.
If you process your photos using Camera Raw or the Develop module in Lightroom, you can fix this type of problem quite easily. In this instance, all I had to do was to go to the Color tab in the Lens Corrections panel and tick Remove Chromatic Aberration. In most cases, this is all you need to do to remove such colour-fringing artefacts.
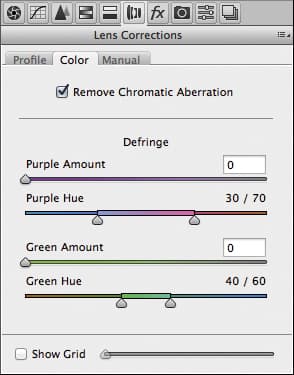
Lensc orrections panel.
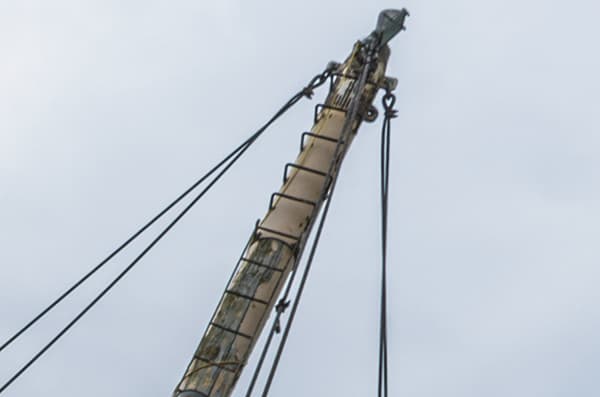
Lens corrections after.


