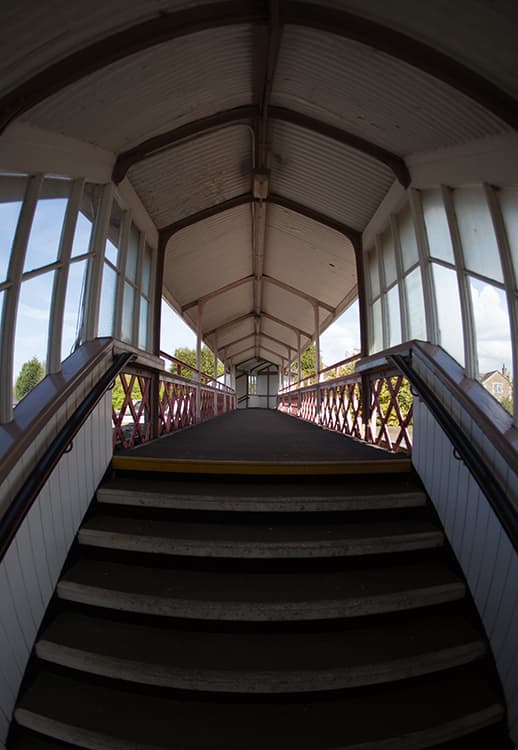
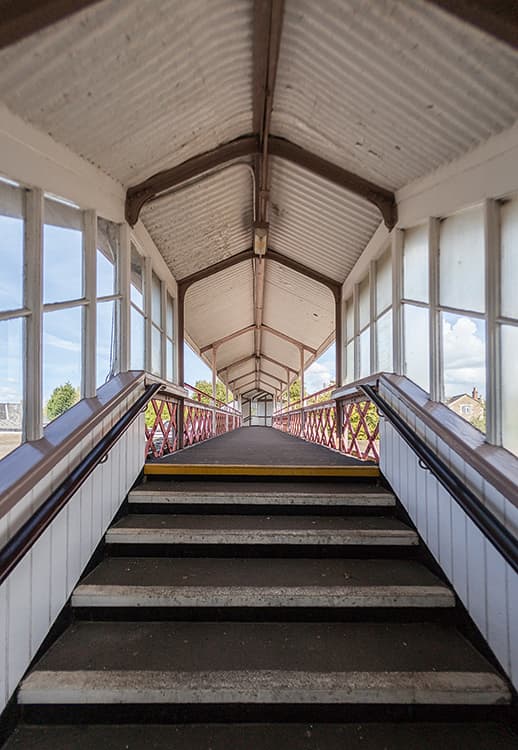
Before
I think I recognise this as the pedestrian bridge at Edgware Road station in London. Graham Borthwick shot it using a Canon EOS 5D Mark II with a Canon EF 15mm fisheye lens. As the name suggests, this lens captures a non-corrected fisheye-view image where straight lines will appear curved.
It is an interesting lens to use if you want to capture a distorted look and can be useful for capturing panoramic shots that can be merged to produce a composite 360° image.
When editing such images in Camera Raw or Lightroom, you can apply lens-profile corrections to the perspective. A fisheye-lens photograph can also be edited using the Adaptive Wide Angle filter in Photoshop to create more natural-looking wideangle views.
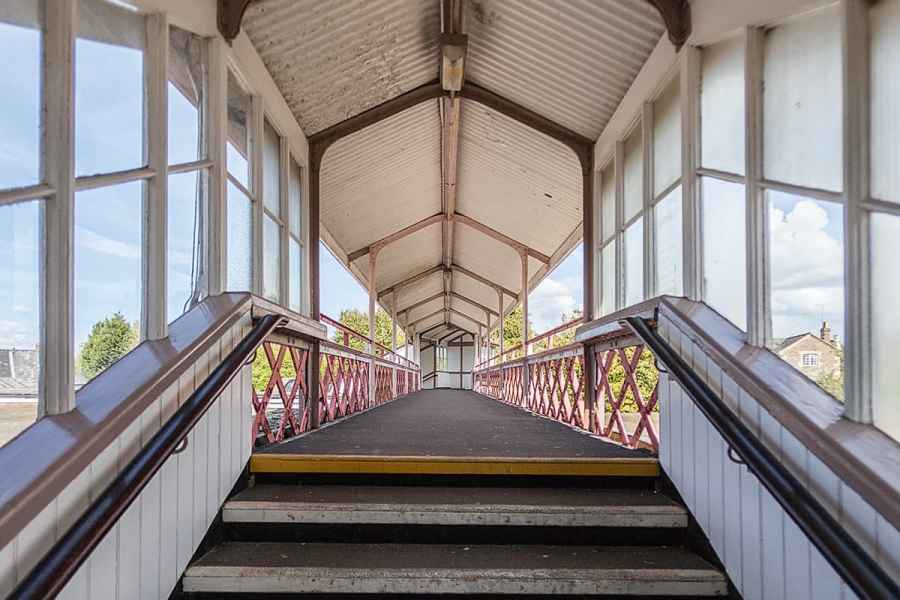
After
1. Basic panel adjustments
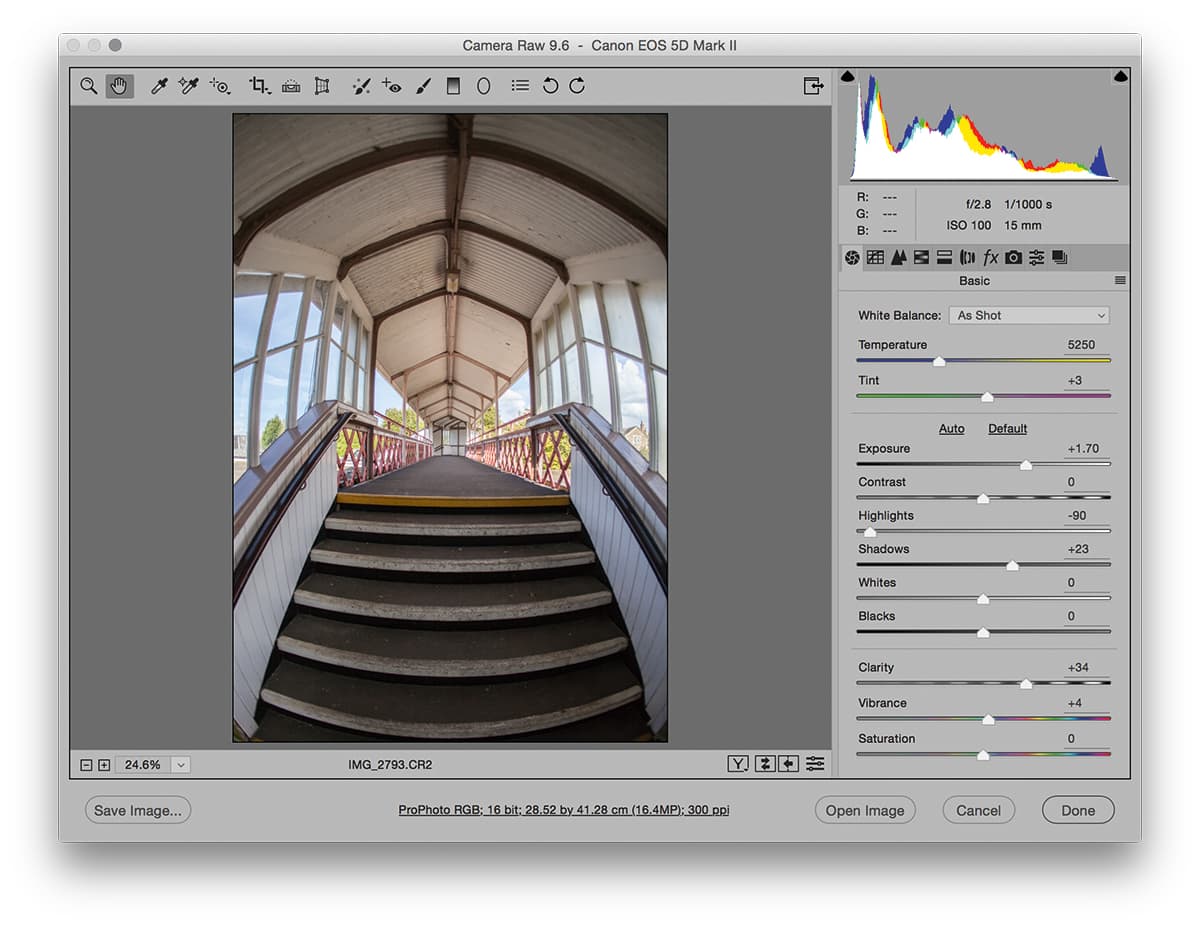
First, I applied a +1.7 Exposure adjustment to lighten the photograph. To compress the dynamic range, I dragged the Highlights slider nearly all the way to the left and the Shadows slider to the right. This adjustment softened the overall contrast to the point where it was necessary to add a positive amount of Clarity to include some midtone contrast in the image.
2. Enable Profile Corrections
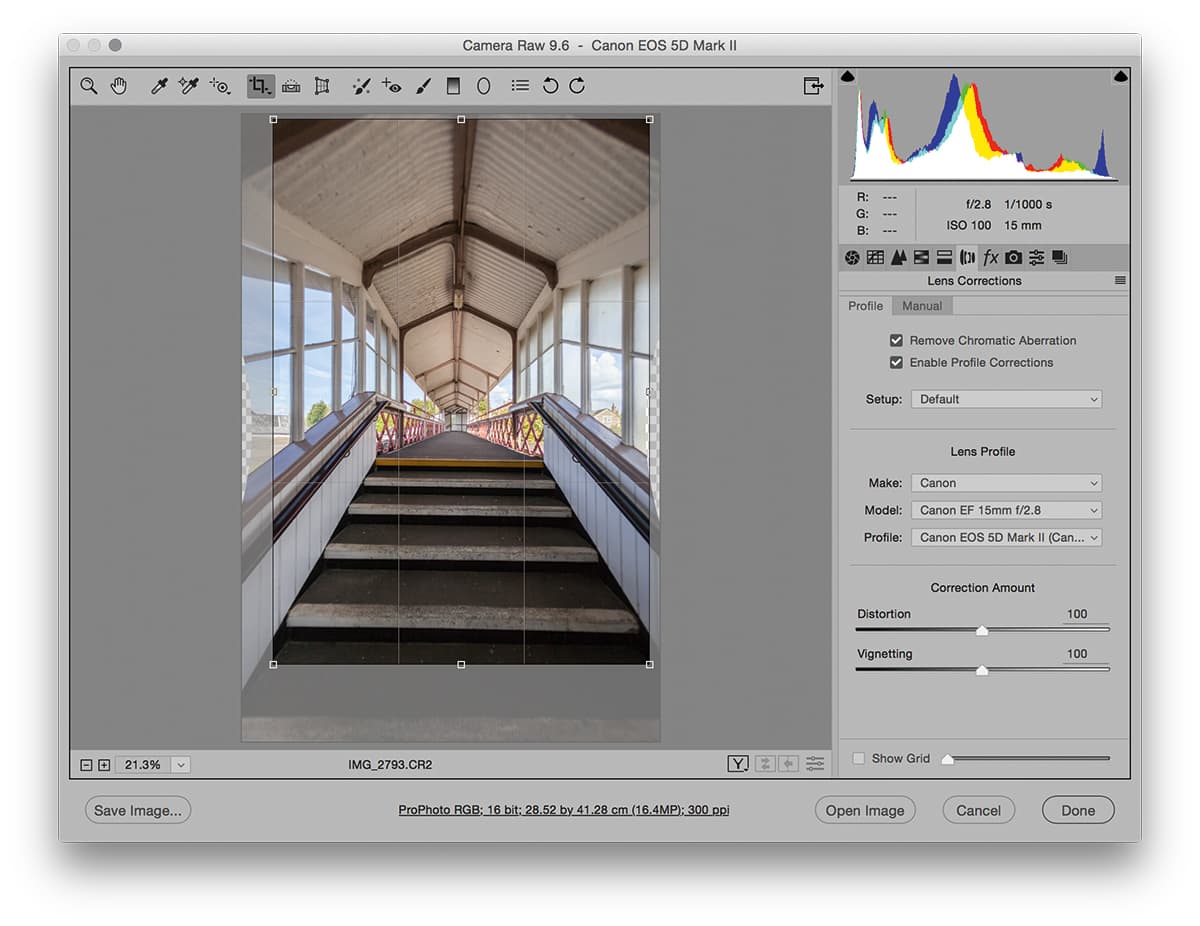
In the Lens Corrections panel I could see this photo was shot with a Canon EF 15mm fisheye lens. I checked the Enable Profile Corrections option, and this applied a profiled lens correction that straightened the lines to produce a corrected perspective view. I then applied a crop to the image to achieve a symmetrical composition.
3. Guided upright adjustments
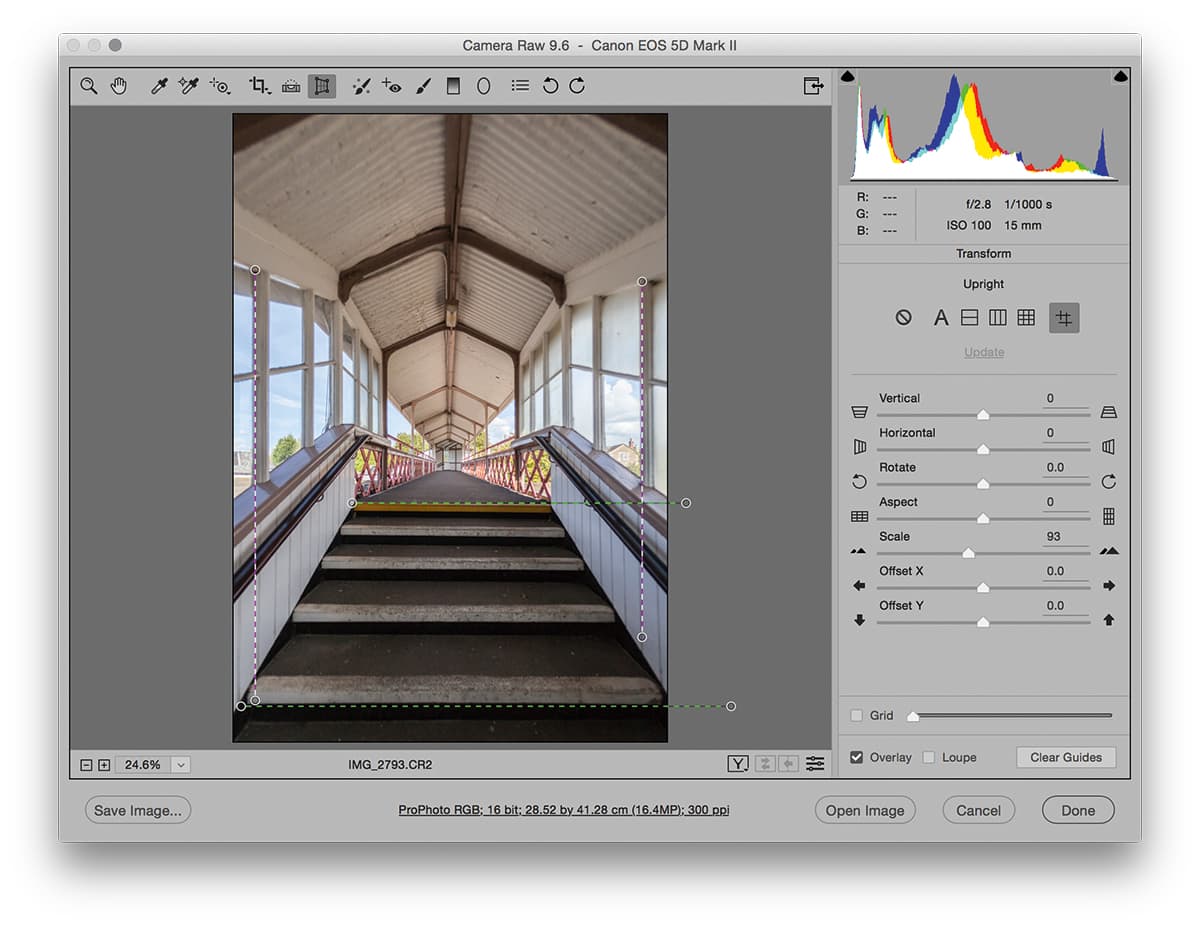
I clicked on the Transform tool in the toolbar at the top to open the Transform panel options (this is a recent change), and selected the new Guided Upright option. This allowed me to add two vertical and two horizontal guides to achieve a perfect perspective correction.